
How to rip and digitize your Blu-ray collection
- nov
- 24
Freed from their plastic prisons, your Blu-ray movies can follow you to any device, anywhere, while looking and sounding as pristine as ever.
We've already covered how to digitize your DVDs, but their high-def cousins need a little extra help — and often, a lot more time. Here's everything you need to get started, and a few pointers to avoid aggravation along the way.
Why digitize your discs?
It's easy to buy movies from iTunes, or get digital copies bundled with a Blu-ray. But not all discs come with a digital copy. Older discs that did may have cheaped out with a rinky-dink standard-def version. (Booooo.) Some, but not all, discs are eligible for a $2 digital copy through Vudu/Movies Anywhere, but that's still extra expense for a film you already bought. You shouldn't have to pay twice for the same movie in HD.
And while movies from iTunes and other stores cost $15-$20 outside of occasional sales, Blu-rays sometimes cost a lot less. Buying and ripping cheaper discs gives you a first-rate digital copy at a significant discount, without the hassles of DRM.
Step 1: Don't be a jerk
Copyright law gets kind of hazy on the subject, but you're generally OK making digital copies of movies you own, for your personal use.
However, if you're thinking about using this guide to steal movies you don't actually own, kindly close this window, shut down your computer, and go sit in the nearest corner to contemplate your life choices.
Step 2: Assemble your team
To move your movies from disc to disk, you'll need:
An external Blu-ray drive\
I used an older Samsung SE-506, which sells for around $100 and worked great. But The Wirecutter has a good roundup of more recent drives that cost less and may perform even better.
MakeMKV
This free-while-in-beta program shrugs off Blu-rays' copy protection and bundles their contents into handy, if hefty, files. (Remember, use those awesome powers only for good.) You'll need a new beta key for MakeMKV roughly every two months, which you can find here. For a deeper dive into MakeMKV, consult this Macworld article.
HandBrake
To squeeze those massive files into svelter shape, you'll need this free, popular Mac app.
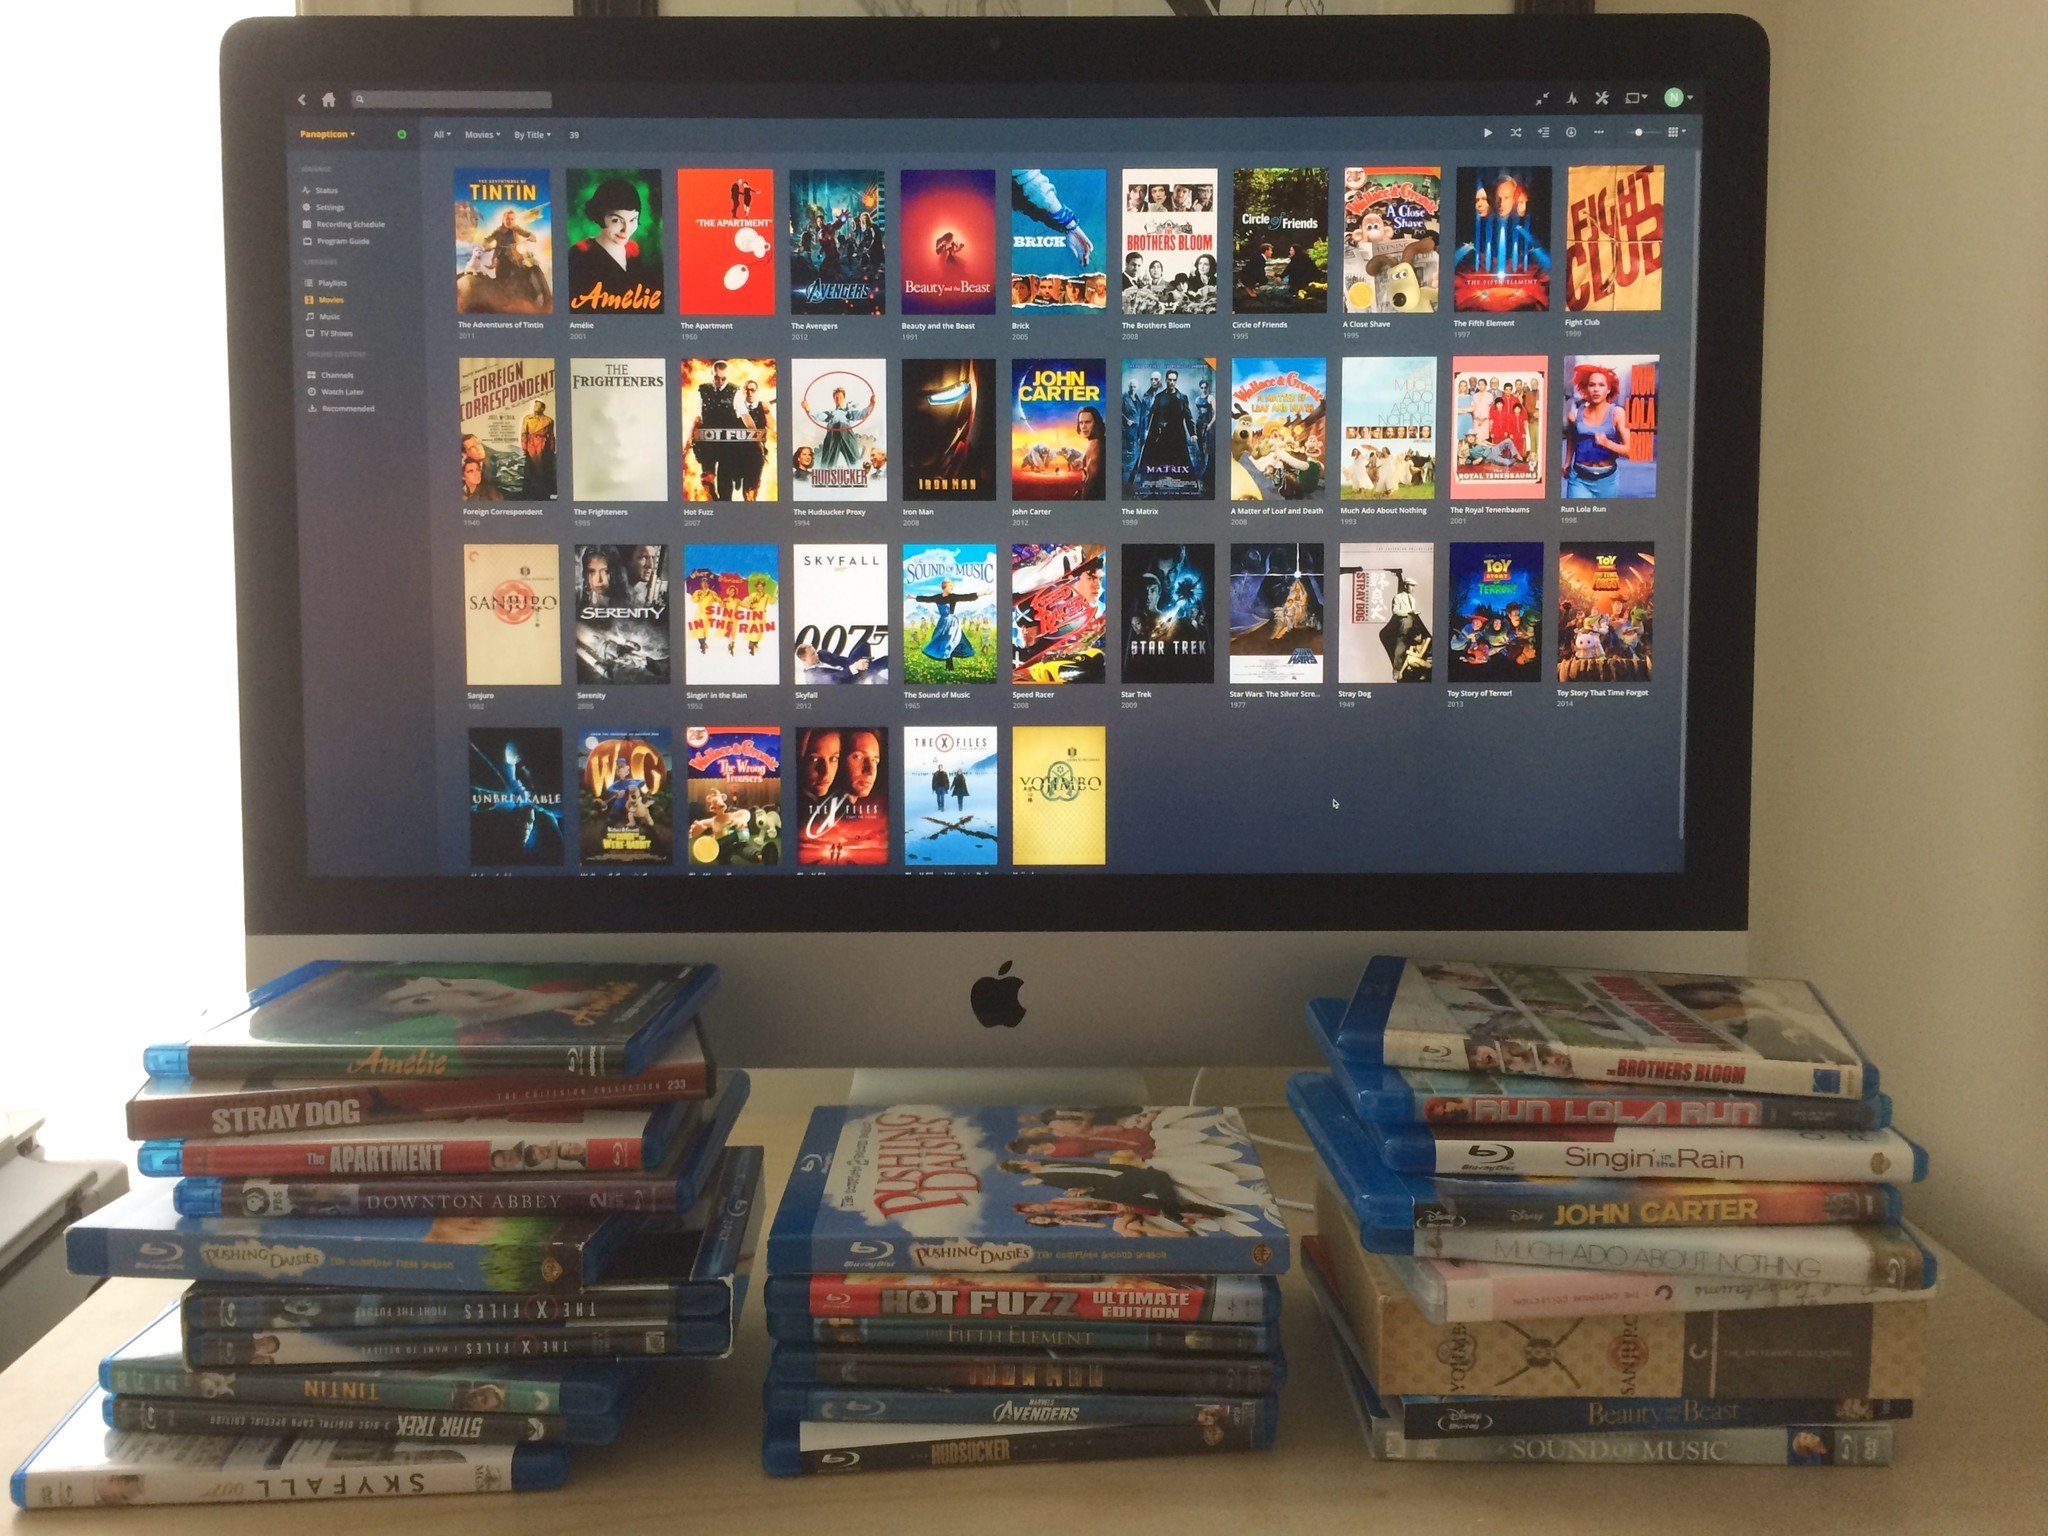
Plex
You can always convert your movies into MP4 files and pop them into iTunes or VLC. But Plex offers three big advantages:
- Unlike iTunes, Plex plays Matroksa, or MKV, files. (I'll explain later why that's good.)
- Plex automatically pulls in your movies' poster art and other metadata.
- As long as you have an always-on, internet-connected computer or NAS drive running your Plex server, you can stream all your movies to your iPhone, iPad, AppleTV, Mac, or a host of other devices, anywhere you go. And while Plex charges for its live TV and DVR features, you can use it to store and stream movies for free, minus a one-time $5 unlock fee for its iOS apps.
Step 3: Get ripping
Plug in your Blu-ray drive, pop in a disc, and open MakeMKV. It'll take a few seconds to recognize the disc. Once it does, click the big, animated Blu-ray drive button to read that disc's contents, which may take another few minutes.
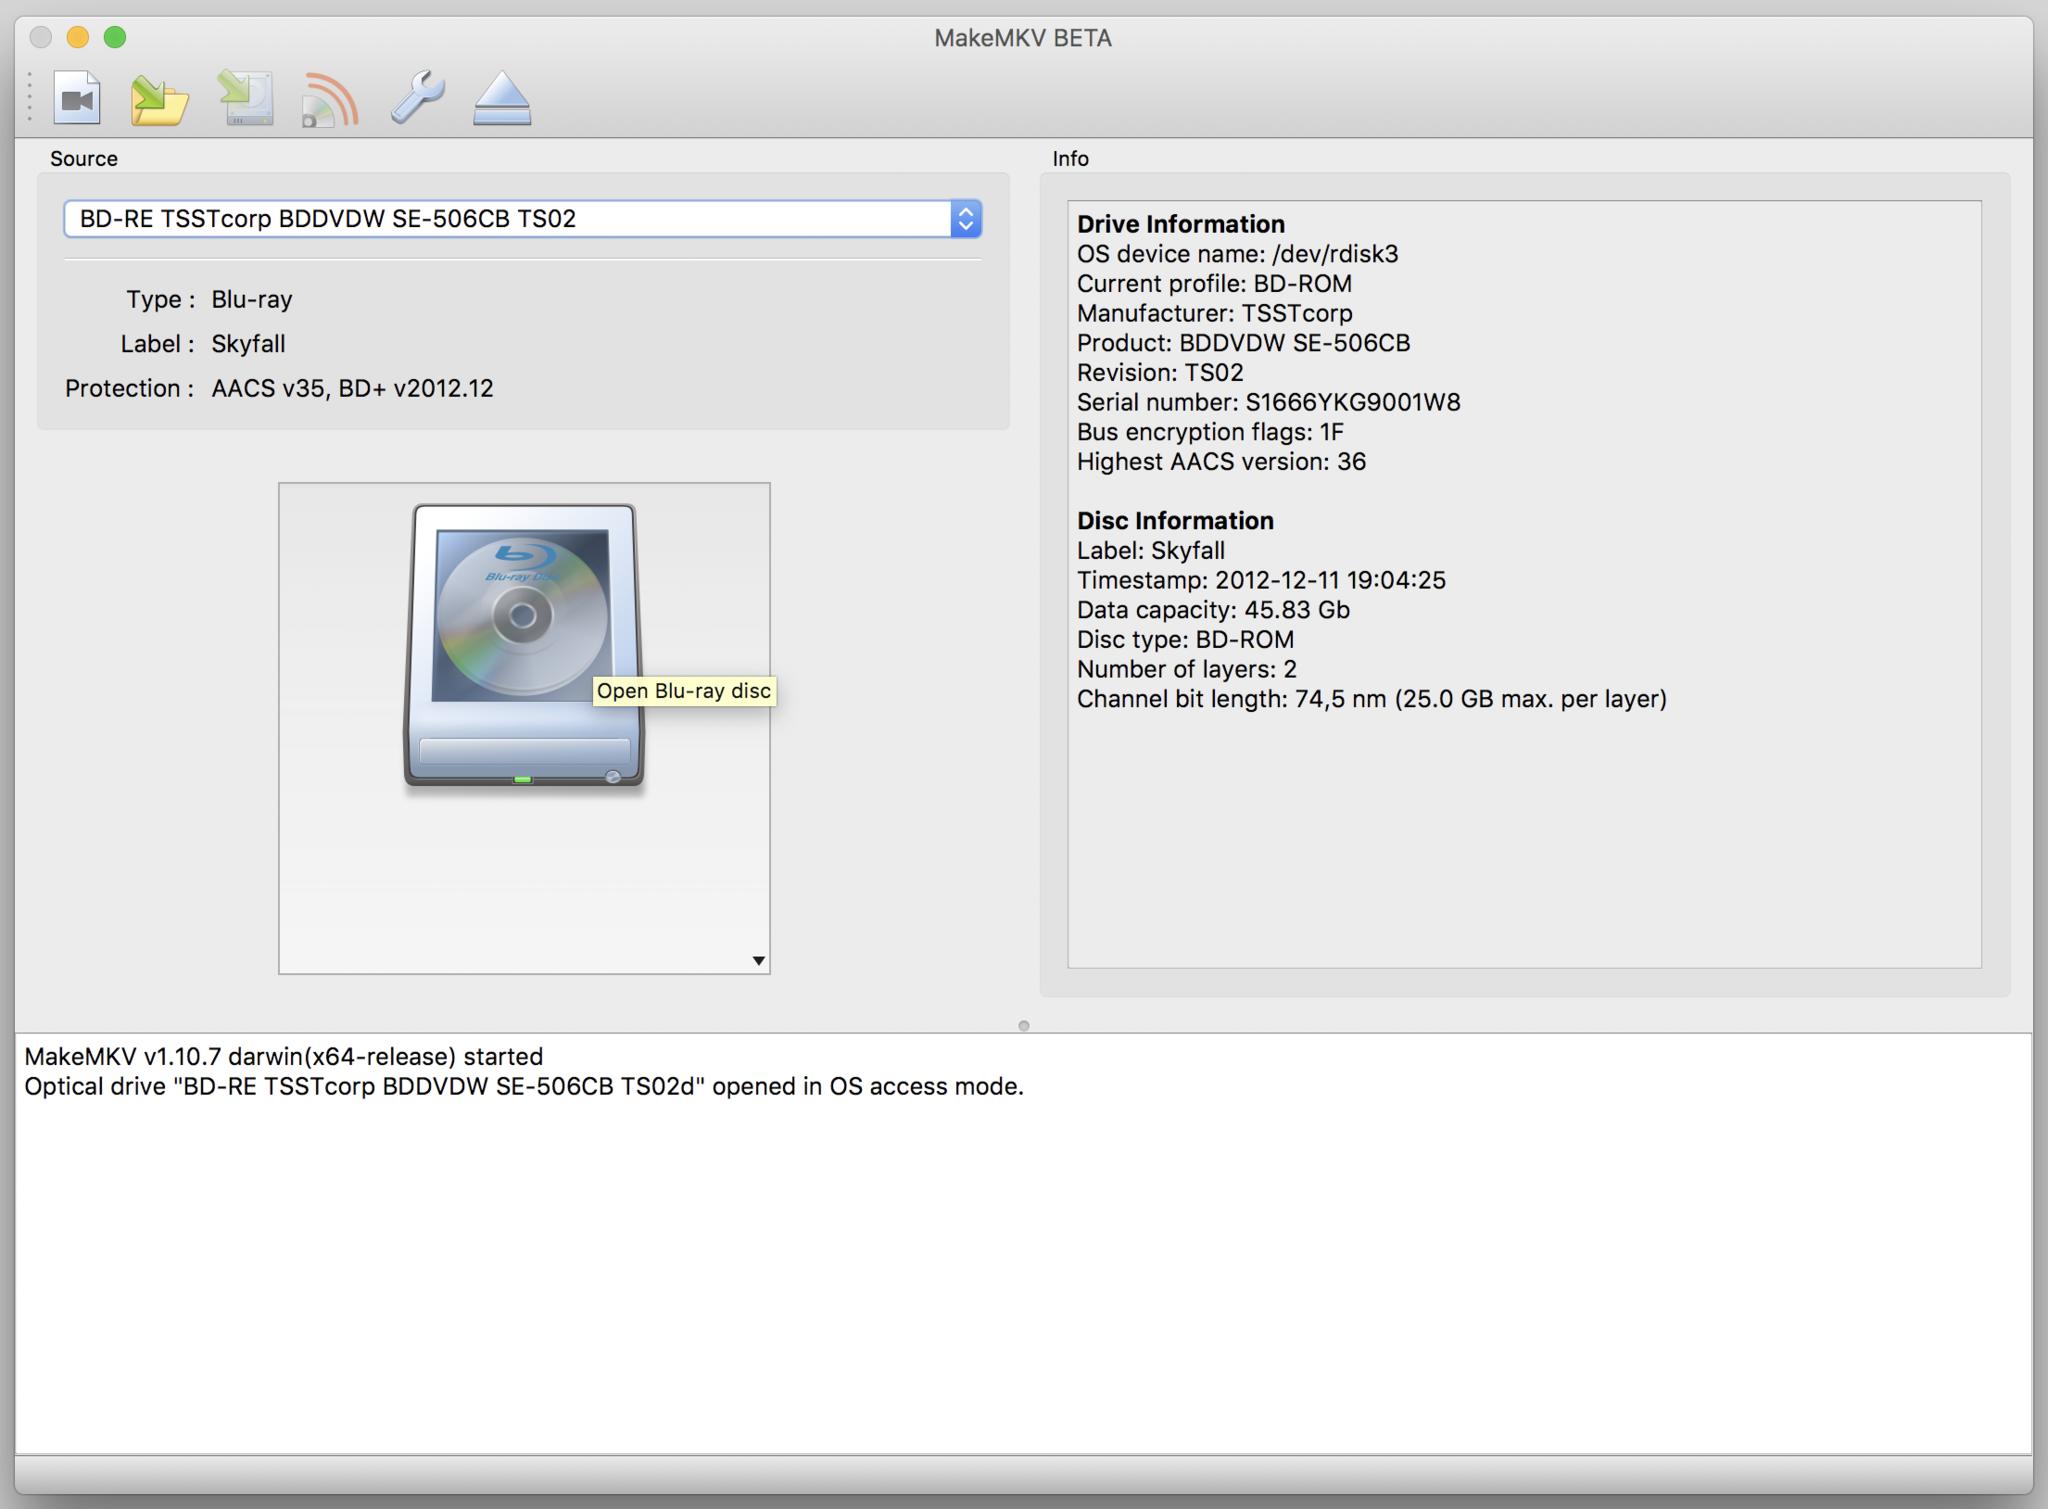
MakeMKV will list the disc's titles (video files) and their accompanying audio and subtitle tracks. Every title's selected by default; right-click any of the check boxes and choose "Unselect All" to clear out the clutter, then pick the titles you want. The titles aren't labeled, but the one with the biggest file size and most chapters is almost always the movie.
Click the arrow next to that title to expand its audio and subtitle tracks. (The "Unselect All" trick mentioned above comes in handy here, too.) You'll probably want at least the very first audio track — usually English language and 5.1 or 7.1 surround sound.

Audio commentary tracks are often in stereo English, below the foreign languages. Discs with multiple commentaries usually list them in the same order they're mentioned on the back of the Blu-ray's packaging. That's helpful if you want to keep the director's commentary but skip the cast's, or vice versa.
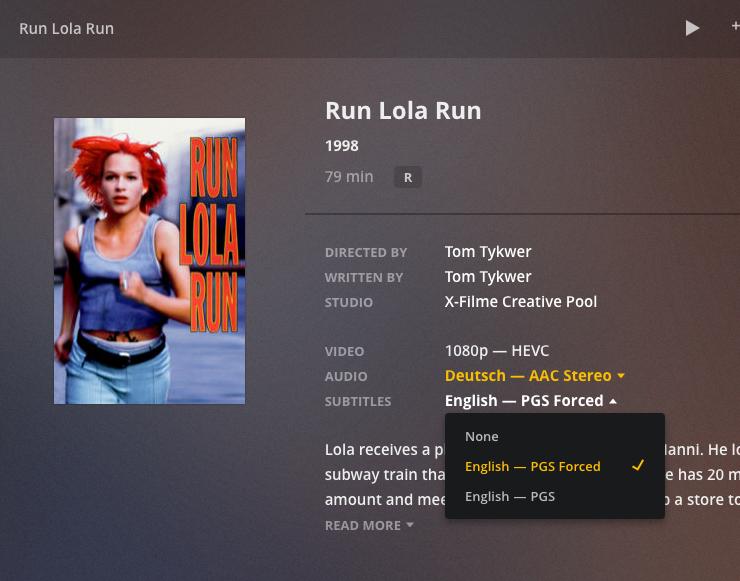
Select any subtitle tracks you want. It's okay to keep both the regular subtitles (all the dialogue) and the "forced only" subtitles, which some discs use only when characters speak in foreign or fictional languages.
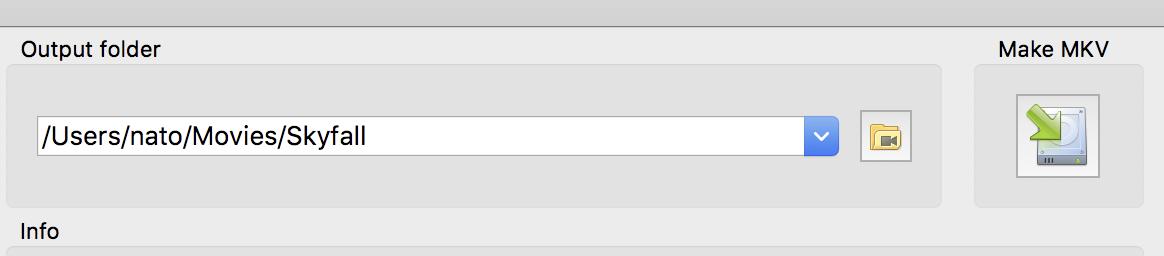
Choose an output folder — I recommend one on your local hard drive, for faster conversion — then hit the "MakeMKV" button.
Converting your chosen titles often takes an hour or more. When you're done, you'll have a jumbo-sized MKV file for each title you selected.
Why is MKV a good thing? While MP4 files can support multiple audio tracks, by default they can't work with more than one subtitle track, and that track has to be burned in to the video permanently. Adding more subtitles demands a lengthy, complicated process of exporting and importing subtitle files in different formats.
In contrast, MKV files can easily juggle multiple audio and subtitle tracks, and don't need to burn in subtitles. That makes MKV a more powerful, flexible format than MP4 — albeit one that iTunes can't play. If you're crunched for disk space, MKV files also tend to be slightly smaller than equivalent MP4s.
Step 4: To HEVC, or not to HEVC?
Before you continue, decide how you'll compress your videos: "old, faster, and pretty good," or "new, slower, and even better."
Tried-and-true H.264 converts relatively quickly, and it can squeeze a high-def Blu-ray file onto a DVD's worth of space or less. H.265 or HEVC, the new hotness baked into macOS High Sierra and iOS 11, makes files even smaller — but requires hefty processing power to crunch the necessary numbers.
If you don't have a Mac made from 2017 onward, stick with H.264. Older Macs can play HEVC files just fine, but only the newest models have chips fast enough to encode HEVC decently.
Even with a new Mac, HEVC demands patience. On a 2017 5K iMac, Skyfall, a 143-minute movie, took roughly 90 minutes to encode in H.264. In H.265, it took around 255 minutes — 2.8 times longer.
That said, HEVC gets better results. H.264 shrank a 26.09 GB original file down to 3.16 GB. But HEVC stuffed it into 2.04 GB — 35% smaller. Both videos looked as sharp, clear, and artifact-free as the original.
And HEVC held up no matter what I threw at it: black-and-white classics, animated movies, or live-action films with lots of bright colors and fast action.
The wait for HEVC isn't proportionate to its file-size savings. Still, if you have a fast enough Mac and don't mind the wait, I think HEVC's worth it, especially for larger files. Otherwise, H.264's a perfectly fine fallback.
Step 5: Compress for success
Close MakeMKV, fire up Handbrake, and open the MKV file you just created. In the Presets drawer on the right side of the window, select General > Fast 1080p 30 or Very Fast 1080p 30 (to make an MP4 file), or Matroska > H.264 MKV 1080p 30 or H.265 MKV 1080p 30 (to create an MKV).

If you're making an MP4 file and want to use HEVC, you can change the "Video Encoder" dropdown menu from H.264 to H.265.

In the main window, leave the Video and Picture tabs alone — Handbrake's presets yielded good results for me there.
Under the Audio tab, click the Tracks dropdown menu, then select Add All Tracks. Track 0 will be the default; you can specify a certain track for that spot using the pulldown menus in the list of tracks.

Follow the same steps in the Subtitles tab. If you're making an MP4, you can only pick one track, and it'll be burned into the video. For an MKV, you can uncheck "Forced Only" and "Burned In," and make sure you check "Default" for the first track in the list.
Under "Destination," make sure the resulting file has the name you want. Even if you'll be storing your movies on an external hard drive, especially one connected via network, I recommend creating the compressed files on your local drive. Handbrake will work much faster — in one case, four hours locally, compared to six or more on a network drive — even when you factor in the time needed to copy them over later.
Some TV shows on Blu-ray cram all their episodes into a single title, divvied up into chapters. Luckily, Handbrake lets you specify beginning and ending chapters for a compressed video.
Open the original MKV file in VLC to see where each episode begins and ends. Then specify those chapters, give each episode the correct file name, and click HandBrake's "Add to Queue" button. When you're done, just start the queue, and HandBrake will process all the waiting files.
This trick also works if you've got multiple different MKV files lying around waiting to be compressed. Open a source, add audio and subtitle tracks, name the file, add to queue, and repeat with the next source.
Step 6: Popcorn, anyone?
To drop your MP4 movies into iTunes, just drag them into the Movies window alongside your other titles. Right-click the file and select "Movie Info" to add your own title, synopsis, and other metadata. Under the "Options" tab, change the media from "Home Video" to "Movies." In the "Artwork" tab, you can paste in poster art.
In Plex, adding MP4 or MKV movies is as simple as dropping them into whatever Movies folder you've specified on your server. You can turn on or off your desired audio or subtitle tracks from each movie's page in Plex, or from Playback Options (the icon that looks like little slider bars) while watching the movie.
Note that if your movie has the same title as other films — as Kenneth Branagh's 1993 Much Ado About Nothing did for me — Plex may pull in metadata from the wrong movie. To fix this, move the offending file out of your Plex Movies folder. Add the year it was made, in parentheses, to the end of its name — Much Ado About Nothing (1993).mkv, for instance. Then drop it back in where Plex can find it, and watch the correct metadata roll in.
One more fun Plex tip: If you don't like the poster art Plex provides, change it! From a movie's info page, click the pencil icon in the upper right to edit metadata. Select Poster in the resulting window, and a gallery of different options will appear.

It was the pictures that got small
Don't let your favorite hi-def movies waste away in little blue mausoleums. Ripping your Blu-rays — again, emphasis on your Blu-rays — will give you a great-looking, relatively compact library of beloved flicks that you can watch even when you're far from your TV.
Got any tips, tricks, or best practices I've missed? Share your ripping recommendations in the comments below.