
How to use Desktop Stacks, Quick Actions, and Gallery View in macOS Mojave
- sep
- 25
The Finder has some interesting upgrades in macOS Mojave. Here's how they work.
Some of the more notable updates in macOS 10.14 Mojave came to the Finder. Users can now use Stacks to clean up their desktops, check out files in the new Gallery view in Finder windows, get a more detailed view of their files' metadata, take quick action on items, and even make edits to files without even opening them thanks to refinements in Quick Look.
Here's how all of the new stuff in Finder works on macOS Mojave.
- How to use Stacks in macOS Mojave
- How to use Gallery View in macOS Mojave
- How to view file metadata in macOS Mojave
- How to us Quick Actions in macOS Mojave
- How to use Quick Look in macOS Mojave
How to use Stacks in macOS Mojave
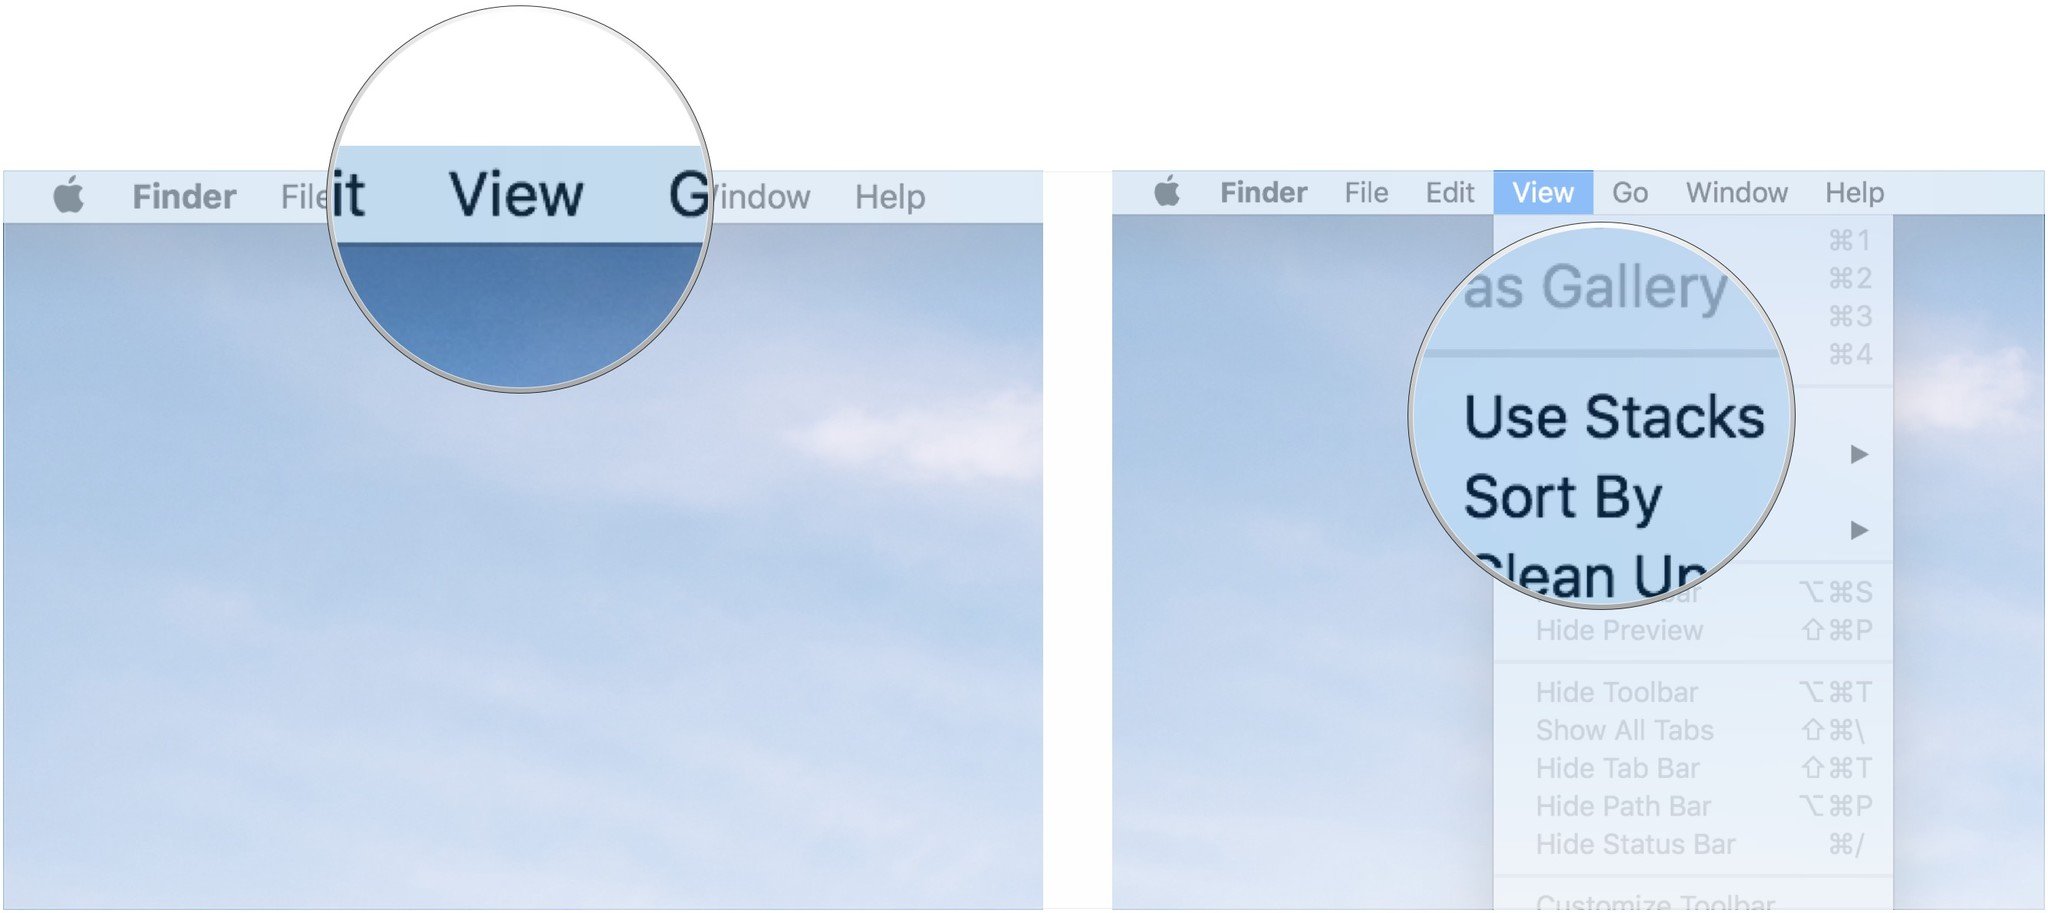
- Click View in the Menu bar of your Mac when on your desktop with no apps in the foreground.
Click Use Stacks.
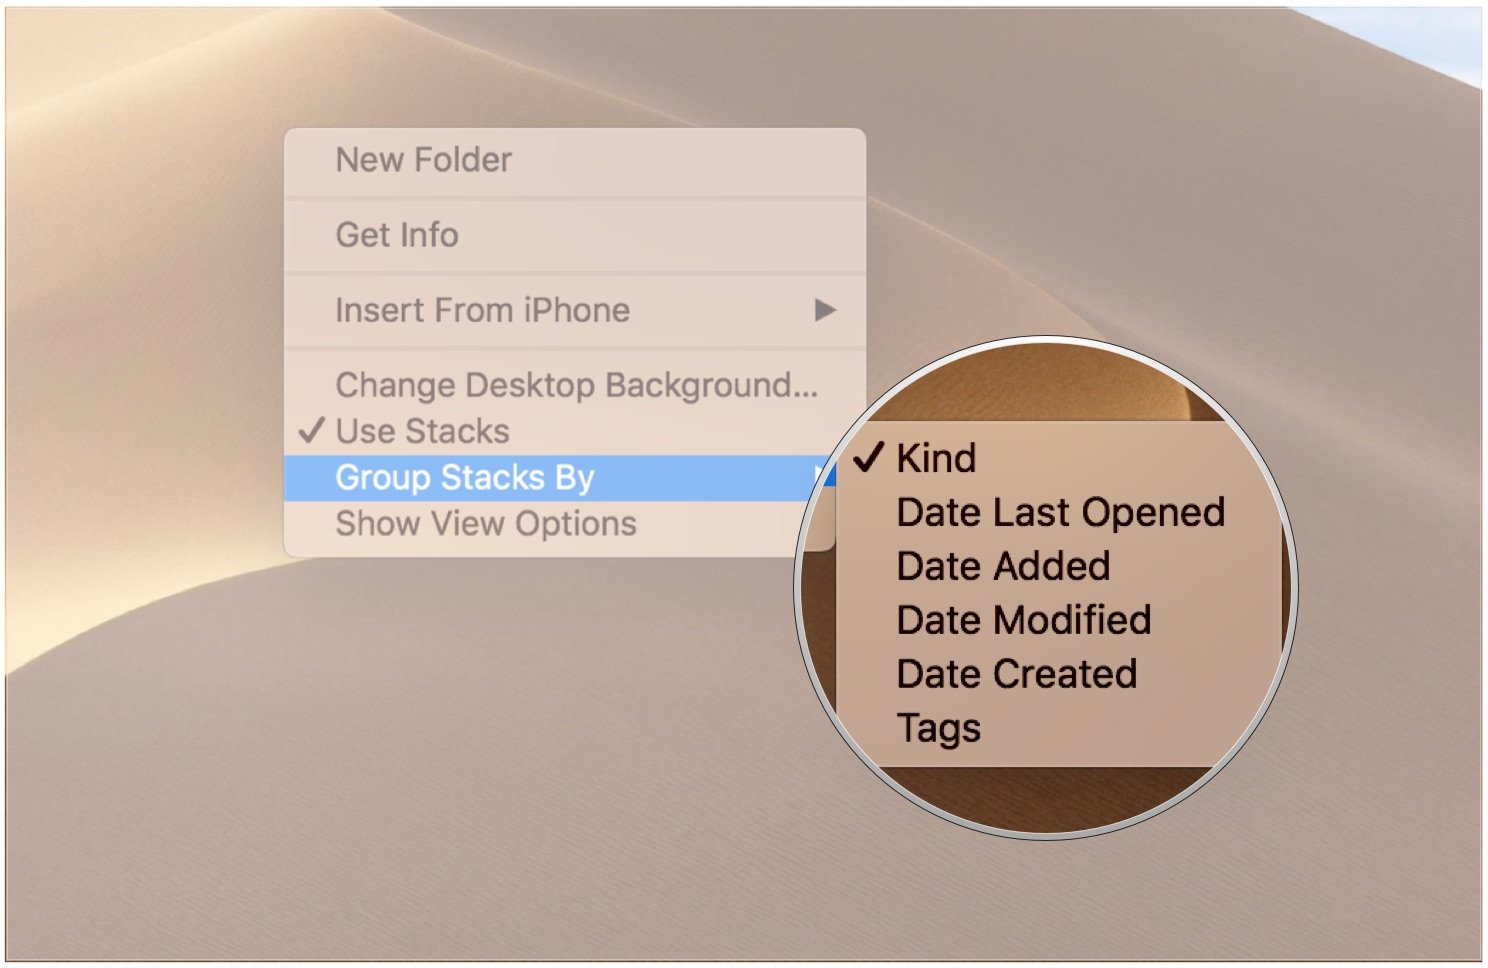
- Control-click, right-click, or two-finger-click on your desktop.
Hover your mouse cursor over Group Stacks By. Choose between Kind, Date Last Opened, Date Added, Date Modified, Date Created, and Tags.
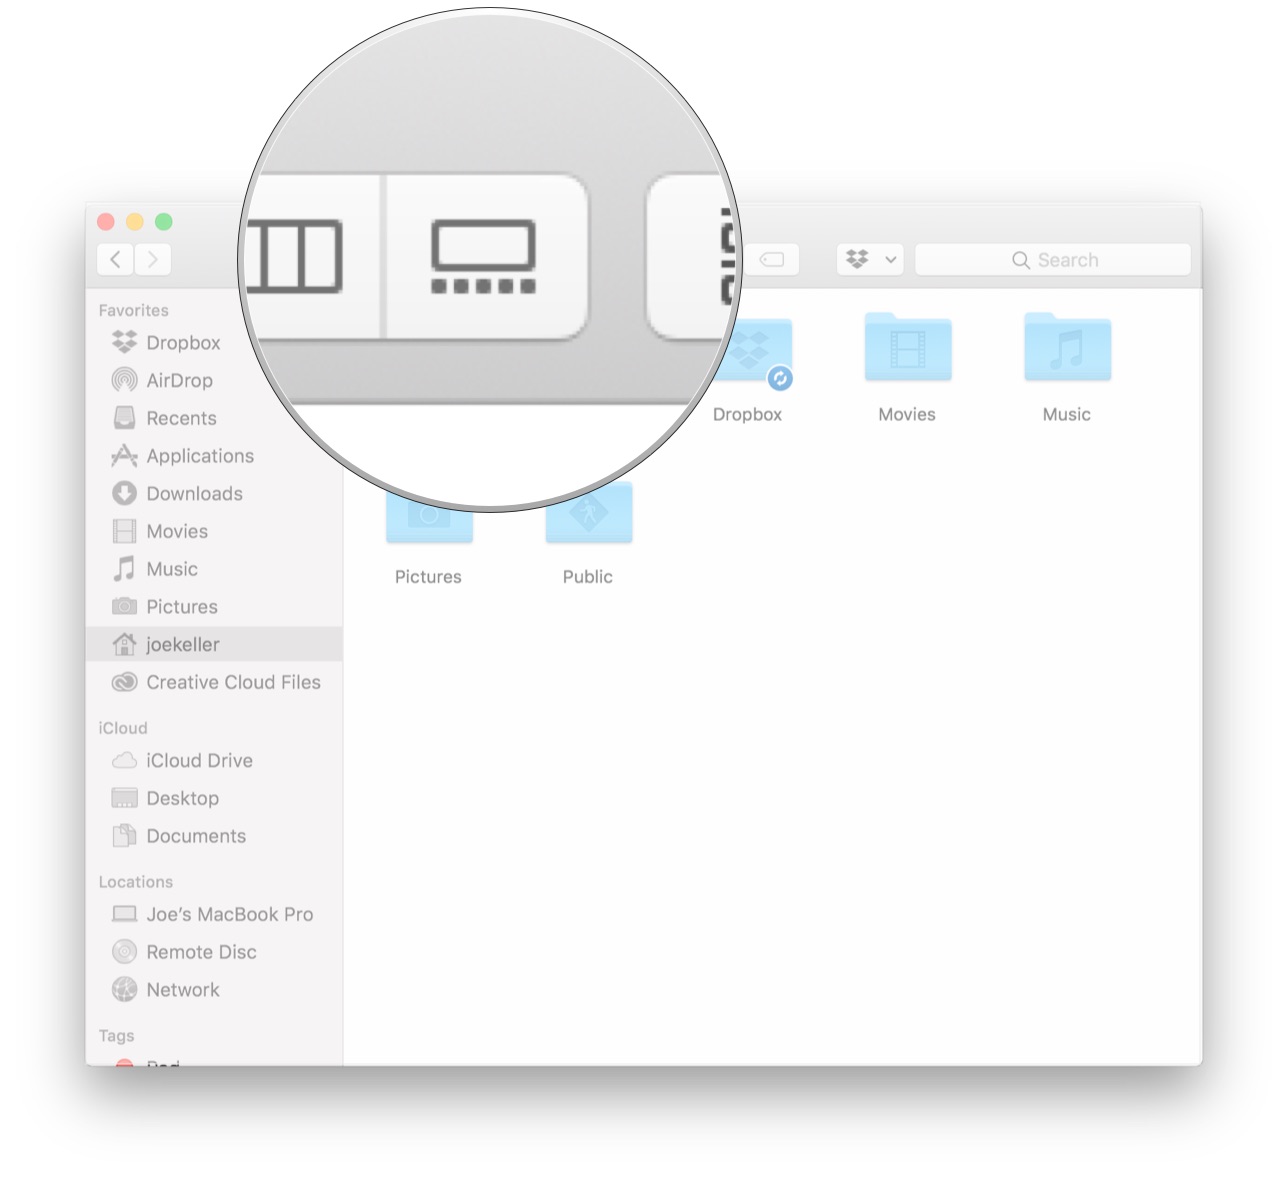
How to use Gallery View in macOS Mojave
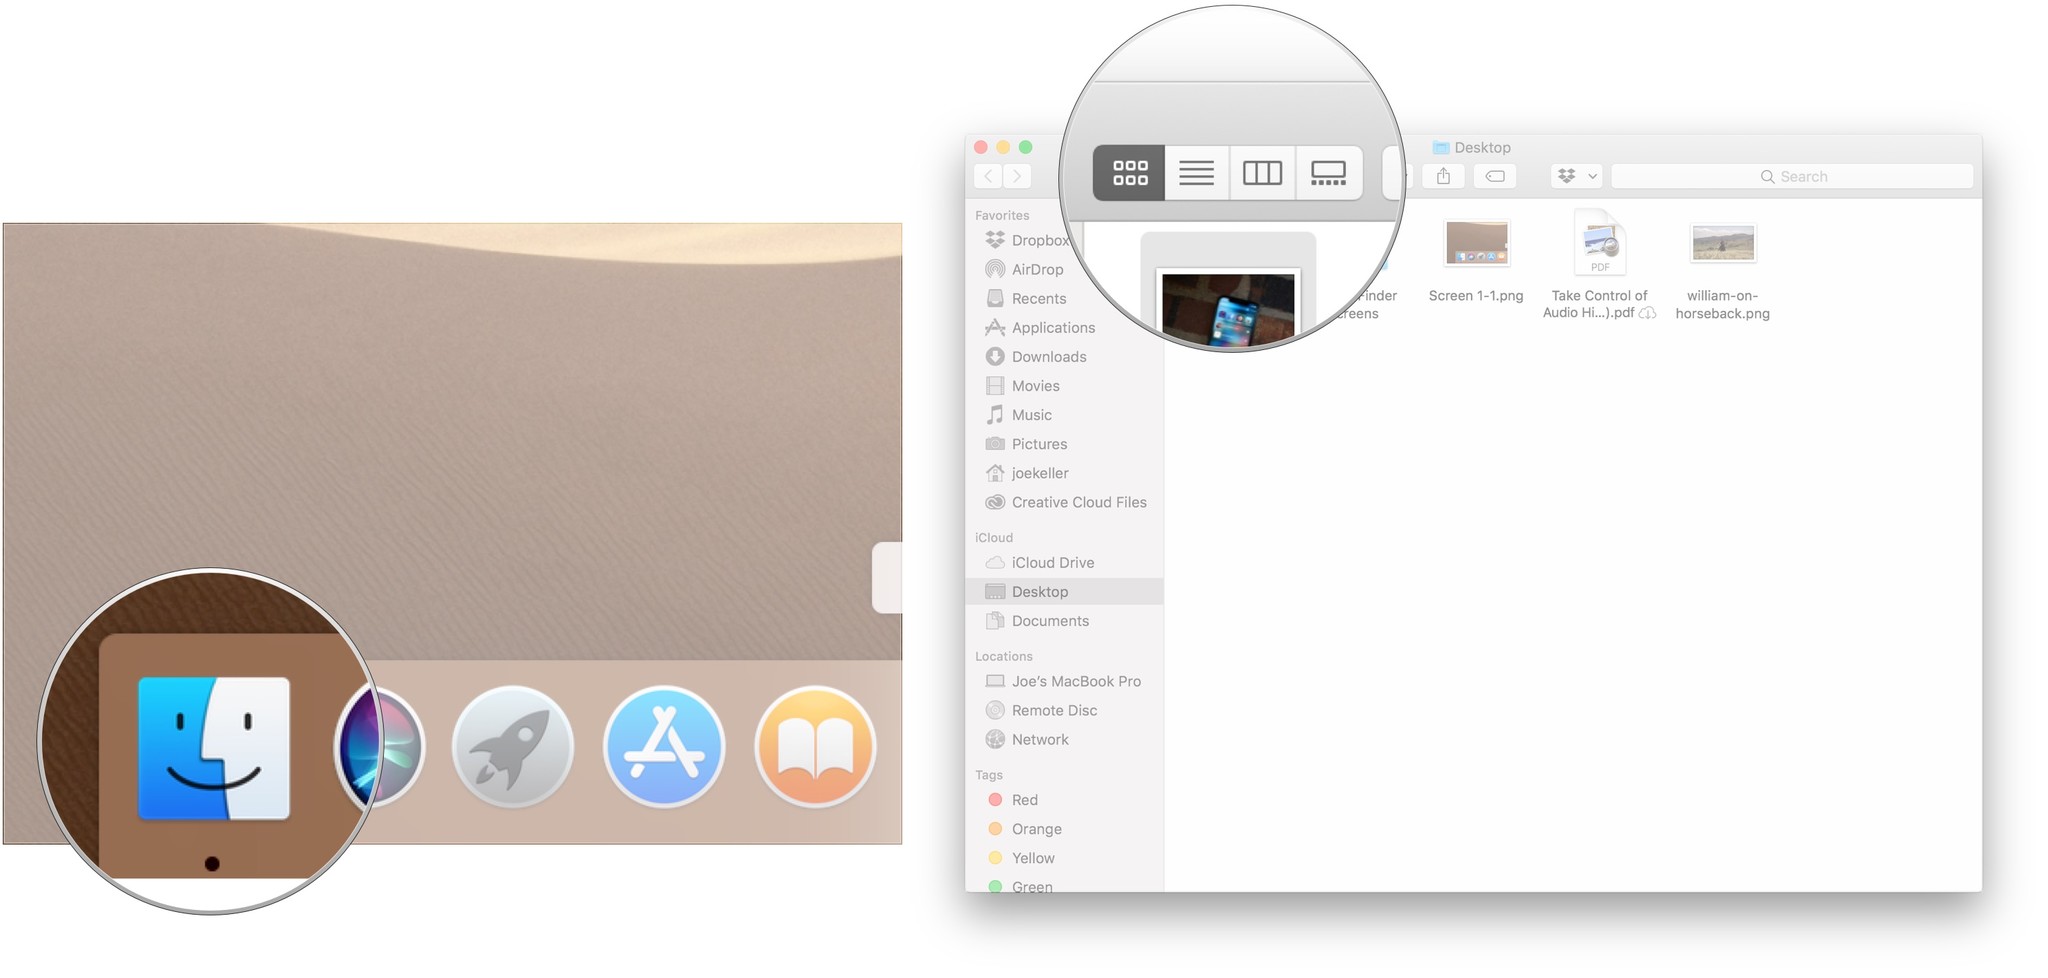
- Click on the Finder icon in your Dock to open a new Finder window.
Navigate to the folder or section that you want to view.
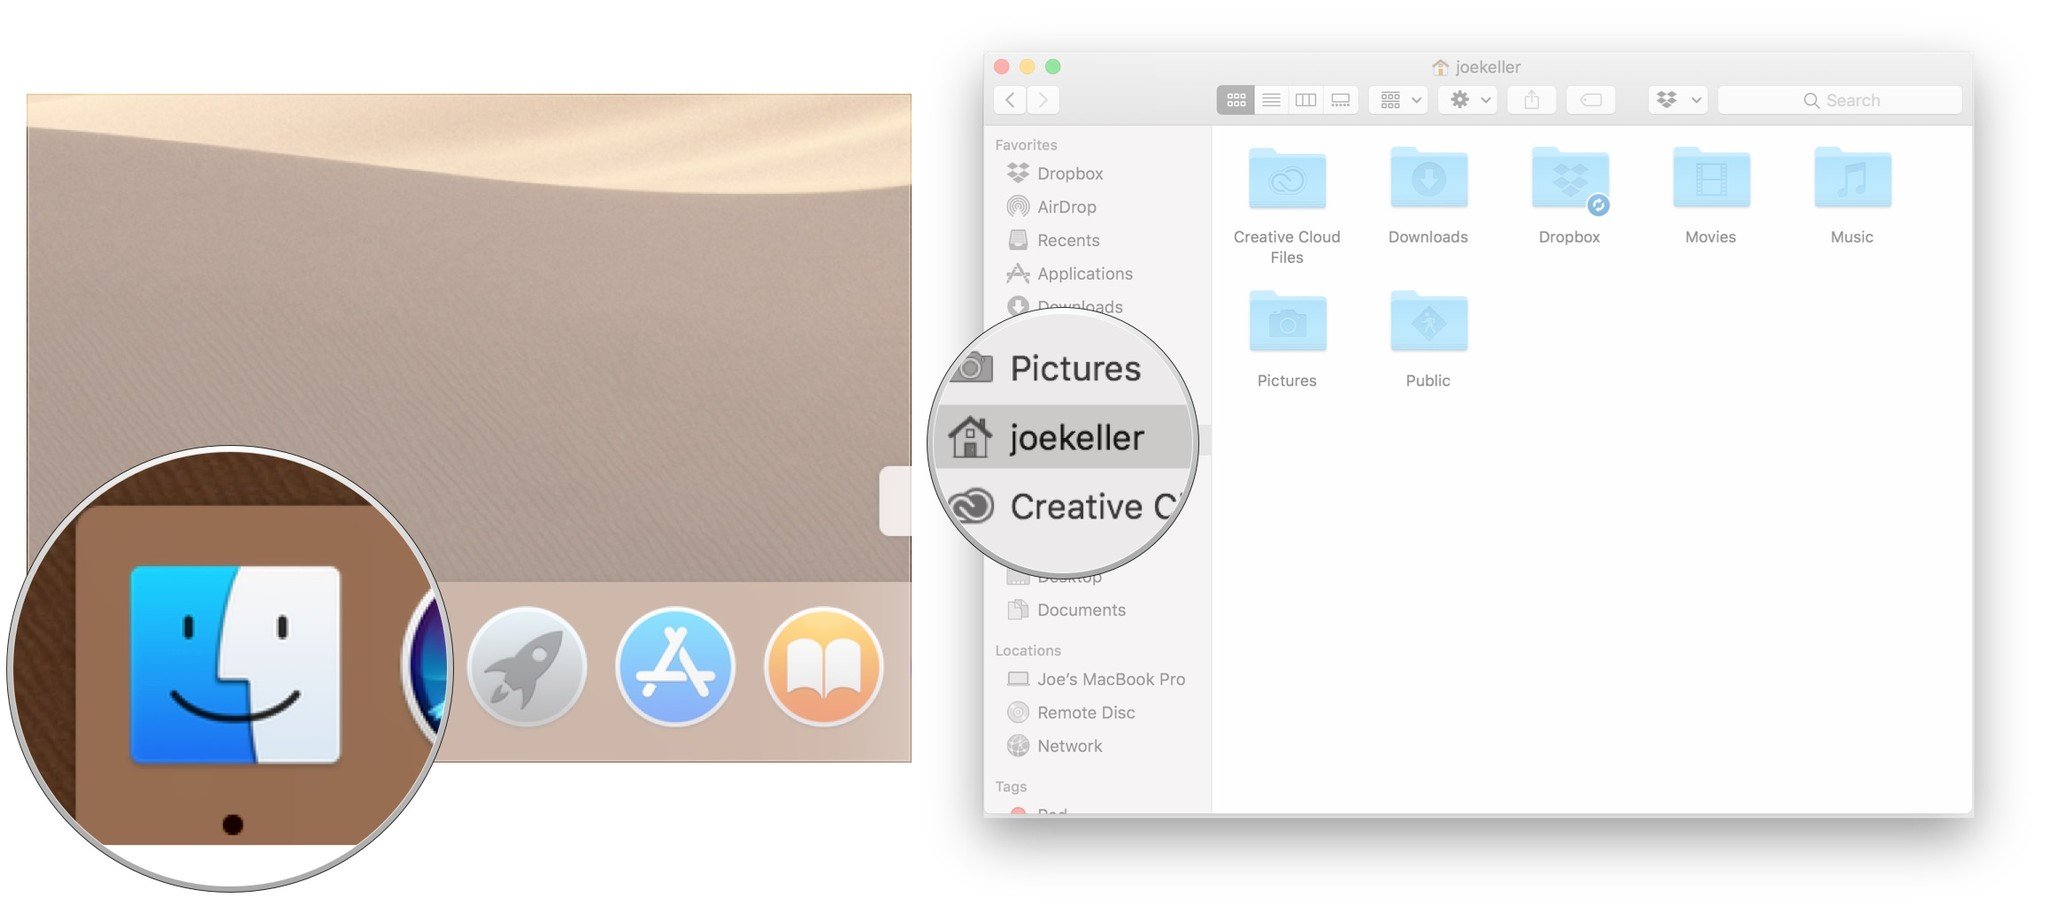
Click the Gallery View button on the right-most side of the view selection buttons on the Finder window.
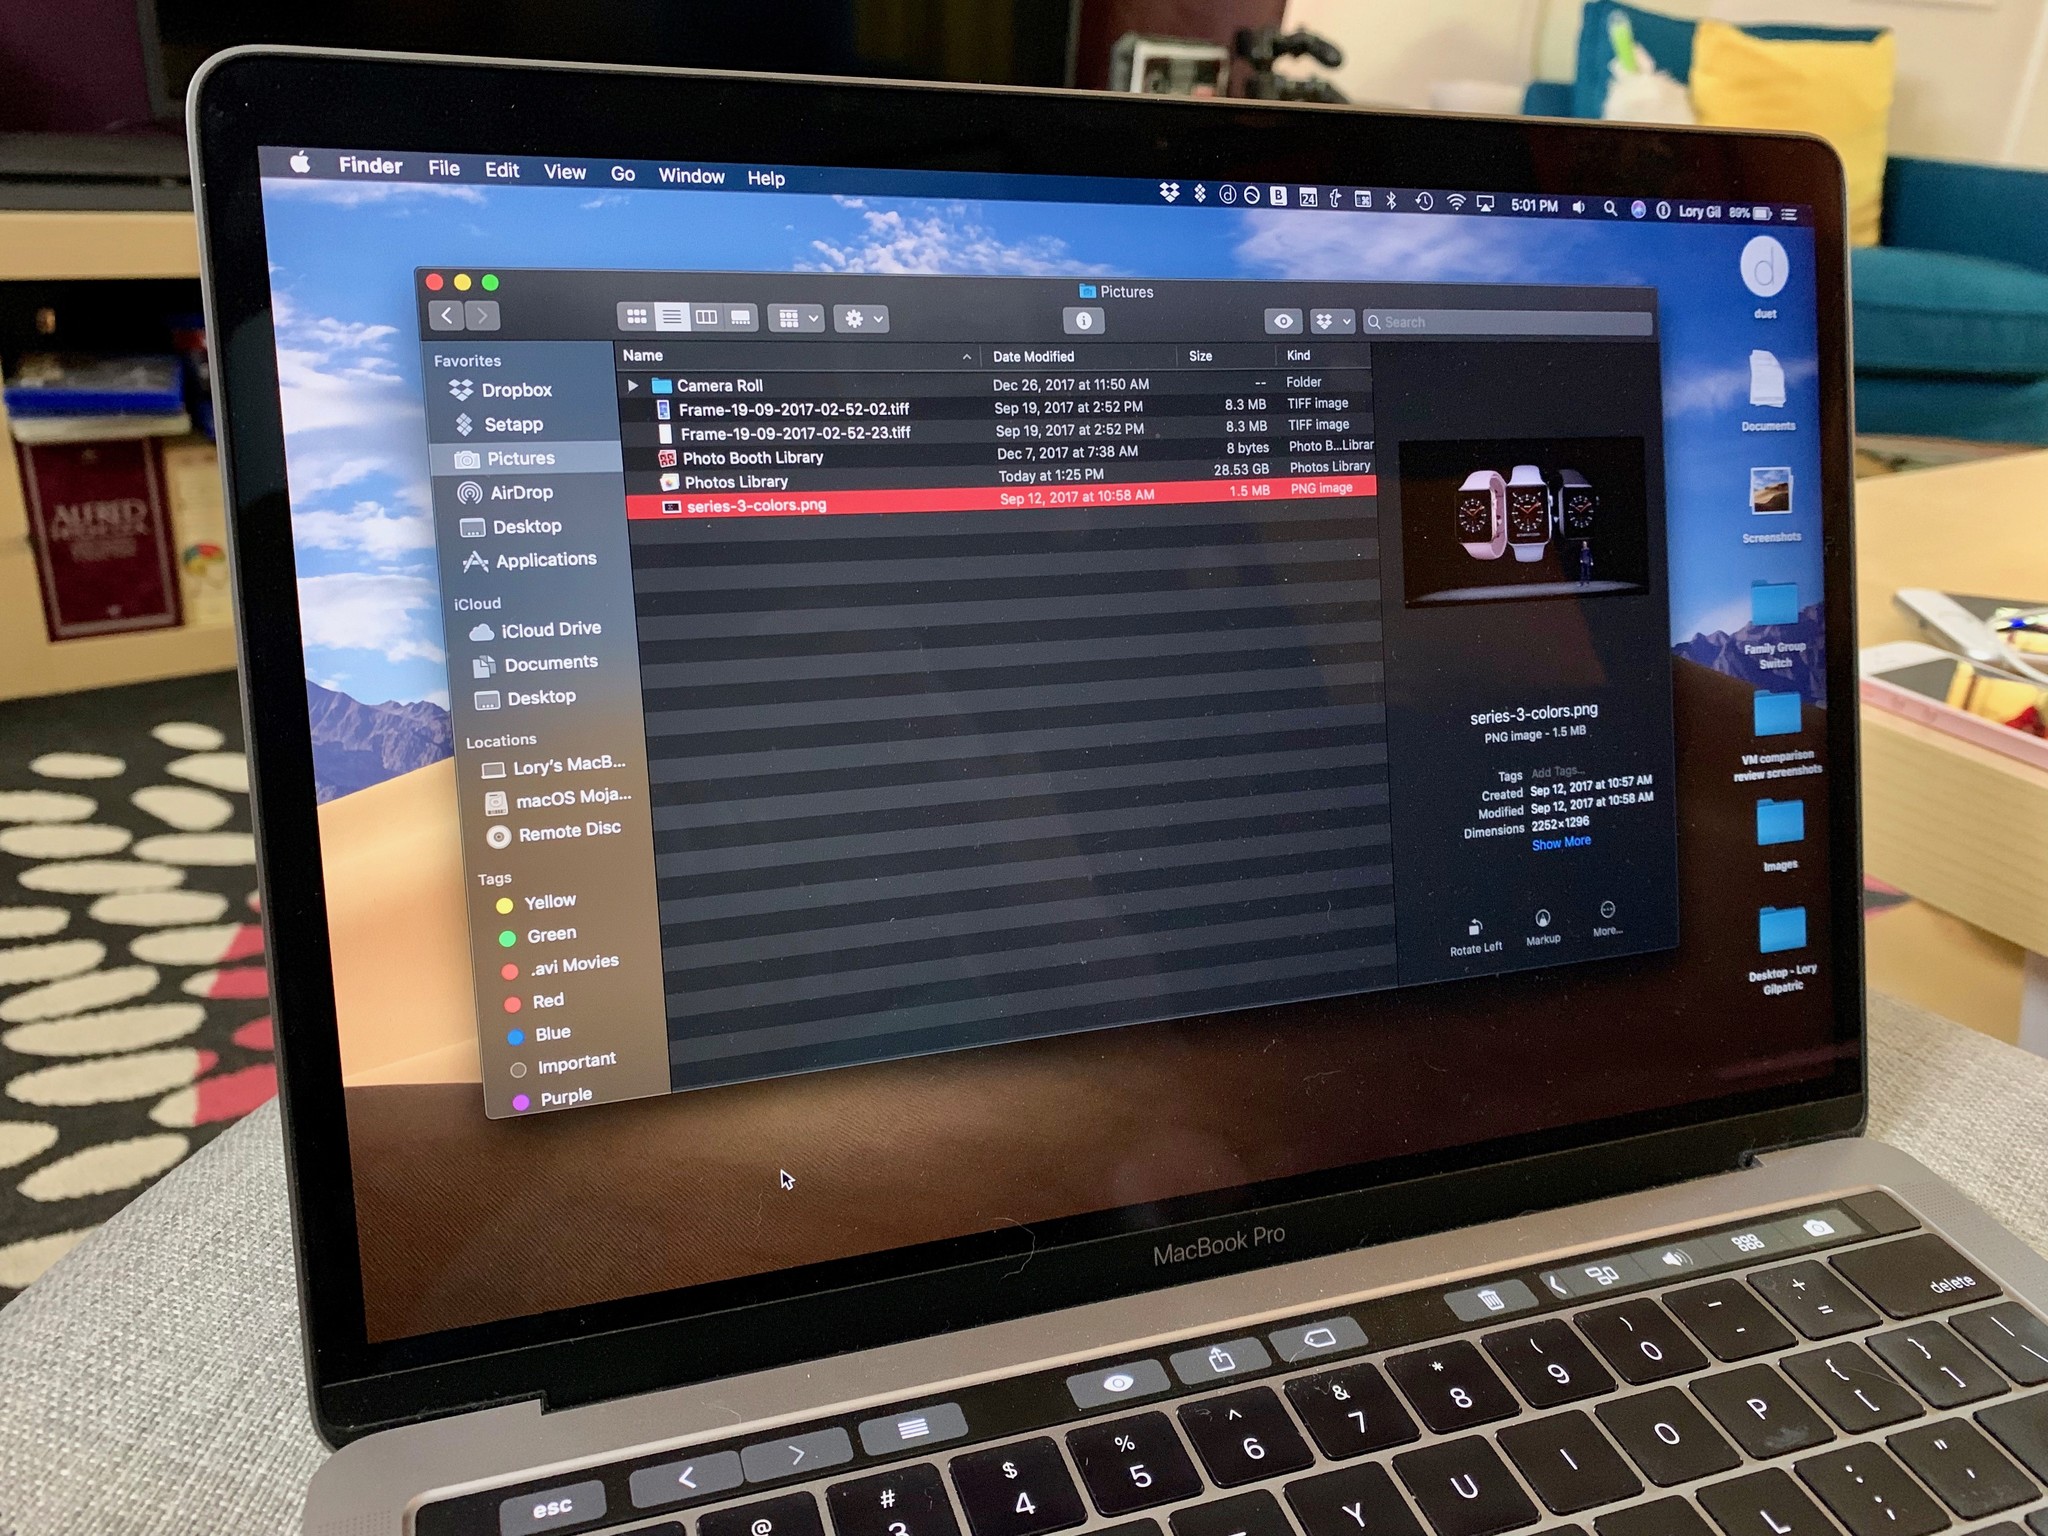
How to view file metadata in macOS Mojave
- Click on the Finder icon in your Dock to open a new Finder window.
Choose the view you want to use.
- Click on the file whose information you want to use.
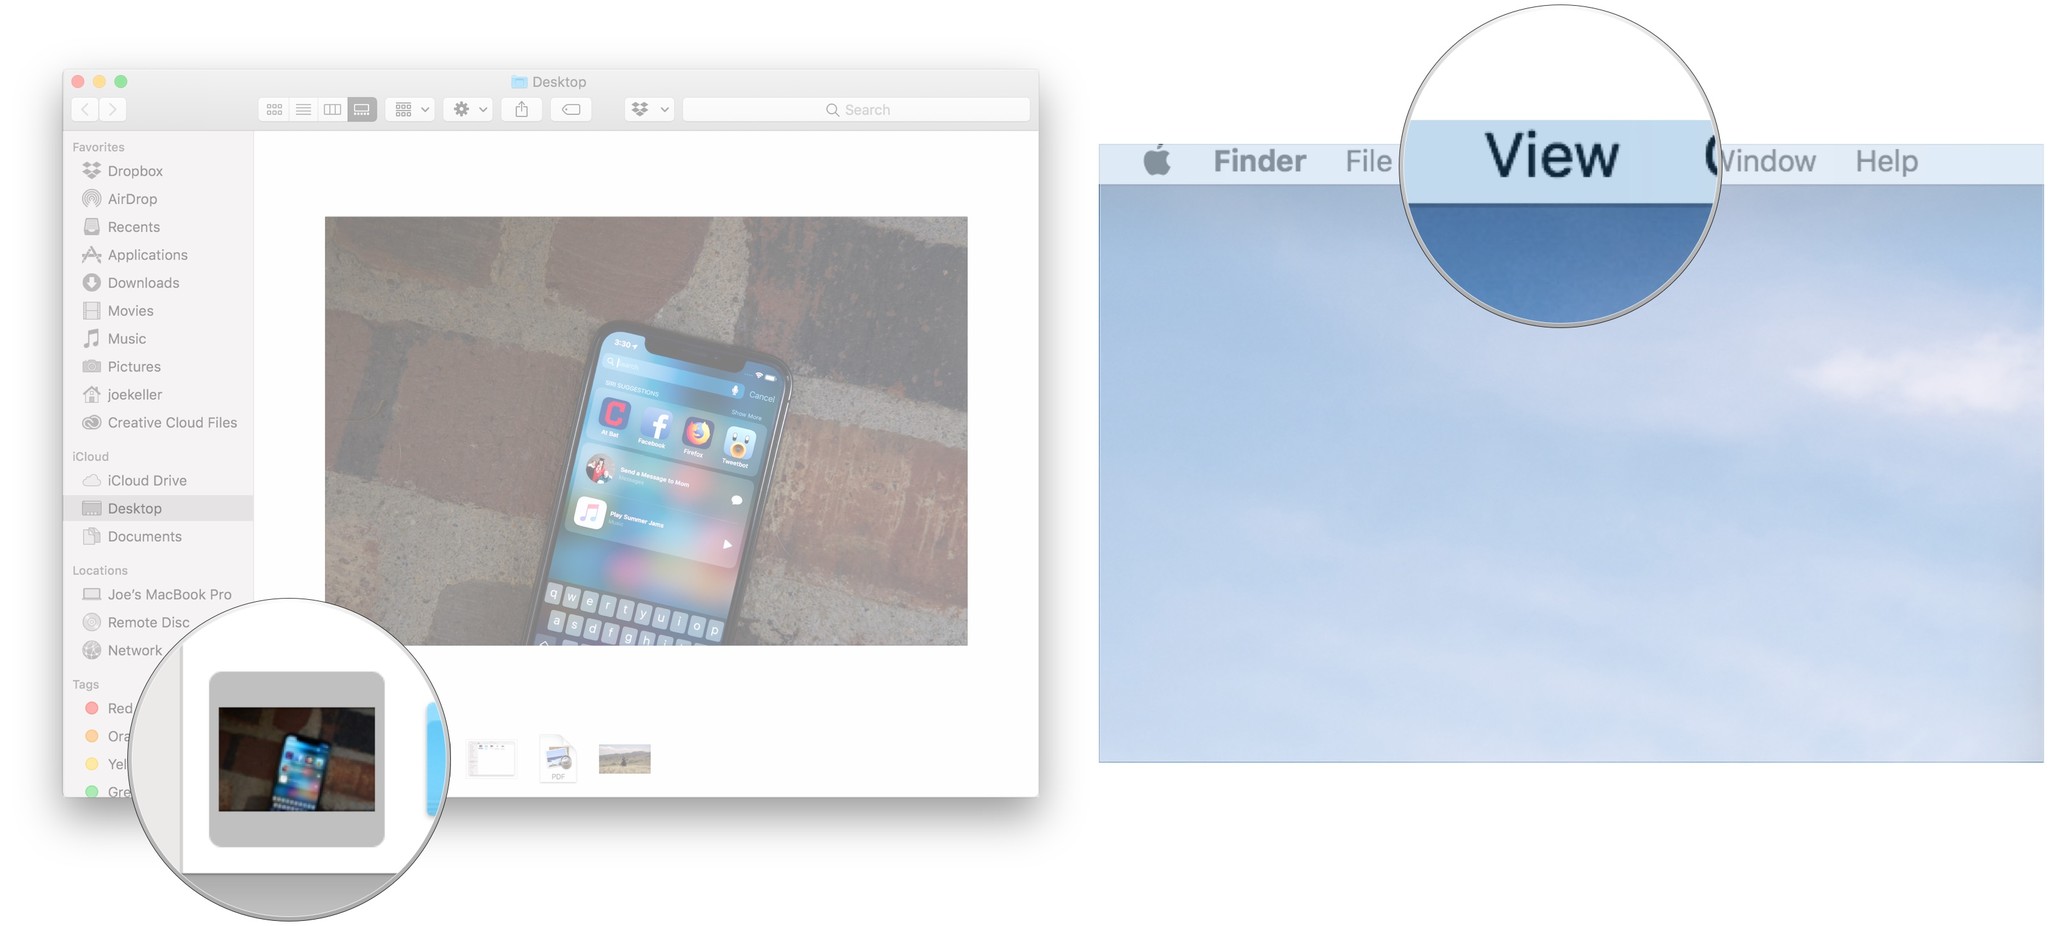
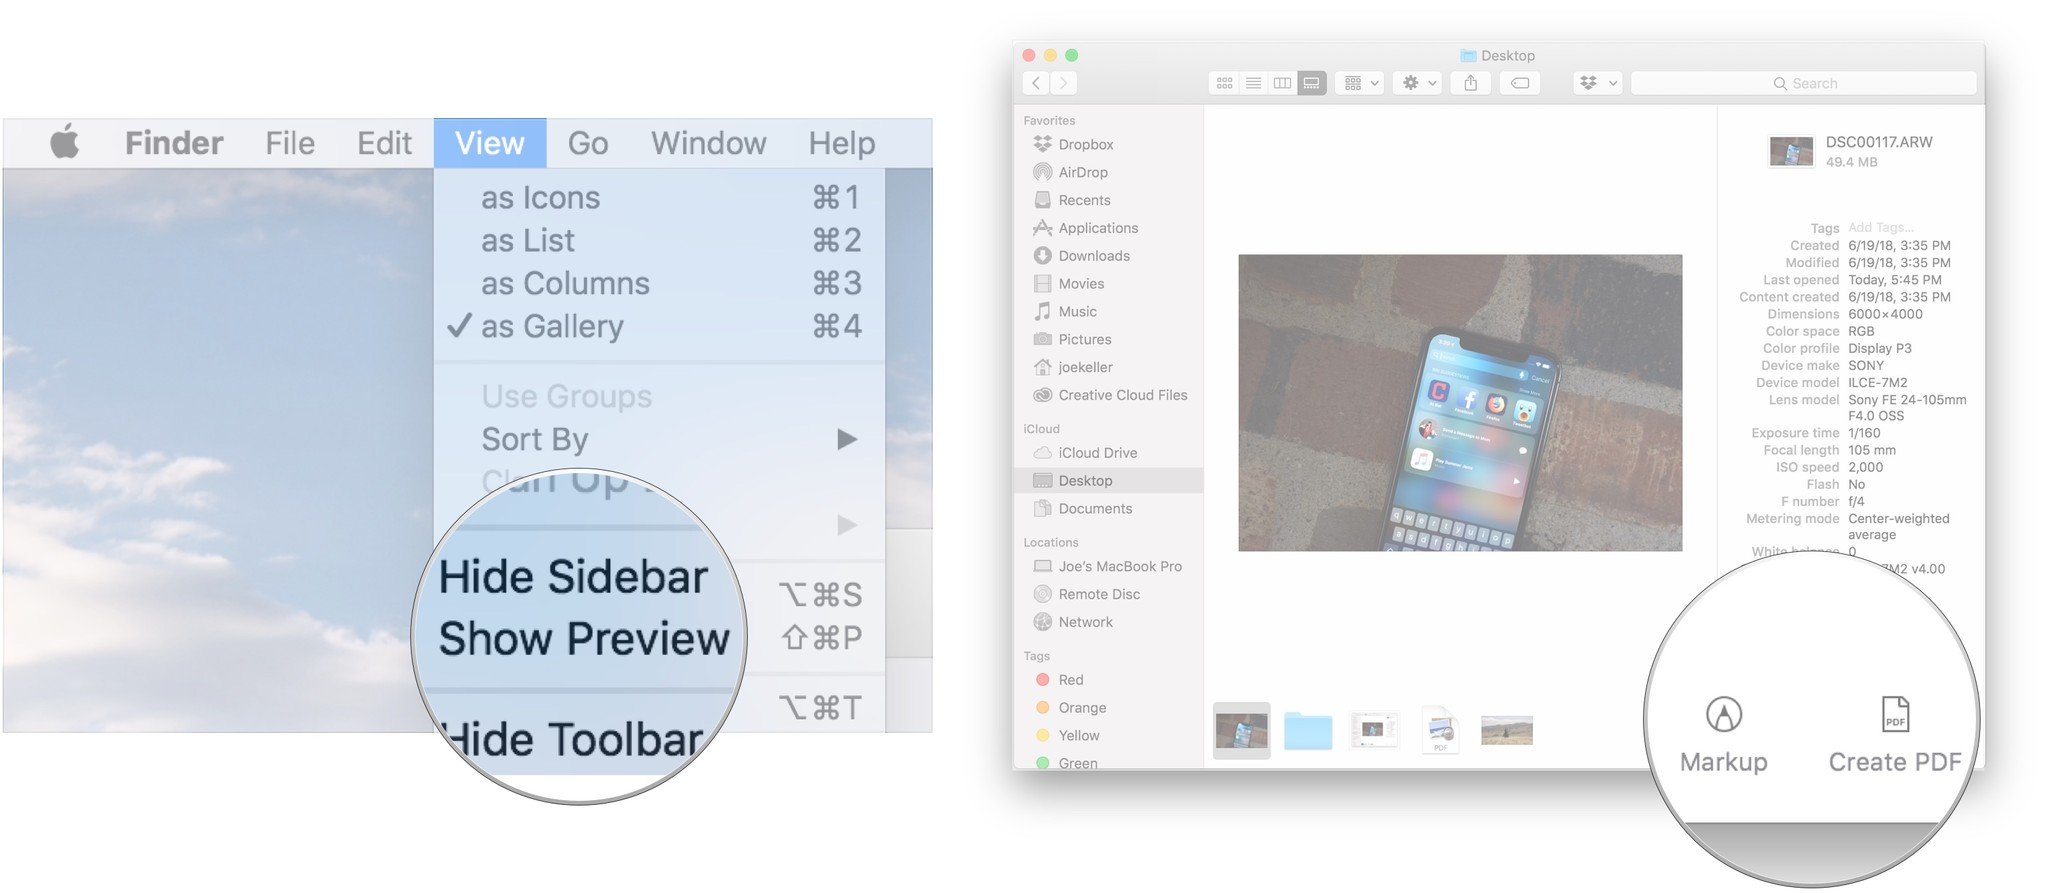
Click View in the Menu bar.
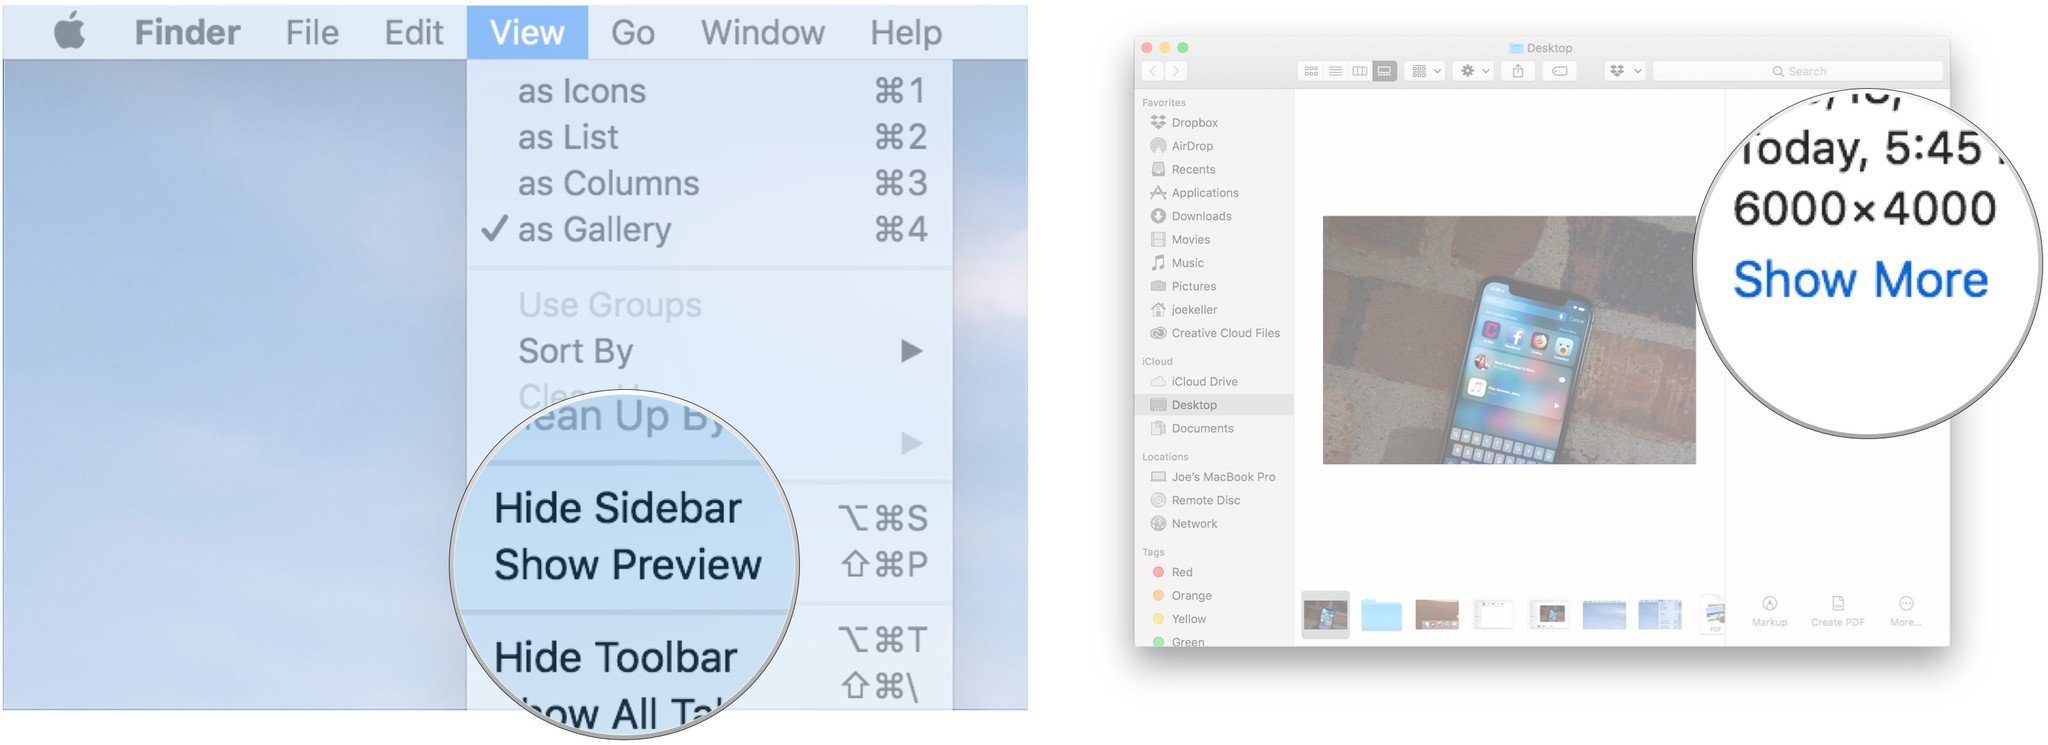
- Click Show Preview.
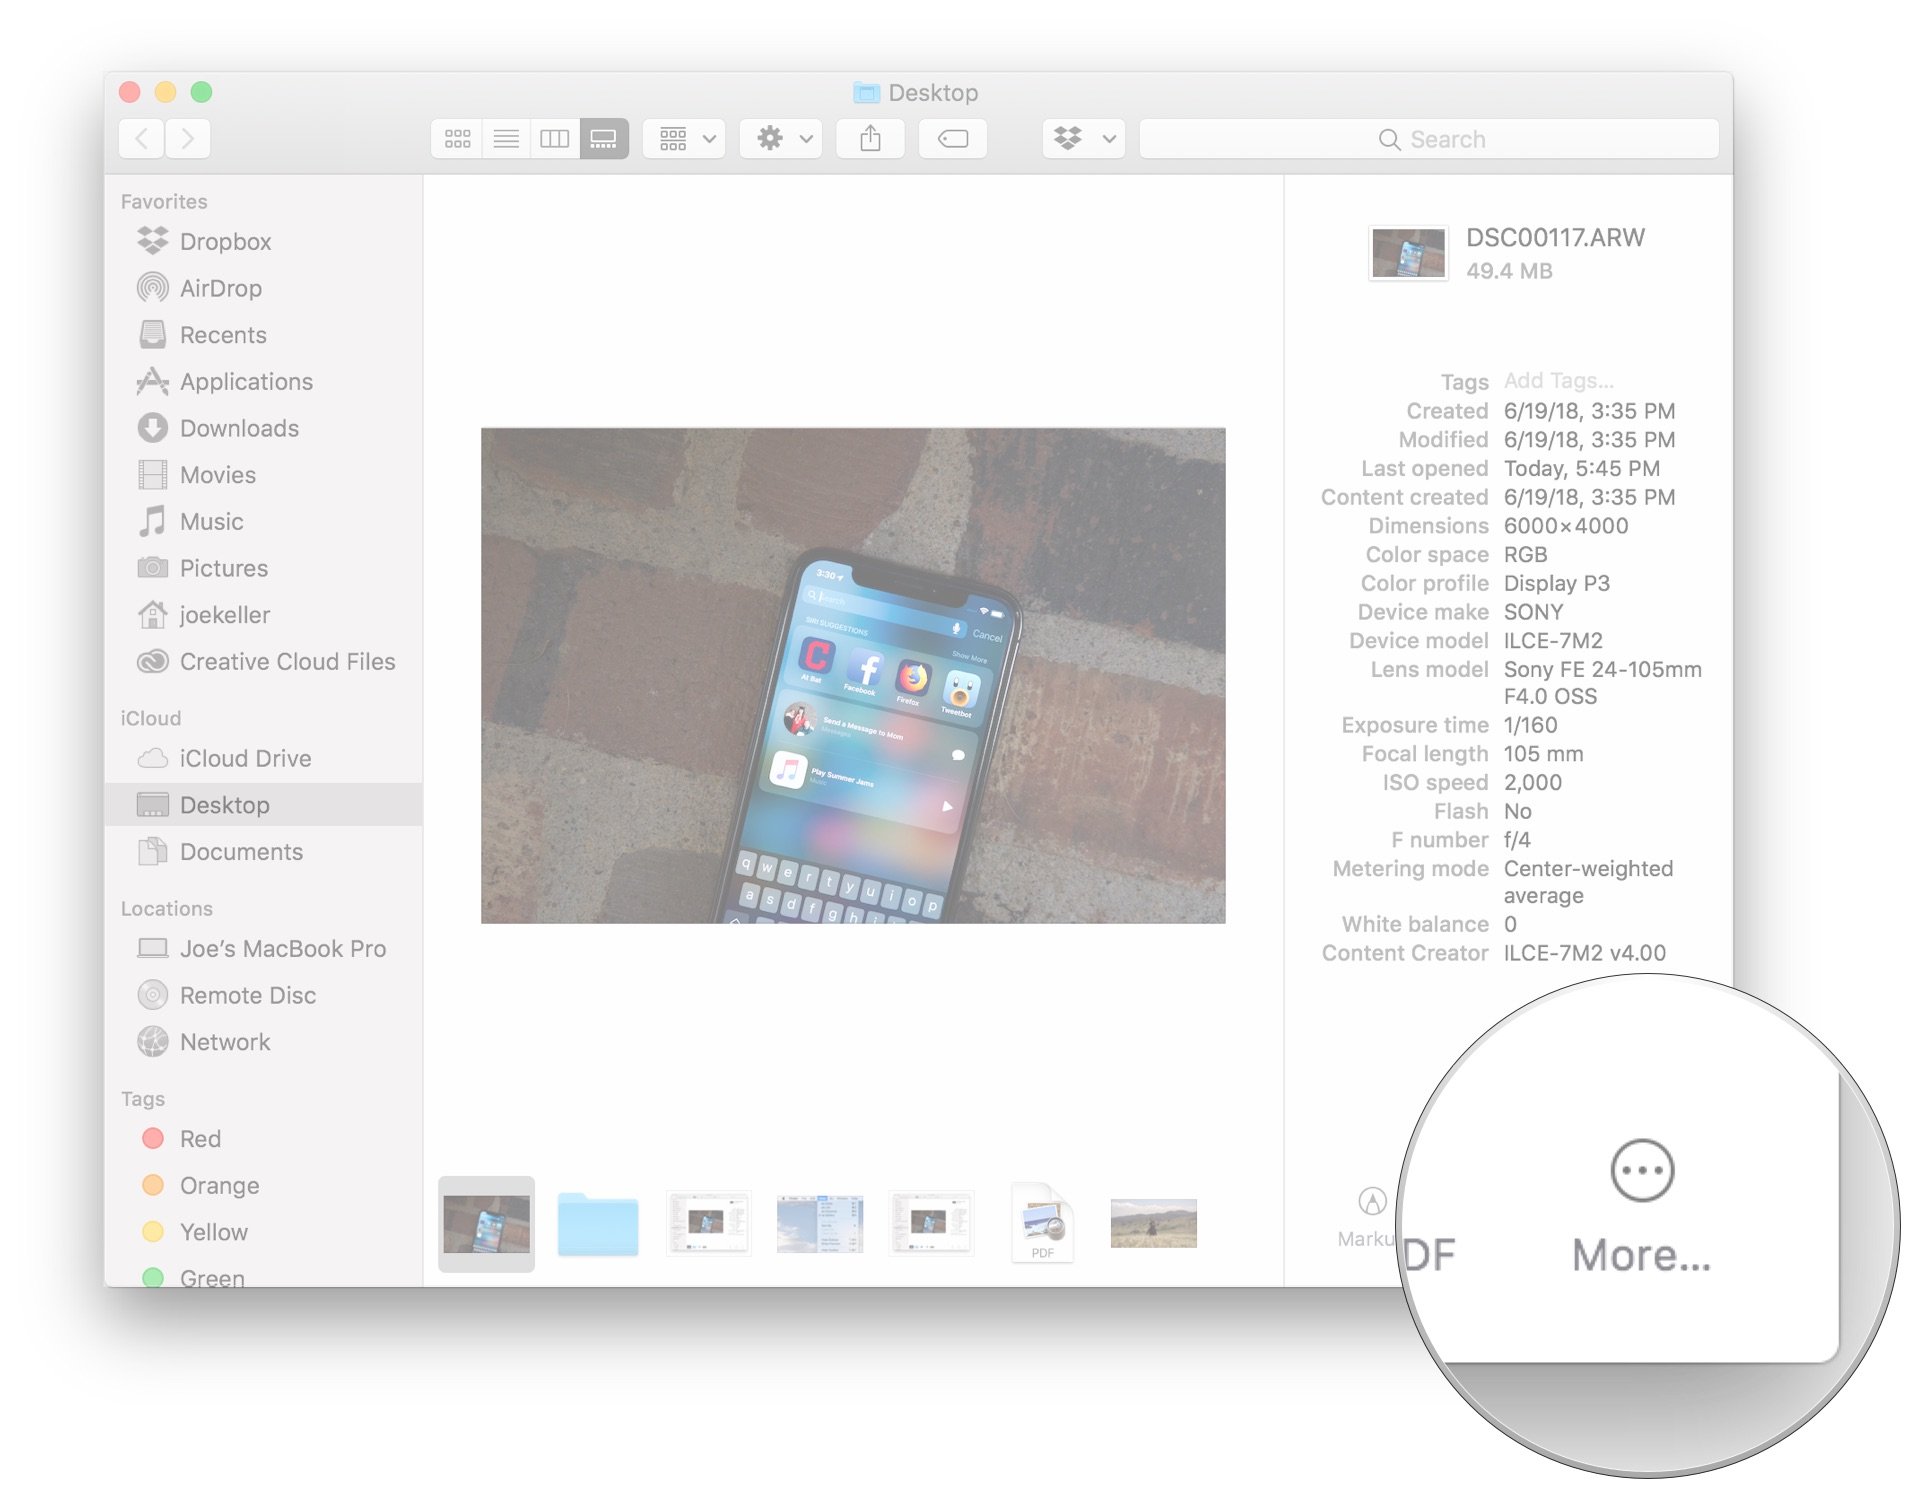
Click Show More in the Preview pane to view additional metadata.
How to use Quick Actions in macOS Mojave
- Click on the Finder icon in your Dock to open a new Finder window.
Choose the view you want to use.
- Click on the file or files on which you wish to perform a quick action.
Click View in the Menu bar if the Preview pane isn't already visible.
- Click Show Preview.
Choose one of the actions available at the bottom of the Preview pane to perform it on the selected file or files.
Click More… to find any other actions that you might be able to take.
How to use Quick Look in macOS Mojave
Quick Look's updates in macOS Mojave make it more powerful than ever. Here's how you use it.
- Click on the Finder icon in your Dock to open a new Finder window.
Choose the view you want to use.
- Click on the file you want to use with Quick Look.
- Tap the space bar on your keyboard to bring up Quick Look.
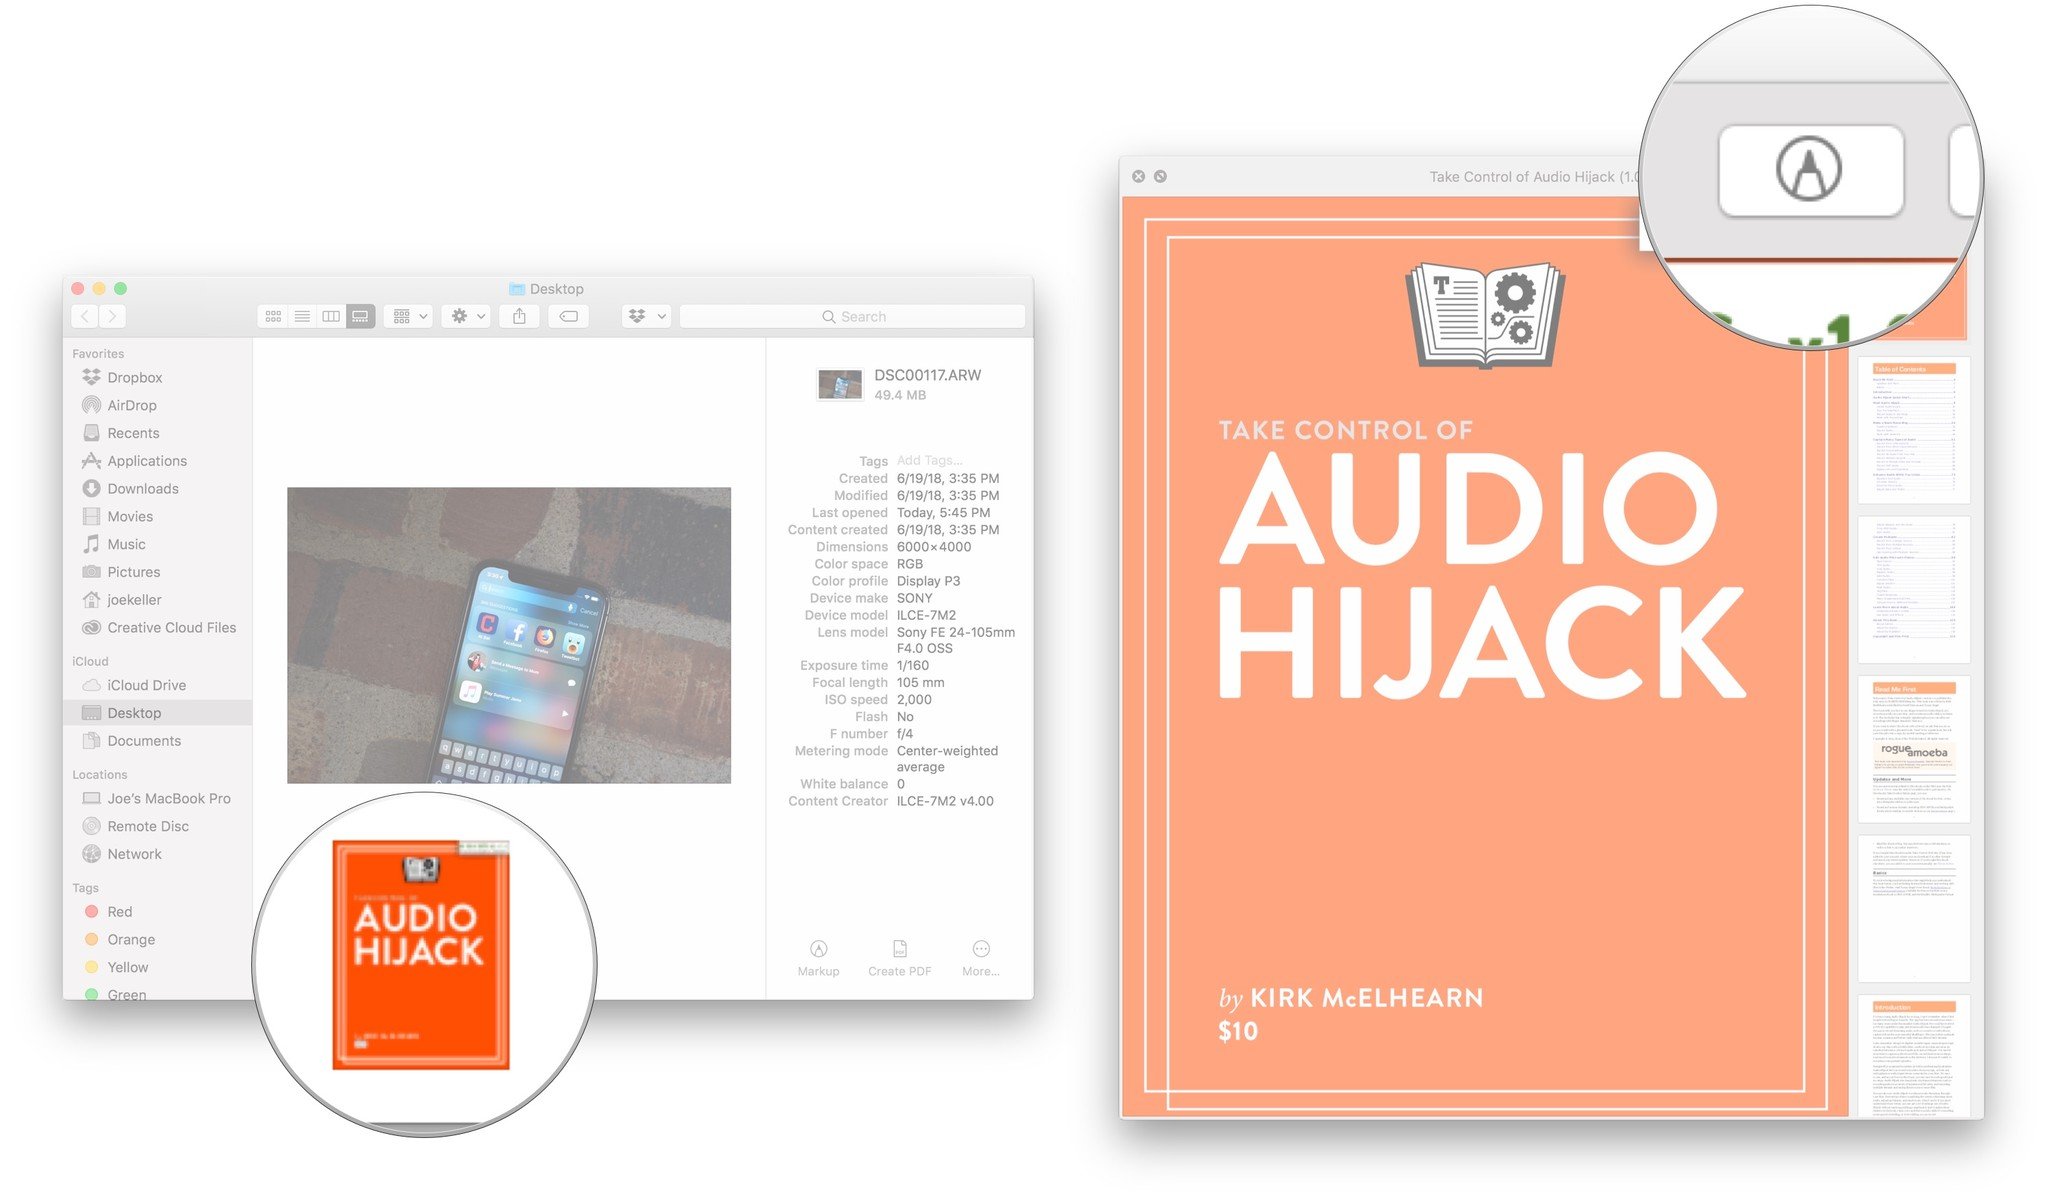
Click the action button to take an action on the file. What actions you can take and what the button looks like will depend on the file type.
- Documents will have a Markup button. This allows you to draw, write, and highlight on images and documents, add text boxes to them, and even sign documents with a pre-saved signature. Images can be cropped and rotated as well.
- In addition to Markup, images may also have a Rotate button. Press this to rotate your image to the left.
- Audio and video files will have a Trim button. Press this, then grab the sliders on either end of the Quick Look preview to trim the length of an audio clip or video.
- Tap the space bar again when you're done with Quick Look.
Questions?
If you have any questions about how the new Finder capabilities work in macOS Mojave, let us know in the comments.