
Give your old 2012 Mac Mini new life and use it in 2020
- feb
- 29
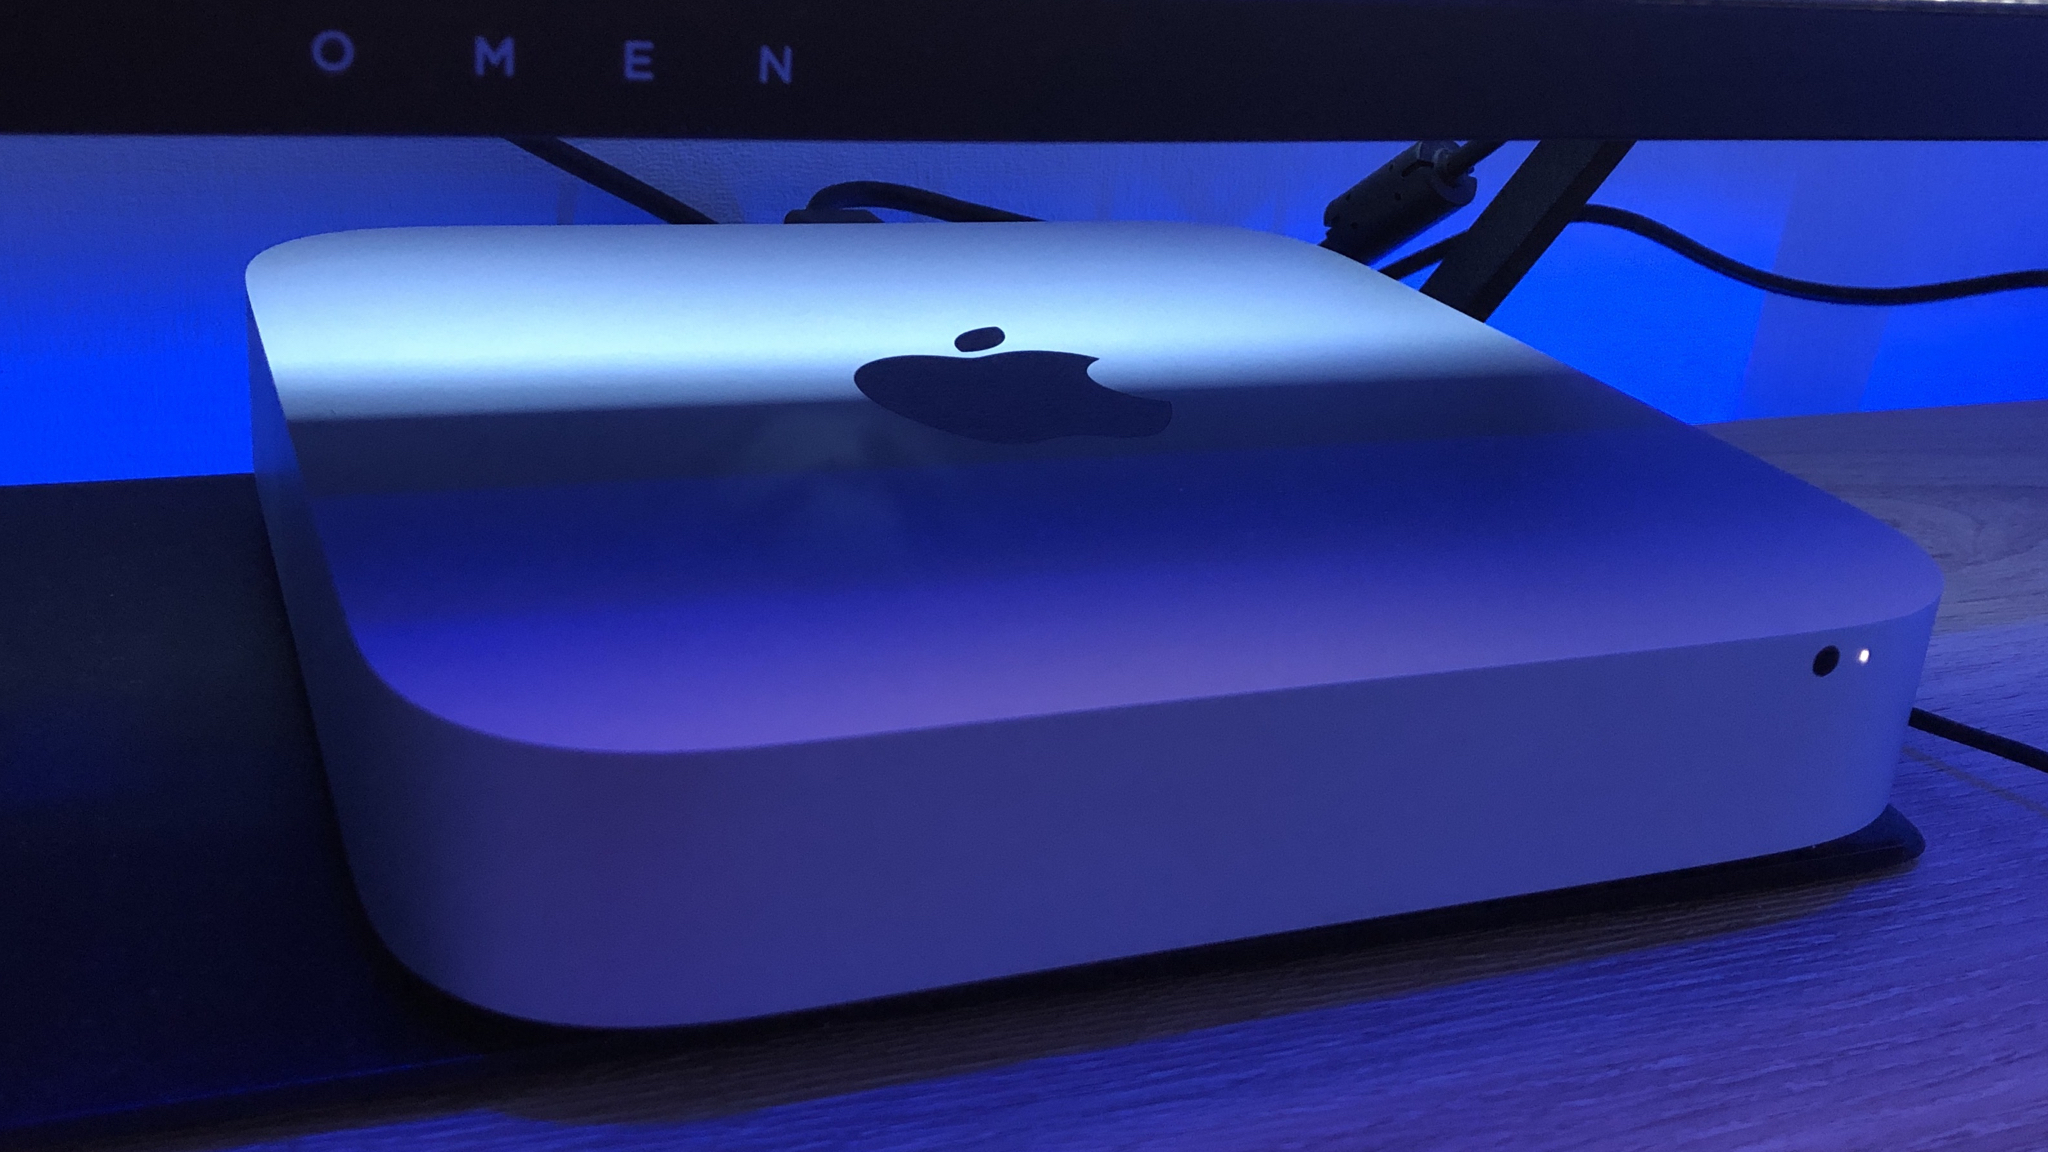
The 2012 Mac Mini held a special place in many hearts thanks to how easy it was to upgrade. It remains Apple's last properly upgradeable Mac Mini, and even in 2019 can be a pretty handy little computer with the right bits inside. Here we'll walk you through breathing new life into your old Mac for not a lot of money.
Products used in this guide
- New storage: Kingston 480GB SSD ($60 at Amazon)
- More memory: Crucial 16GB RAM kit ($79 at Amazon)
- Blowing cobwebs: Canned air ($14 at Amazon)
- The right cable: AmazonBasics miniDP to DP ($9 at Amazon)
- A second hard drive: Seagate Firecuda 1TB ($60 at Amazon)
- Right tools: ORIA Magnetic Screwdriver set ($16 at Amazon)
- Magic cable: Mac Mini second drive kit ($15 at Amazon)
What you'll be upgrading
The 2012 model remains to this day Apple's last, properly upgradeable Mac Mini. On more recent models, users have been able to upgrade some bits, such as the RAM in the 2018 release, but in the 2012 model, you can go ahead and get really crazy.
You can upgrade the RAM to a maximum of 16GB; you can swap out the internal hard drive for an SSD, and even add a second drive for even more storage.
None of these parts are particularly expensive, and none of the work is particularly complicated or time-consuming. Set aside a couple of hours, and you'll be able to bring your old Mac back to life.
- How to install a new SSD
- How to add a second storage drive
- Reinstalling macOS
- How to upgrade the RAM
- Pair it with a good monitor
How to install a new SSD
Affordable storage
Kingston 480GB SSD
Easy way to speed up your old Mac
Faster storage is one of the easiest ways to speed up your old Mac, and this 480GB drive will do just that for an excellent price.
ORIA Magnetic Screwdriver set
You'll need plenty of different screwdriver bits to carry out the work, so get one of these magnetic screwdrivers with multiple bits.
Canned air

While you're inside your Mac Mini, use some canned air to give it a blast and ensure there's no lingering dust.
Professional pry tool kit
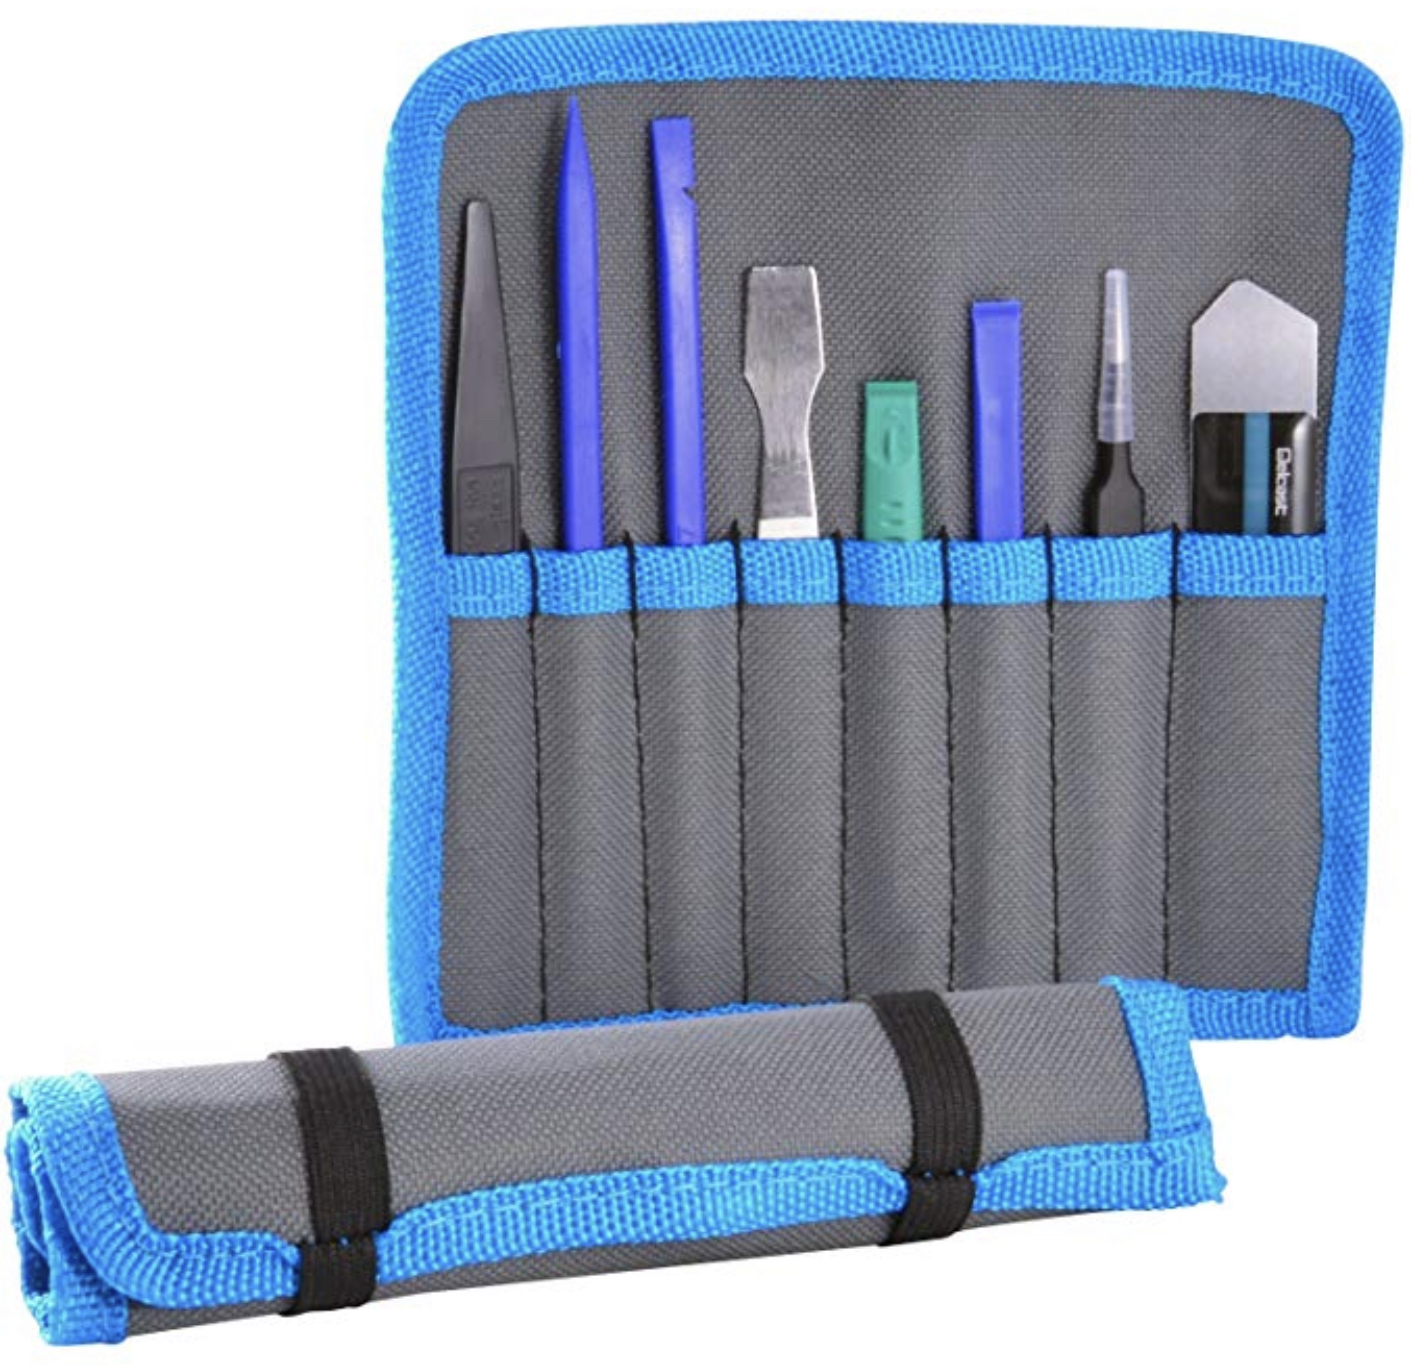
Better than using your fingers, this pry tool kit is worth having in your tool kit for those hard to remove and tiny parts.
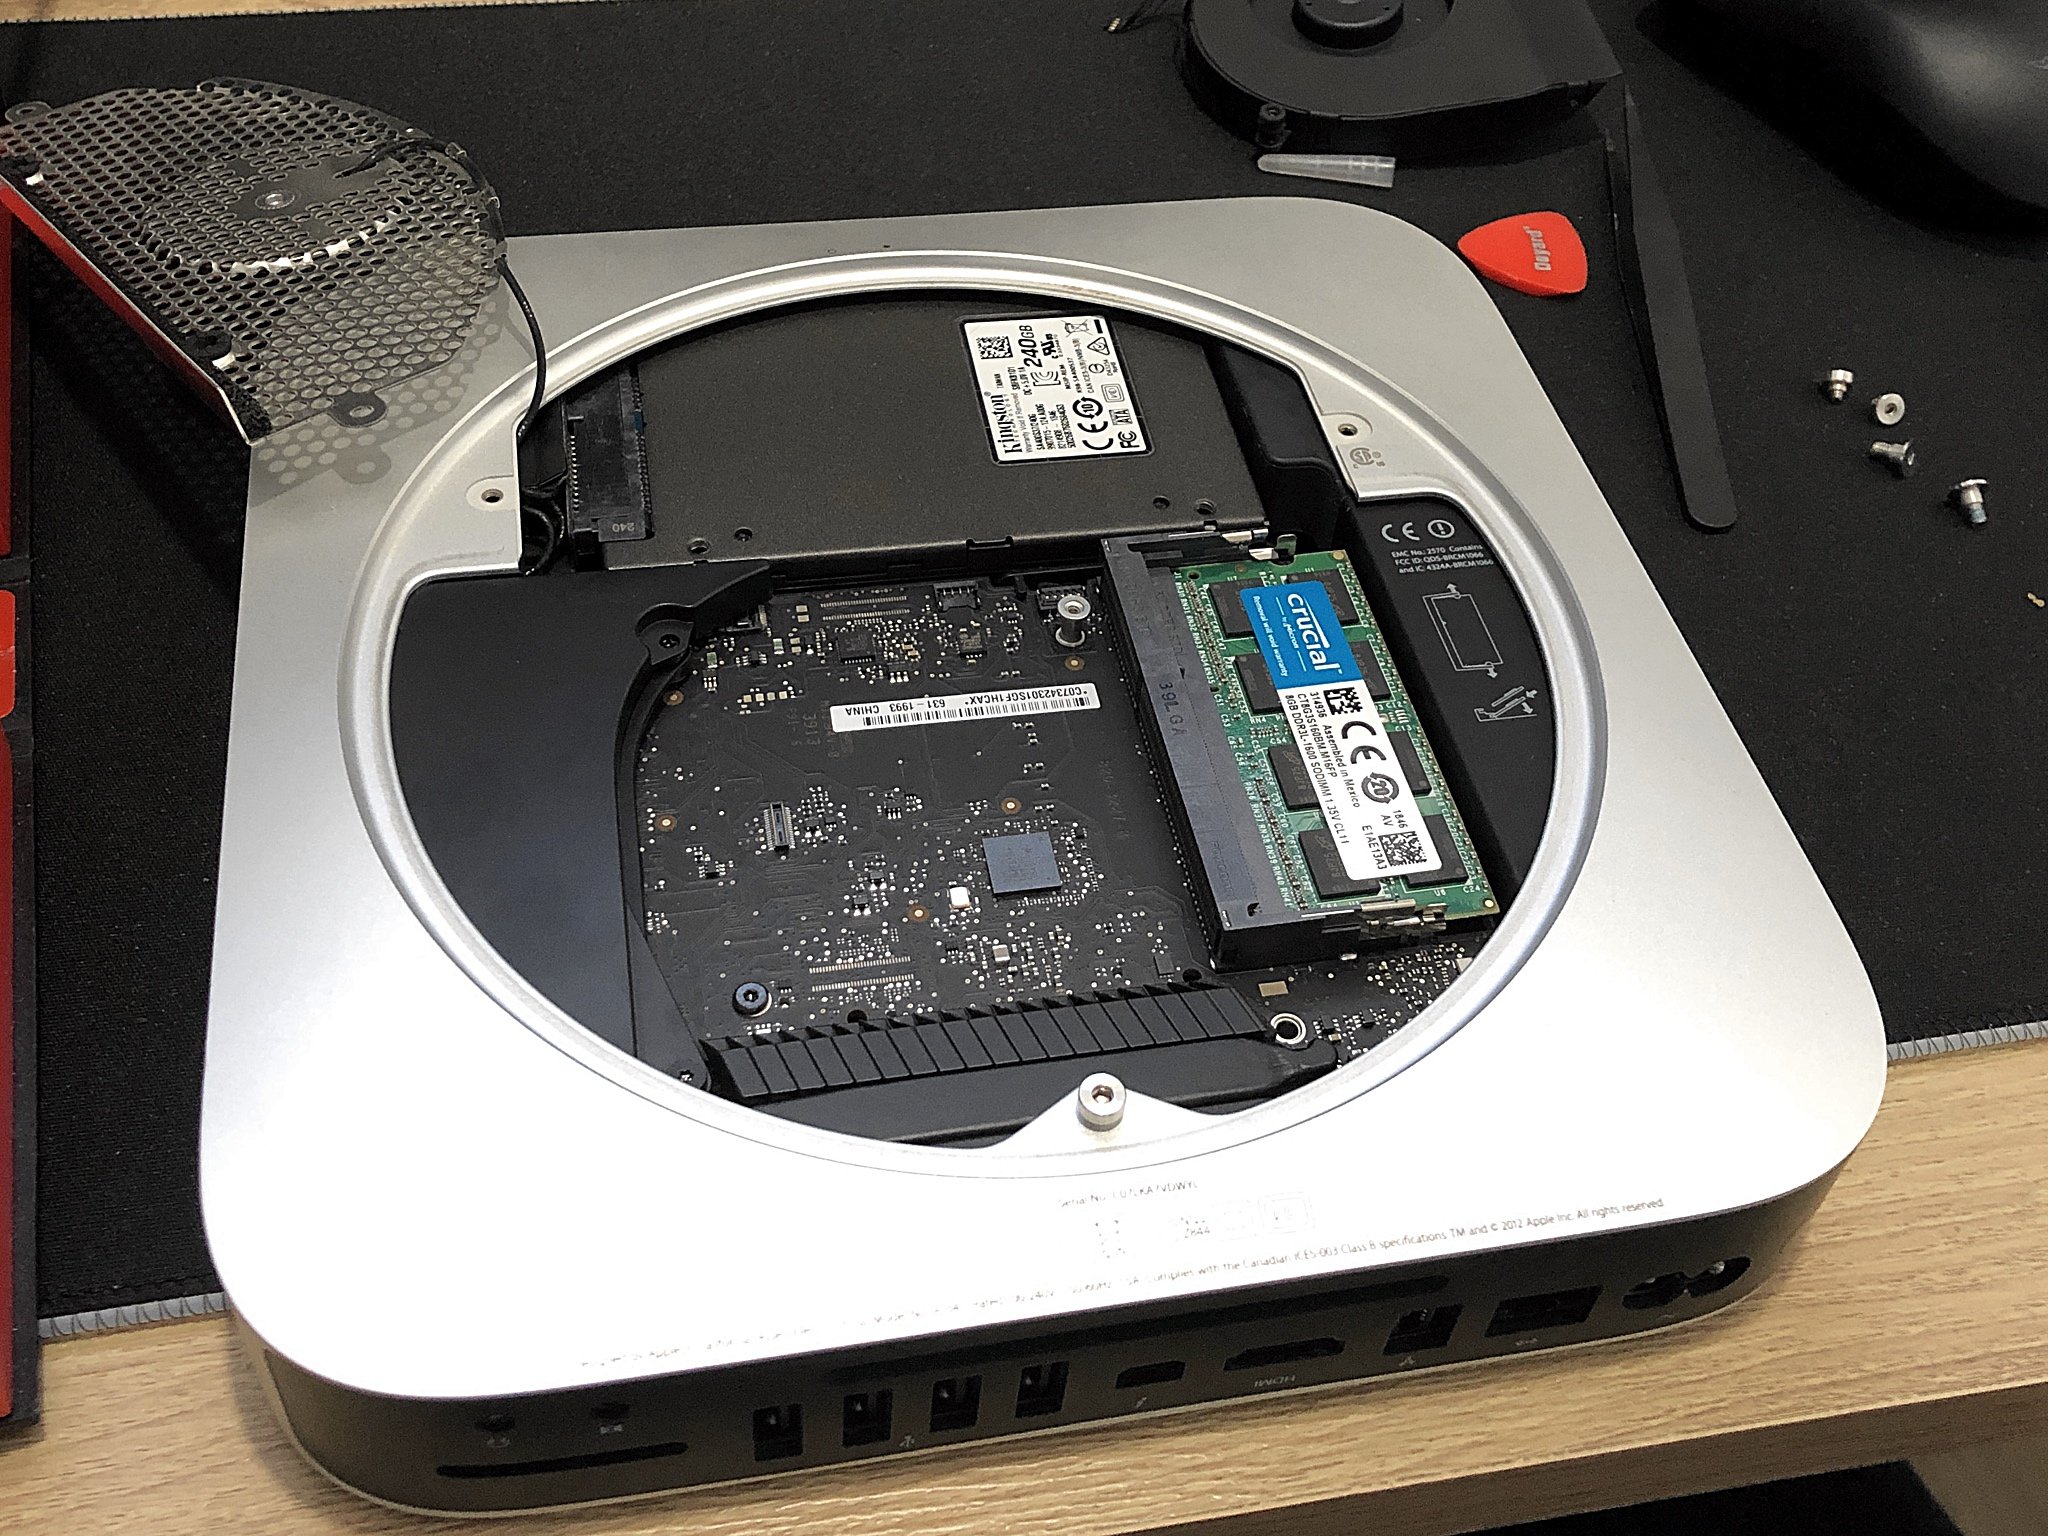
One of the best upgrades to make is to swap out the old mechanical hard drive for an SSD. Data transfer speeds will be at least four times faster, and that will make a huge difference in the day-to-day running of your Mac Mini.
It's also very simple to accomplish.
- Flip over the Mac Mini.
Place your thumbs in the circular divots and twist the base anti-clockwise.
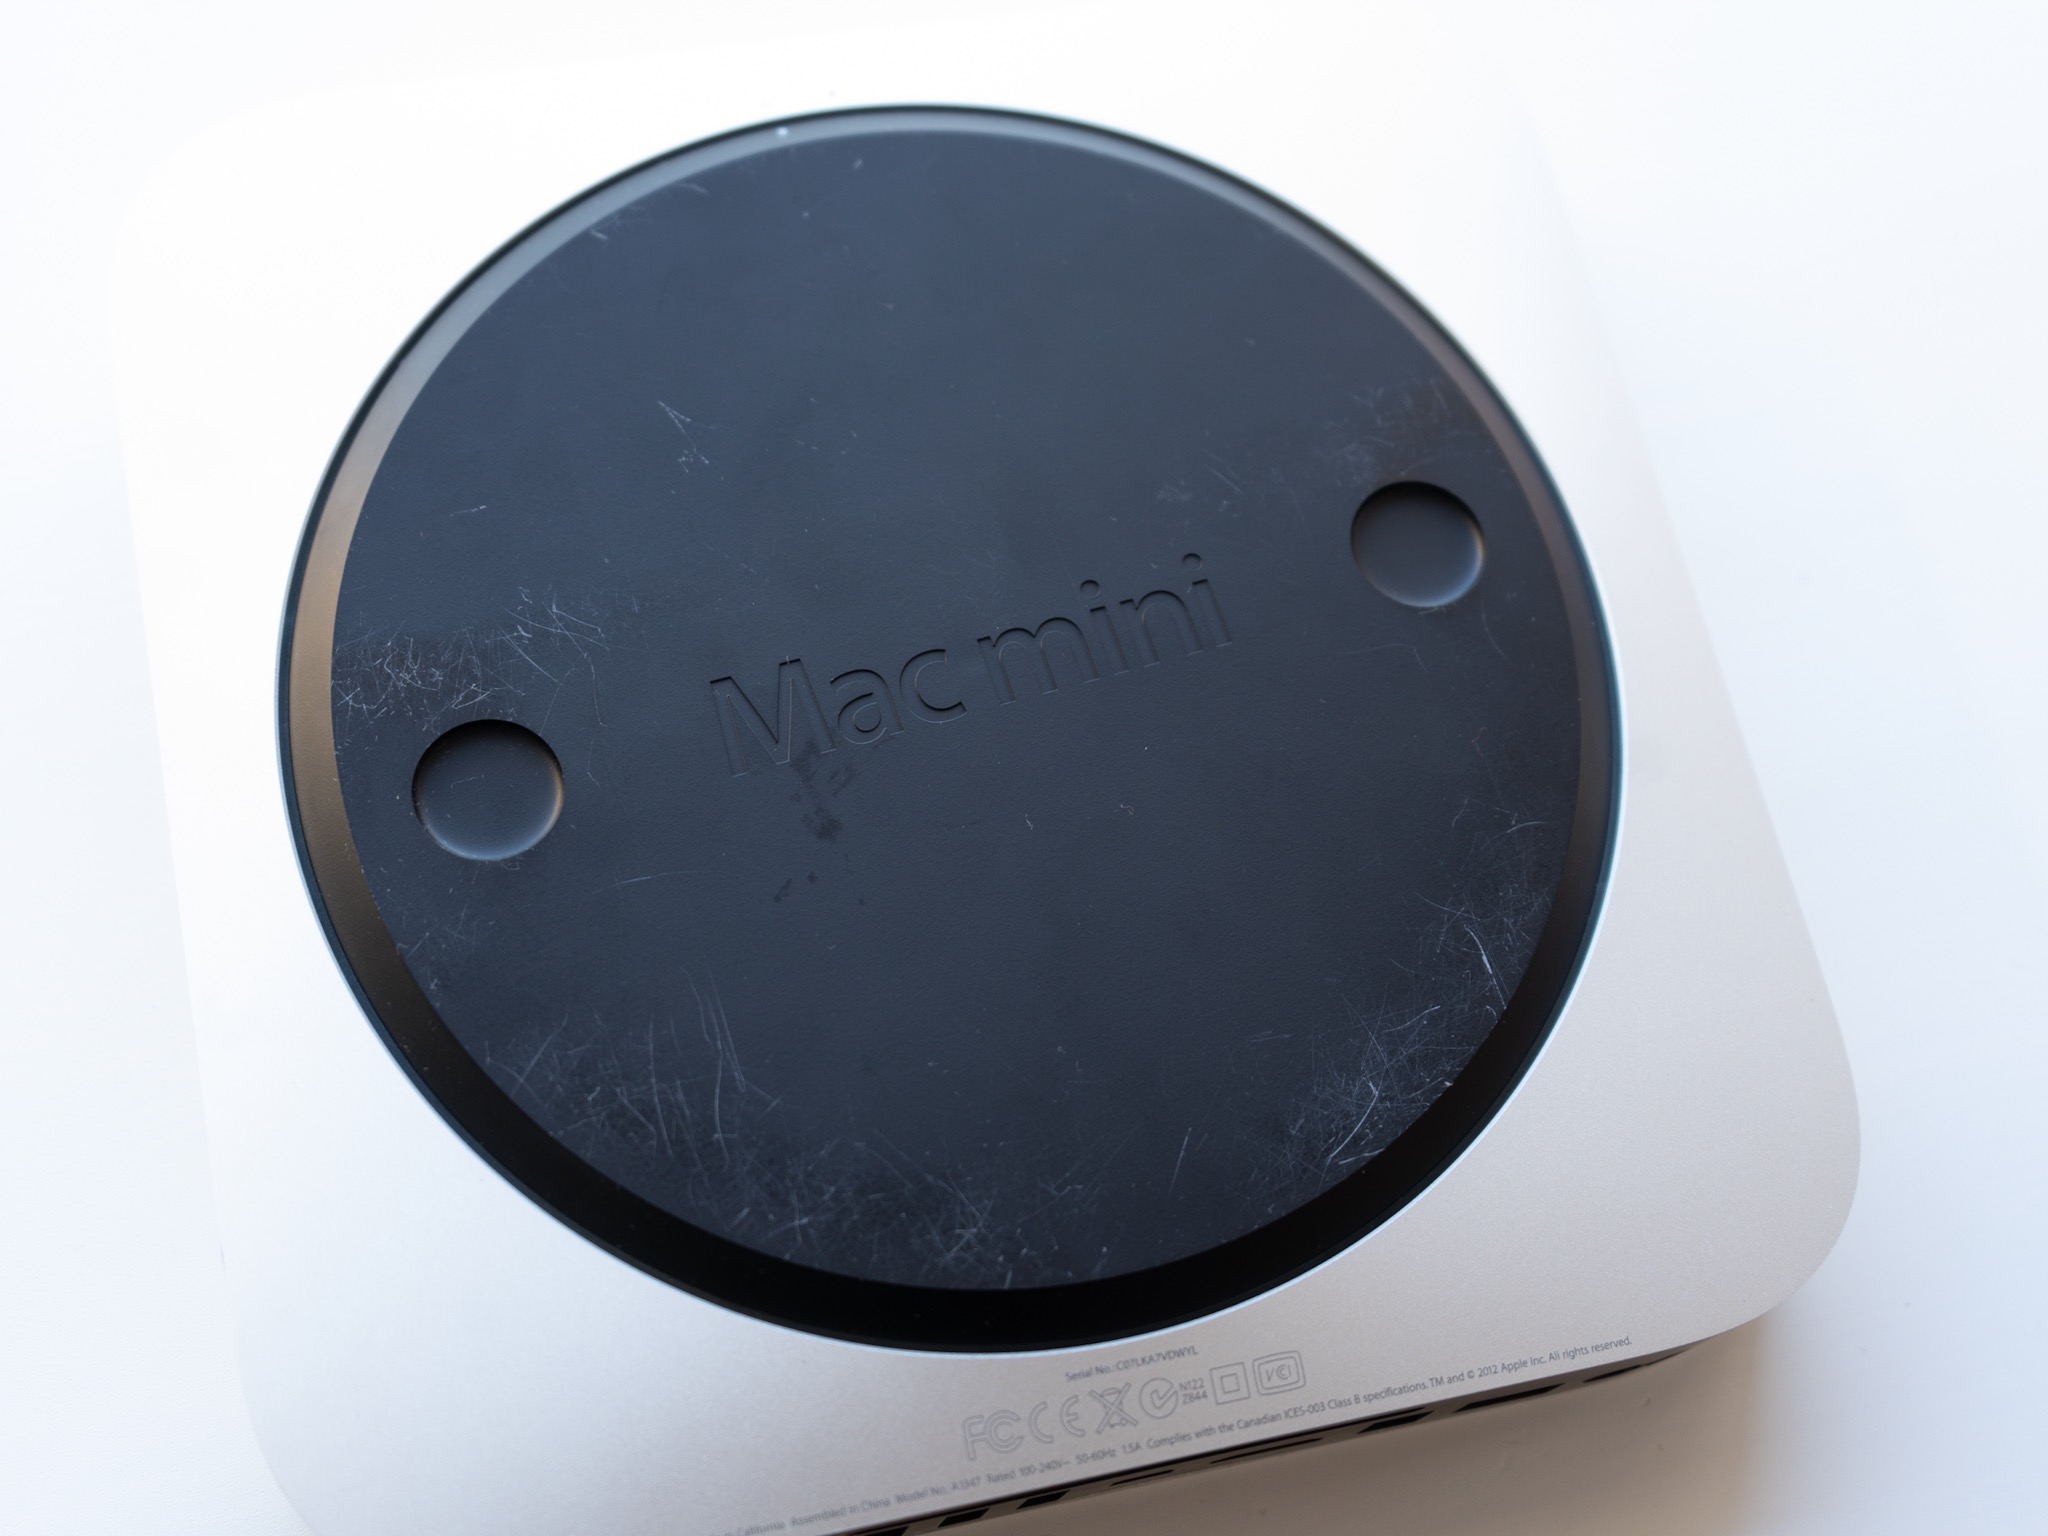
- The base should simply pull away, but may need prying with a plastic tool or even a credit card.
- Grab a Torx T8 and T9 screwdriver.
Remove the screws on the wireless shroud.
- Move the shroud to one side carefully, making sure you don't snap the cable.
- Grab a Torx T5 screwdriver.
Remove the two screws on the fan and the single screw on the black shroud.
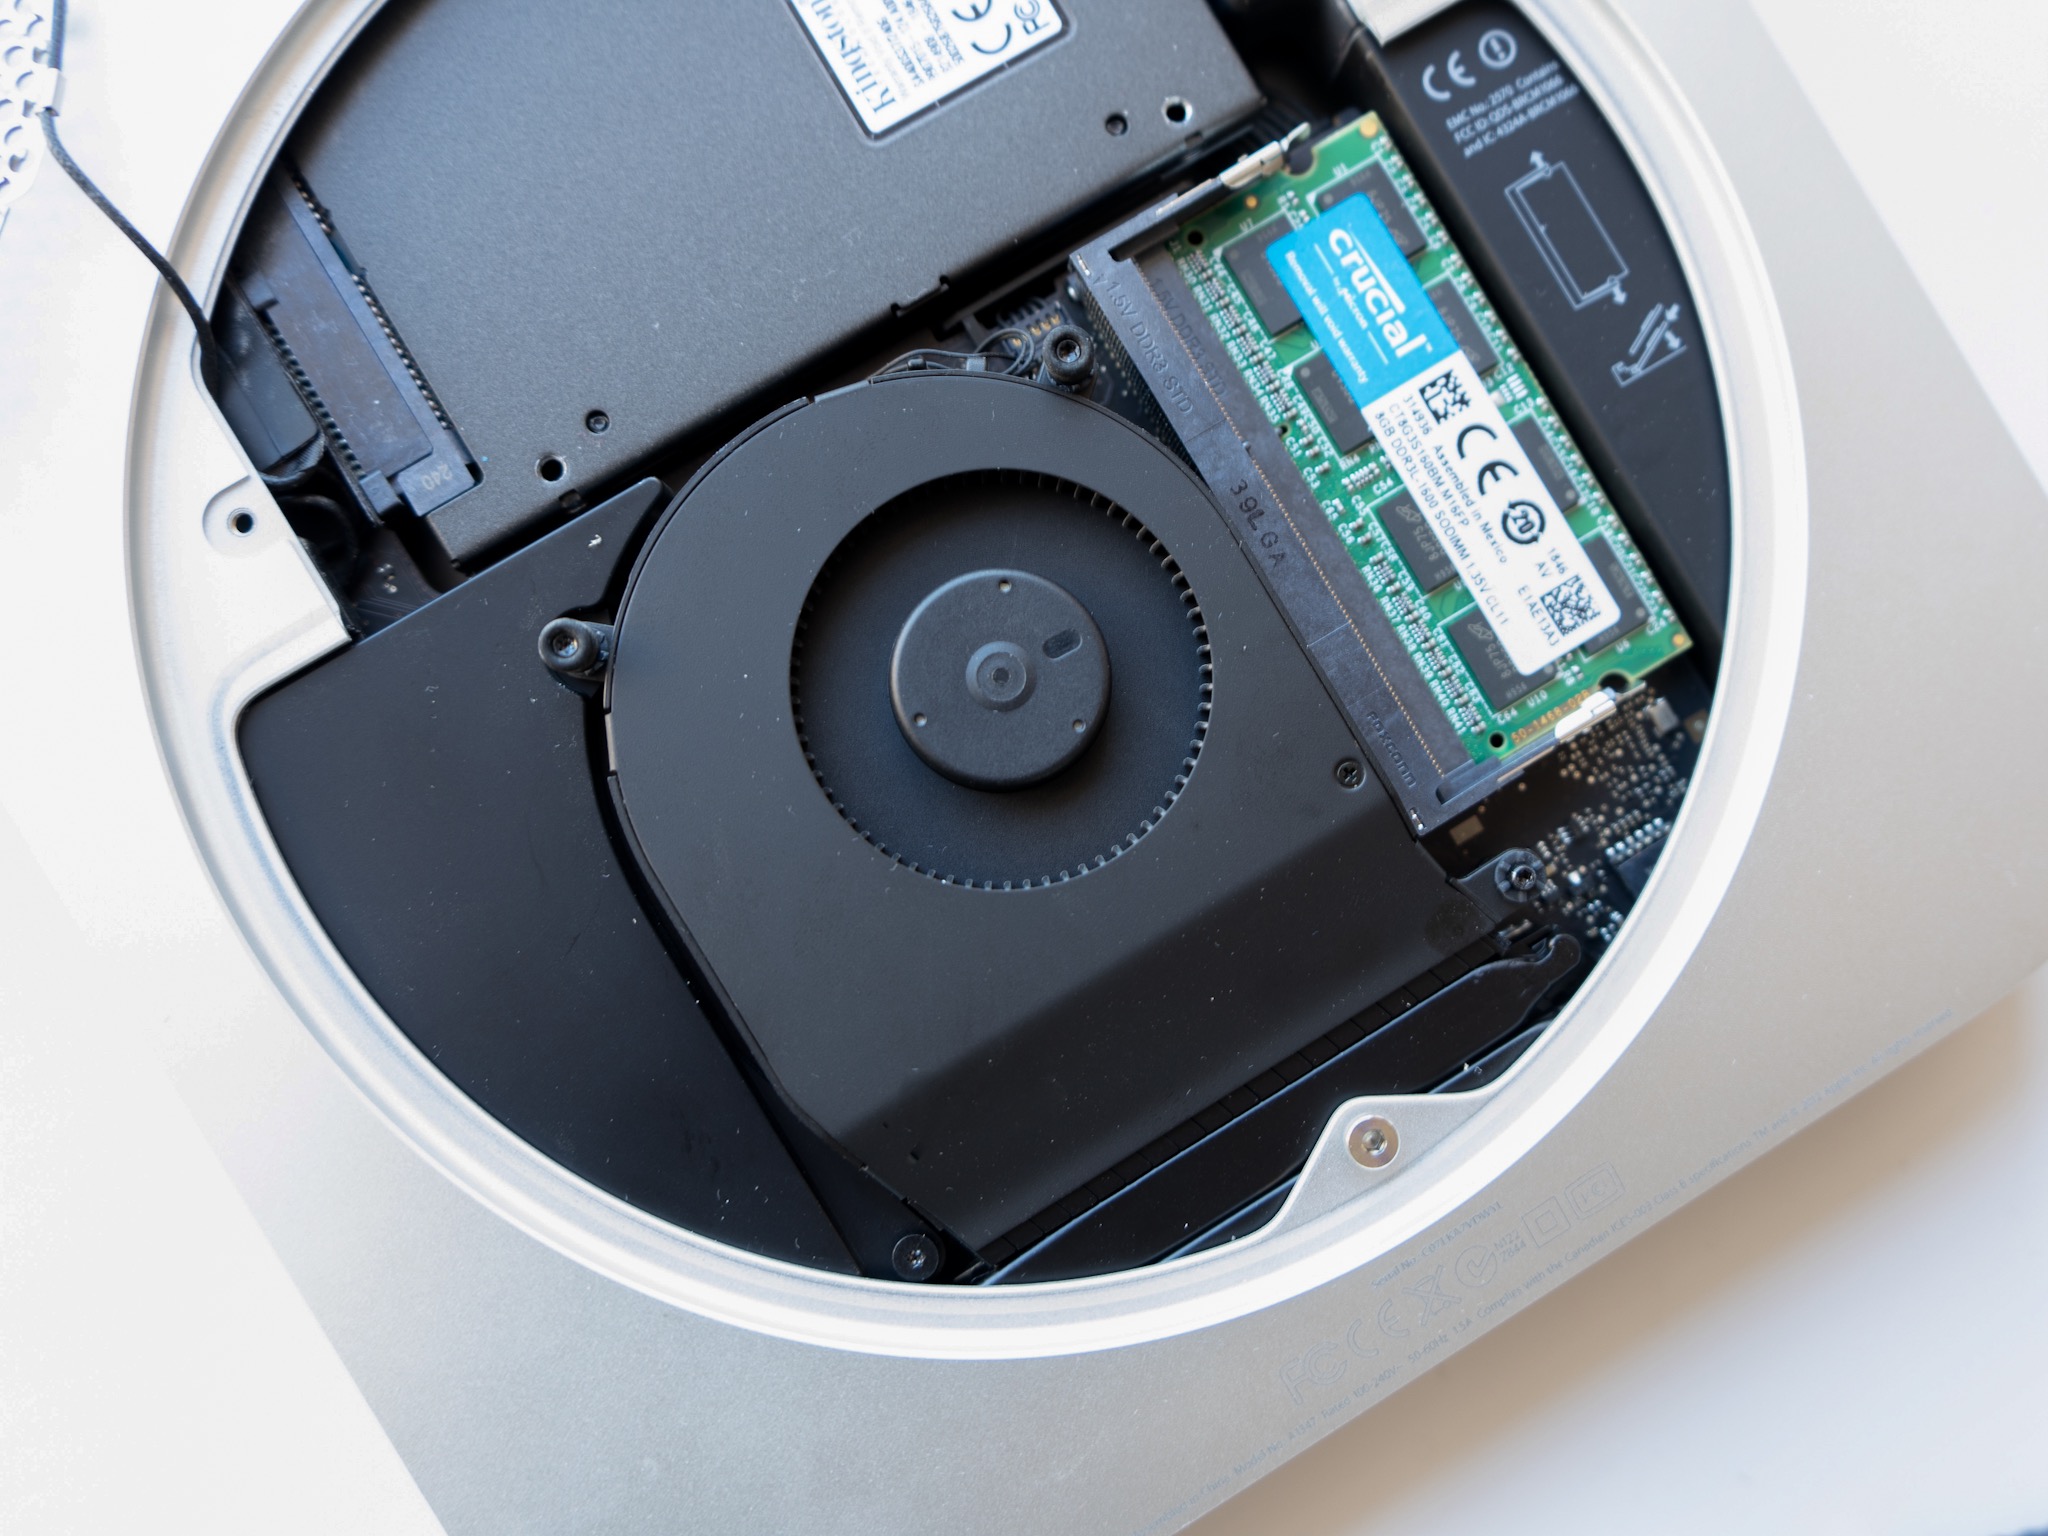
- Pull away the black shroud and set it aside.
Carefully pull the fan away from the logic board.
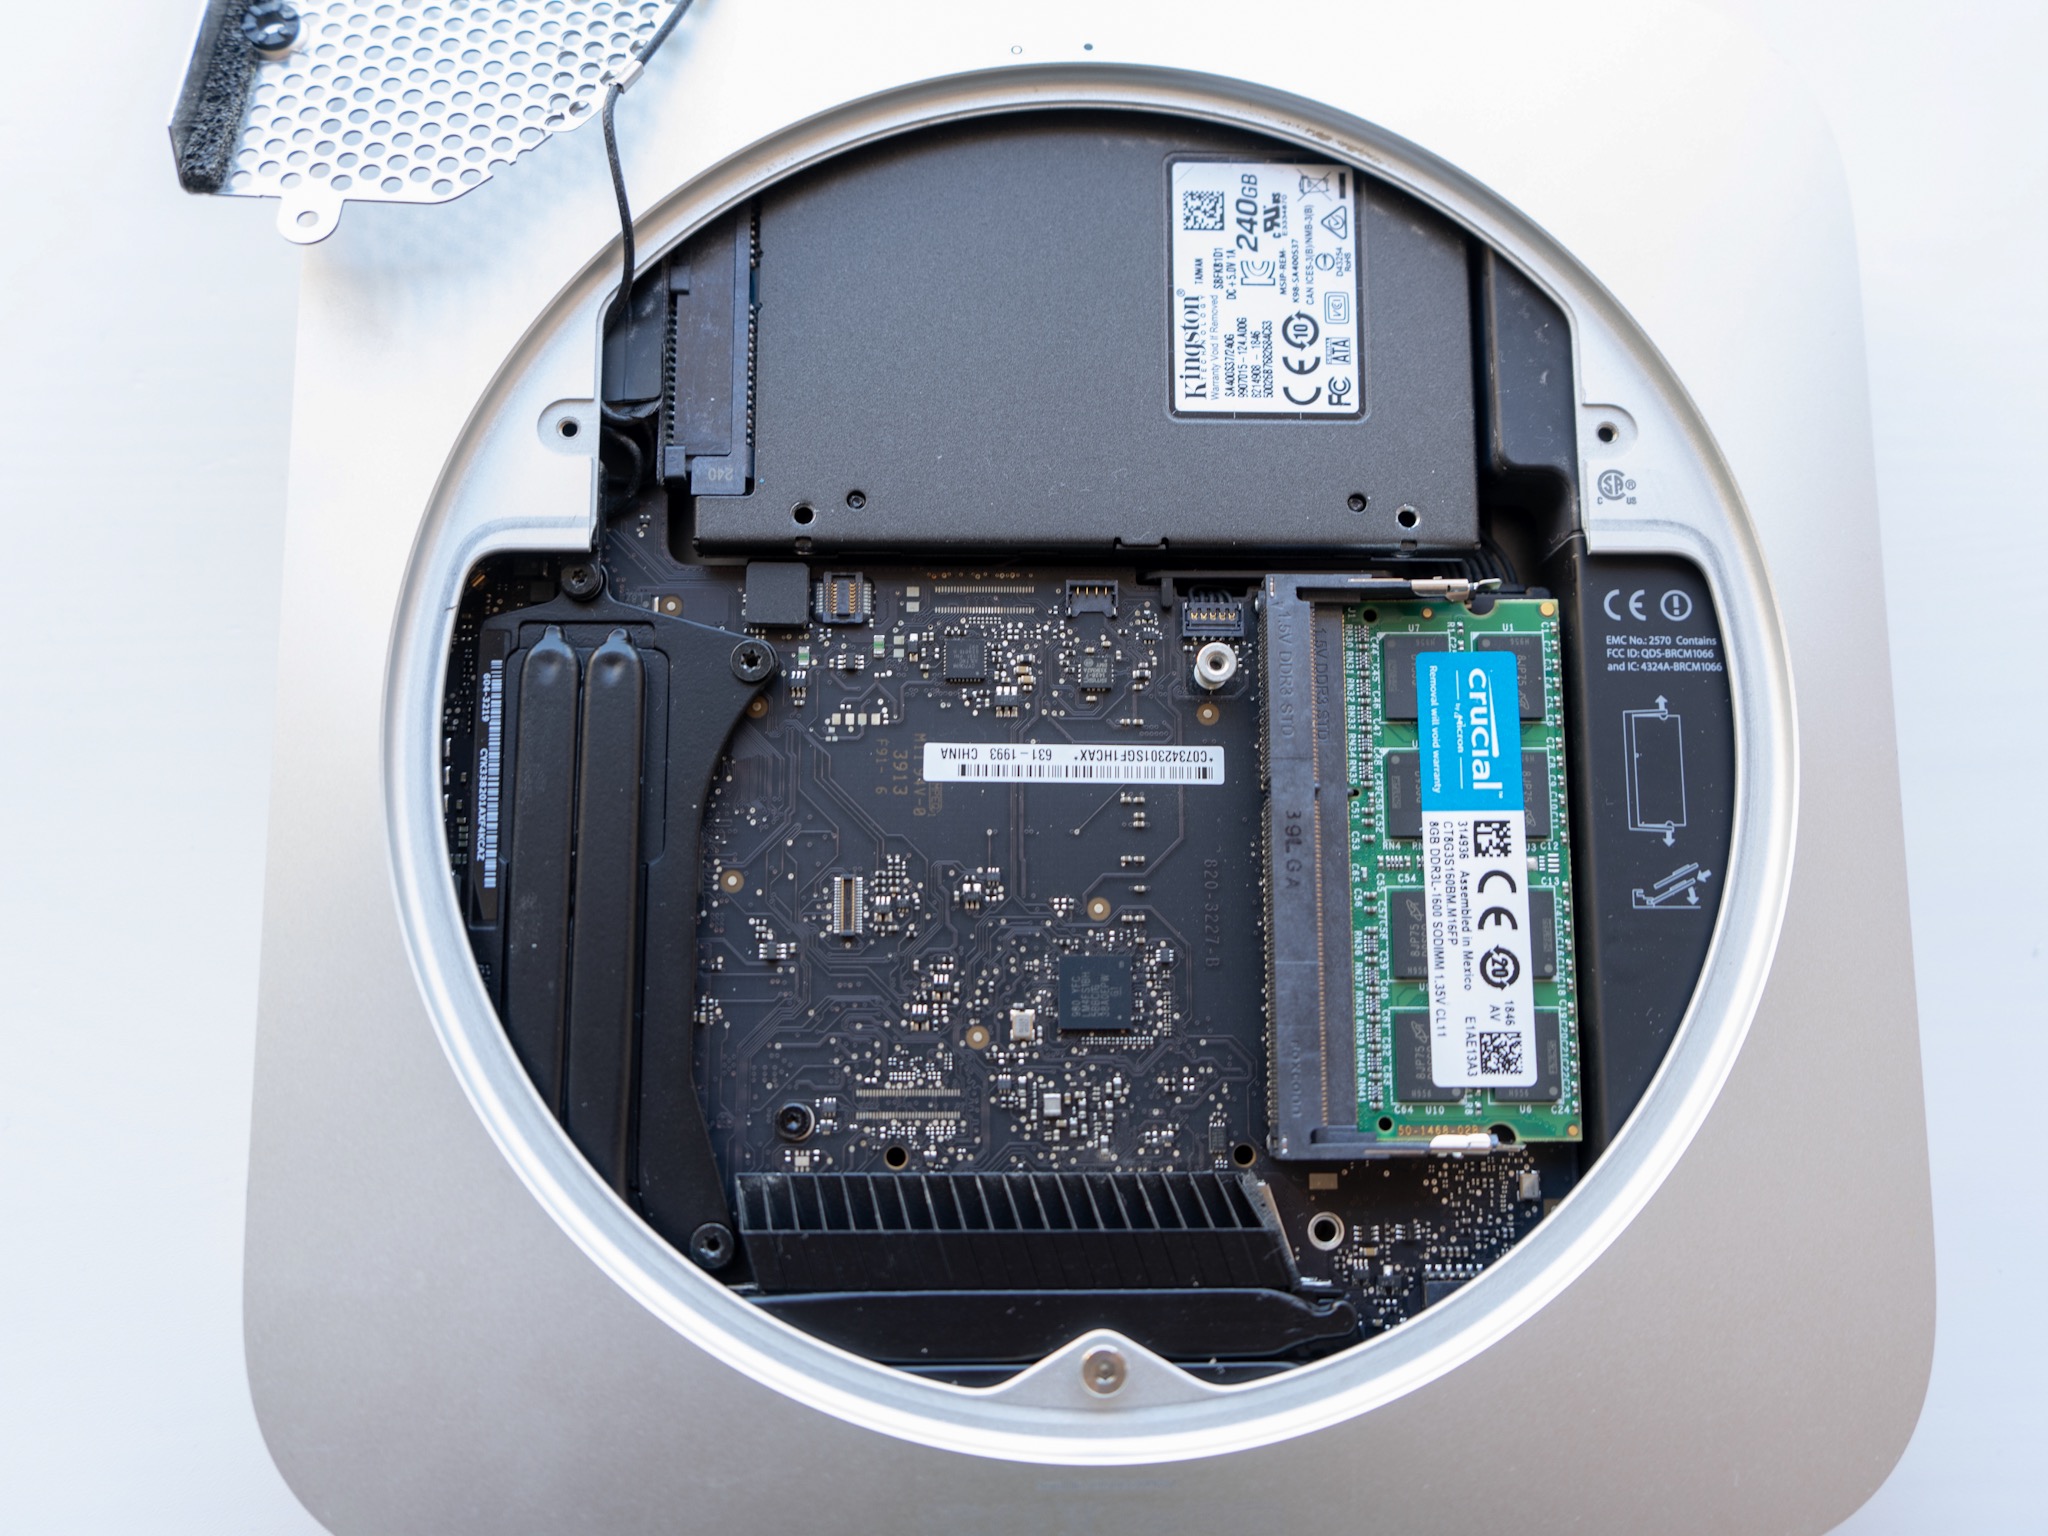
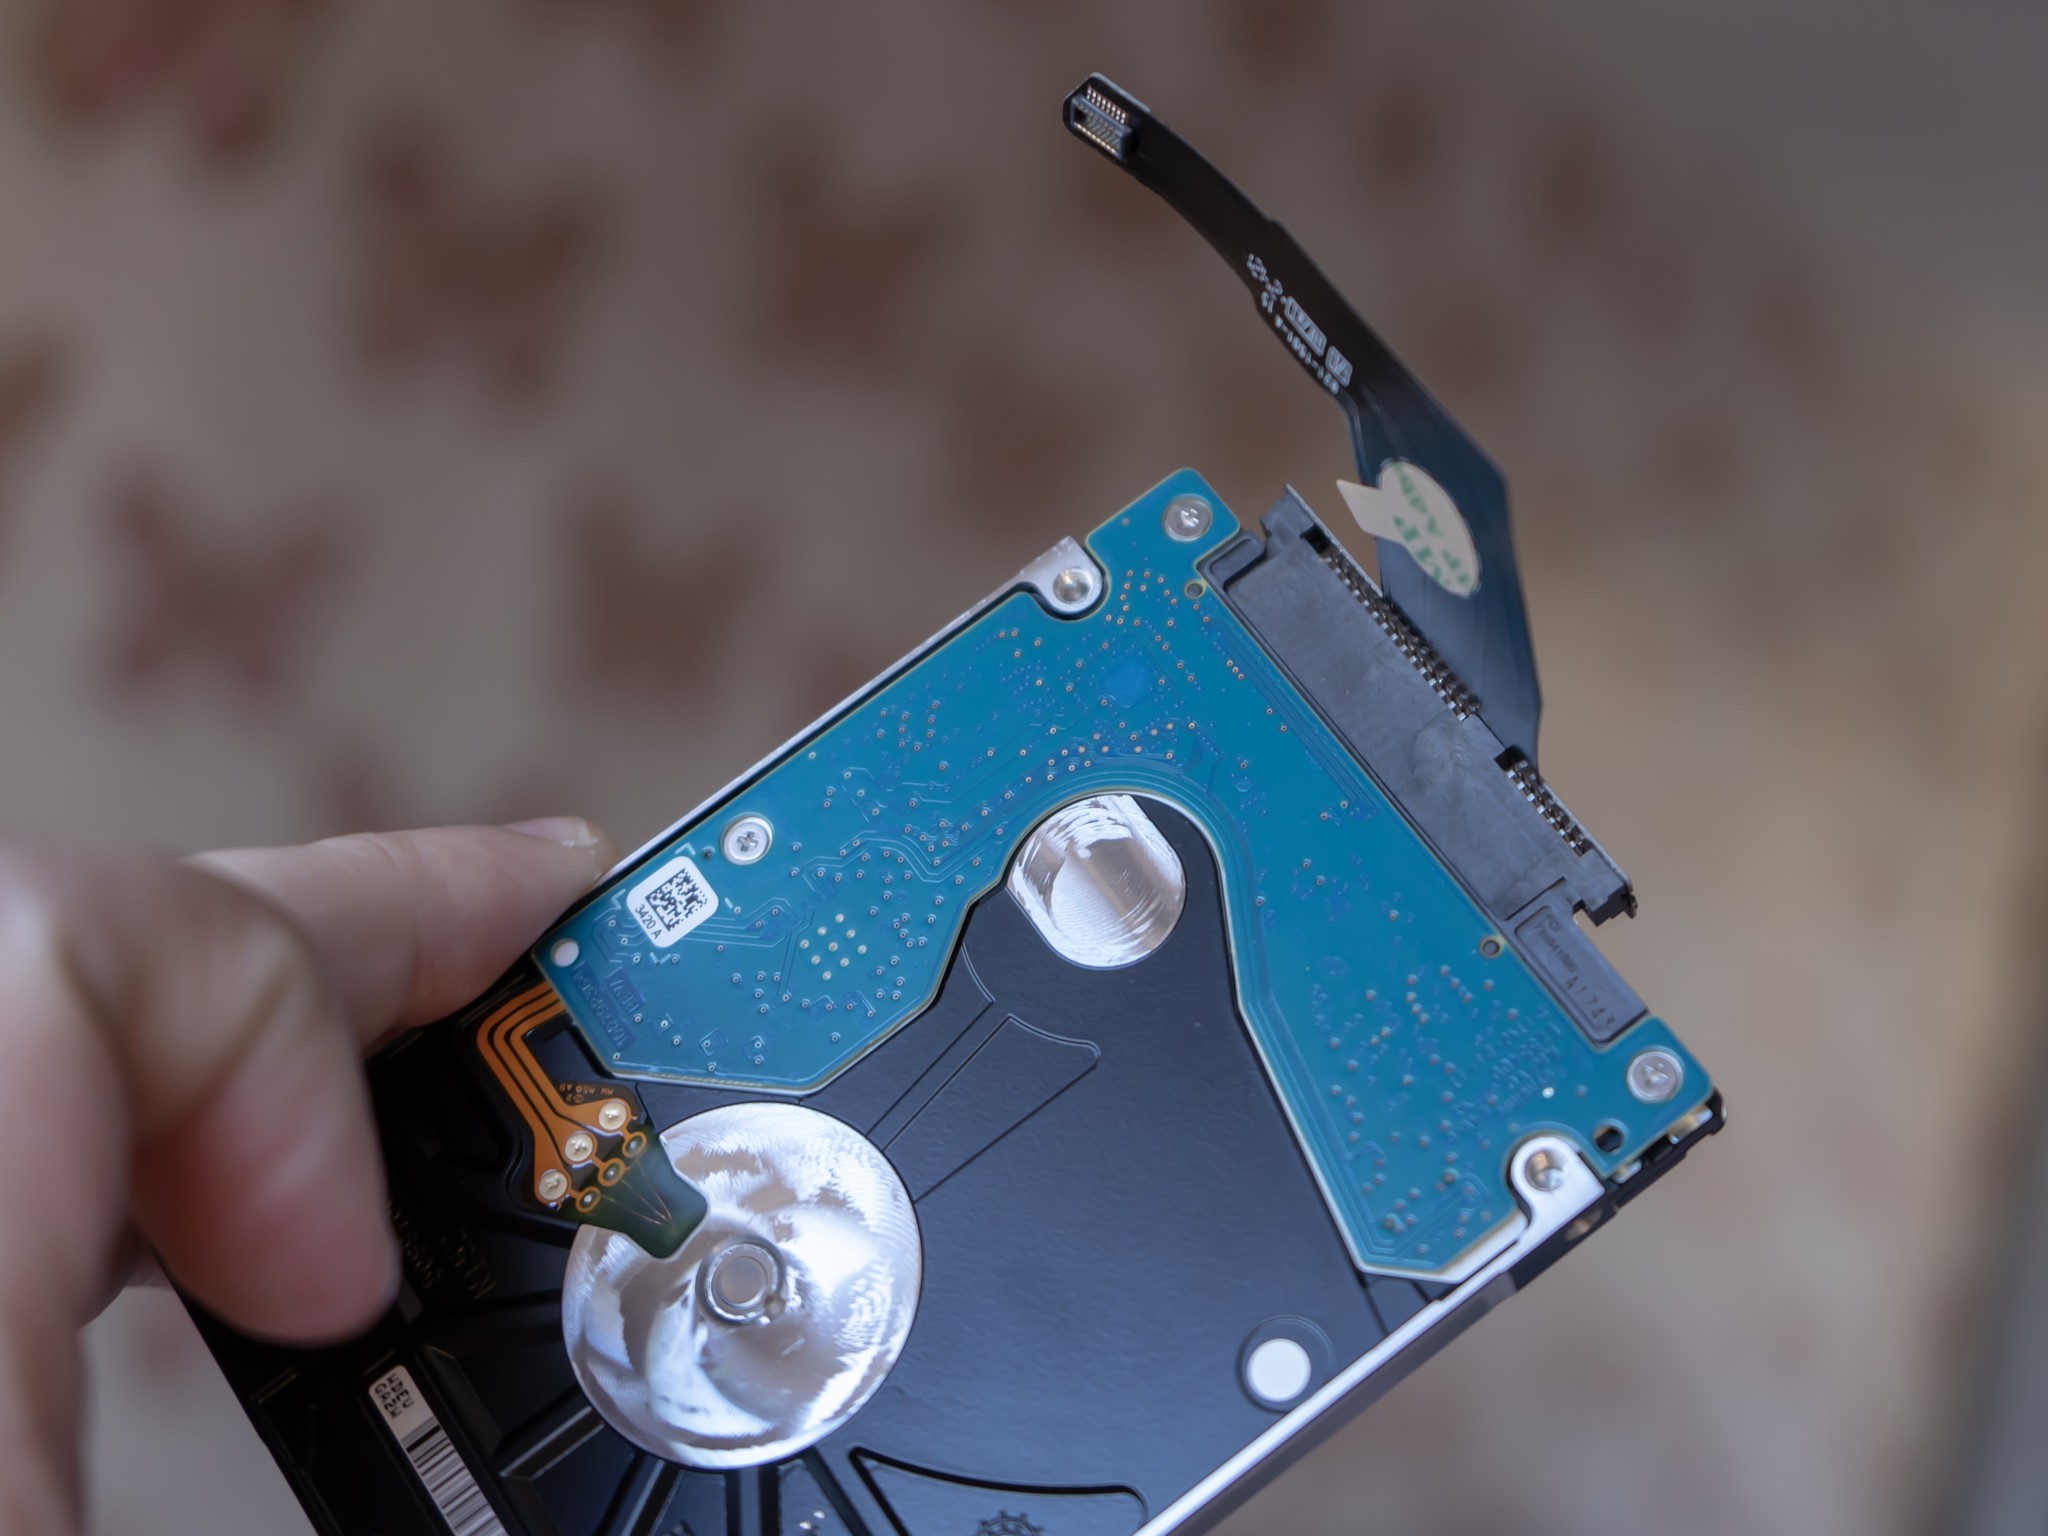
- Slide a business card or something similar beneath the existing hard drive and prize it up slightly.
- Carefully detach the SATA cable for the hard drive from the logic board.
Pull the existing hard drive clear of the Mac Mini.
- Detach the Torx T8 screws from the existing hard drive.
Attach those same screws to the left-hand side of your new SSD.
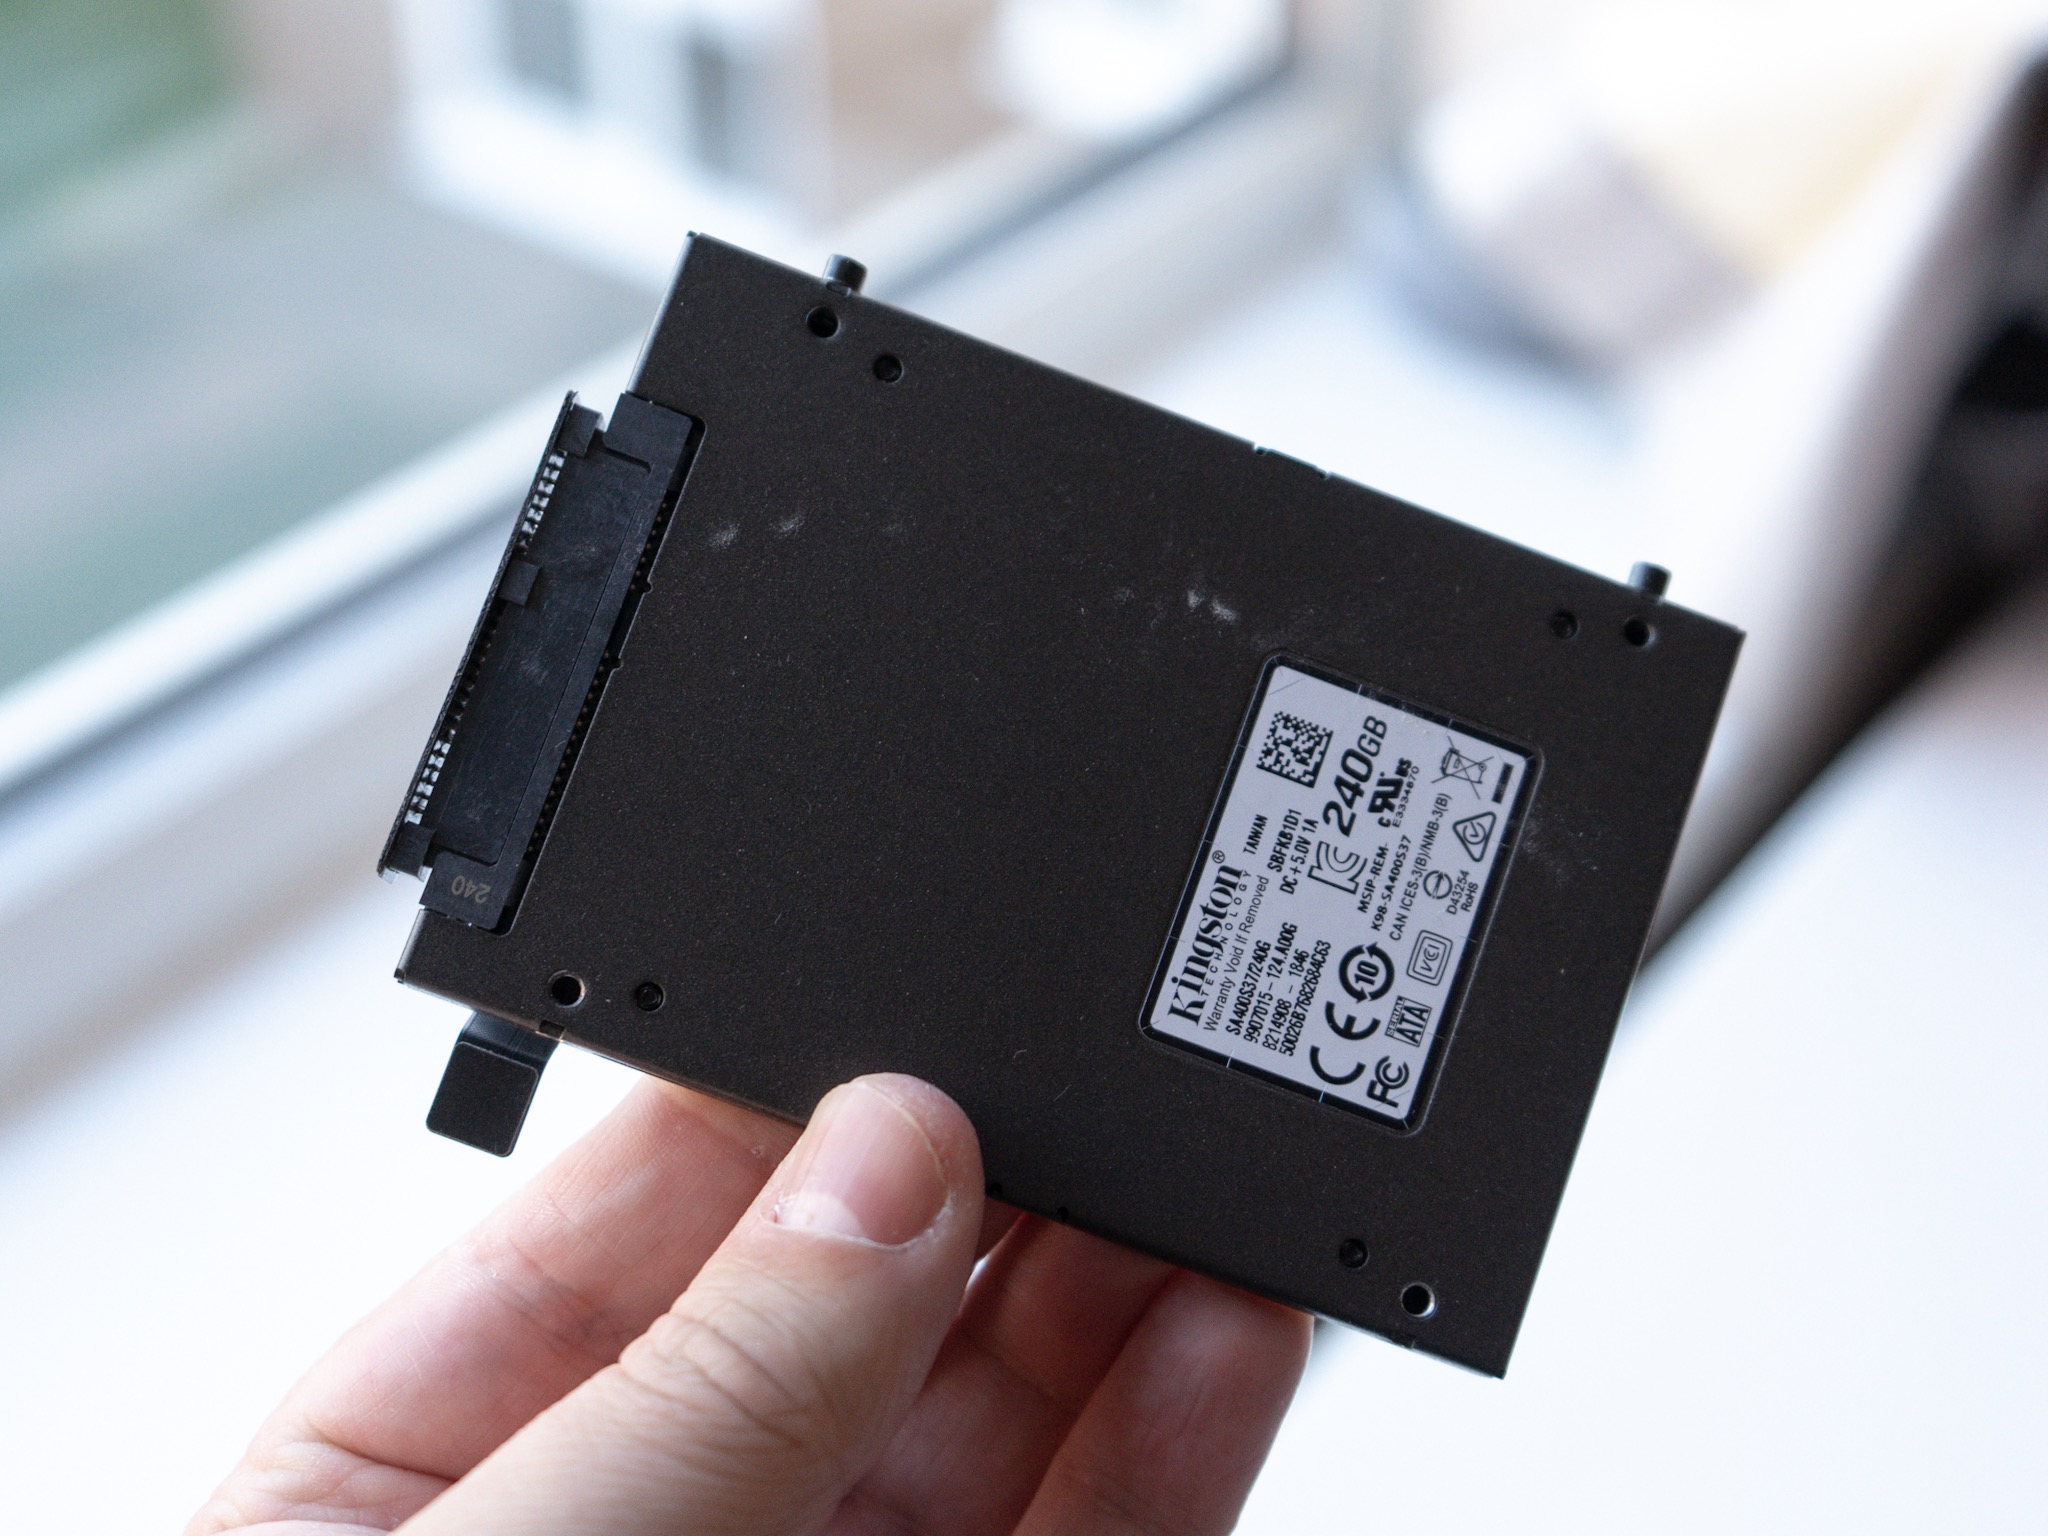
- Detach the ribbon cable from the existing hard drive.
- Connect the same ribbon cable to the new SSD's SATA connectors.
- Turn the SSD over so it's upside down and the screws from step 15 are facing the edge of the Mac Mini.
Using a business card again for support, slide the new SSD into place until the screws lock into place on the bracket inside the Mac Mini.
- Reconnect the ribbon cable to the logic board.
- Reassemble the Mac Mini reversing the steps above, first installing the black shroud, then the fan, then the wireless shroud.
- Line the markings on the base up with the corresponding markings on the Mac Mini.
- Twist the base back into place.
One additional thing to do throughout this process is to use some canned air to blast out any dust. You'll be surprised at how clean the inside of a computer this old is, but it never hurts to clear it out while you're inside.
How to add a second storage drive
Another drive
Mac Mini second drive kit
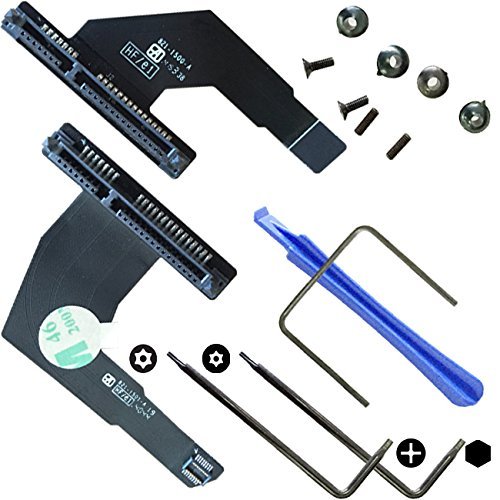
Double up and add another hard drive
All the parts you need to easily add a second hard drive to your 2012 Mac Mini, including the all-important ribbon cable and logic board removal tool.
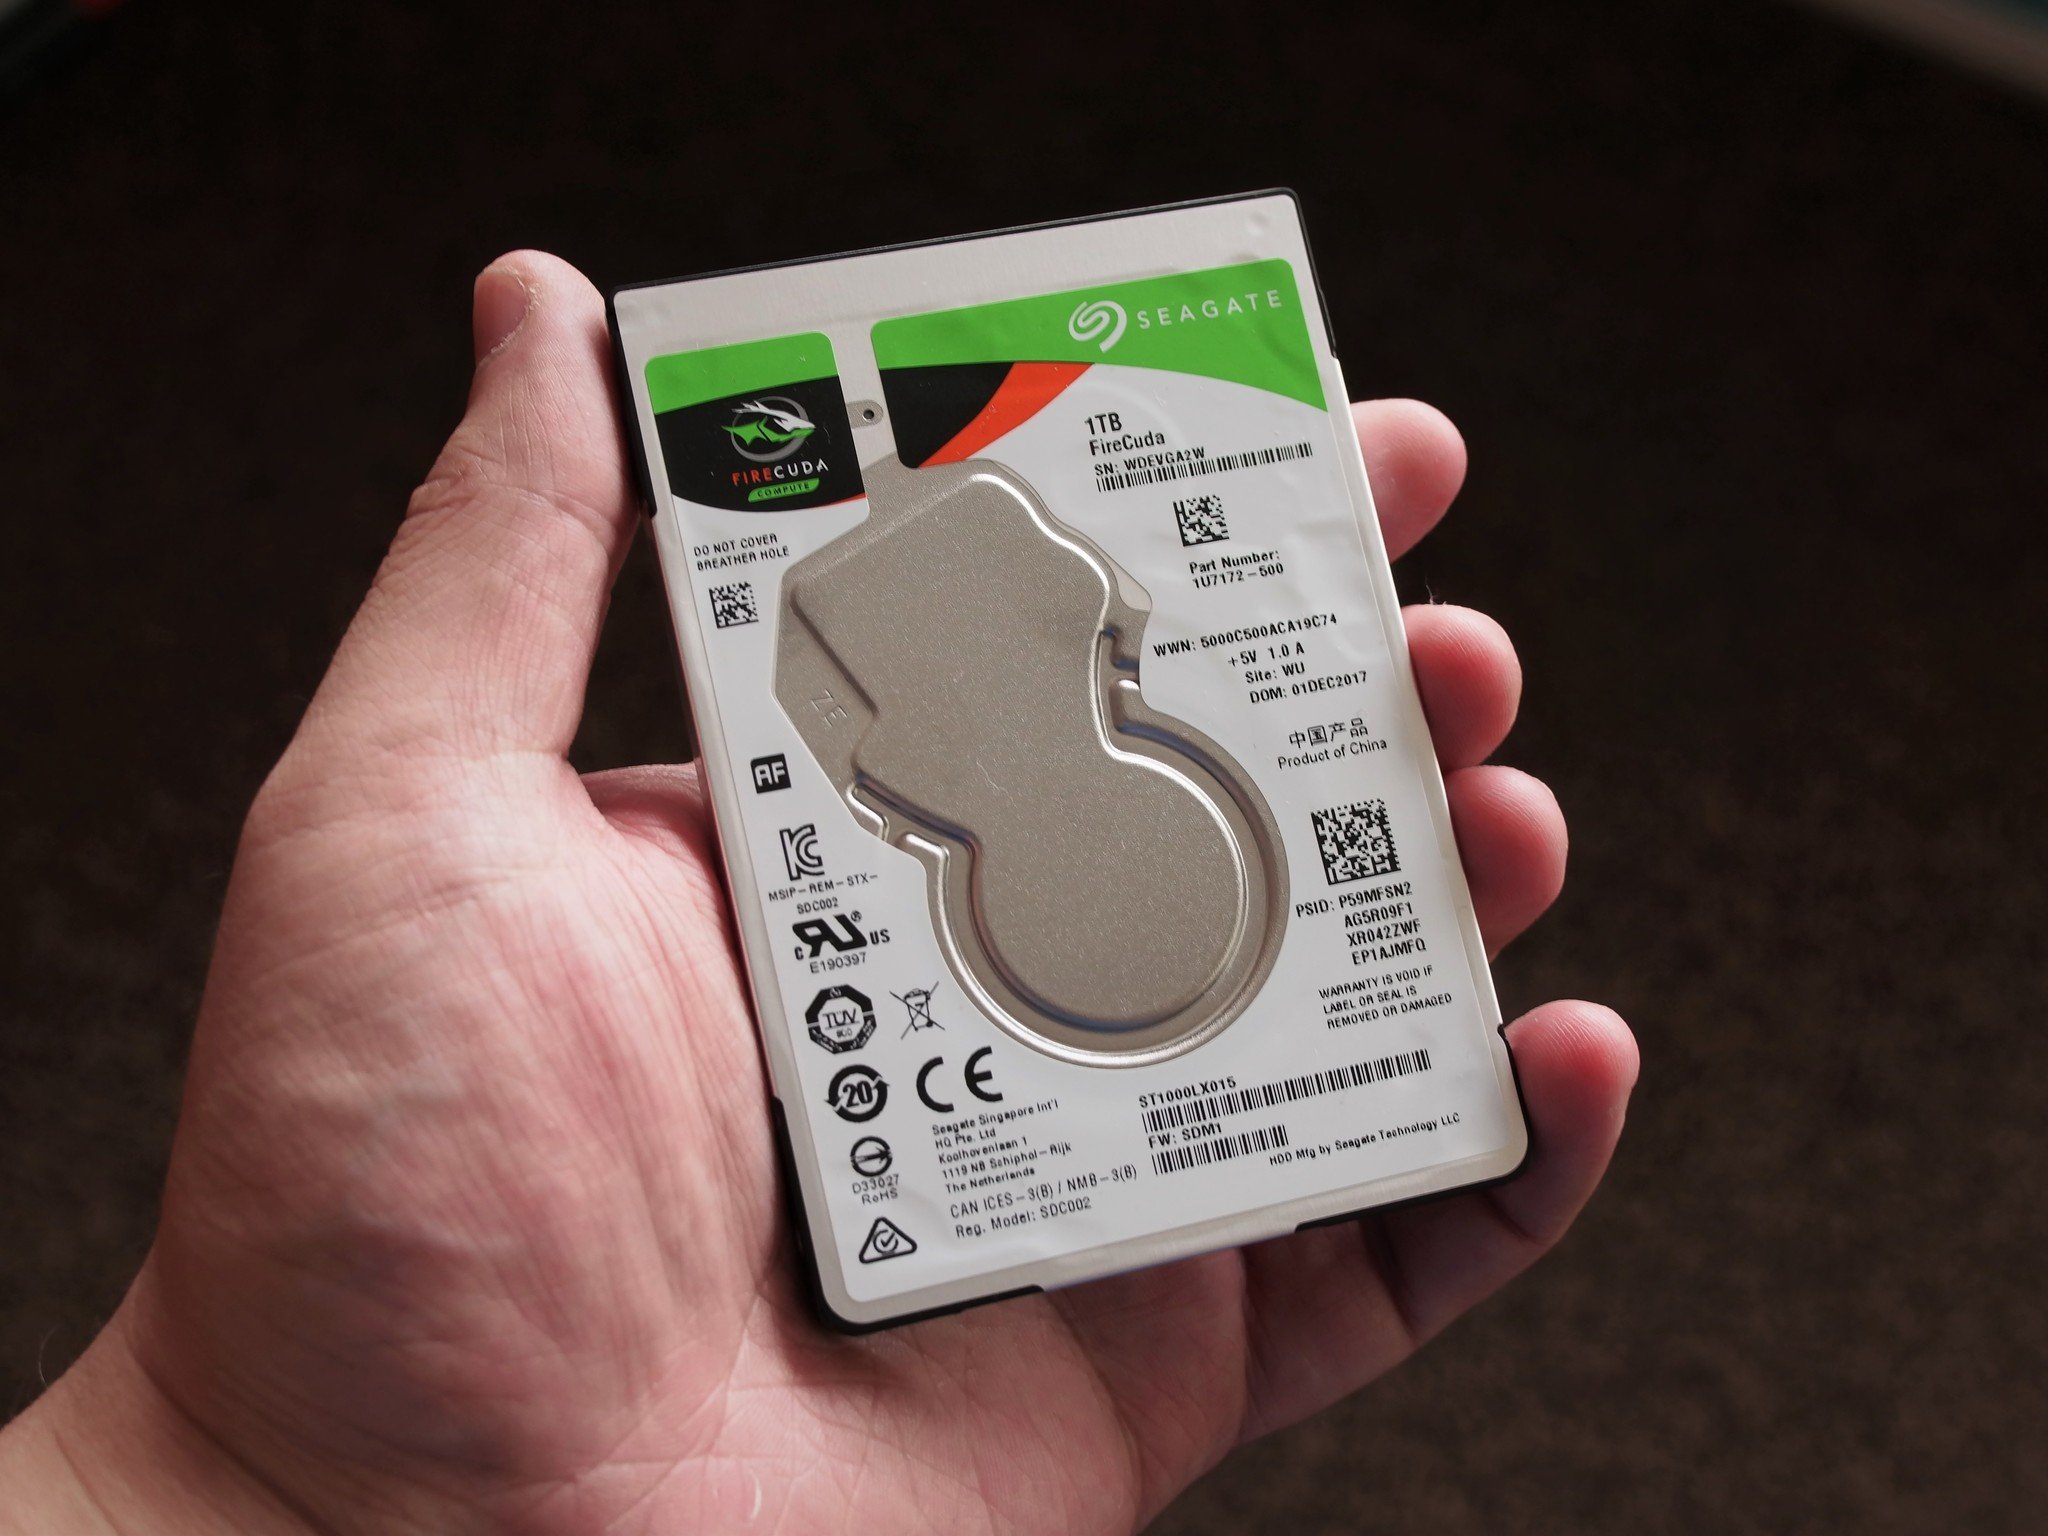
Seagate Firecuda 1TB

Better than a standard magnetic hard drive, this hybrid is a great choice for mass storage in your upgraded Mac Mini.
Professional pry tool kit
Better than using your fingers, this pry tool kit is worth having in your tool kit for those hard to remove and tiny parts.
Not everyone will want to do this, but it is possible to install a second drive in the 2012 Mac Mini to maximize its storage potential. You could reuse the existing hard drive, but since it's over six years old, it makes much better sense to use a fresh one.
You can use either a hard drive or an SSD, or as we have here, a Seagate Firecuda hybrid drive, not unlike the Fusion Drive Apple uses in some of its machines.
- Follow steps 1-17 from the section above to remove the existing drive and prepare your new SSD boot drive.
- You will need to detach any remaining items from the logic board at this point, including the wireless shroud and the IR cable.
- Grab your second drive install kit.
- Remove the final screw from the logic board with a Torx T6 screwdriver.
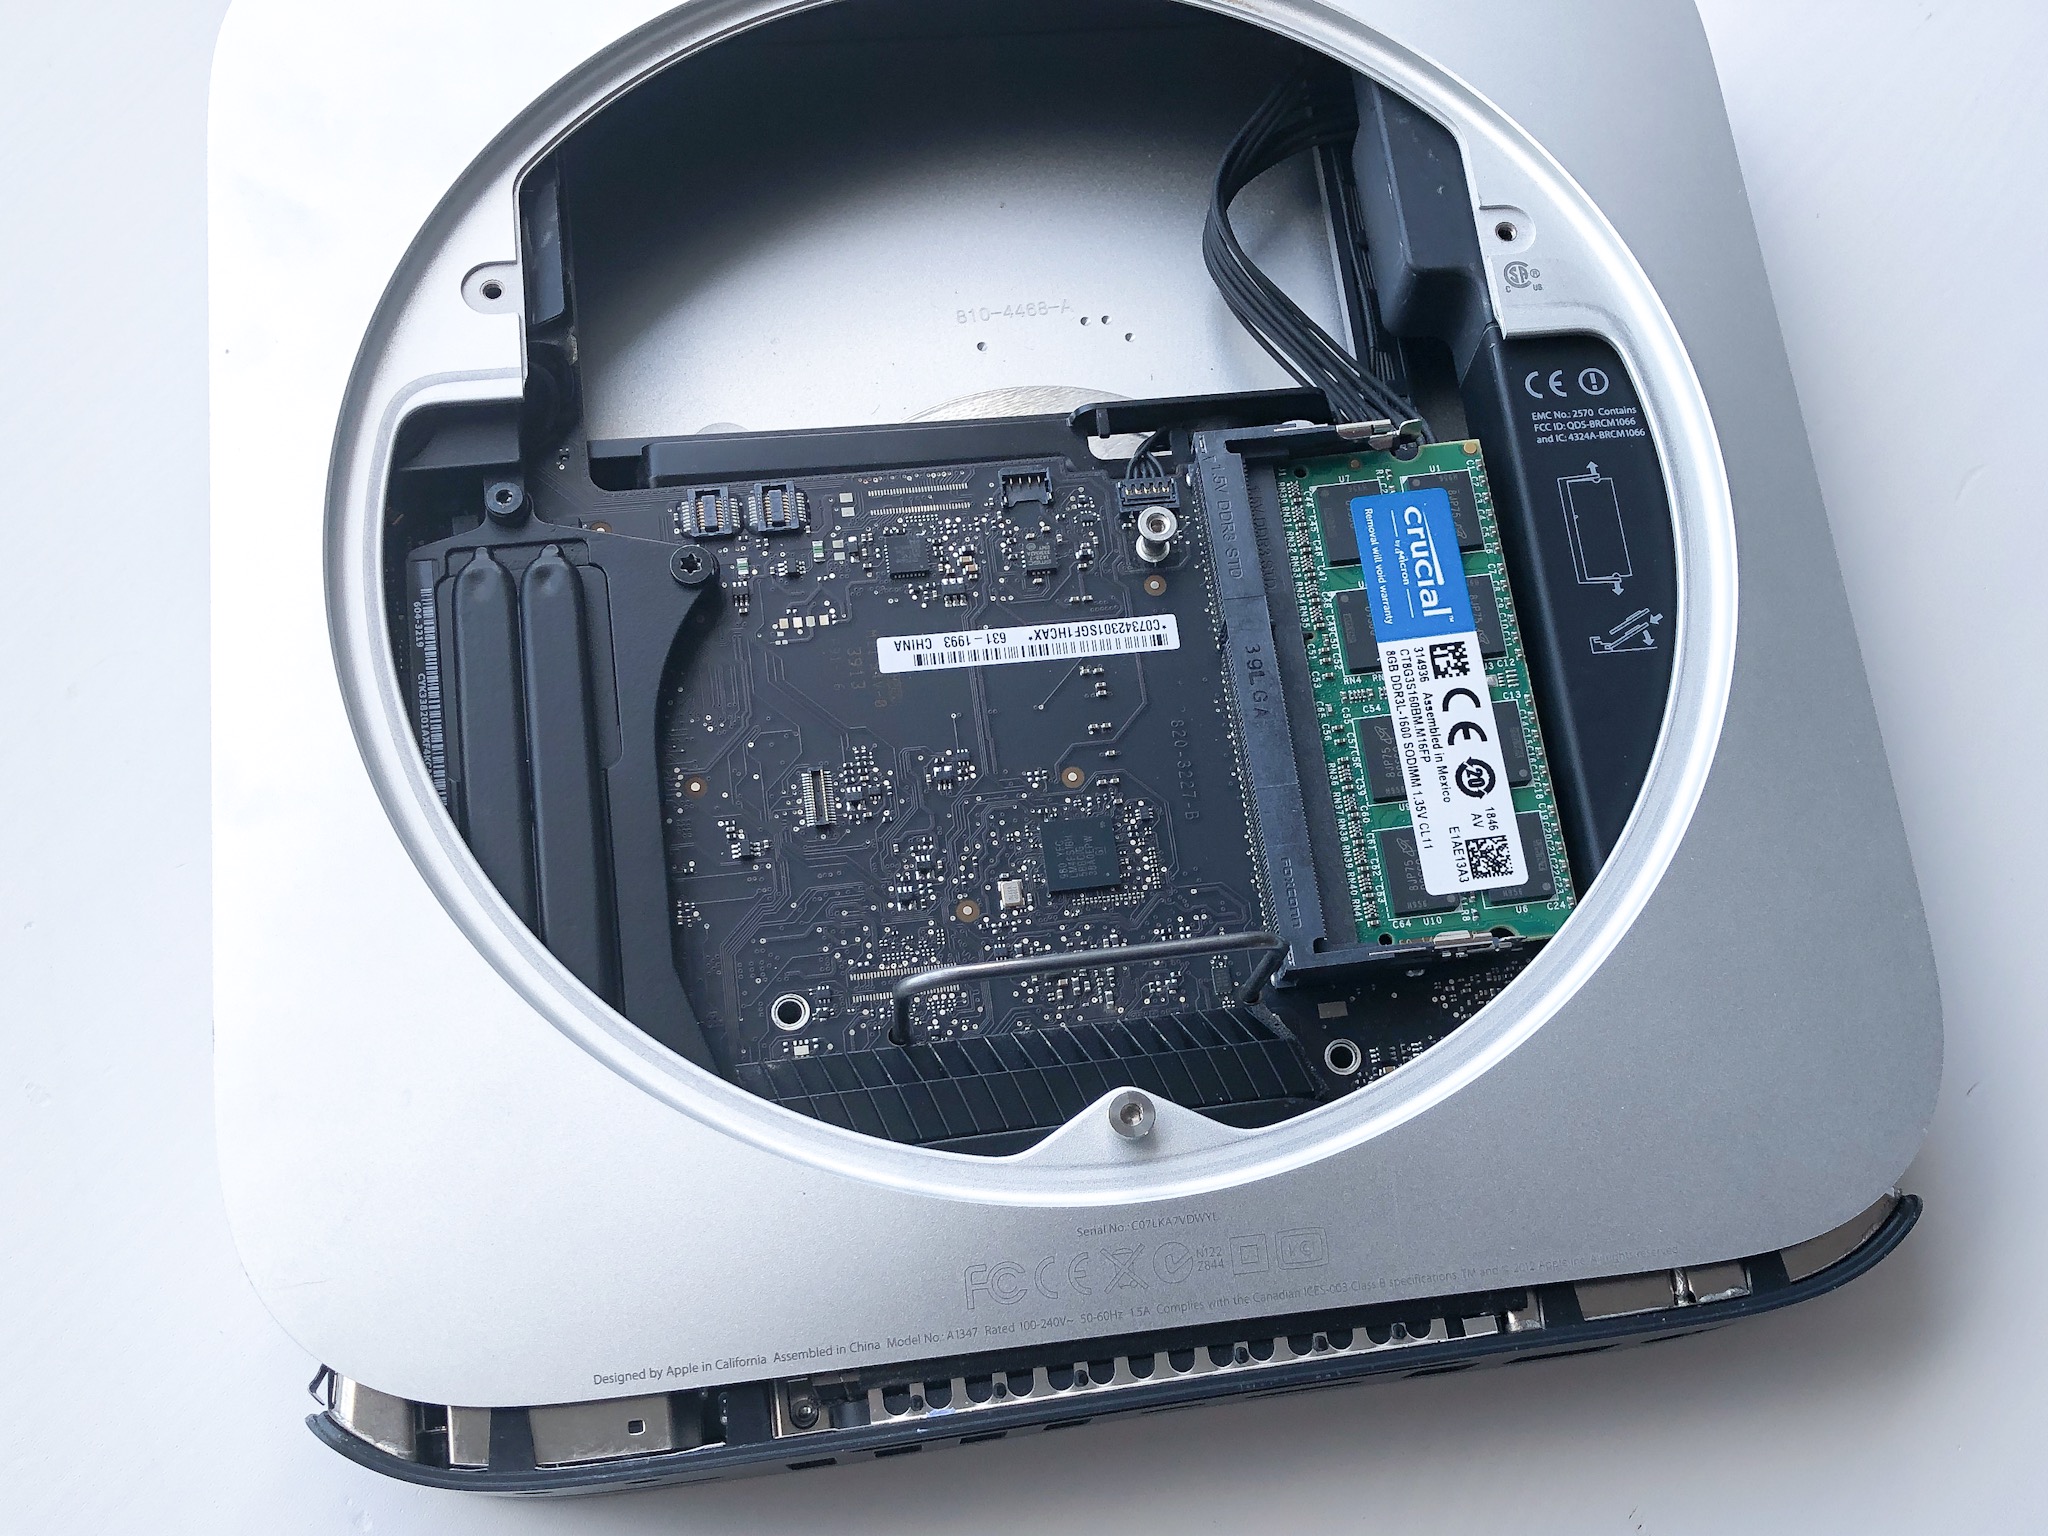
Insert the logic board removal tool into the holes pictured.
Gently pull the logic board away from the case.
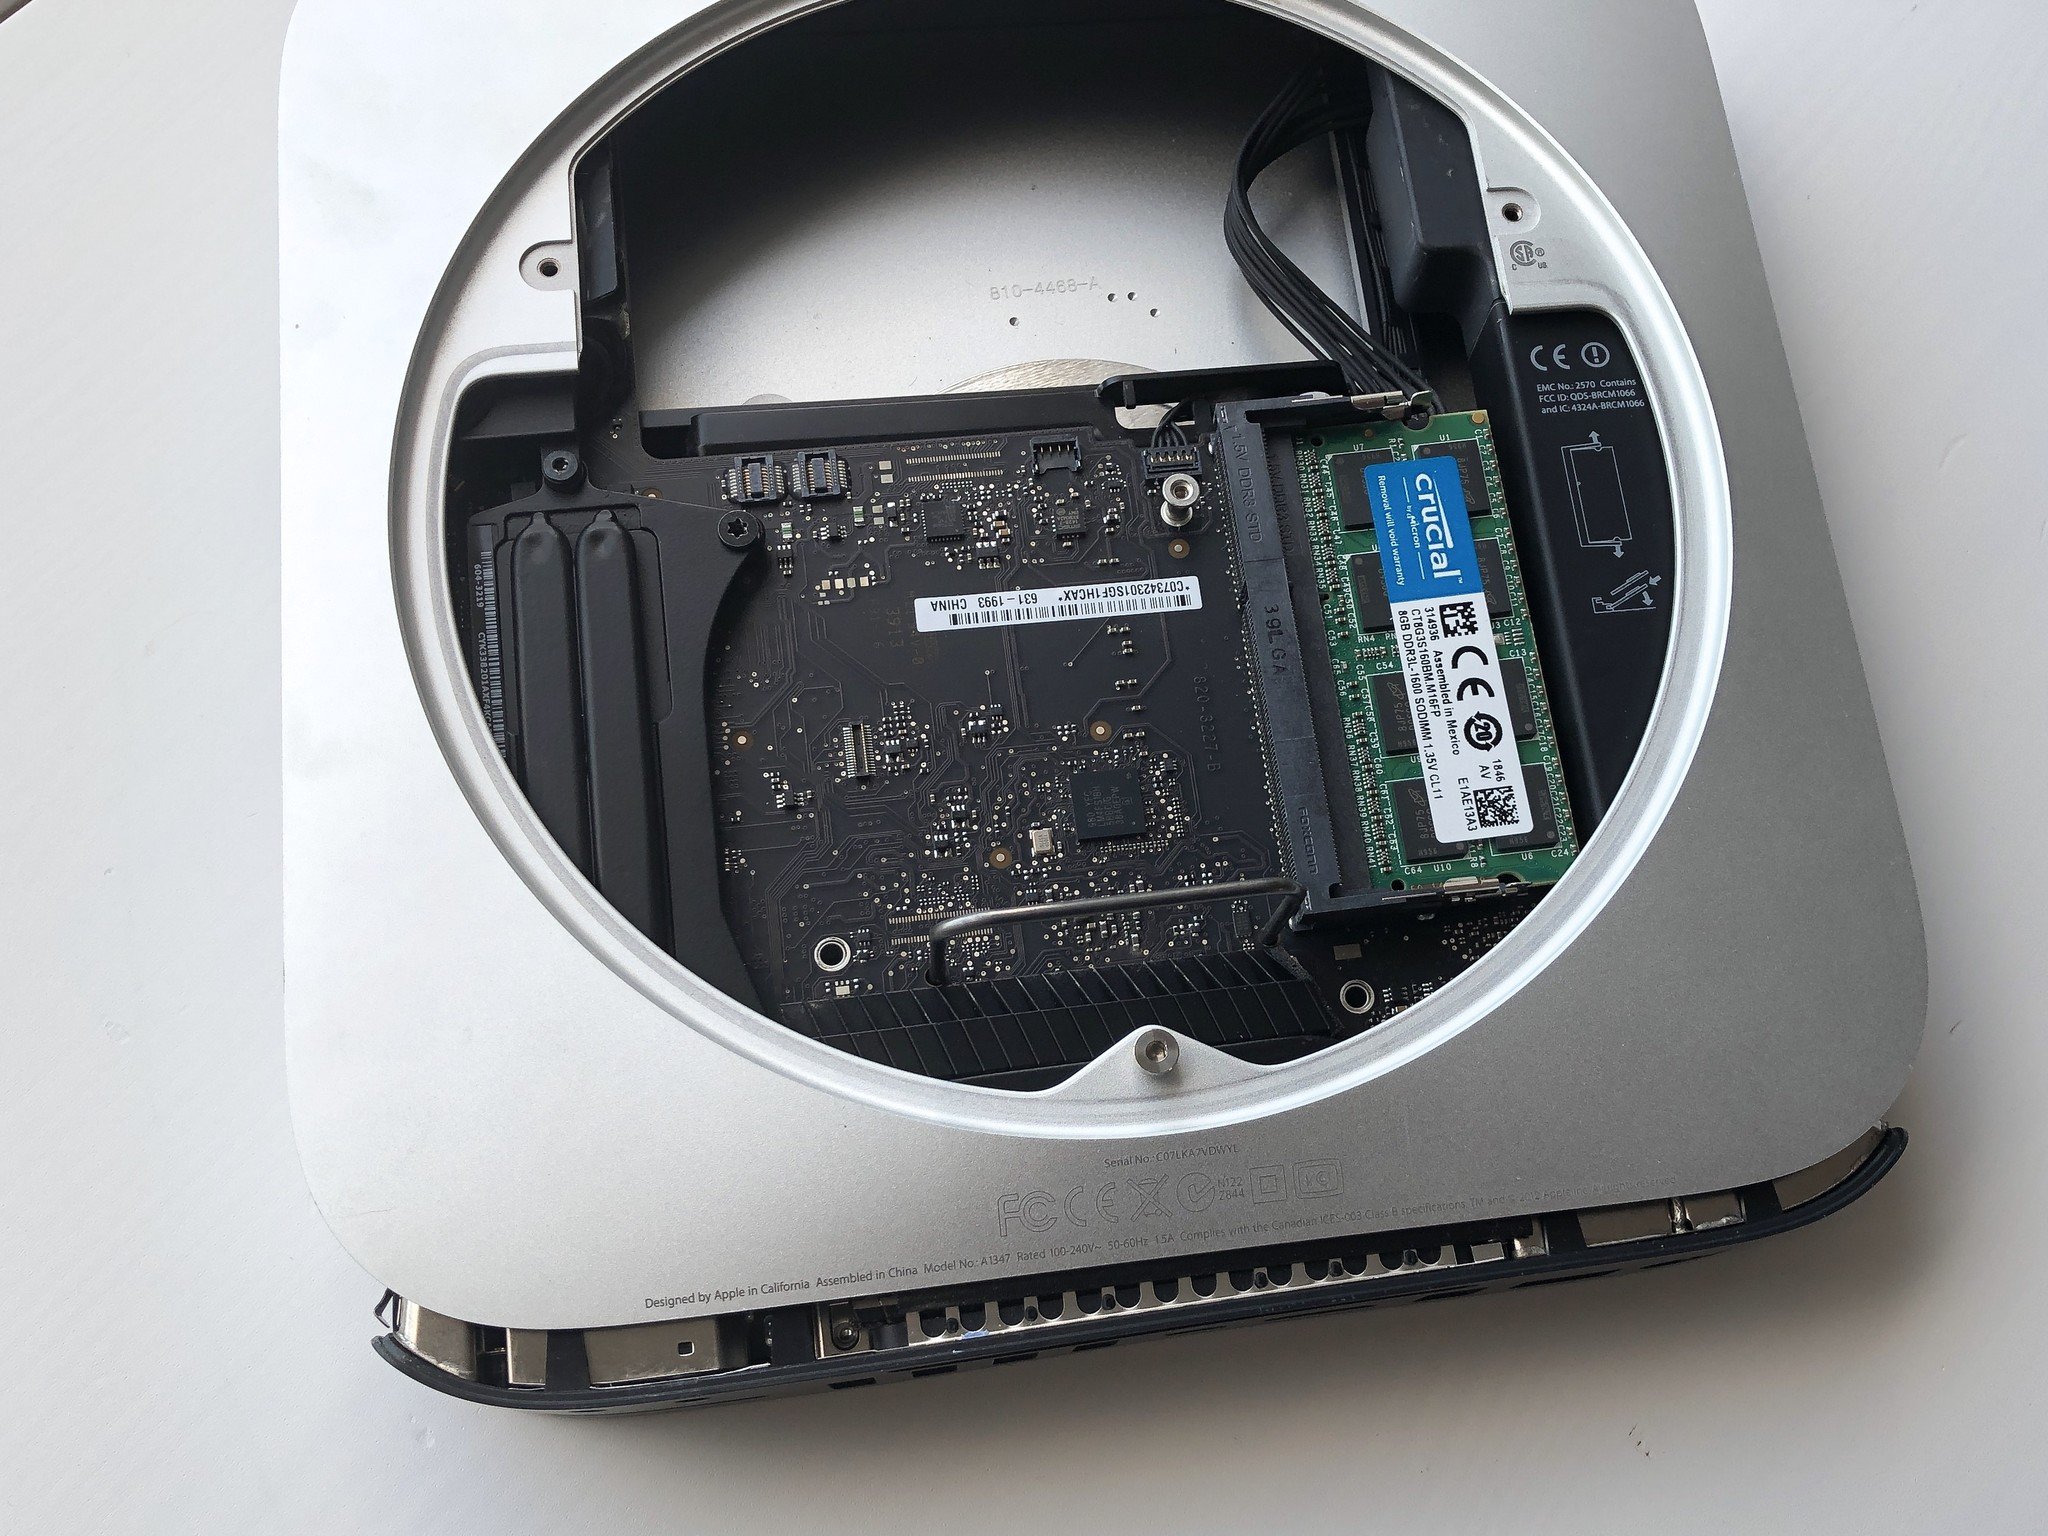
- Disconnect the power supply cable from the logic board.
- Pull the logic board out of the rear of the case.
Remove the two Torx T6 screws that hold the drive bracket and power supply in place.

- Slide out the retaining clip from the power supply.
Turn the power socket 90-degrees anti-clockwise.
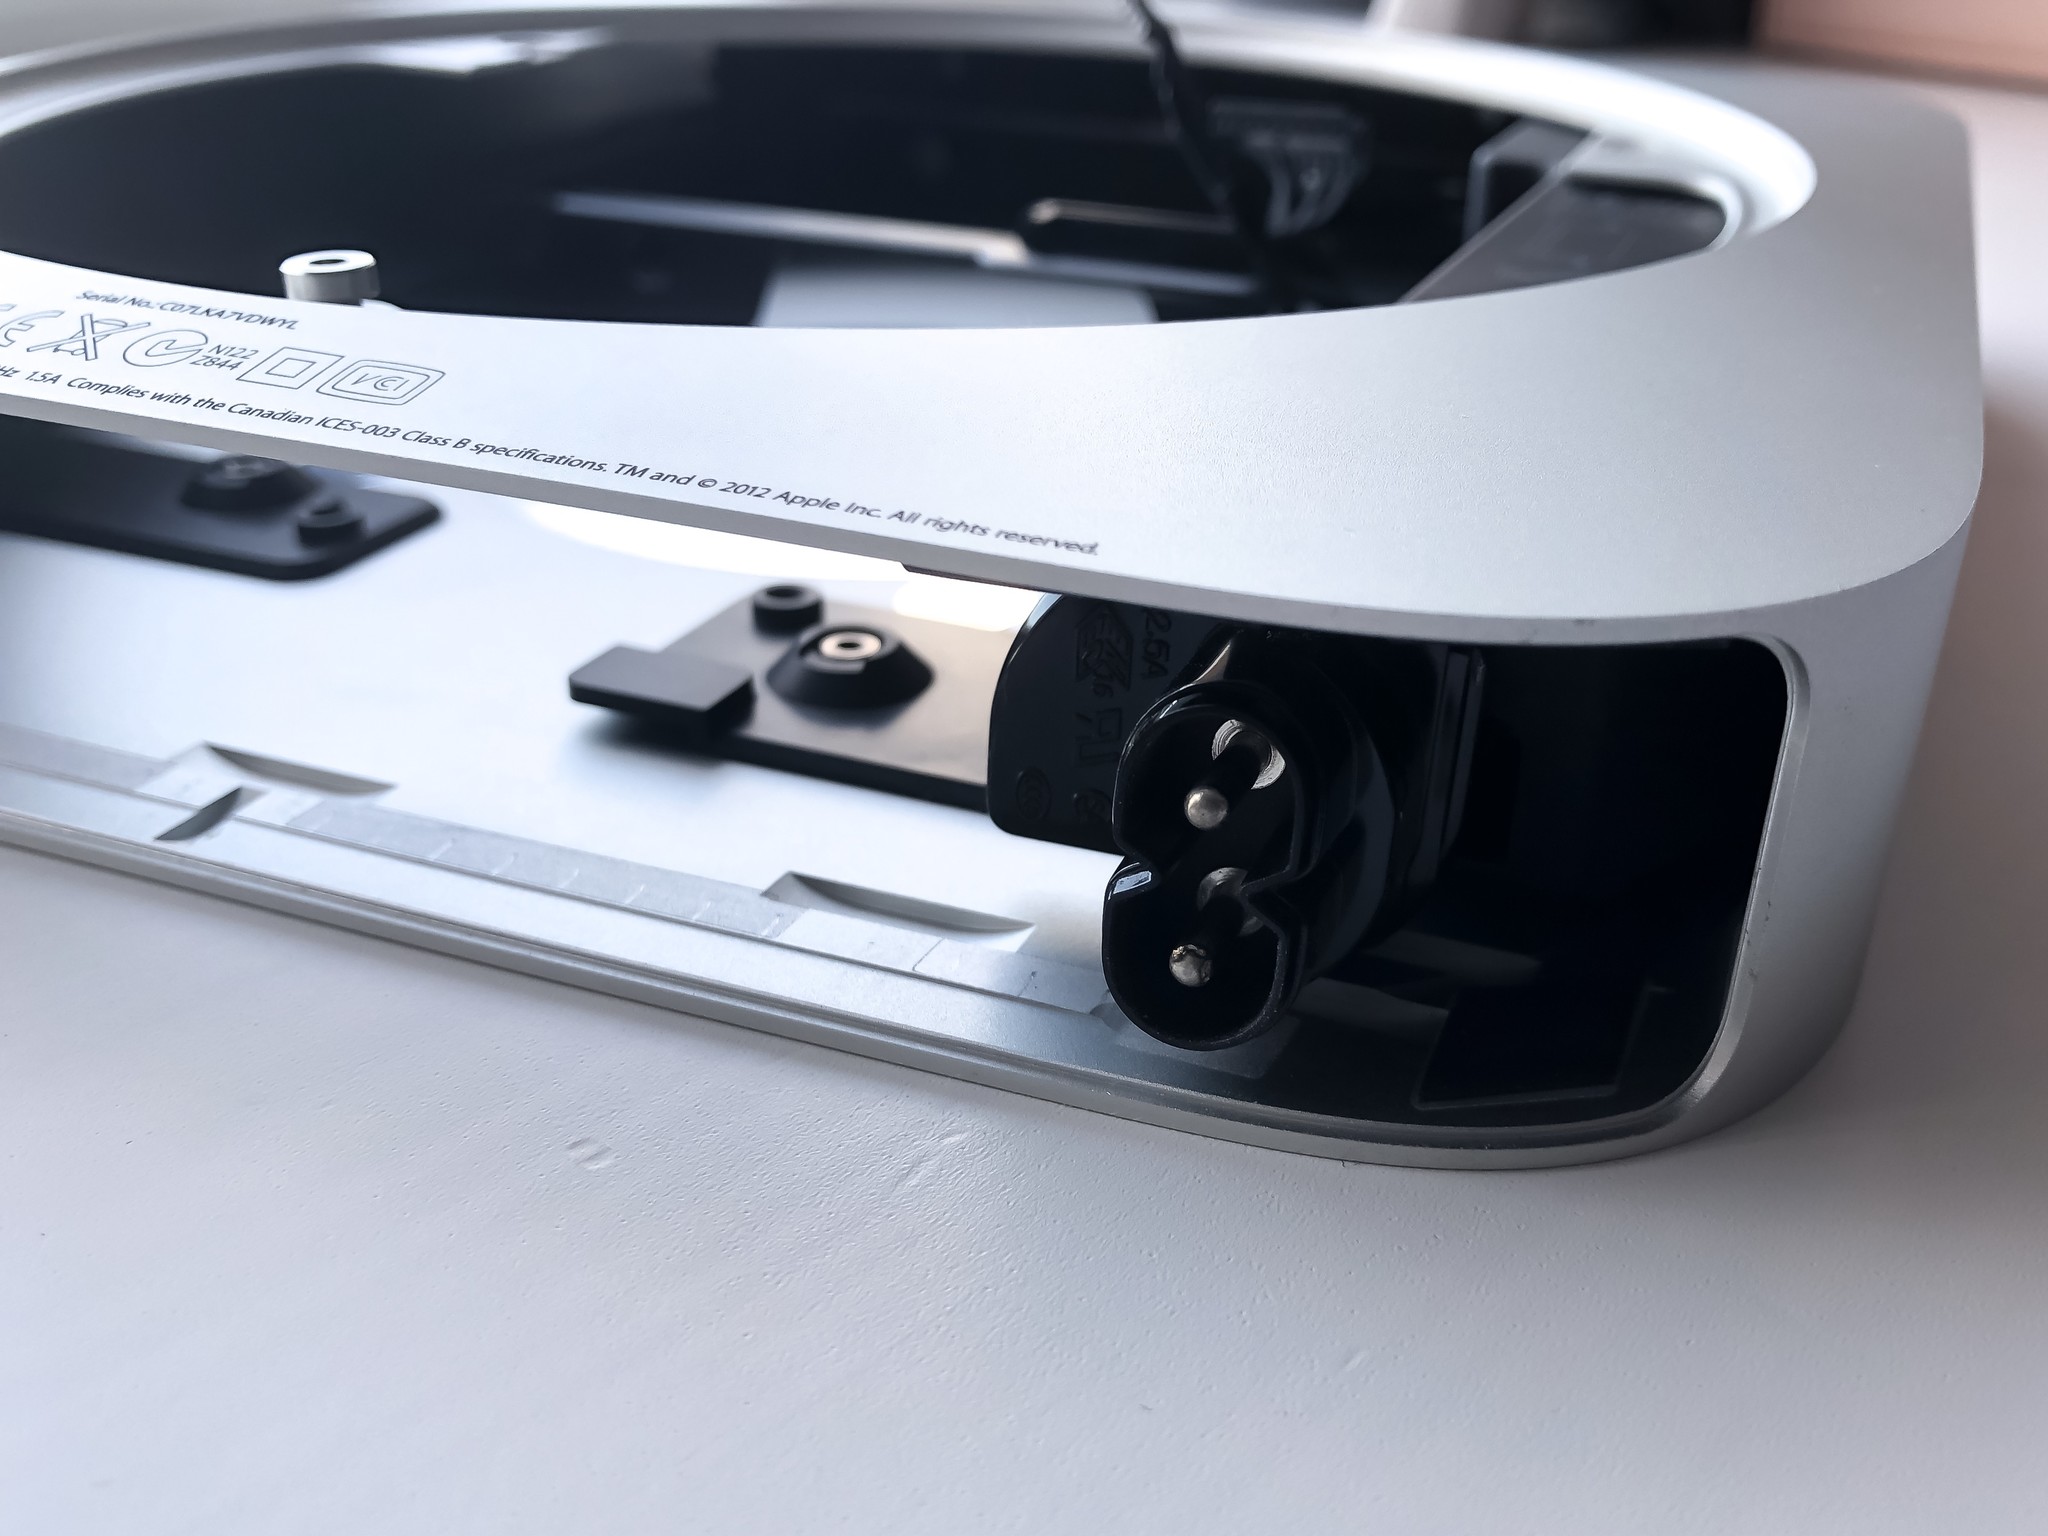
- Pull the power supply away and slide it out of the back of the case.
- Carefully lift out the drive bracket.
- Attach the rubber grommets from the install kit to the holes on the drive bracket.
Attach the ribbon cable from the install kit to the new drive.
- Ensuring the ribbon cable is facing upwards, screw the new drive into the bracketwith the screws from your installation kit.
- Place the hard drive bracket back into the case and line up the fixing holes.
- Slide the power supply back into the case until it locks into the place.
- Re-attach both by screwing the T6 screws back into the case.
- Reverse the steps above to reinsert the logic board, all fixings, and connectors, including the new hard drive ribbon cable.
- Follow steps 18-23 from the section above to insert the new main SSD and reassemble what remains of the Mac Mini.
Once everything is back in place, and the Mac Mini is closed up, it's time to do a fresh install of macOS.
Reinstalling macOS
You could clone the existing drive and skip this step; however, when doing any kind of work this extensive, we always find that doing a fresh install of the OS is a good idea.
The process is pretty straight forward.
- Turn on the Mac Mini.
- Press CMD+Option+R to enter Internet Recovery mode.
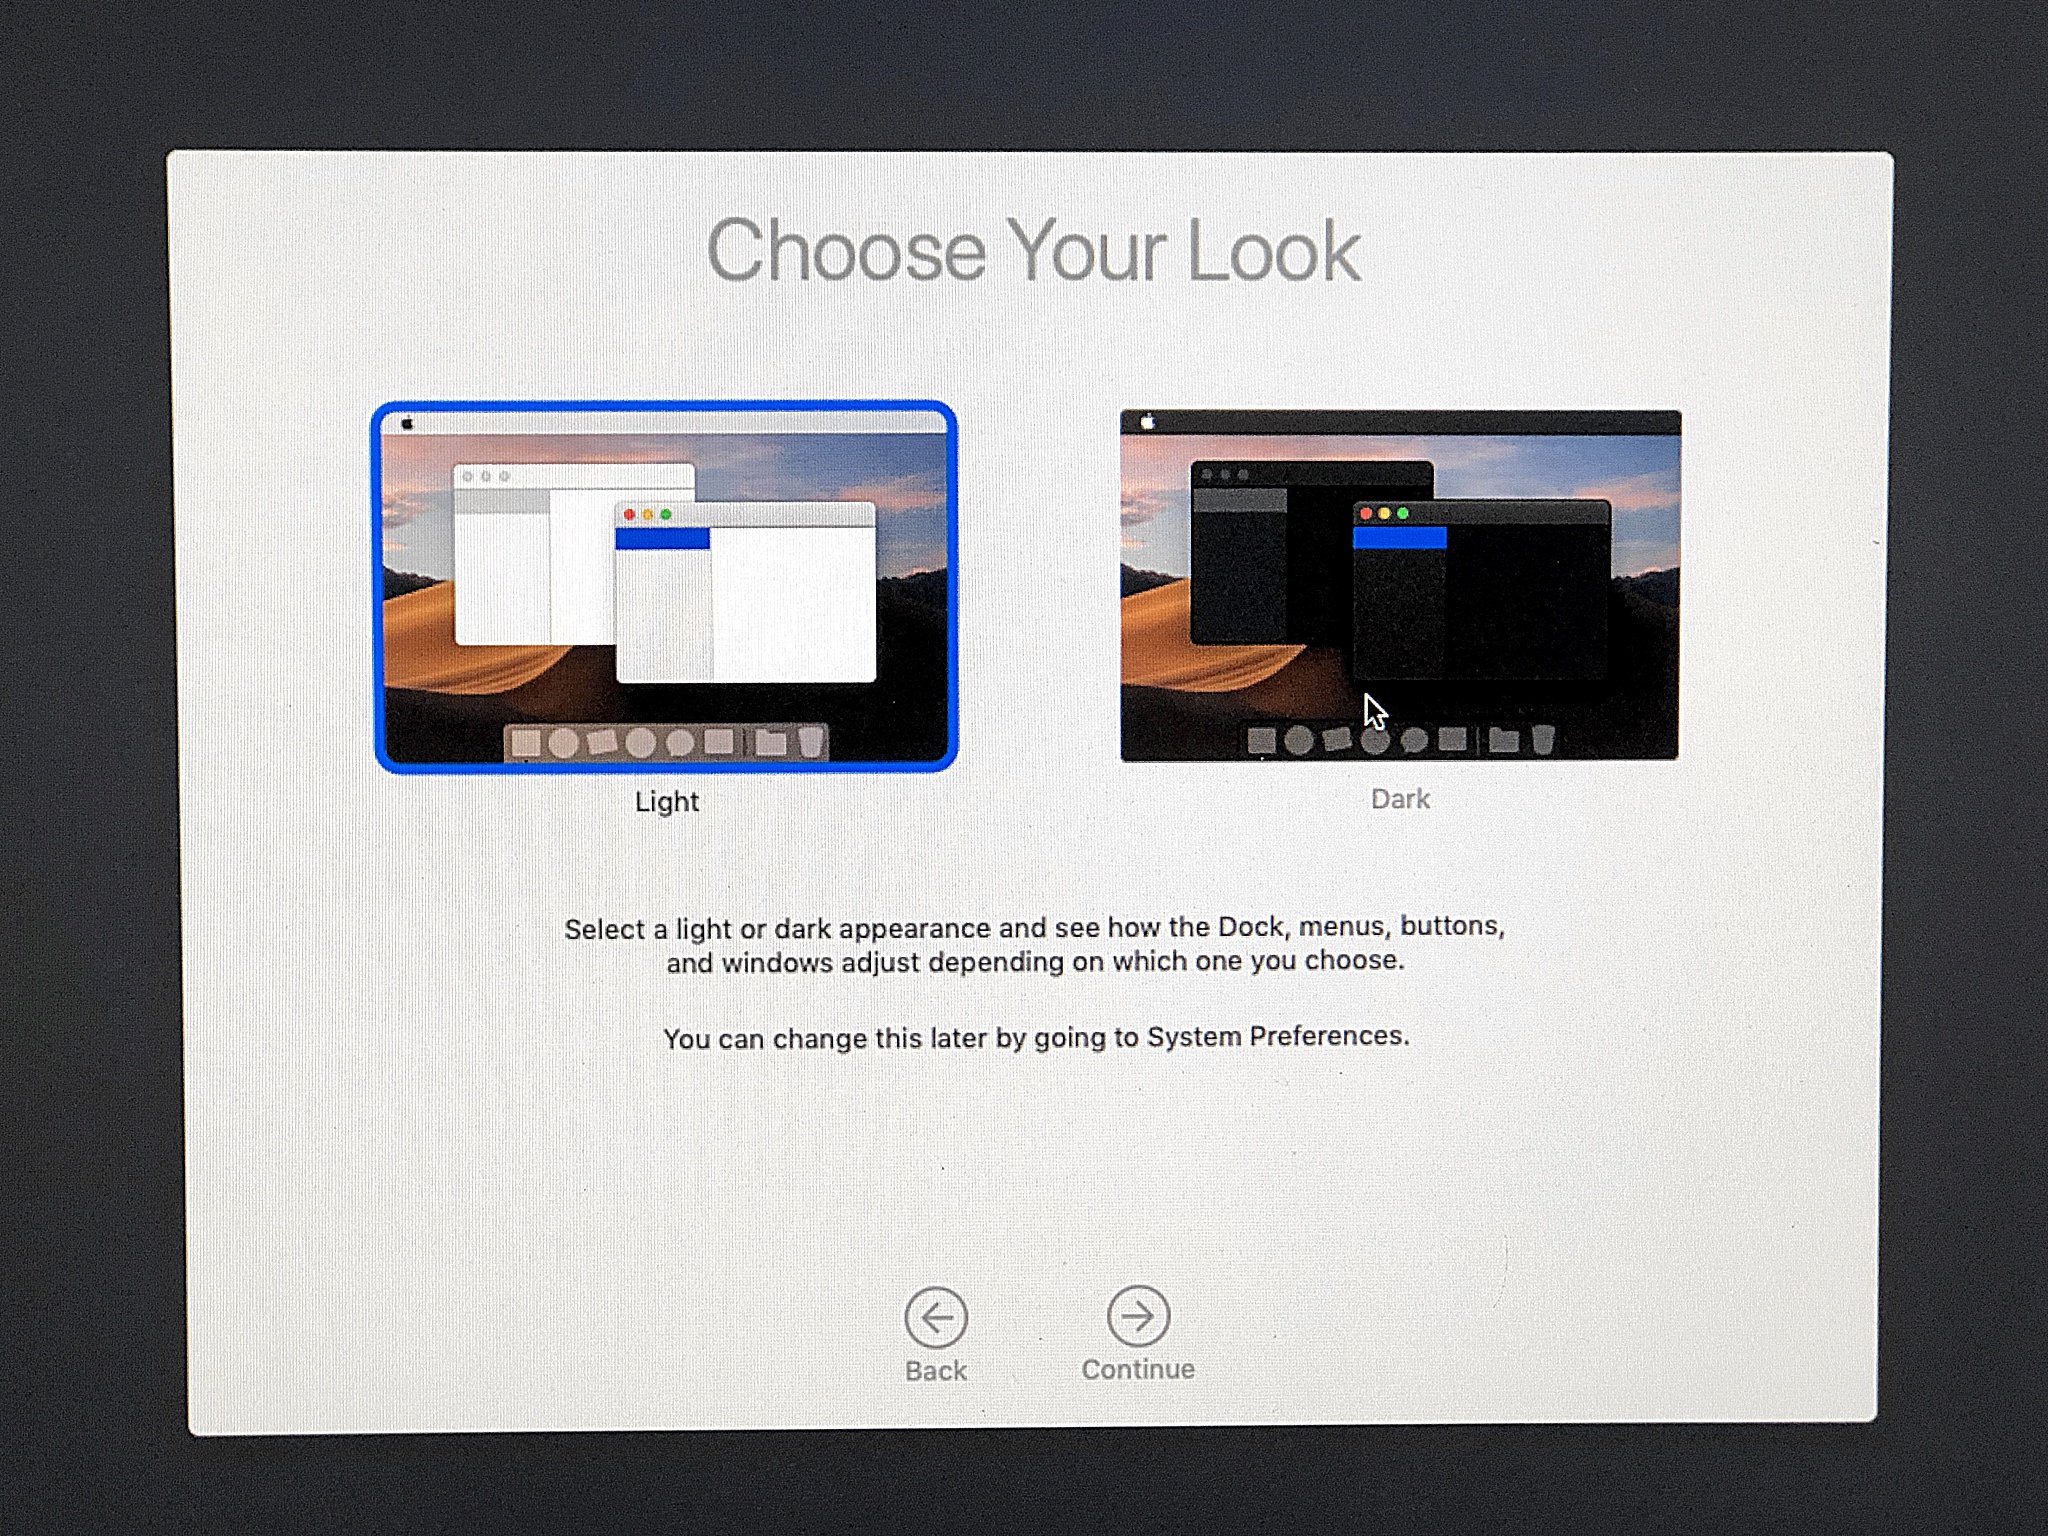
It'll take some time, but you'll now download a factory-fresh version of macOS from Apple and use it to set up your Mac Mini again from scratch.
On your new drive, you will need to use the Disk Utility feature to first erase the SSD (even though it's blank) and then create a new partition to install macOS on to.
From here, run the install process for macOS and leave it while it does its thing.
How to upgrade the RAM
Maxed out
Crucial 16GB RAM kit
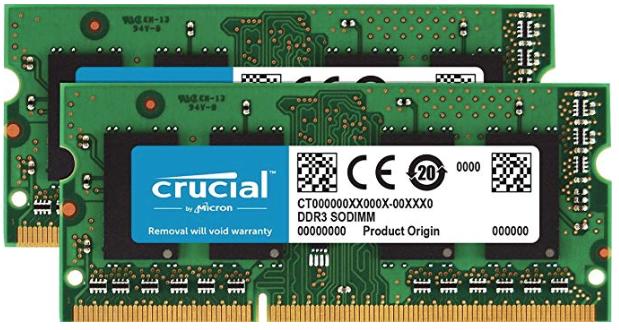
Max out the RAM in your 2012 Mac Mini
The most you can install in the 2012 Mac Mini, 16GB of RAM is a great, affordable performance upgrade, and this kit from Crucial will slot right in.
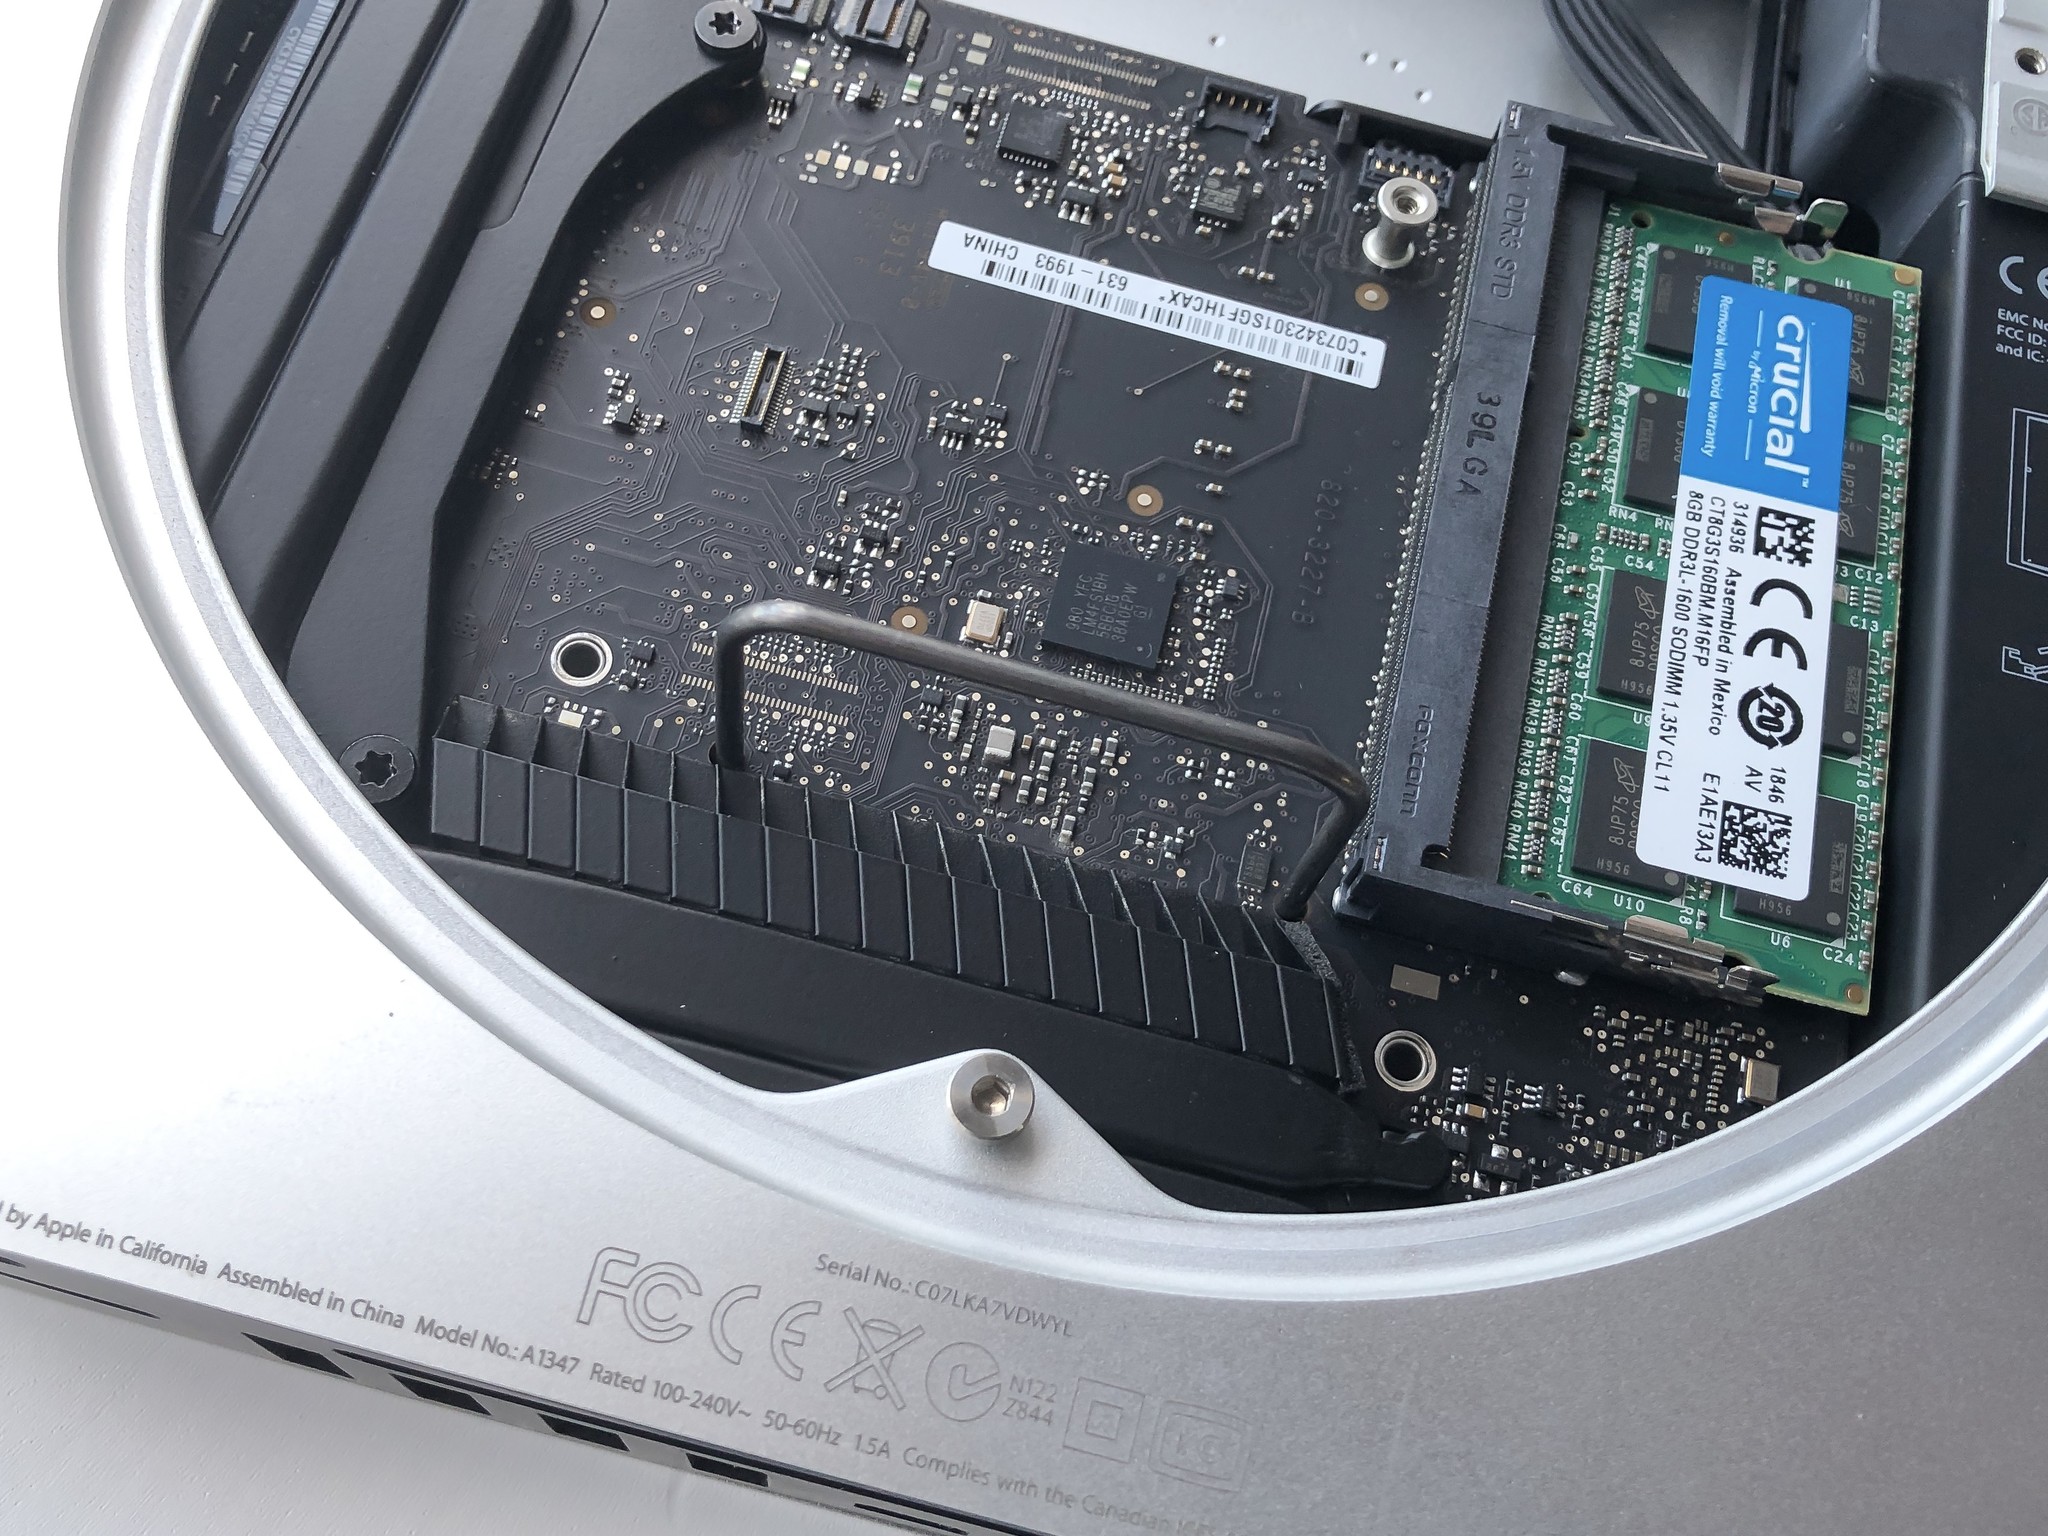
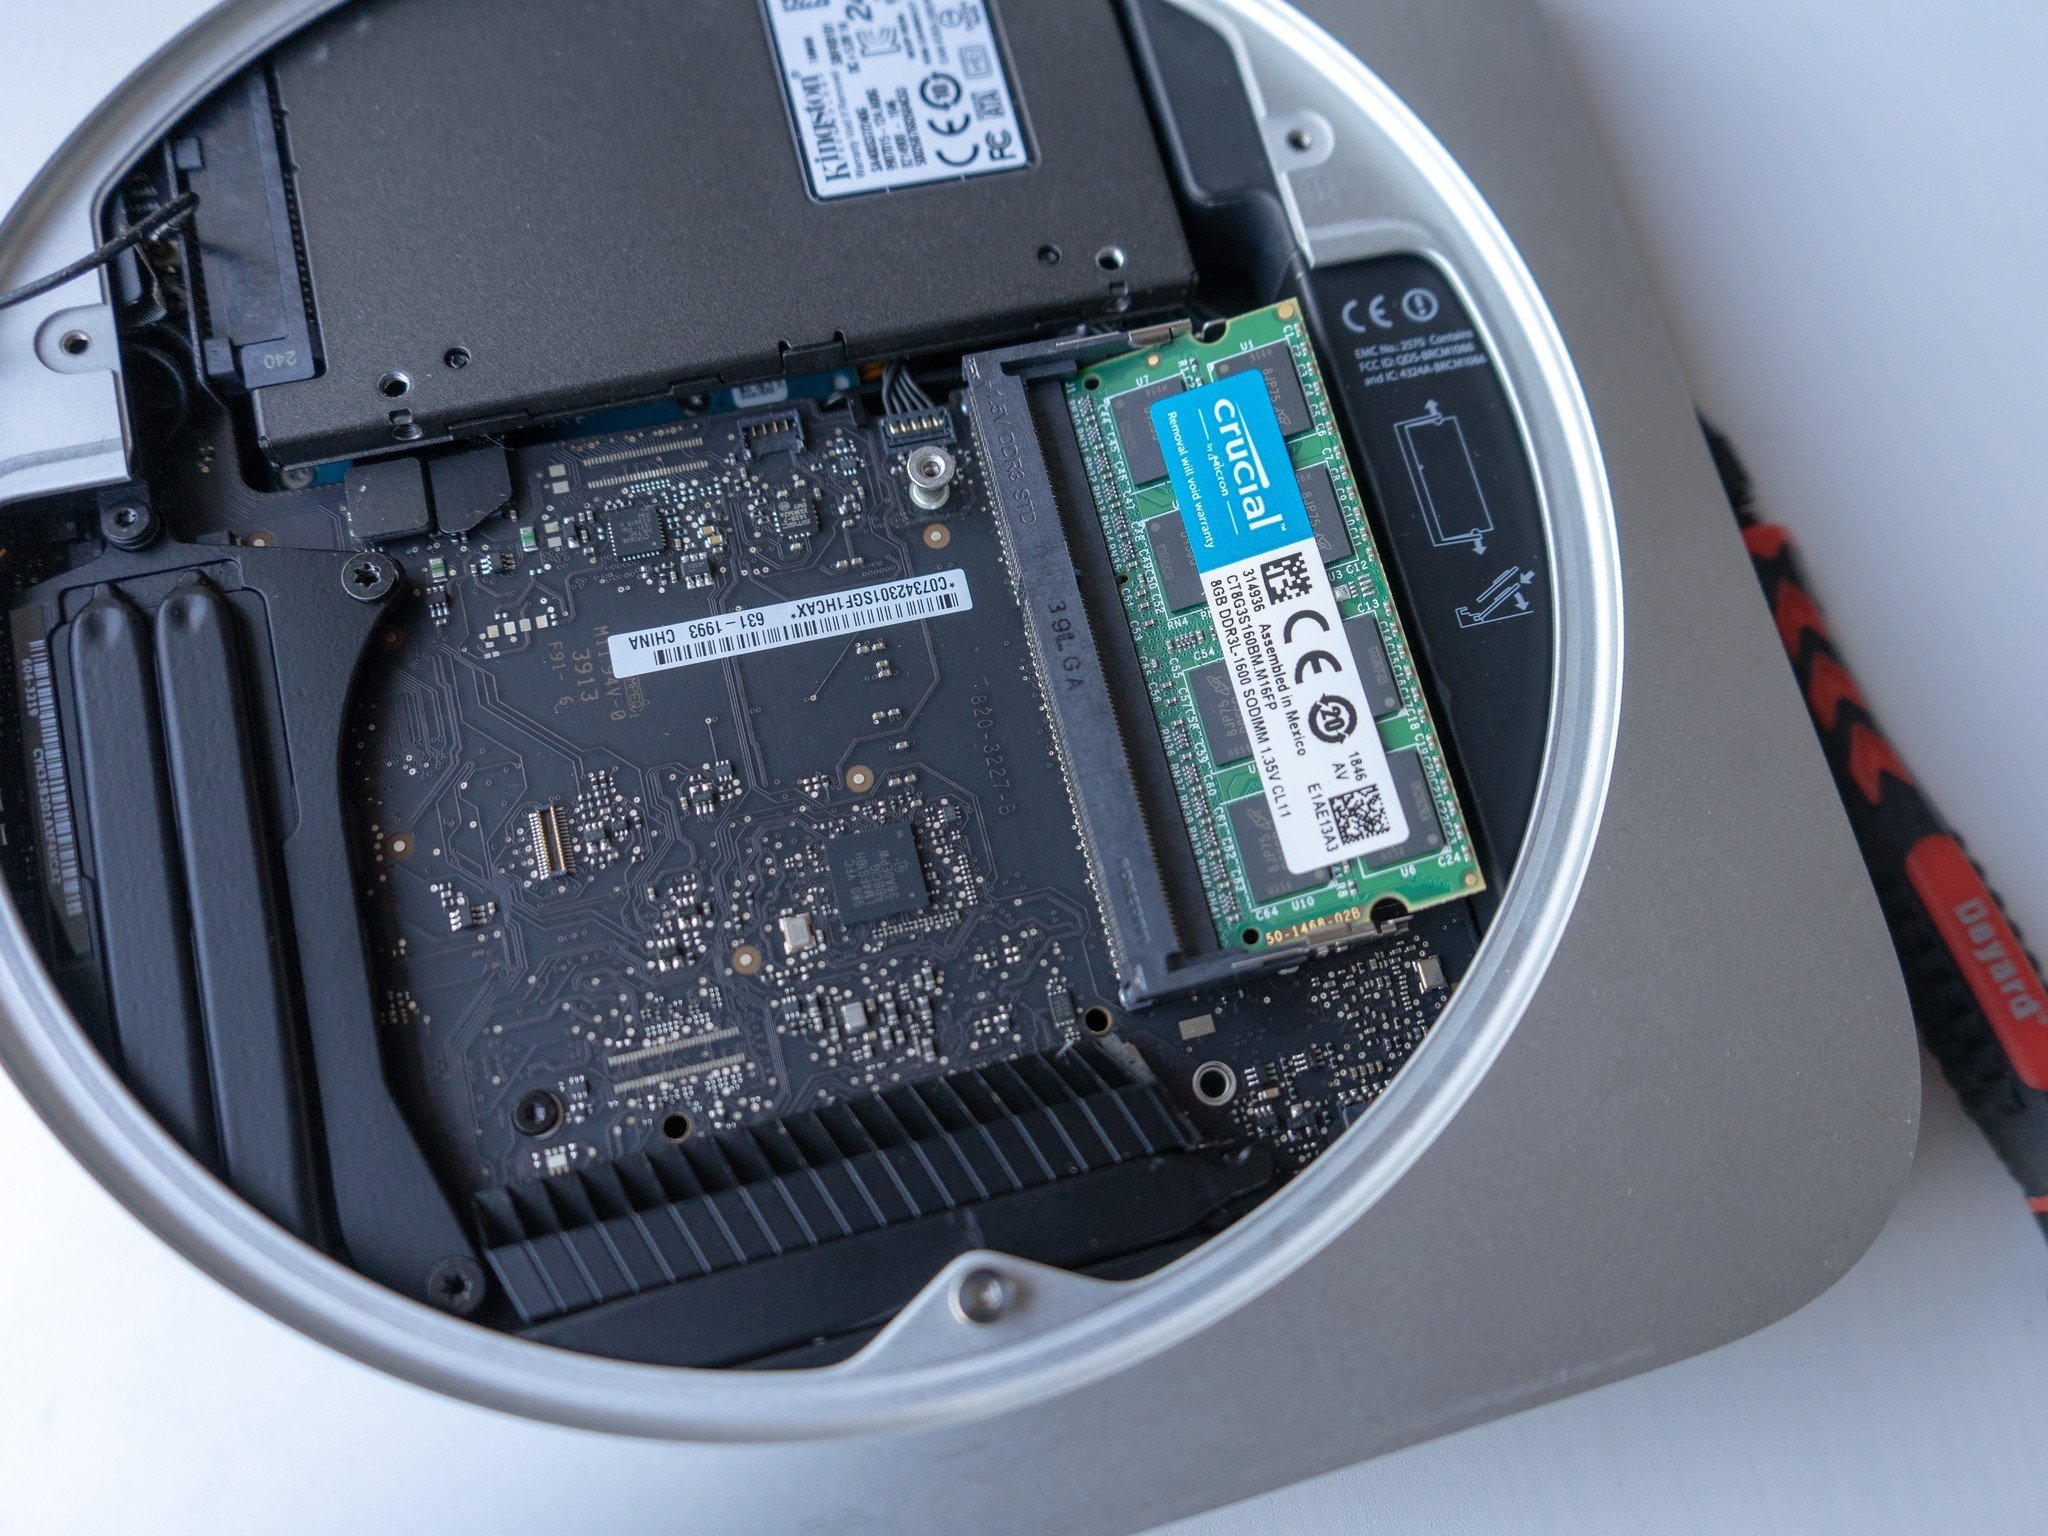
Besides adding an SSD, the next best thing to do to give your old Mac Mini some additional legs for present-day computing is to add more RAM.
The 2012 Mac Mini uses 1600MHz DDR3 SODIMM modules and can accept up to 16GB across two slots. So the best you can do is grab a 16GB kit made up of a pair of 8GB sticks.
Here's how you install it.
- Flip over the Mac Mini.
- Place your thumbs in the circular divots and twist the base clockwise.
- The base should simply pull away, but may need prying with a plastic tool or even a credit card.
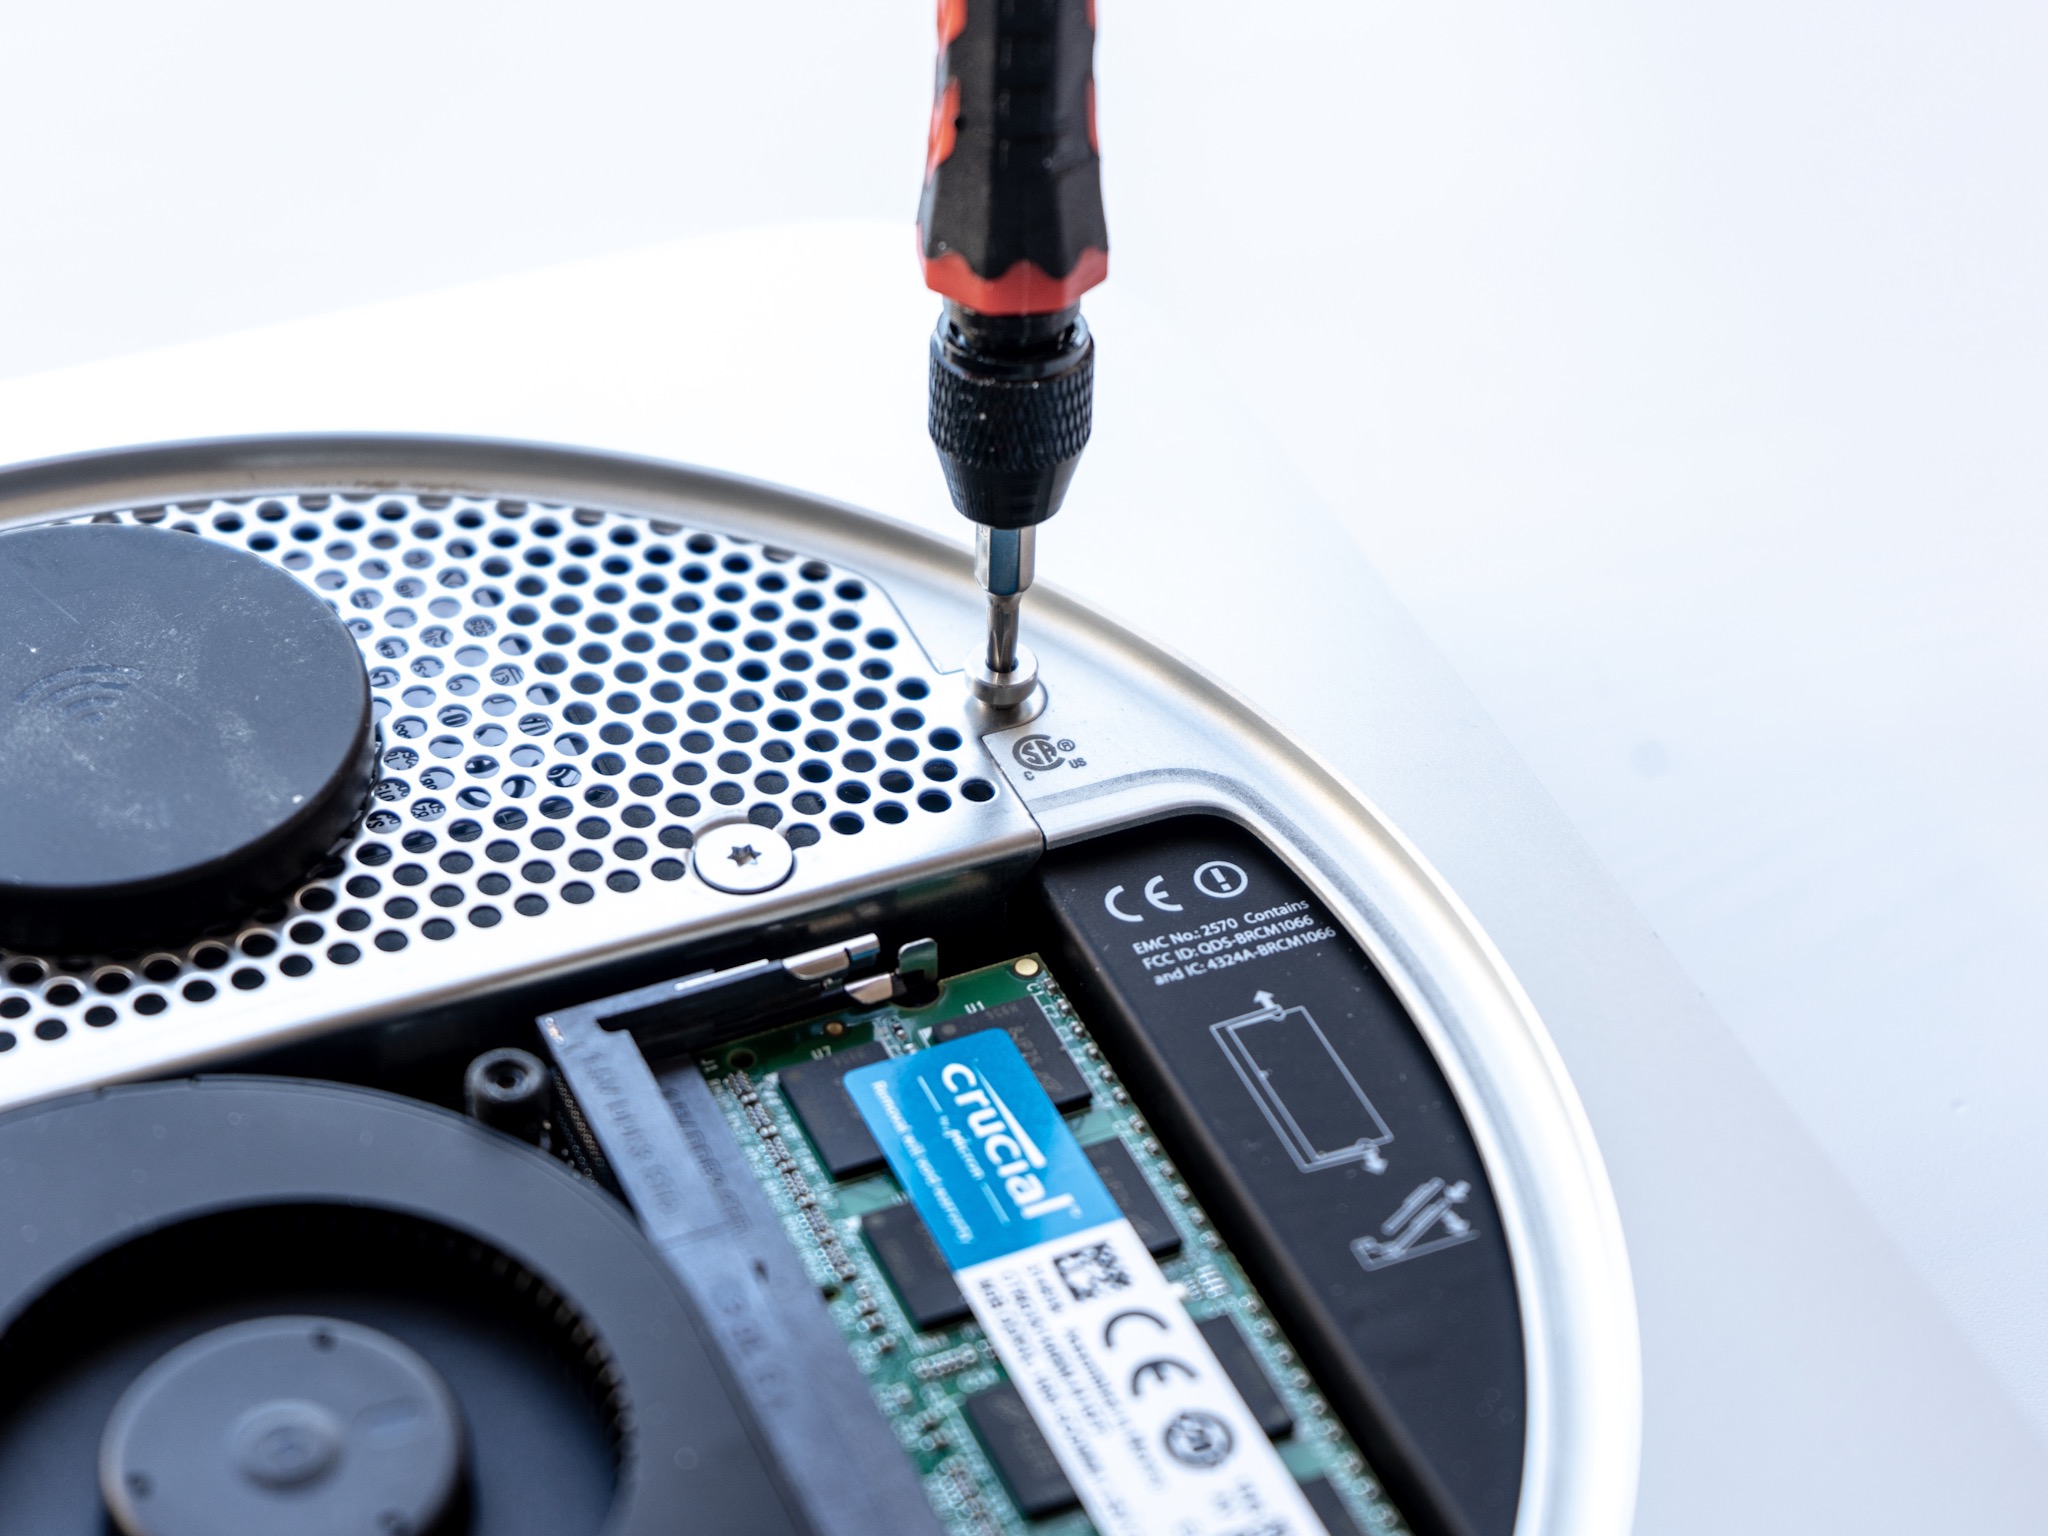
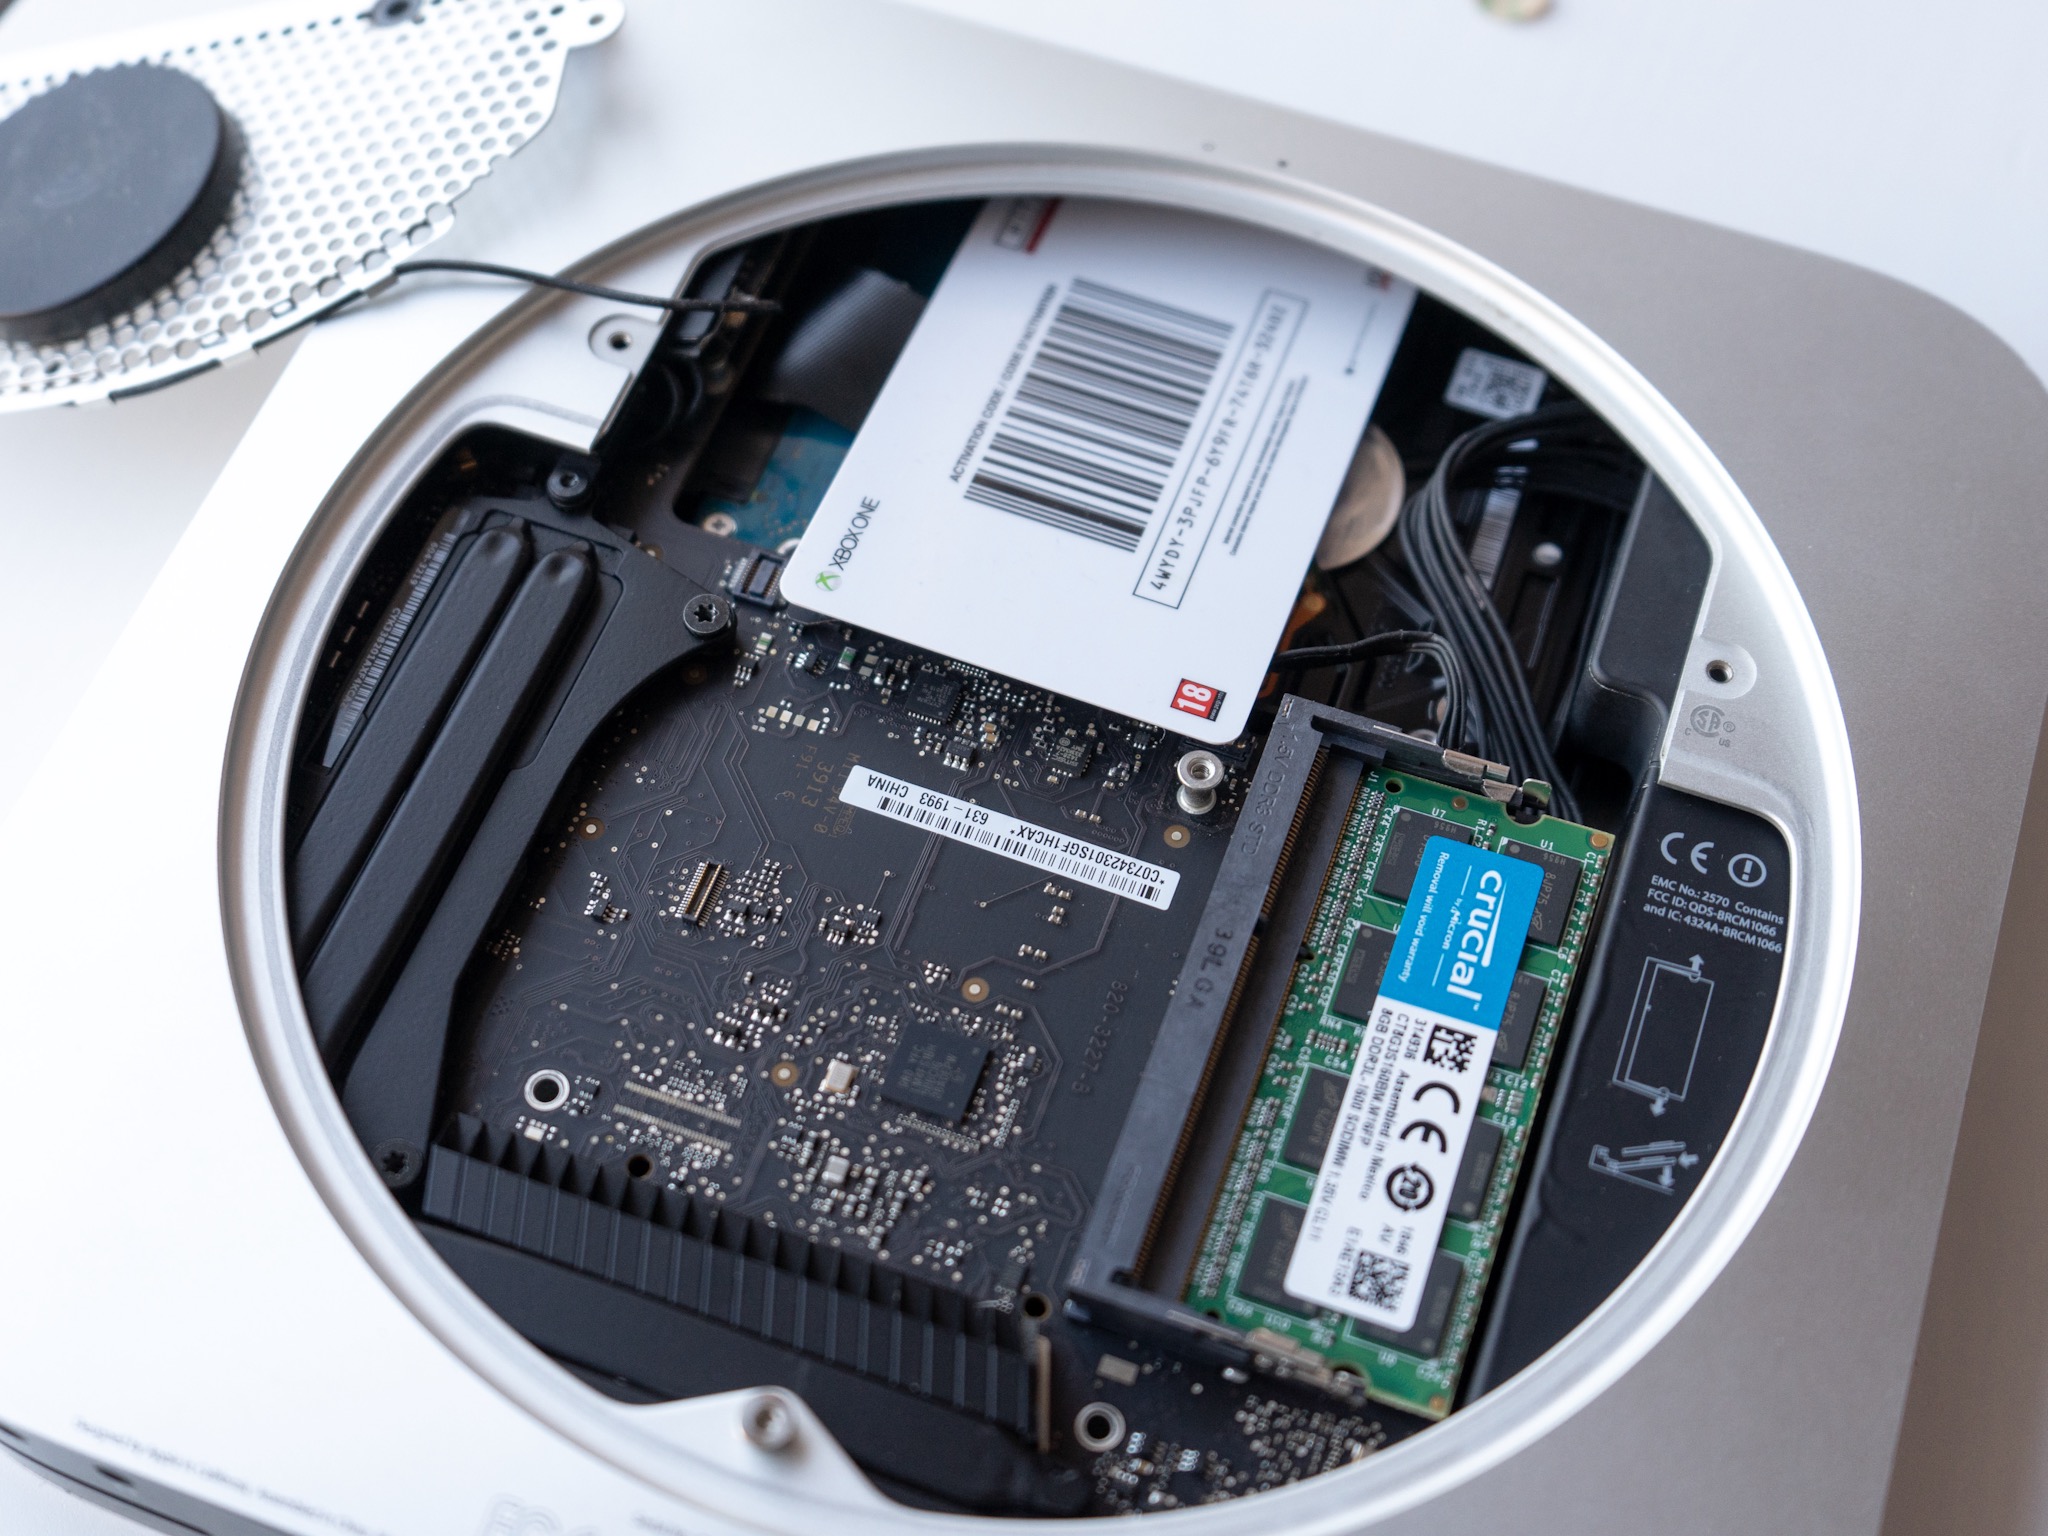
- Pry apart the metal brackets around the current RAM sticks.
- As they pop up, gently pull them away.
- Line up the new RAM sticks and push gently into the slots.
- Push down gently until they lock into place.
To verify all is well, boot up the Mac Mini and check out the About This Mac information. If it shows the amount of RAM you installed, all is well. If not, you'll need to go back in and troubleshoot your installation one stick at a time. Remove one, reboot, and check About This Mac again to verify.
By doing it a stick at a time, you can easily identify if you have any bad RAM. If this is the case, the system won't post, so it's easy to spot.
Pair it with a good monitor
Beautiful pixels
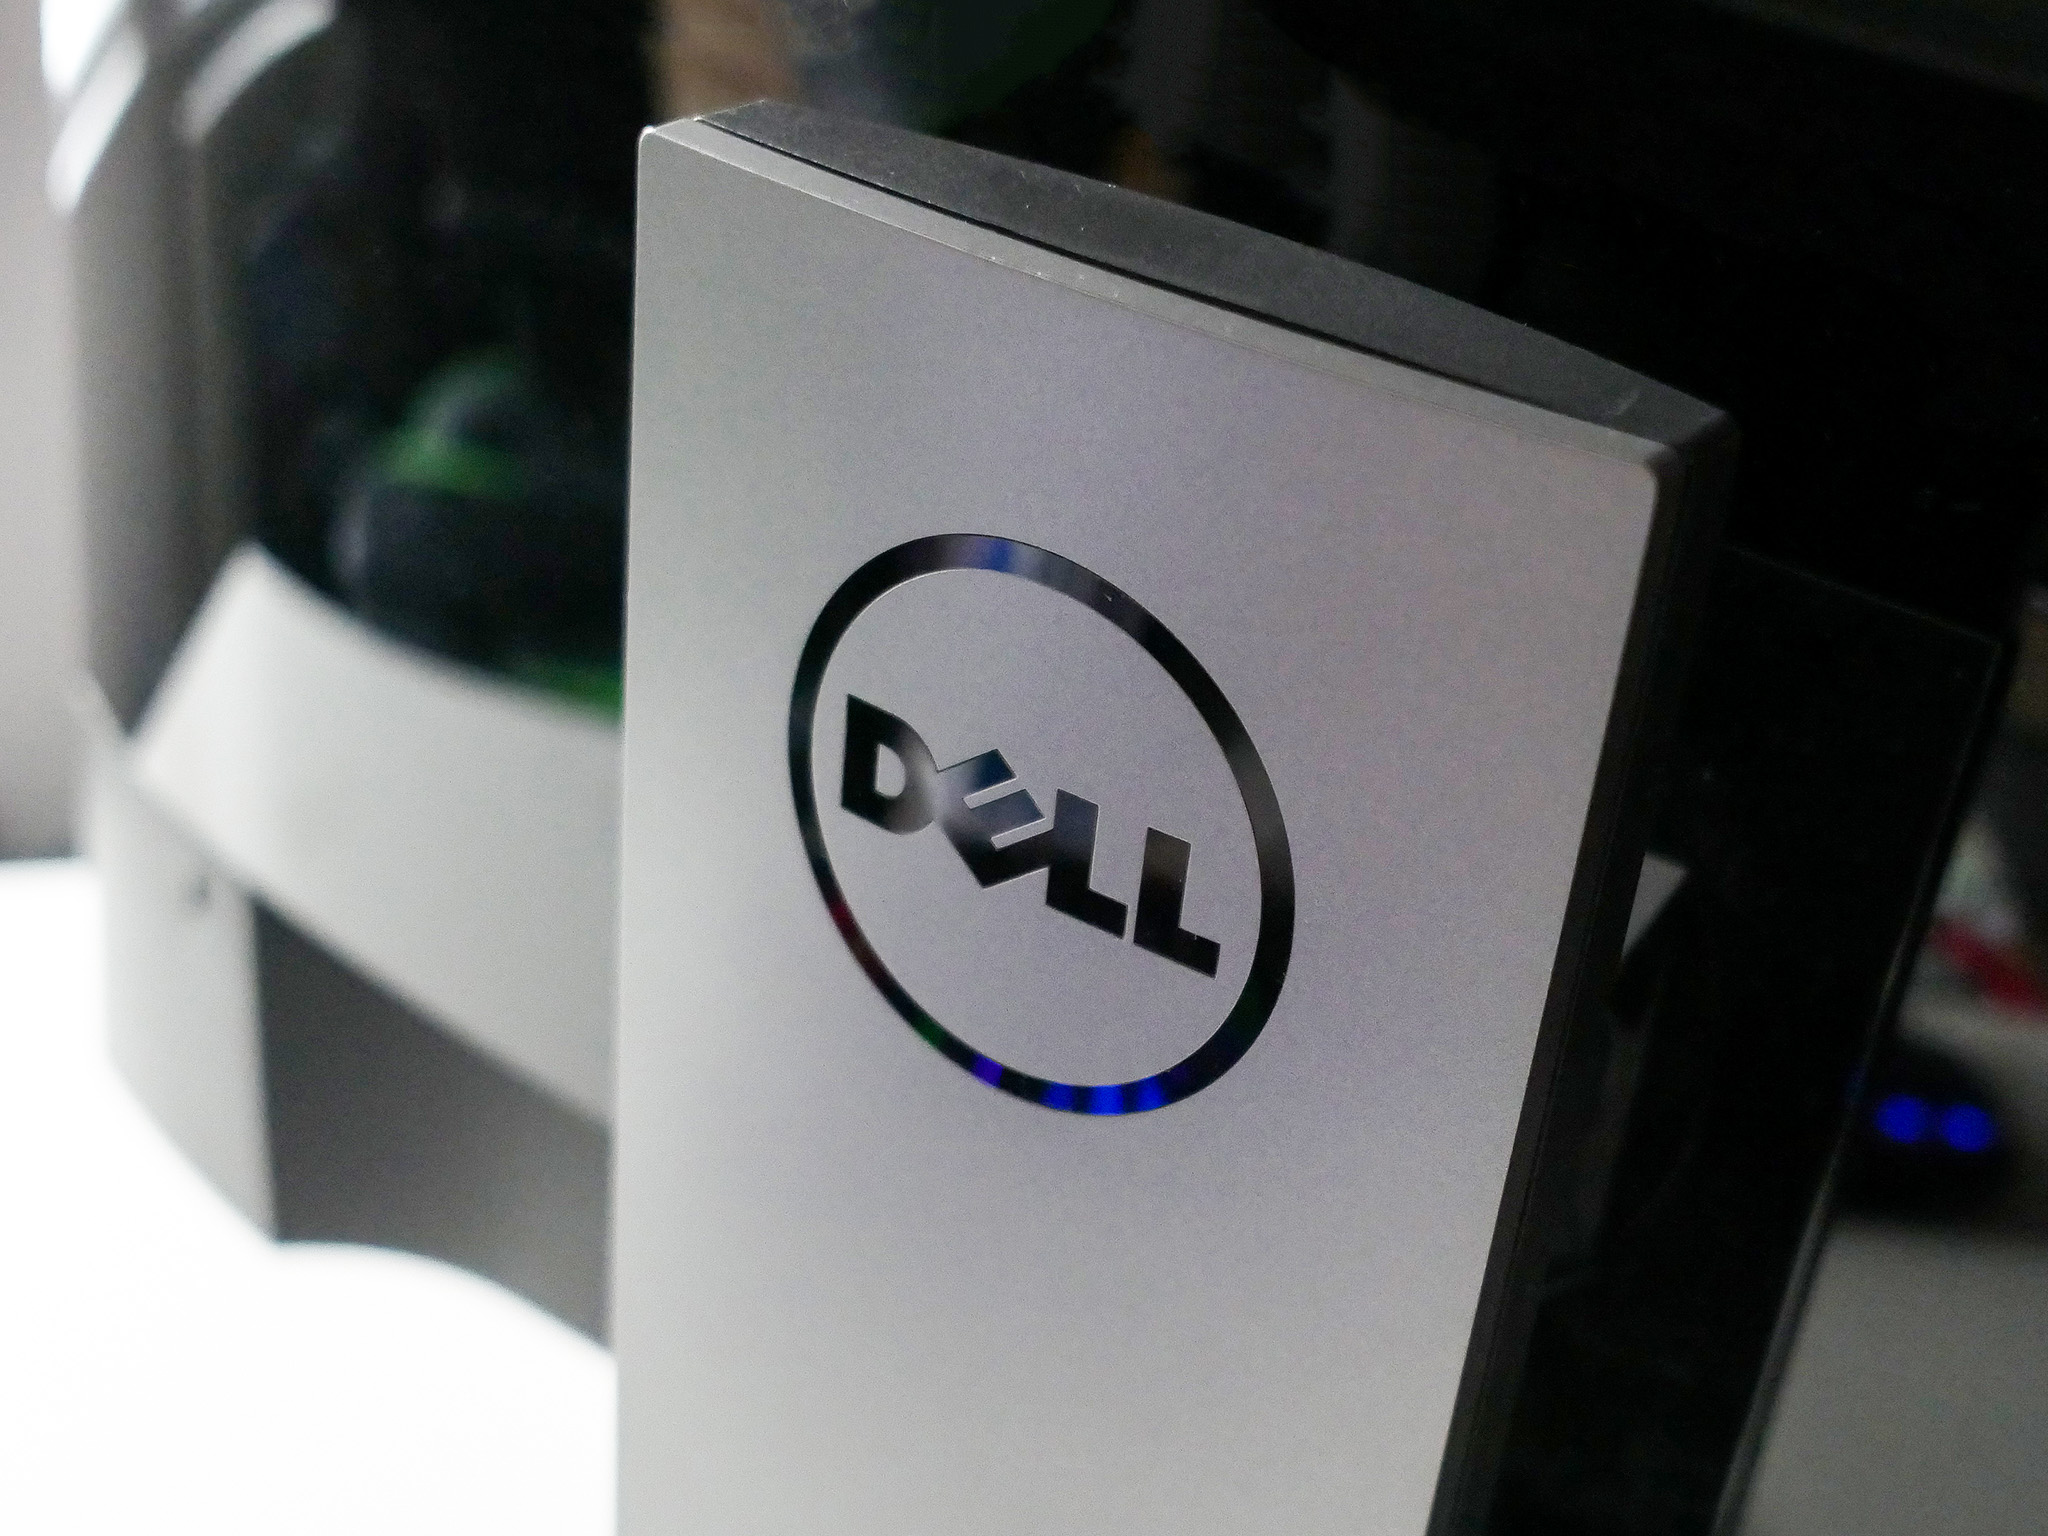
Dell UltraSharp U2719D

A solid 1440p display
This Dell monitor is not only an affordable display but also a solid workhorse thanks to its 2560x1440 resolution. Match this with reliable color reproduction, thin bezel, IPS technology, attractive aesthetics, good connectivity, and VESA mount support, and you have a screen that's well worth investing in.
AmazonBasics miniDP to DP
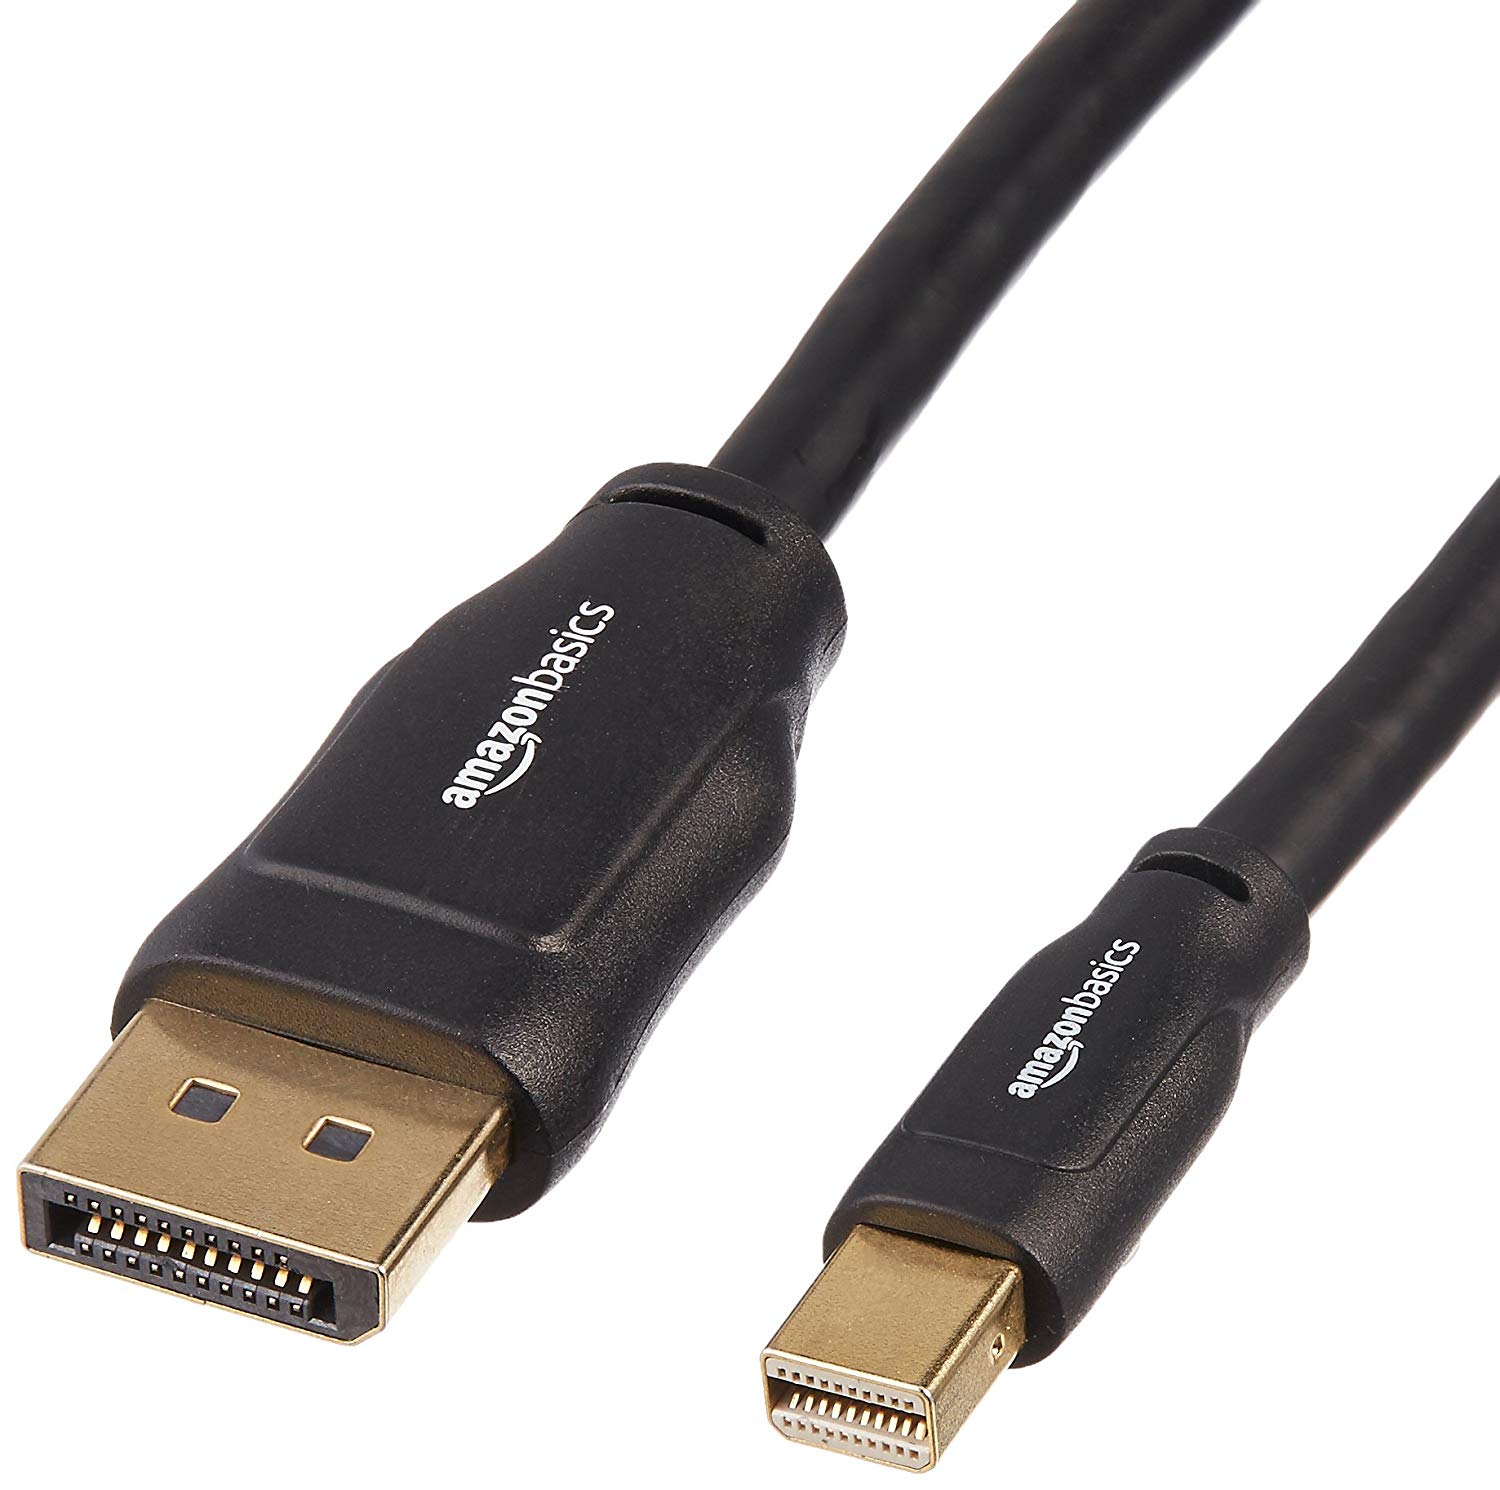
Use one of these and hook up to a 1440p monitor for high resolution computing every day.
Now you've brought your Mac Mini back to life for the present day; it's worth considering what you're going to use to look at it all day.
The 2012 Mac Mini won't give you a 4K output, but it can handle 1440p but only over a DisplayPort connection. HDMI on this model is limited to 1080p.
But, grab a cheap mini DisplayPort to DisplayPort cable and a great 1440p monitor like Dell's UltraSharp U2719D, you'll have yourself a really fantastic workstation.
Where to find a 2012 Mac Mini in 2019
A new Mac is an expensive thing; there's no denying that. Ultimate performance will always be better on newer models. Still, if you're looking for a really expensive way to get into Mac computing, or want a solid secondary machine, you can do a lot worse than picking up a used 2012 Mac Mini and upgrading it.
Where do you find one, though? That depends where you live, but the usual places like eBay and Craigslist are a great place to start. Don't overpay, though, for one that someone else has upgraded, when you can likely do the work yourself for less.
Whether you buy or already have an old Mac Mini sat around doing nothing, with not a lot of money and a couple of hours of your time, you can turn it into a fantastic little computer to use in the present day.
Our top equipment picks
You can pick and choose which of the upgrades you want to do, but here's a handy list of all our picks for the bits that went into our Mac Mini upgrade, along with the tools and accessories you need to install them.
Kingston 480GB SSD
Replacing a mechanical hard drive with an SSD will transform the performance of the 2012 Mac Mini and your own experience with it.
Crucial 16GB RAM kit

The most you can install in the 2012 Mac Mini, 16GB of RAM is a great, affordable performance upgrade.
Canned air
While you're inside your Mac Mini, use some canned air to give it a blast and ensure there's no lingering dust.
AmazonBasics miniDP to DP
Use one of these and hook up to a 1440p monitor for high resolution computing every day.
Seagate Firecuda 1TB
Better than a standard magnetic hard drive, this hybrid is a great choice for mass storage in your upgraded Mac Mini.
ORIA Magnetic Screwdriver set
You'll need plenty of different screwdriver bits to carry out the work, so get one of these magnetic screwdrivers with multiple bits.
Mac Mini second drive kit
All the parts you need to easily add a second hard drive to your 2012 Mac Mini.
Professional pry tool kit
Better than using your fingers, this pry tool kit is worth having in your tool kit for those hard to remove and tiny parts.