
How to get the most out of the Gem Furnace
- jun
- 02
A hero is only as good as his weapon.
When going into battle in any RPG your characters' equipment can make all the difference, and Xenoblade Chronicles is no exception. Shulk and his allies will have a number of weapons, armor, and accessories to choose from throughout the course of the game, but some of these pieces of equipment can be customized with Gems to make your team even stronger. Fortunately, you can craft Gems using materials you find all over Bionis and we here at iMore have everything you need to know to craft the best possible Gems.
What are Gems?

Gems are condensed and refined Ether - the crystalized life force found in all living things. Each Gem provides some sort of stat boost or protection to the hero using it. Some Gems will provide a flat stat boost, like a Strength Up Gem, while others might enhance your attacks, like a Lightning Attack Gem. Many Gems can be gained through trading with NPCs, completing quests, or completing achievements, but Gems can also be crafted using Ether Crystals and Ether Cylinders. Although crafting is a little complicated, you get a significant amount of control by crafting the Gems yourself, and it's a lot cheaper too.
How to craft Gems
Once you've unlocked the Gem Furnace, crafting Gems is a pretty easy process. Basically, you just pick out Ether Crystals or Cylinders that have the same effects and, if you can exceed 100%, a Gem will be forged. Here's how to do it:
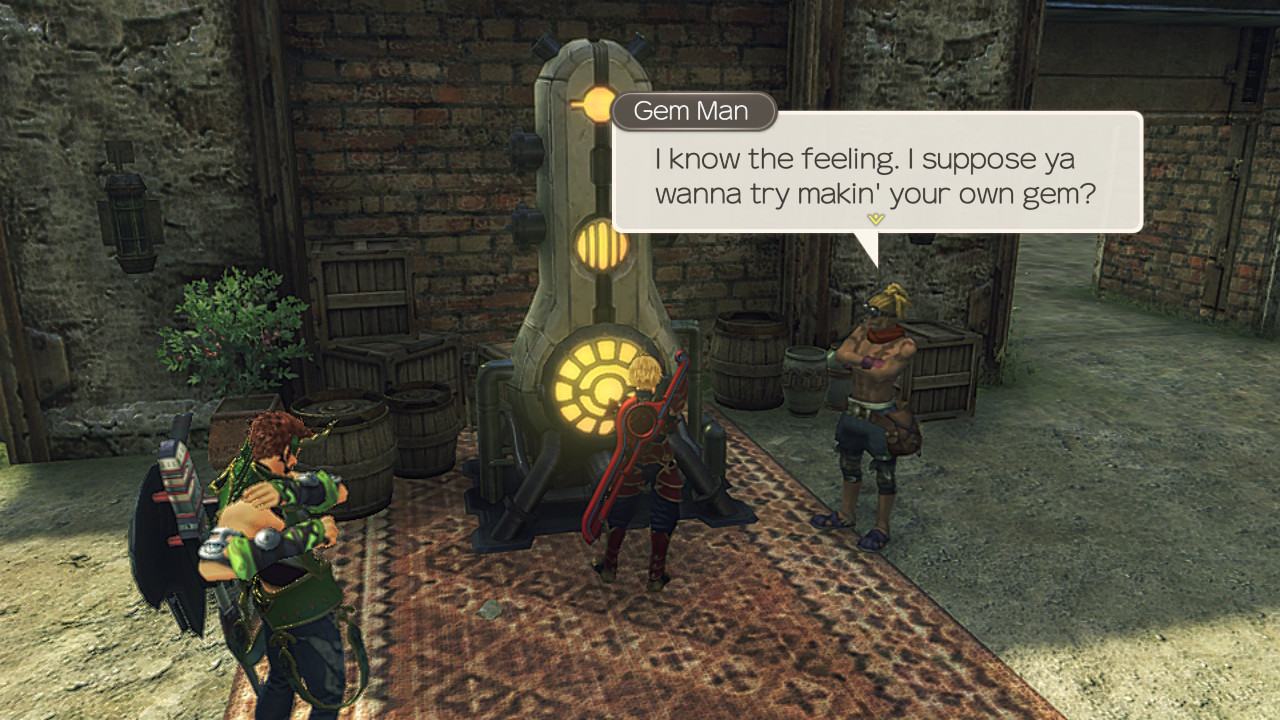
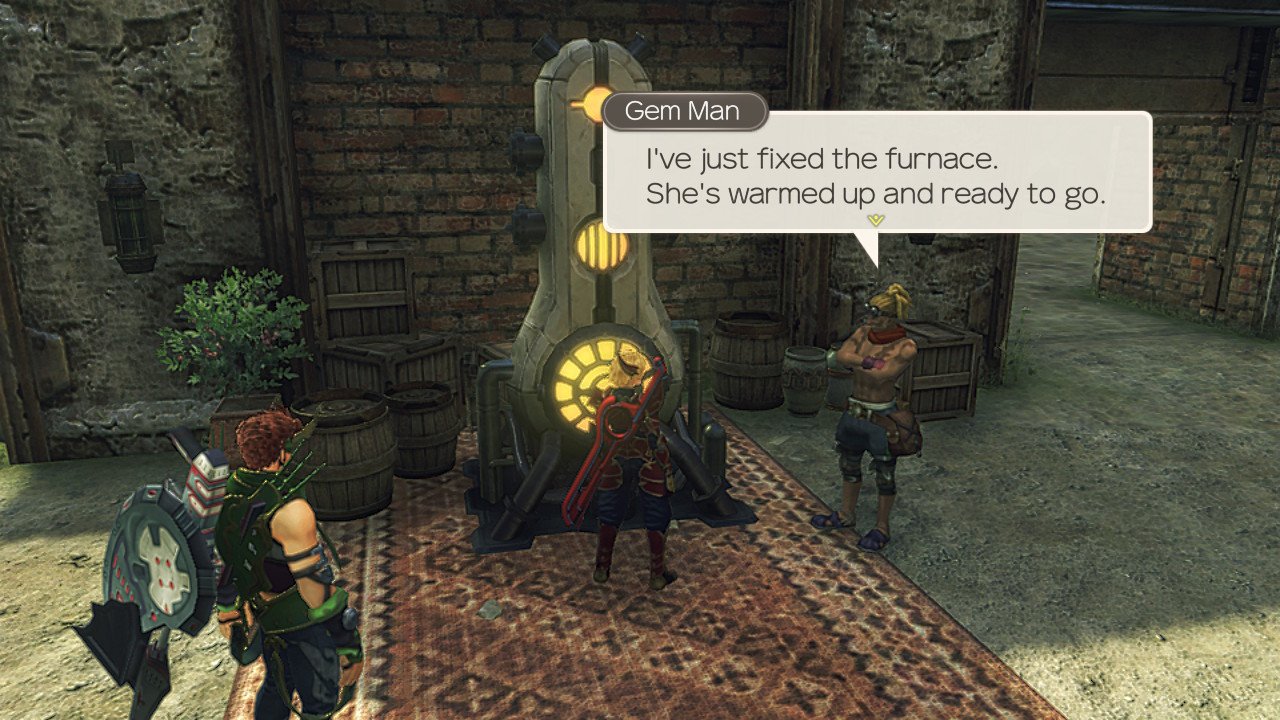
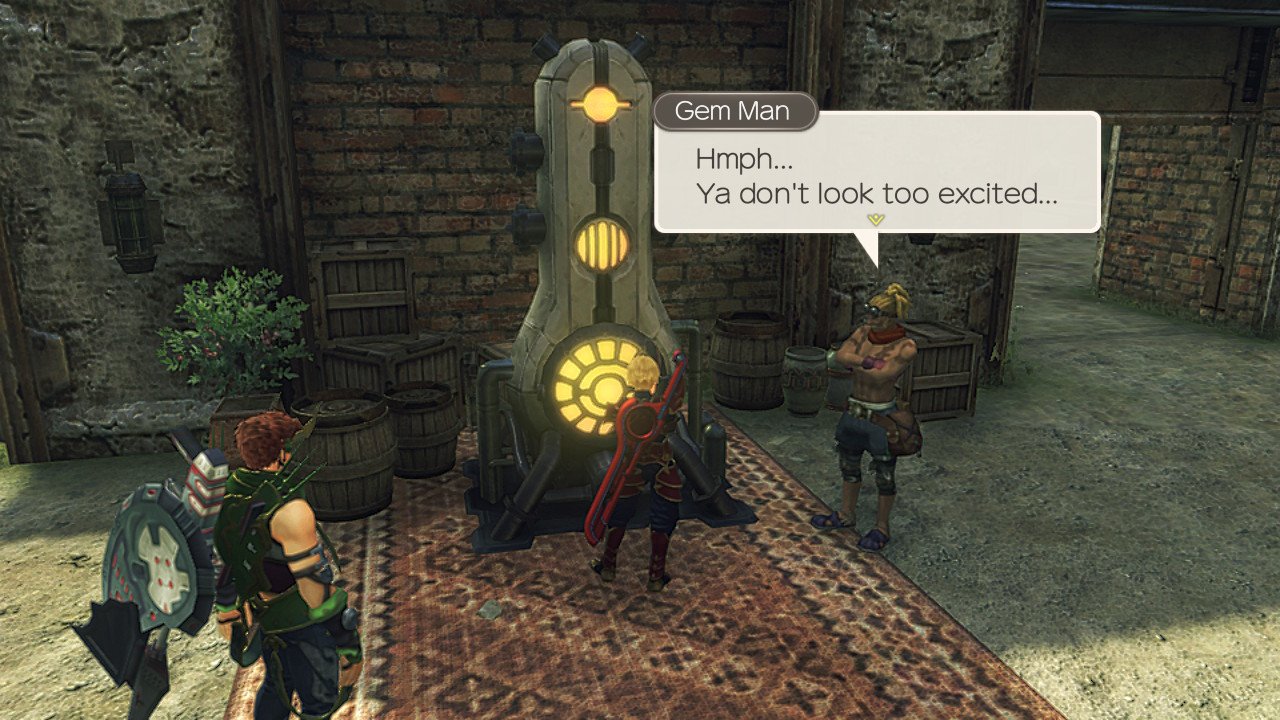
- Go to the Gem Furnace. Hint: later in the game, you will be able to make a Mobile Furnace to create Gems whenever and wherever you want, but until then, the Gem Man will let you use his Gem Furnace.
Press A to talk to the Gem Man.
Select up to eight Ether Crystals or Cylinders of the same Rank. Hint: once you reach 100% in an Attribute, you will no longer be able to select more Gems, but you can also craft without reaching 100%.
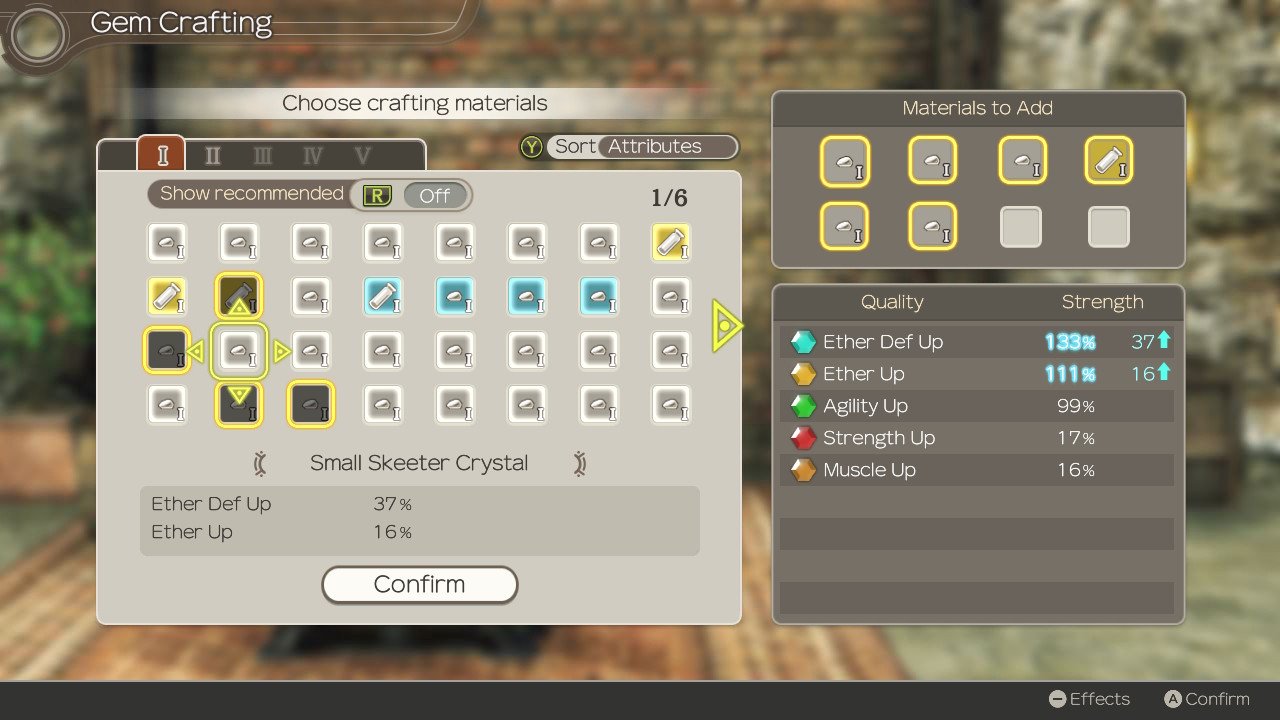
Press A to confirm your selections.
Using the left joystick or the D-pad, choose a Shooter. Hint: each character has a different ability. Select carefully based on the Gem you want to produce.

Press A to select your Shooter.
Using the left joystick or the D-pad, choose an Engineer. Hint: just like Shooters, each character has a different ability as Engineer. This will affect your choice. Also, the Affinity between Shooter and Engineer is important too.
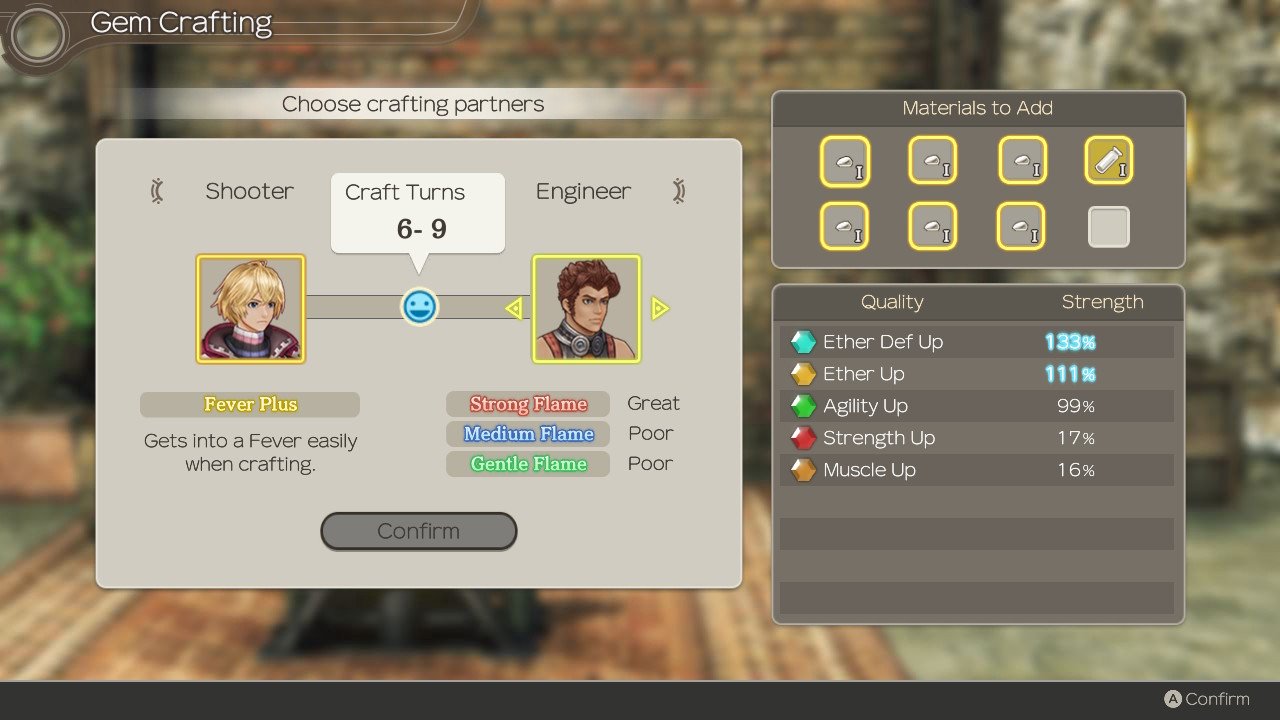
Press A to select your Engineer.
Your pair will then work the Gem Furnace for a number of cycles determined by their Affinity.

If any of your Attributes reaches 100% you will be able to claim a Gem.
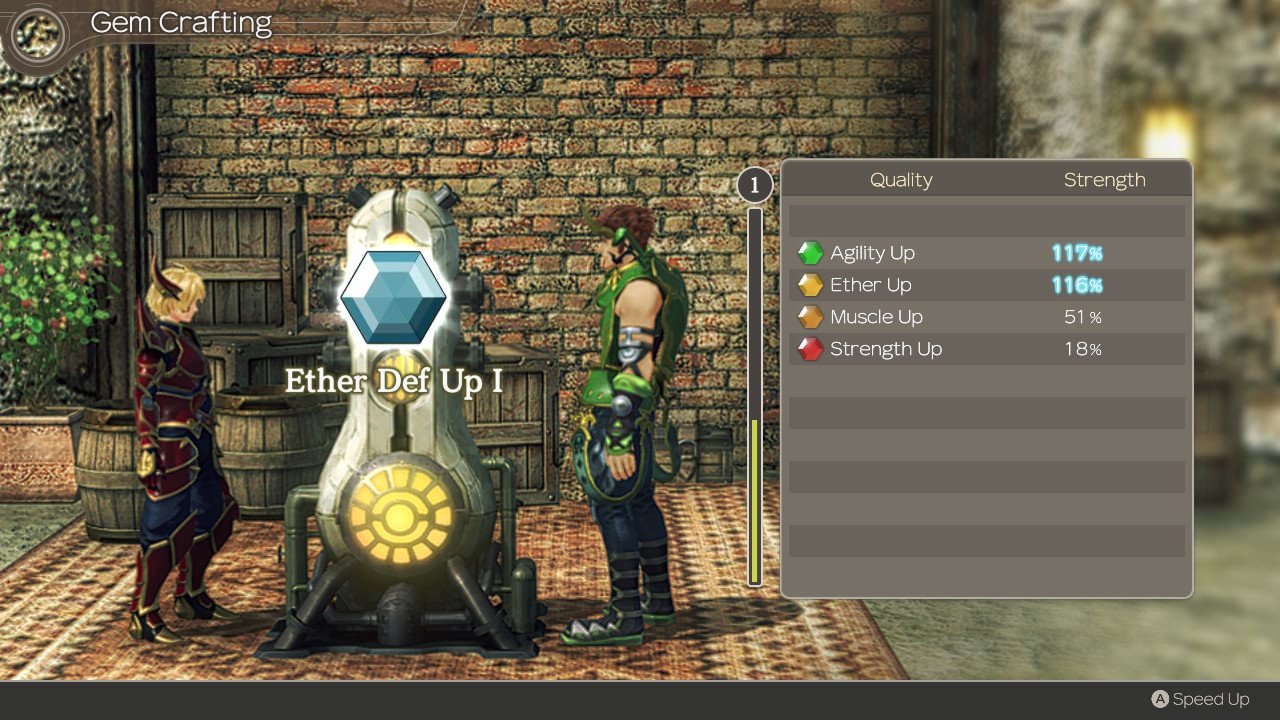
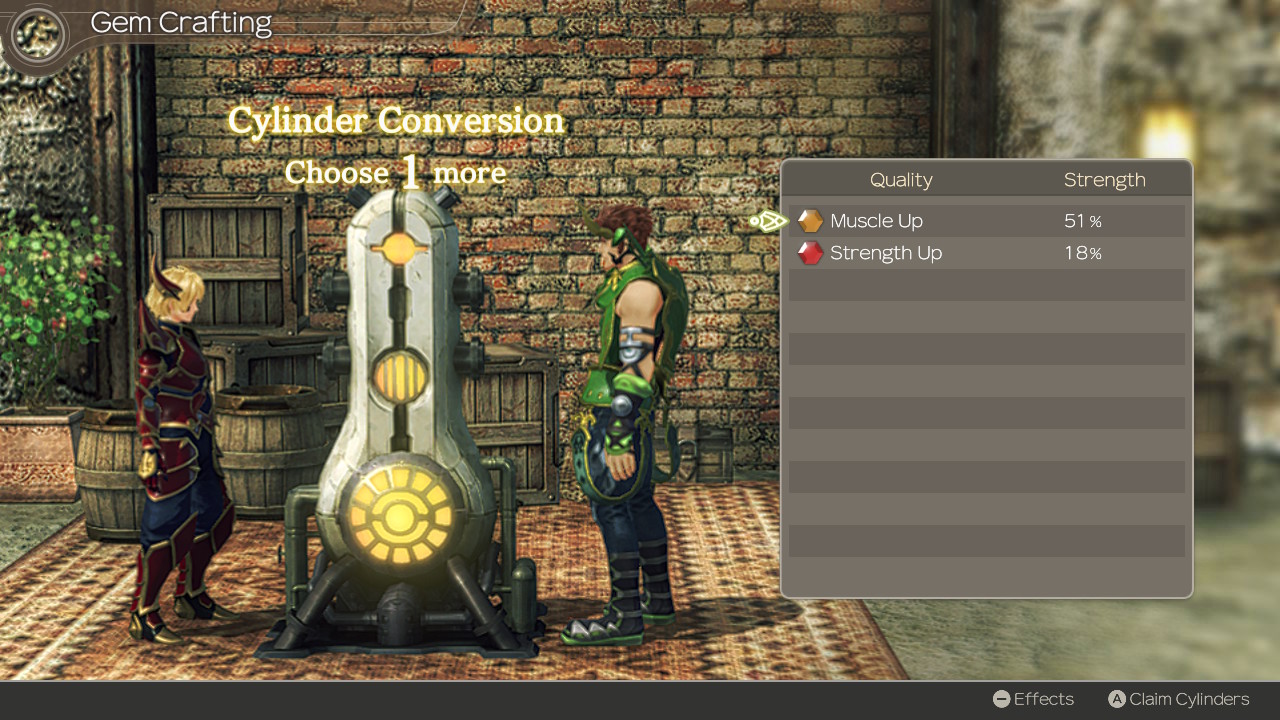
Attributes below 100% can be turned into Cylinders.
Note: If you manage to reach 200%, your Gem will receive Heat status, which means it will be one grade higher. If you exceed 300%, your Gem will have Mega Heat status, which grants two full strength Gems instead of one.
Materials from enemies
There are a handful of places where you can get the materials for crafting Gems. The easiest and most obvious is by defeating enemies. Enemies will drop a variety of Ether Crystals that can be refined into Gems. The stronger the enemy, the better the Ether Crystals it can drop. By the time you have access to the Gem Furnace, you will likely have dozens of these Ether Crystals.
Mechon and Andos are the only enemies that cannot drop Ether Crystals. Instead, they drop Ether Cylinders. Ether Cylinders are also created as a byproduct of crafting Gems. Both Ether Crystals and Ether Cylinders can be used in crafting.
Mining for Ether Crystals
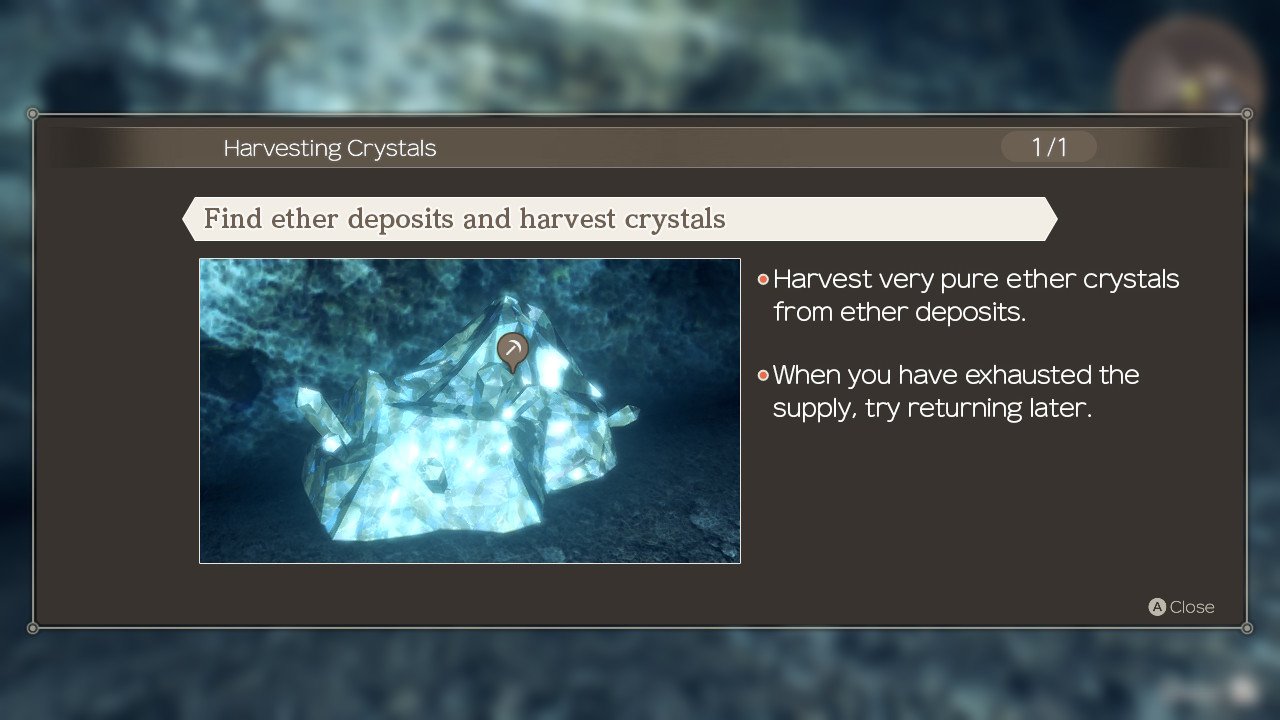
Ether Crystals can also be mined in various areas throughout both Bionic and Mechonis. Each Ether Deposit produces Crystals of one of the six elements, and specifically one of two to four traits. With exception of the Ether Mine and Colony 6, Ether Deposits are also rank specific. A Deposit that has rank II Ether Crystals will always produces rank II Ether Crystals. In the Ether Mine and Colony 6, the rank of the Ether Deposits improves as the reconstruction progresses. Ether Deposits will periodically replenish, so you can come back at a later time to mine more.
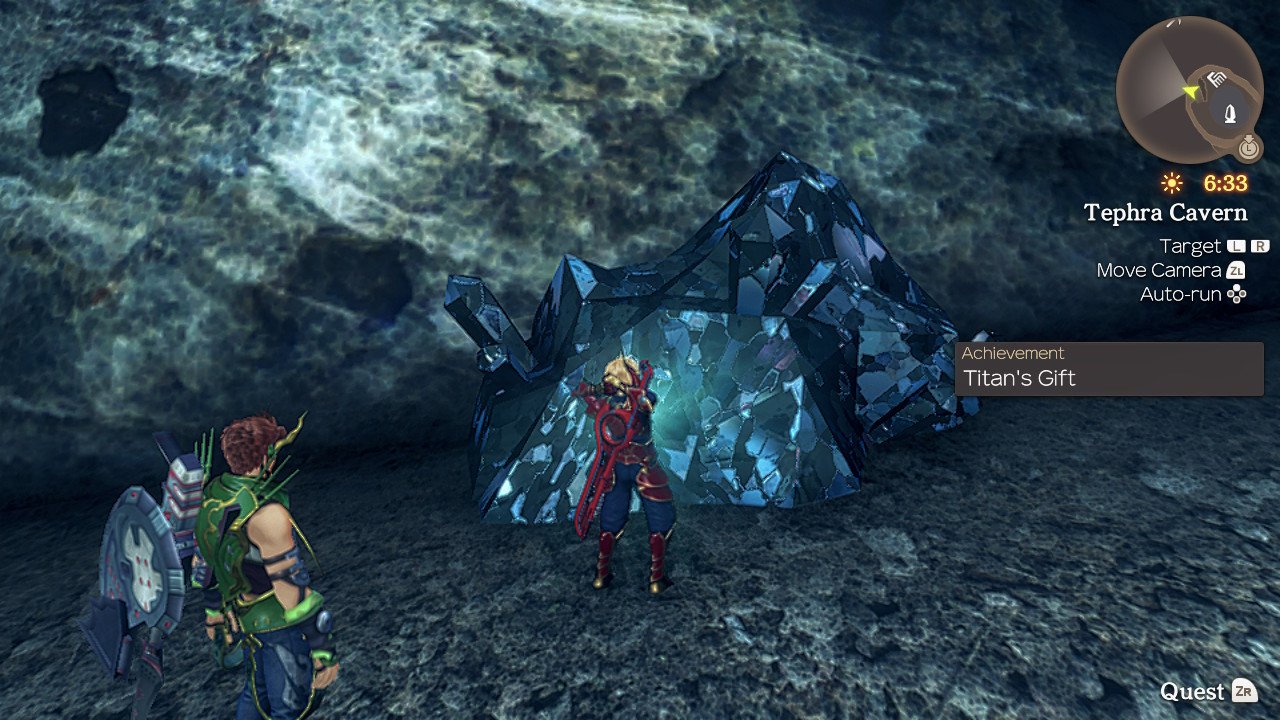
Occassionally, you will mine Rare Crystals. These special Ether Crystals have much higher percentages for their attributes and sometimes more attributes than normal Ether Crystals. Hint: Melia's Mining Master Skill will boost your chances of finding Rare Crystals by 5%!
Tephra Cave
There are six Ether Deposits in Tephra Cave:
- Spring of Grief (Ice) - Ether Def Up I and Chill Attack I
- Vilia Lake (Earth) - Muscle Up V and Attack Stability V
- Vilia Lake (Water) - HP Up I and Poison Defence I
- Forgotten Cave (Earth) - Poison Attack V, Poison Plus V, Divine Protect V, and Bleed Defence V
- Northwest on the second floor (Fire) - Blaze Plus V and Slow Resist V
- Heavenly Window (Fire) - Strength Up V, Bind Resist V, Initial Tension V, and Revival HP Up V
Bionis' Leg
Bionis' Leg has eight Ether Deposits:
- Jabos Rock Rest Area and Rho Oasis (Wind) - Agility Up I and Fall Defence I
- Volff Lair (Electric) - Ether Up I and First Attack Plus I
- Kisk Cave (Electric) - Ether Up I and Double Attack I
- Tranquil Grotto (Water) - HP Up II and Arts Heal II
- Daksha Shrine and Crevasse Waterfall (Wind) - Agility Up II and Quick Step II
- Windy Cave and Crevasse Waterfall (Electric) - Ether Up I, Electric Plus I, First Attack Plus I, and Daze Resist I
- Viliera Hill and Raguel Lake (Wind) - Agility Up I, Topple Resist I, Quick Step I, and Aerial Cloak I
- Traveller's Rest (Water) - HP Up I and Poison Defence I
Colony 6
There are two Ether Deposits in Colony 6 which will rank up as reconstruction progresses:
- Drainage Outlet (Wind) - Agility Up II-V and Fall Defence II-V
- Pod Depot and Freight Elevator (Water) - HP Up II-V and Paralysis Resist II-V
Ether Mine
The Ether Mine has 19 Ether Deposits. The first eight rank up as reconstruction progresses, while the remaining 11 are inaccessible after defeating Xord:
- Drainage Control Room (Earth) - Muscle Up II-V and Bleed Defence II-V
- Test Pit 3 (Wind) - Agility Up II-V and Agility Down II-V
- Test Pit 2 (Fire) - Strength Up II-V and Bind Resist II-V
- Glowmoss Lake (Water) - HP Up II-V and Poison Defence II-V
- Central Terminal (Electric) - Ether Up II-V and Electric Plus II-V
- Test Pit 4 (Ice) - Ether Def Up II-V and Blaze Defence II-V
- Central Terminal (Fire) - Strength Up II-V, Strength Down II-V, Weapon Power II-V, and Aggro Up II-V
- Test Pit 4 (Ice) - Ether Def Up II-V, Blaze Defence II-V, Auto-Atk Stealth II-V, and Arts Stealth II-V
- Personnel Lift 2 (Water) - HP Up II and Paralysis Resist II
- Central Pit - Entrance (Wind) - Quick Step II and Aerial Cloak II
- B1F (Fire) - Slow Resist II and Bind Resist II
- B1F (Electric) - Double Attack II and First Attack Plus II
- Regulation Piston (Earth) - Attack Stability II and Bleed Defence II
- B2F (Electric) - Ether Up II and Phys Def Down II
- B2F (Earth) - Muscle Up II and Ether Down II
- B2F (Ice) - Ether Def Up II and Ether Protect II
- B2F (Fire) - Strength Up II and Revival HP Up II
- Personnel Lift 3 (Wind) - Agility Up II and Quick Step II
- B3F (Ice) - Ether Def Up II and Bind II
Satorl Marsh
Satorl Marsh has six Ether Deposits:
- Nopon Merchant Camp (Electric) - Double Attack II and First Attack Plus II
- Poison Swamp and Altar of Fate (Earth) - Muscle Up II and Earth Cloak II
- Soter Ruins and Place of Judgement (Water) - Paralysis Resist II and Poison Defence II
- Zaldania Waterfall and Poison Swamp (Water) - HP Up II, Recovery Up II, Arts Heal II, and Terrain Defence II
- Dark Swamp (Earth) - Attack Stability II, Attack Plus II, Debuff Plus II, and Aggro Down II
- Sororal Statues (Electric) - Ether Up II, Electric Plus II, Daze Up II, and Phys Def Down II
Bionis' Interior
Bionis' Interior has six Ether Deposits and of which are rank V:
- First Lung (Water) - Aura Heal V and Aquatic Cloak V
- Second Lung (Electric) - Ether Up V and Electric Plus V
- Second Lung (Fire) - Strength Up V and Spike V
- Terminal Nerve Tower (Ice) - Ether Def Up V and Arts Stealth V
- Pars Sympathica Tower (Wind) - Bleed Plus V and Aerial Cloak V
- Terminal Vein (Earth) - Muscle Up V and Attack Plus V
Makna Forest
Makna Forest has nine Ether Deposits:
- Lakeside (Water) - HP Up III and Spike Defence III
- Divine Sanctuary (Wind) - Agility Up III and Aerial Cloak III
- Sap Cave (Electric) - Ether Up III and Phys Def Down III
- Bridge Two (Earth) - Muscle Up III and Bleed Defence III
- Glowmoss Trihenge (Wind) - Bleed Plus III and Quick Step III
- Abyss Basin (Fire) - Slow Resist III and Sleep Resist III
- Pod Landing Site and Bridge Three (Fire) - Strength Up III and Bind Resist III
- Decayed Forest (Fire) - Strength Up III, Spike III, Strength Down III, and Buff Time Plus III
- Eks Watering Hole and Twisted Tree Gate (Earth) - Poison Plus III, Divine Protect III, Physical Protect III, and Night Vision III
Eryth Sea
There are eight Ether Deposits in Eryth Sea, one in particular which is a named location called Ether Deposit:
- Showdown Cliff (Wind) - Agility Up III and Bleed Plus III
- Anu Shore (Electric) - Ether Up III and Double Attack III
- Secluded Island (Water) - HP Up III and Paralysis Resist III
- Sleeping Dragon Isle (Water) - Poison Defence III and Aquatic Cloak III
- Hovering Reef 7 (Wind) - Agility Down III and Aerial Cloak III
- Hovering Reef 10 (Electric) - Ether Up III and Electric Plus III
- Ether Crystal Deposit (Electric) - Ether Up III, Electric Plus III, Daze Up III, and Tension Swing III
- Hovering Reef 9 (Wind) - Agility Up III, Topple Up III, Arts Seal Resist III, and Good Footing III
Valak Mountain
Valak Mountain has ten different Ether Deposits:
- Serik Waterfall (Water) - Recovery Up III and Arts Heal III
- Kana Peak and Apis Lair (Wind) - Agility Up III and Aerial Cloak III
- Nagul Waterfall (Ice) - Ether Def Up III and Lock-On Resist III
- Nopon Camp (Wind) - Bleed Attack III and Quick Step III
- Lava Cave (Fire) - Strength Up III and Chill Defence III
- Lava Cave (Fire) - Slow Resist III and Sleep Resist III
- Harict Chapel (Water) - HP Up III and Poison Defence III
- Ignia Hill and La Luz Church (Ice) - Confuse Resist III and Ether Protect III
- Bionis' Right Elbow (Water) - Spike Defence III, Aura Heal III, Unbeatable III, and Terrain Defence III
- Great Glacier (Ice) - Chill Plus III, Ether Def Down III, Auto-Atk Stealth III, and Arts Stealth III
Sword Valley
Sword Valley has seven Ether Deposits:
- Supply Convoy (Earth) - Attack Stability III and Earth Cloak III
- Ged Fortress (Electric) - Ether Up III and Lightning Attack III
- Dolgan Outpost (Wind) - Agility Up III and Good Footing III
- Dolgan Outpost and 5th Gate (Fire) - Blaze Plus III and Strength Down III
- Ether Storage Area and 3rd Gate (Fire) - Strength Up III and Revival HP Up III
- Enalda Control Base (Electric) - Ether Up III and First Attack Plus III
- Port Maintenance Bay (Wind) - Agility Up III and Arts Seal Resist III
Galahad Forest
There are six Ether Deposits in Galahad Forest:
- Main Maintenance Bay (Earth) - Muscle Up III and Earth Cloak III
- 1st Turbine Room (Fire) - Strength Up III and Bind Resist III
- Ether Blast Furnace (Water) - Paralysis Resist III and Damage Heal III
- Ether Blast Furnace (Fire) - Strength Up III and Initial Tension III
- Ether Blast Furnace (Water) - HP Up III and Auto-Heal Up III
- Ether Blast Furnace (Earth) - Poison Plus III and Night Vision III
Fallen Arm
The Fallen Arm has six Ether Deposits:
- Silver Wreckage (Earth) - Muscle Up IV and Earth Cloak IV
- Power Pipe Ruins (Ice) - Chill Plus IV and Auto-Atk Stealth IV
- 5th Pulse Zone (Earth) - Bleed Defence IV and Physical Protect IV
- Giant Mechon Debris (Ice) - Ether Def Up IV and Ether Protect IV
- Ether Exhaust System (Earth) - Muscle Up IV and Debuff Plus IV
- Digit 2 (Ice) - Ether Def Up IV and Blaze Defence IV
Mechonis Field
There are six Ether Deposits in Mechonis Field:
- 1st Lift - GF (Electric) - Double Attack IV and Lightning Attack IV
- 2nd Lift (Ice) - Confuse Resist IV and Lock-On Resist IV
- Bulkhead Controls (Electric) - Ether Up IV and Tension Swing IV
- Ether Gear Store (Fire) - Strength Up IV and Slow Resist IV
- Ether Gear Store (Earth) - Muscle Up IV and Earth Cloak IV
- Machina Refuge (Fire) - Blaze Plus IV and Revival HP Up IV
Central Factory
There are eight different Ether Deposits in the Central Factory:
- 1F Ether Gear (Fire) - Strength Up IV and Bind Resist IV
- Control Tower (Water) - Paralysis Resist IV and Terrain Defence IV
- Storage Depot (Electric) - Ether Up IV and Tension Swing IV
- 1F Ether Gear (Earth) - Attack Stability IV and Bleed Defence IV
- Tower Boarding Gate (Water) - HP Up IV and Spike Defence IV
- Tower Boarding Gate (Earth) - Attack Plus IV and Debuff Plus IV
- Regeneration Control (Electric) - Daze Up IV and Daze Tension IV
- Face Maintenance Bay (Fire) - Slow Resist IV and Aggro Up IV
Agniratha
Agniratha has seven Ether Deposits:
- Central Tower (Electric) - Electric Plus IV and First Attack Plus IV
- Seven Sage Cloister (Wind) - Bleed Plus IV and Quick Step IV
- Helas Pillar (Fire) - Strength Down IV and Initial Tension IV
- 1F Central ether gear (Wind) - Agility Up IV and Arts Seal Resist IV
- Cleas Pillar (Water) - Damage Heal IV and Recovery Up IV
- Telethia Bridge (Fire) - Strength Up IV and Weapon Power IV
- Judicial District (Electric) - Ether Up IV and Daze Tension IV
Questions?
Do you have any questions about using the Gem Furnace to craft Gems? Want to show off your best work? Drop us a comment below, and be sure to check out our other Xenoblade Chronicles guides so you can unlock the secrets of the Monado!