
How to use the hidden web browser on Nintendo Switch and Nintendo Switch Lite
- okt
- 02
We all know that the Nintendo Switch and the Switch Lite are fantastic little pieces of hardware. However, there is a smattering of small complaints about these devices. One such gripe I have heard about more than a few times is that neither Switch offers any sort of built-in web browser. The good news is that you actually can use a web browser on your Switch and you don't have to do anything as warranty breaking as hacking your gaming system. If you want to surf the net on your Switch or Switch Lite, here's how to do it.
It's important to note that, by accessing the web browser on a Nintendo Switch or Nintendo Switch Lite in this un-official way, you risk having your personal information tracked and stolen, as this is not a secure method of web browsing. Please don't use it without considering the risks.
How to browse the web on Nintendo Switch
- From the dashboard of your Nintendo Switch, scroll over to System Settings.
Select Internet.

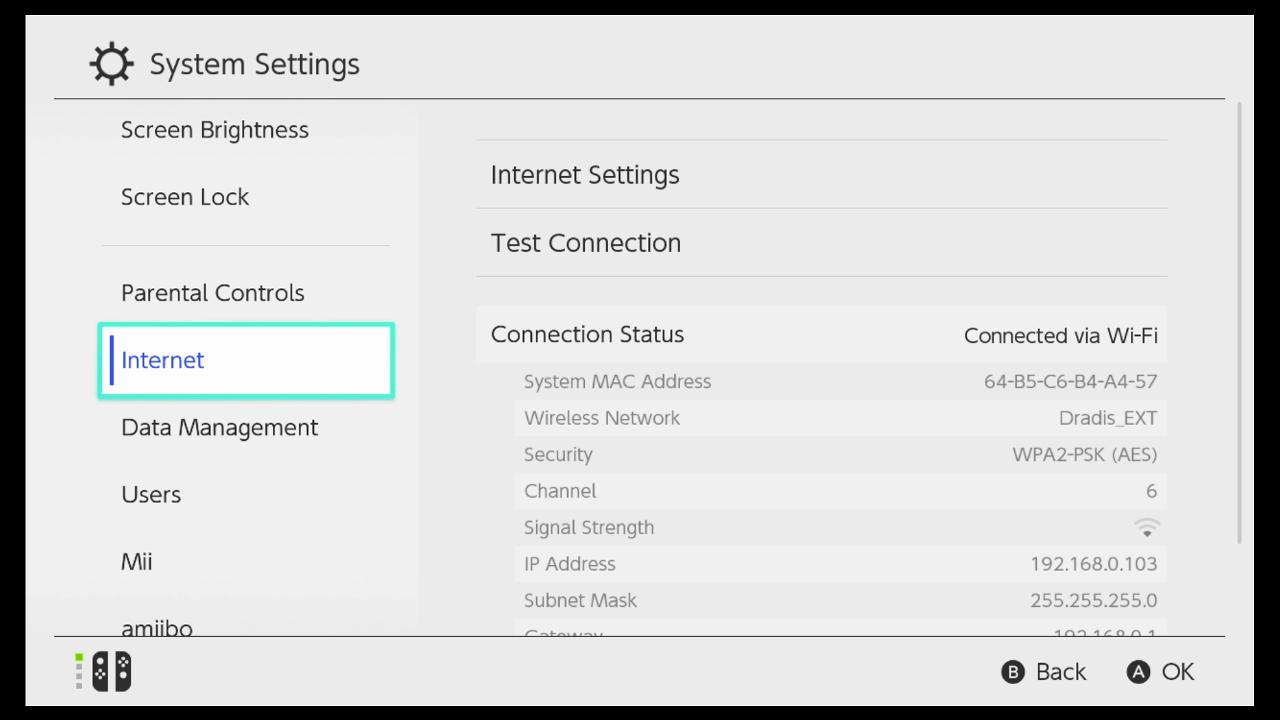
- Select Internet Settings.
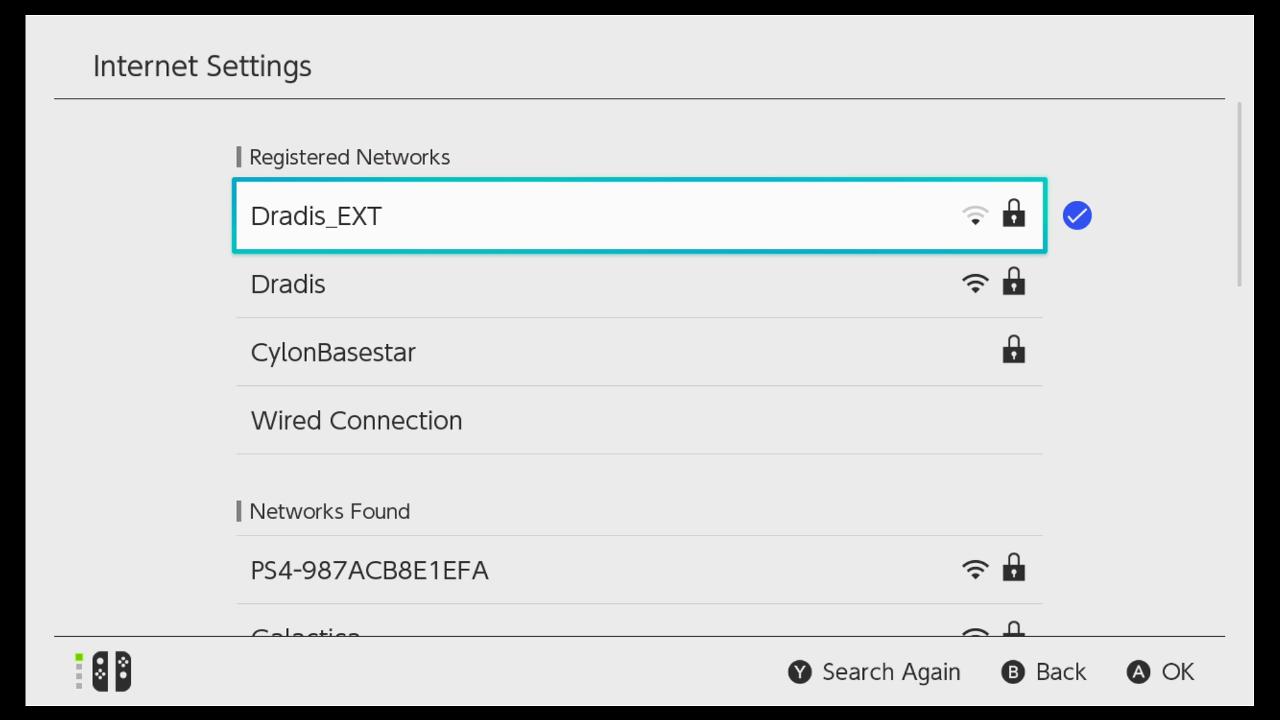
Choose the Wi-Fi connection that you are currently connected to.


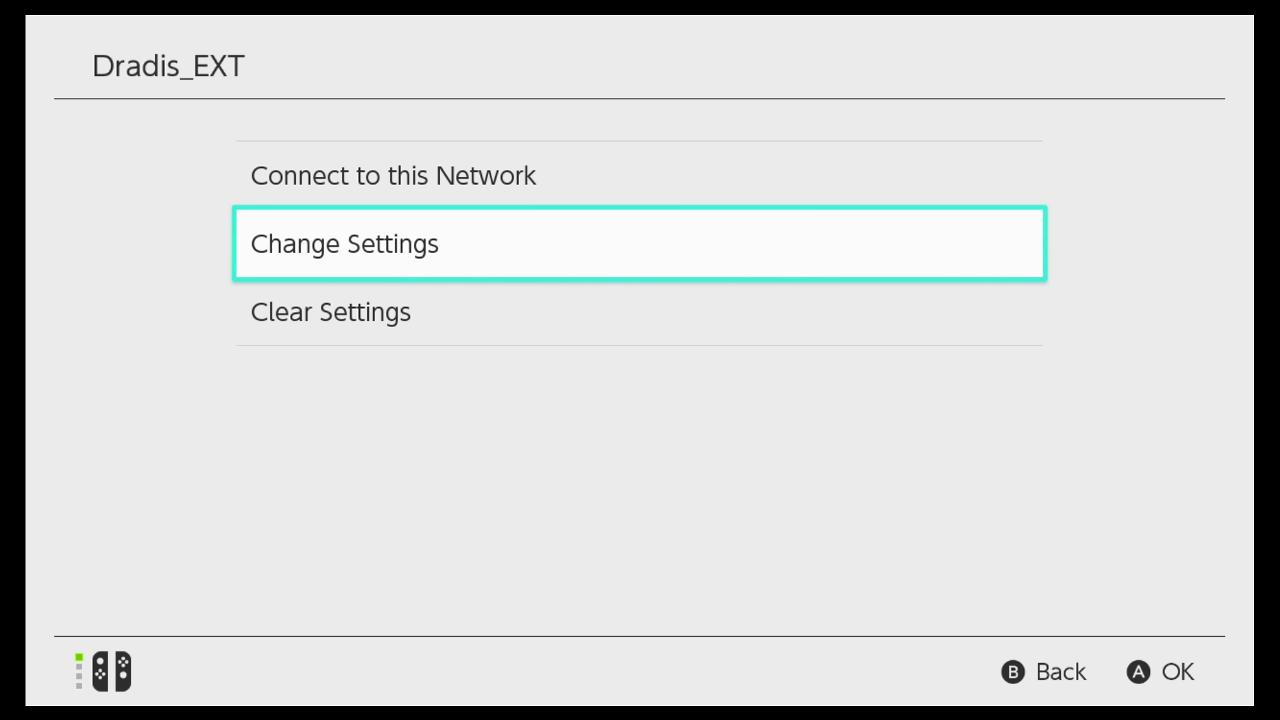
- On the settings page for your network, select Change Settings.
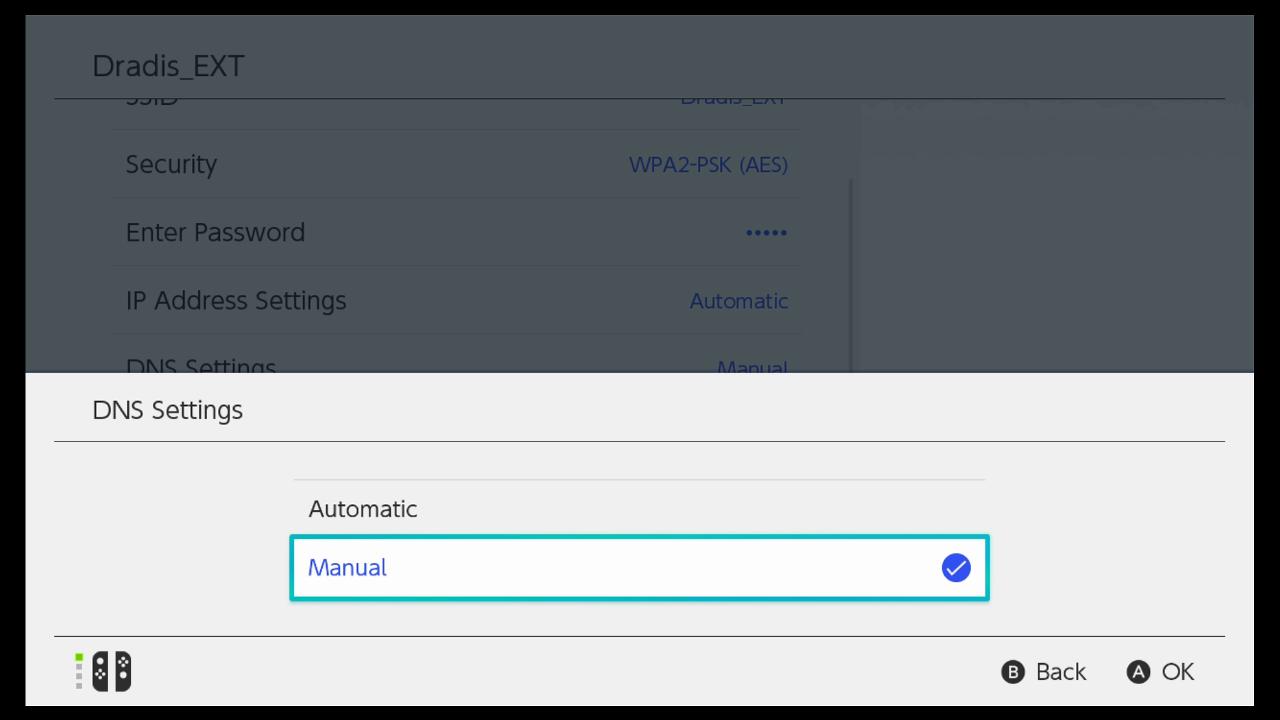
Scroll down and select DNS Settings.


- Change the DNS setting from Automatic to Manual.
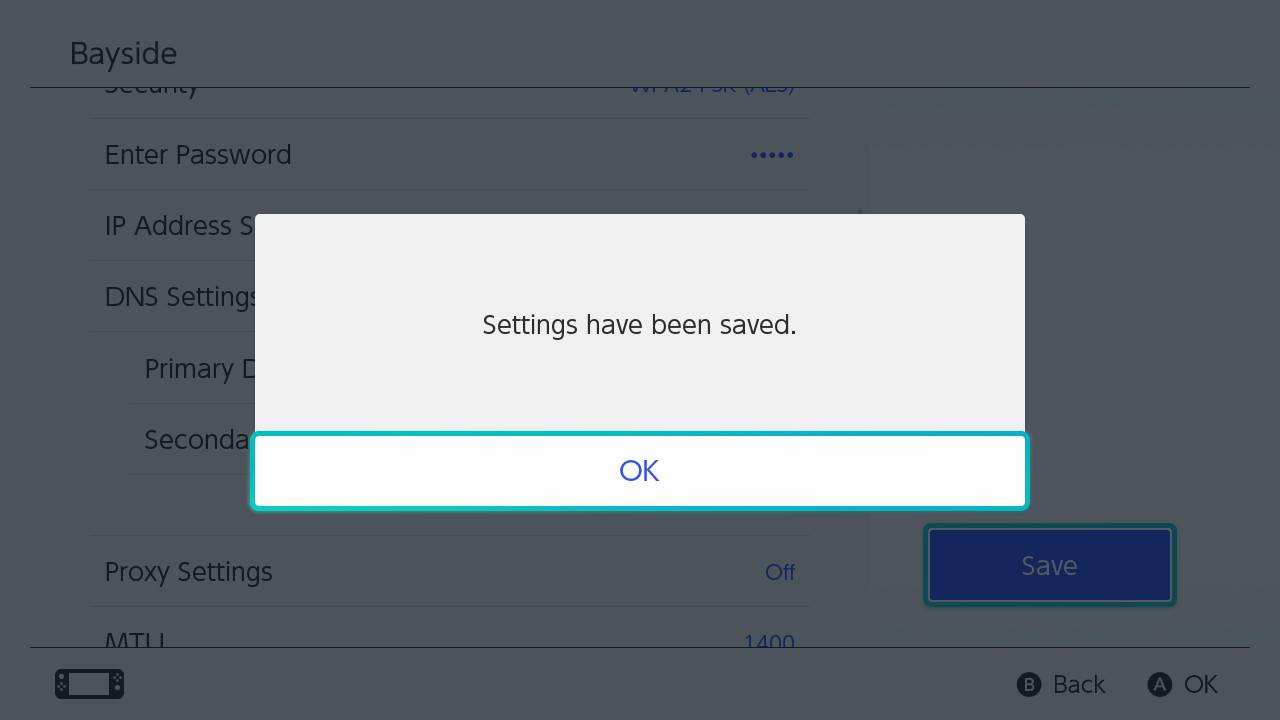
Select your Primary DNS and set it as 045.055.142.122 and save.

- A screen will pop up saying Settings have been saved. Click OK.
You will now see the previous screen. Click on Connect to This Network. Your Switch will now attempt to connect to the network.

- You will see a prompt that says Registration is required to use this network. Select Next.
You will now see the SwitchBru DNS page. All you have to do is click the button that reads Continue to Google.


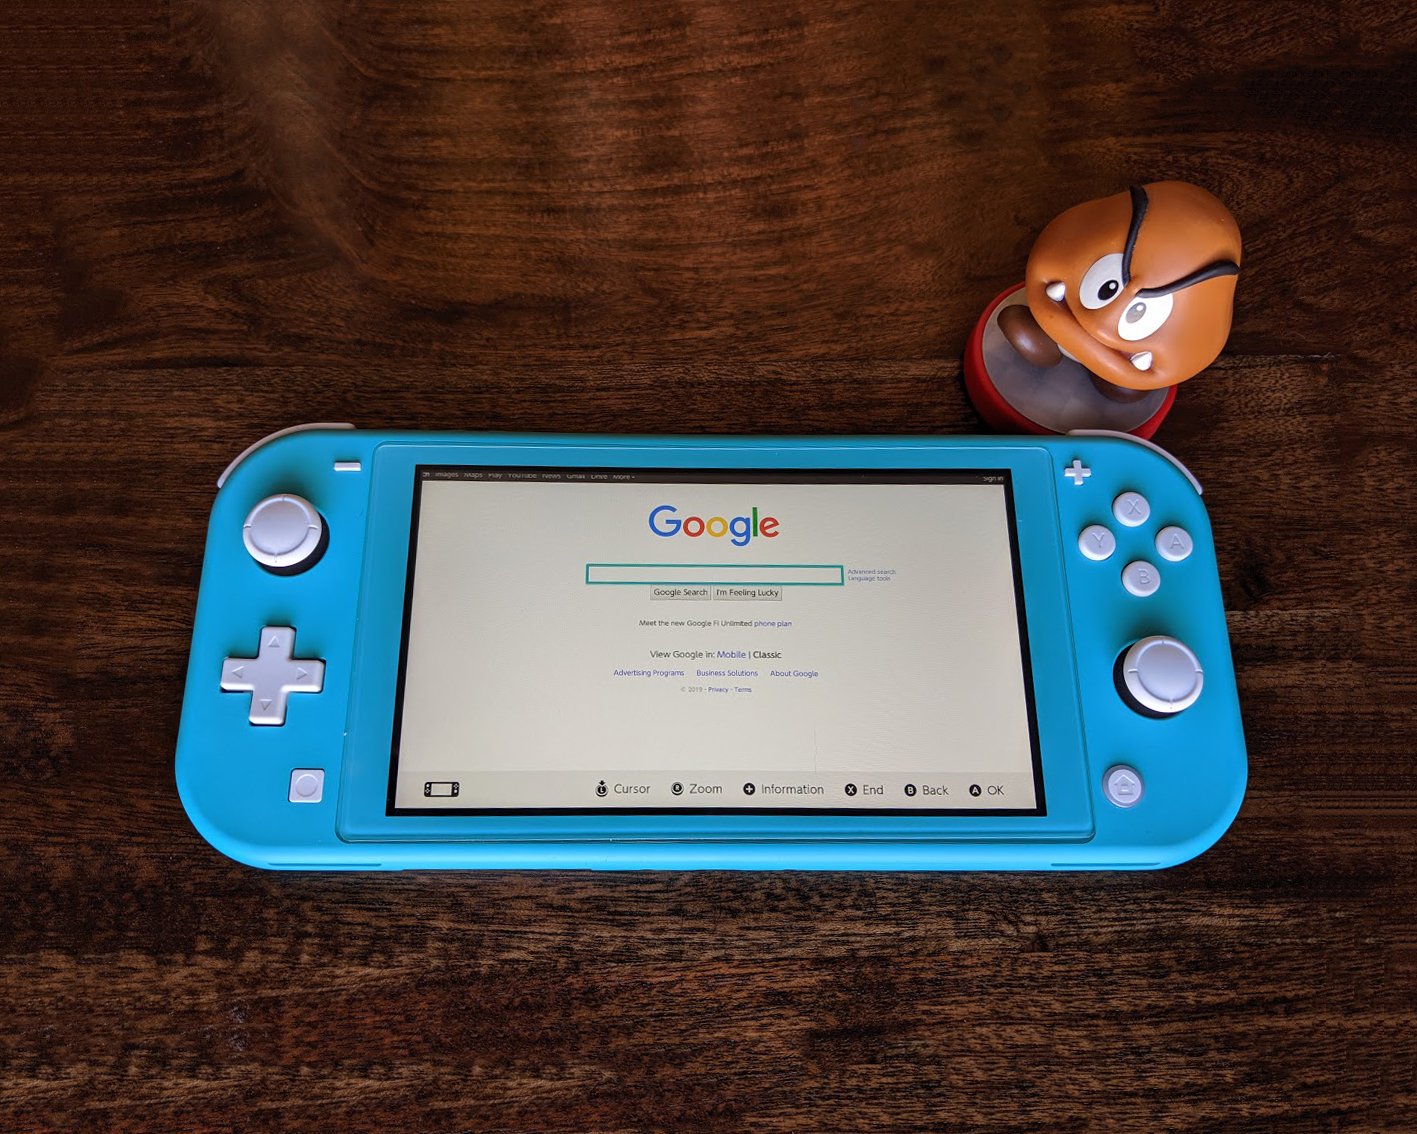
The Google search bar will appear. Now you can browse the internet.

You now have access to a browser right on your Switch. Once you are done using the browser, all you have to do is go back and set your network DNS from Manual back to Automatic. If you want help with changing back to Automatic, follow the steps below.
How to set your network DNS back to Automatic
- From the Home Menu click on System Settings.
Click on Internet.


- Click on Internet Settings.
Once the page loads, choose the Wi-Fi connection that you are currently connected to.

- Select Change Settings.
Scroll down and select DNS Settings.

- Change the DNS Setting from Manual to Automatic.
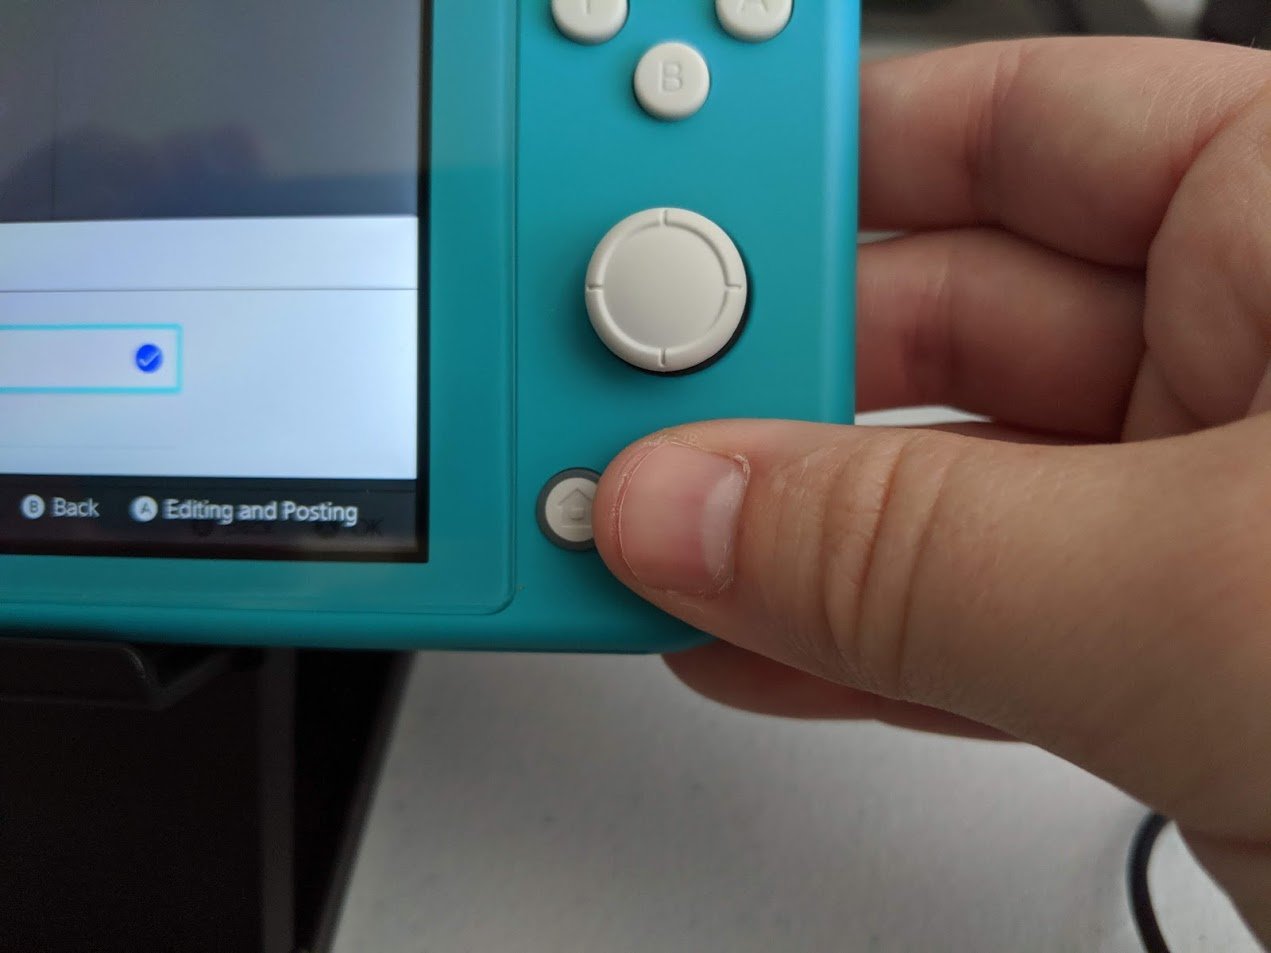
To exit back to the main menu, simply press the Home button on your Switch.

I have used this method to get online more than a few times. While it's not perfect it is effective and I am grateful to have a workaround to Nintendo's oversight.
Additional Equipment
I love these accessories and have found that they greatly improve my Switch gaming sessions. See if anything catches your eye.
Pro Controller
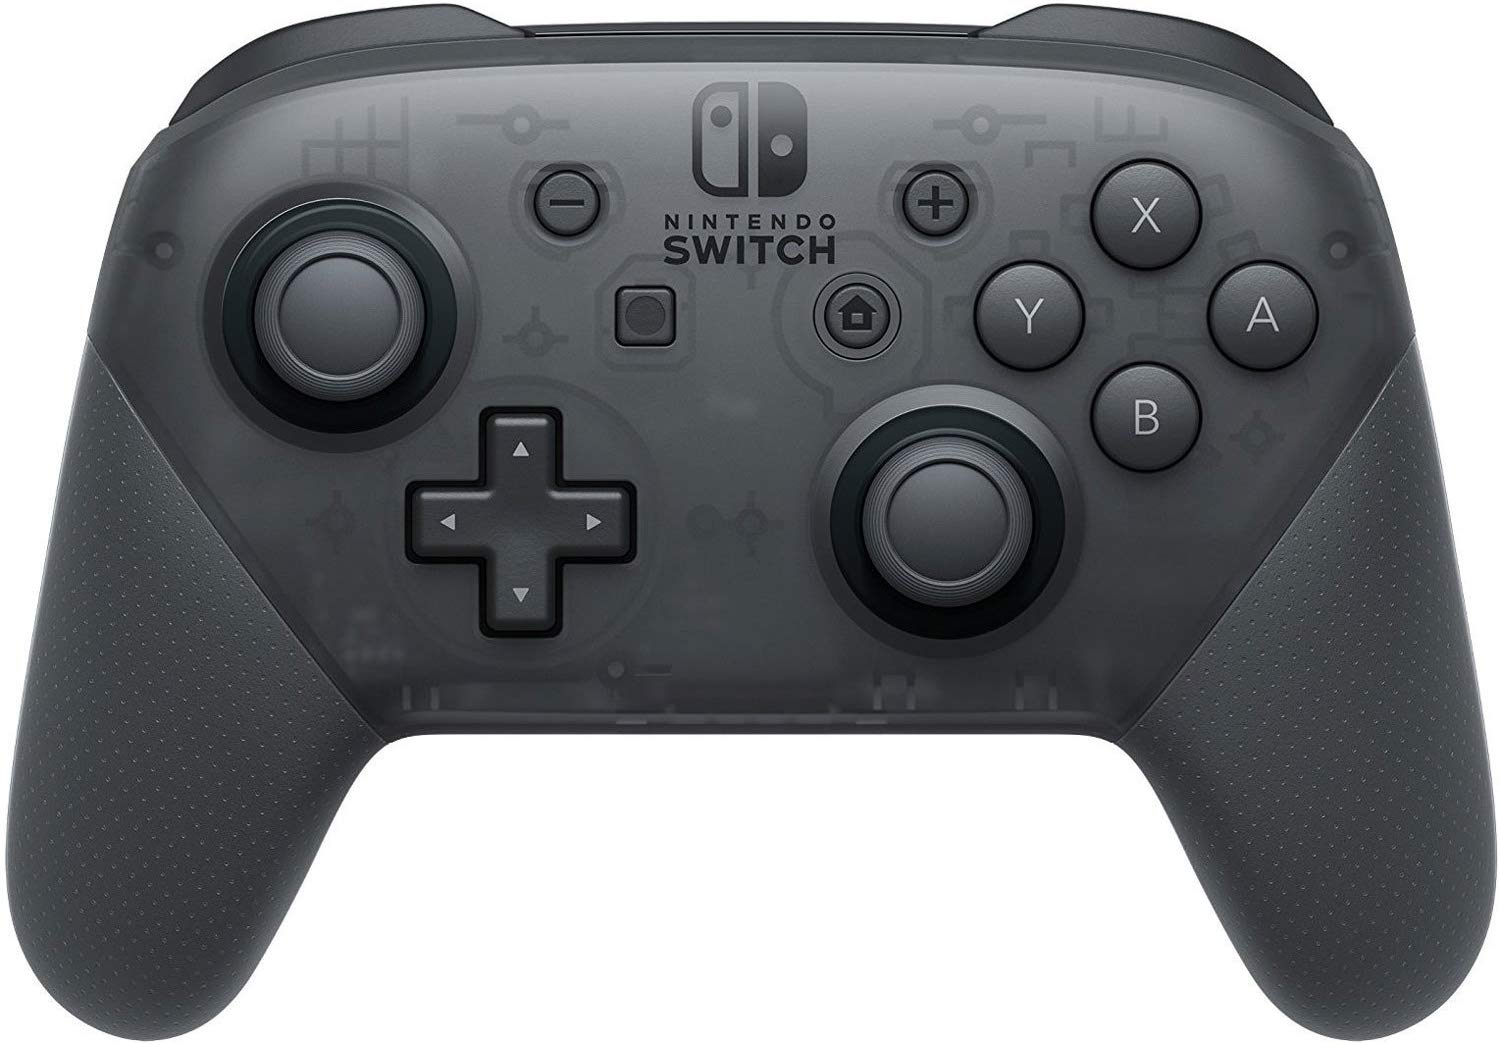
Whether you've got the larger Nintendo Switch or the Switch Lite, you can benefit from using a Pro Controller. It features motion controls, amiibo functionality, and a better ergonomic design to enhance your gaming experience. It's also wireless, so you won't have to worry about tripping over cables.
Hori Compact Playstand

Whether you're using a Switch Lite or the larger Switch having a stand can be incredibly helpful. I typically use mine on the go when I either need to charge my Switch or when I simply want to bring the screen closer to my face.
Gimme some space!
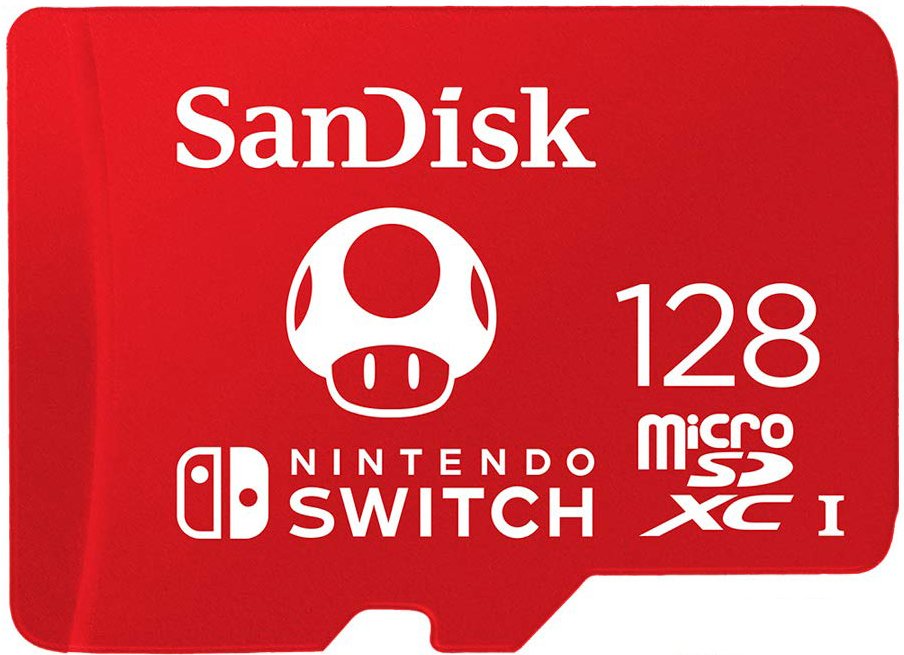
Regardless of the version of Switch you're using, you can always benefit from having more memory on the system. This microSD card has a cute Mario mushroom on it and gives you 128GB. That's plenty of space for screenshots, game data, and downloads.
Updated September 24, 2019: Added section on setting network DNS back to Automatic.
Get More Switch
Nintendo Switch
