
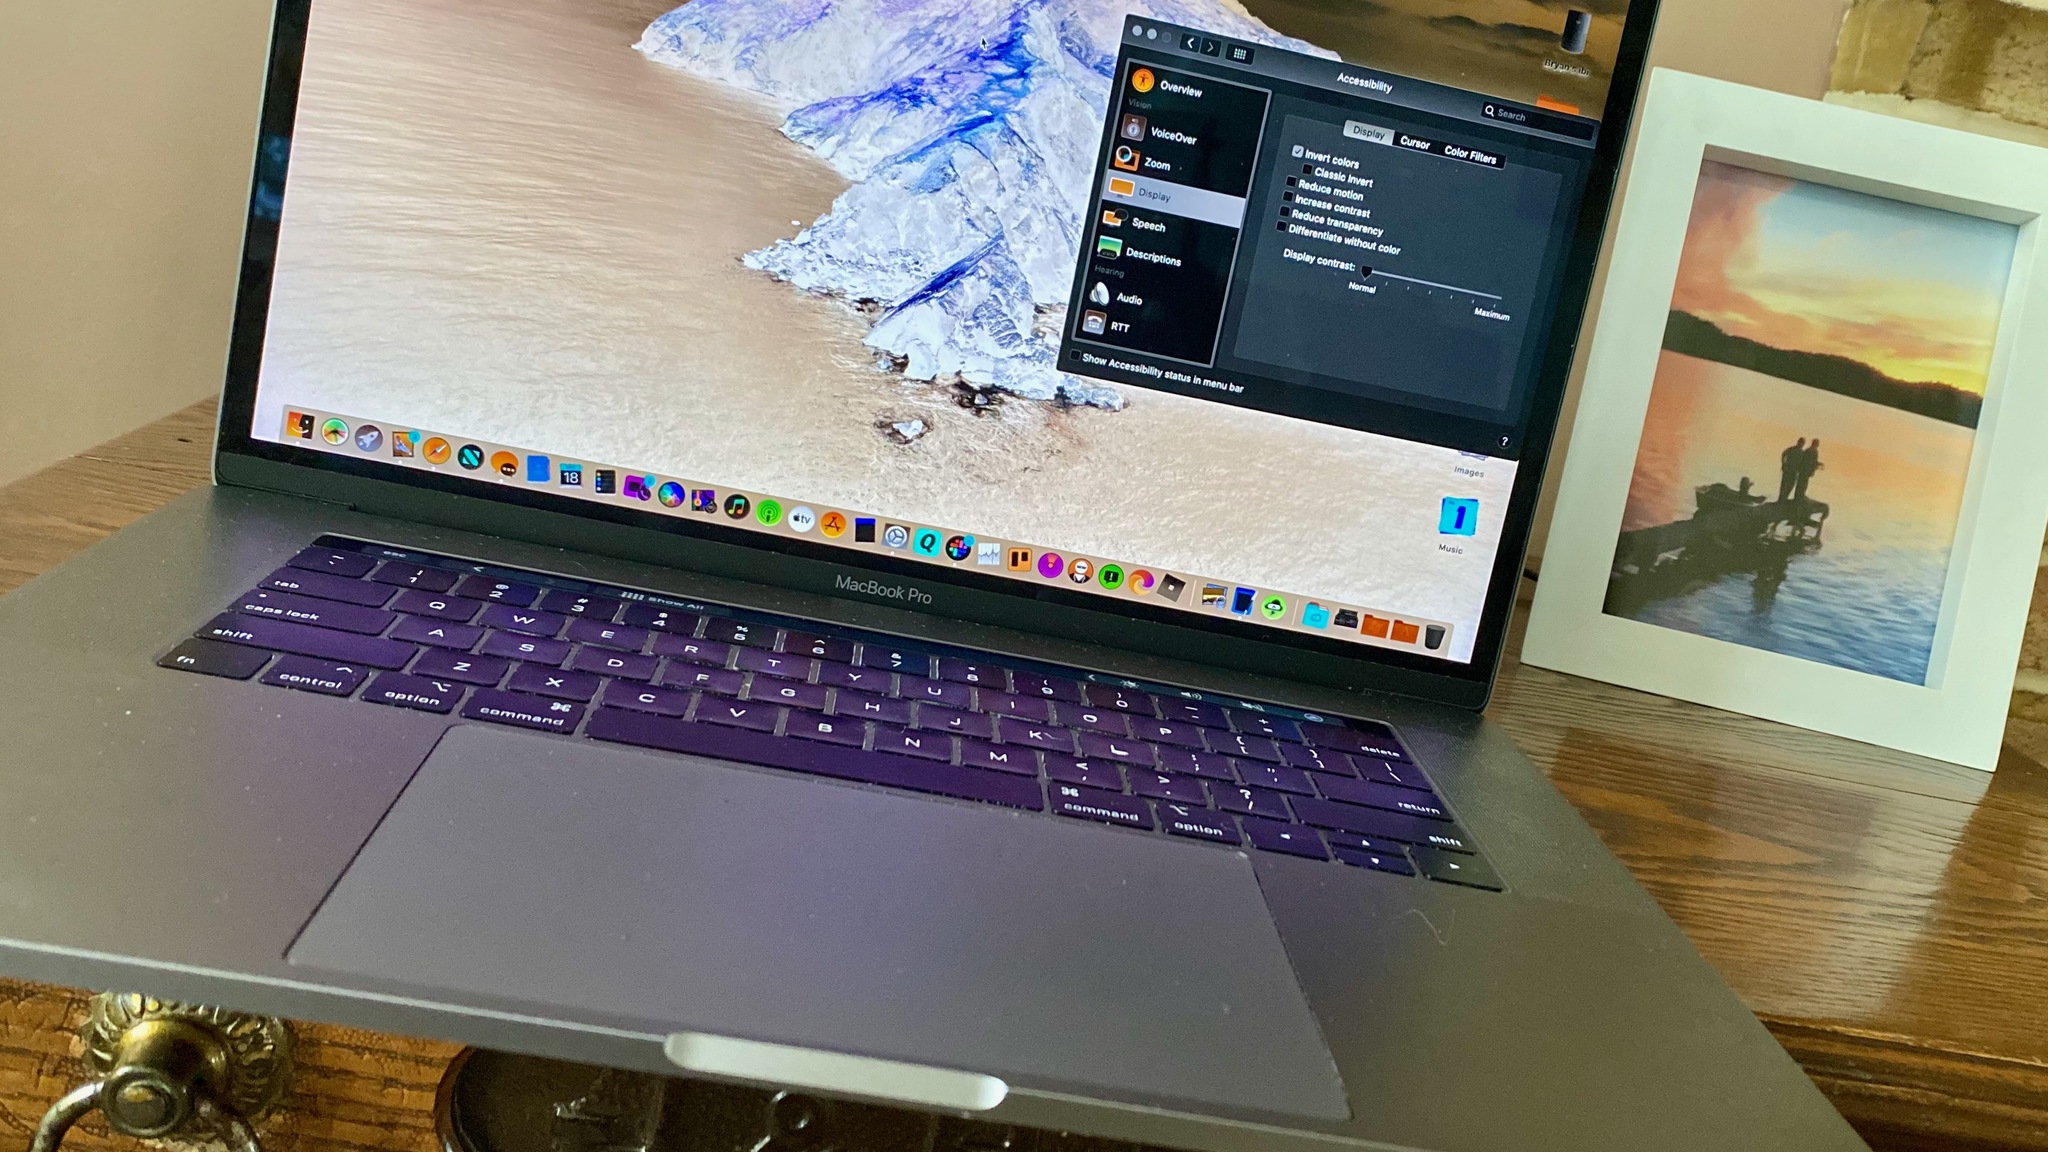
How to change the Mac display for the visually impaired
- maj
- 19
How do you change colors, contrast, transparency, cursor size, and otherwise make your Mac easier to see? With accessibility!
If you have particular sensitivities or color blindness, there are accessibility features on Mac that can help you get the most out of your experience. You can invert colors, increase contrast, and more. Here's how to get your Mac display working for you.
- How to invert colors
- How to switch to grayscale
- How to use shapes to differentiate some settings
- How to reduce motion
- How to increase contrast
- How to reduce transparency
- How to change the display contrast
- How to change cursor size and enable/disable shake mouse pointer to locate
How to invert colors
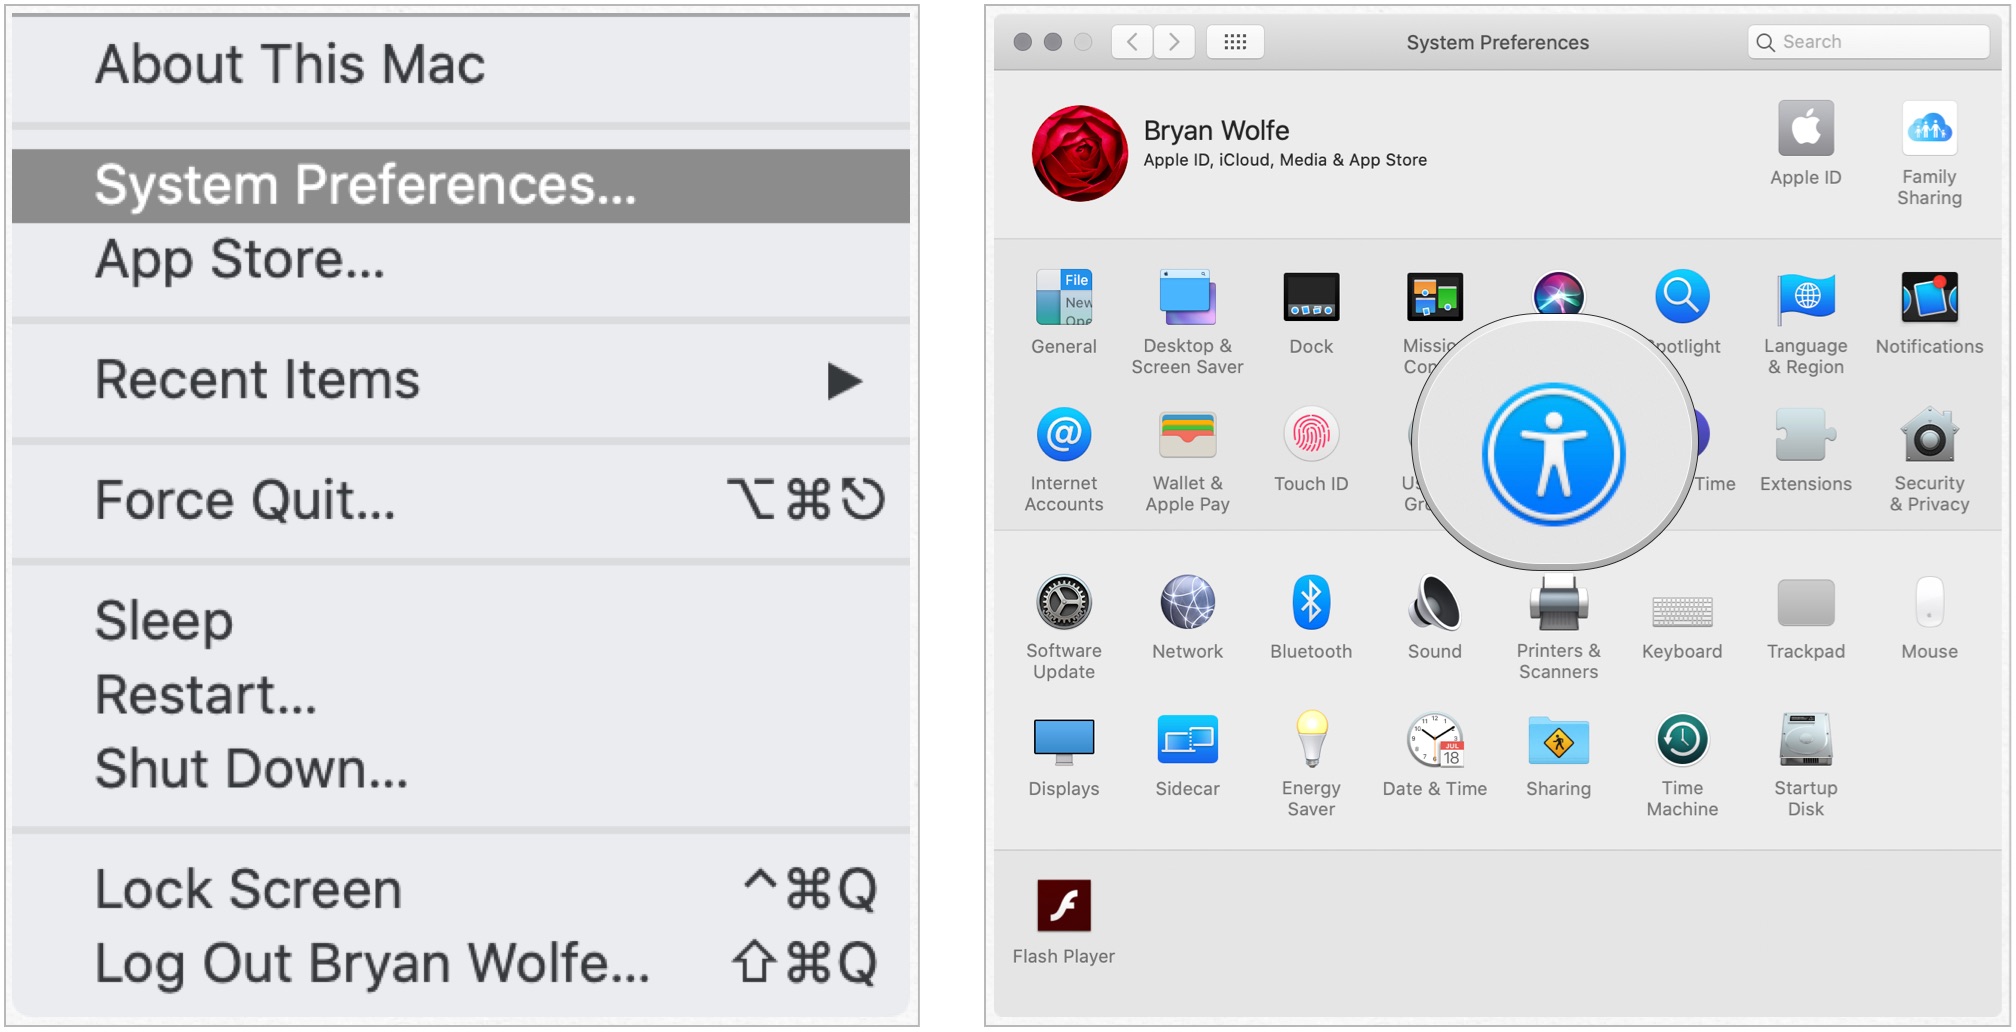
- Click the Apple menu on the top left of your screen.
- Click System Preferences.
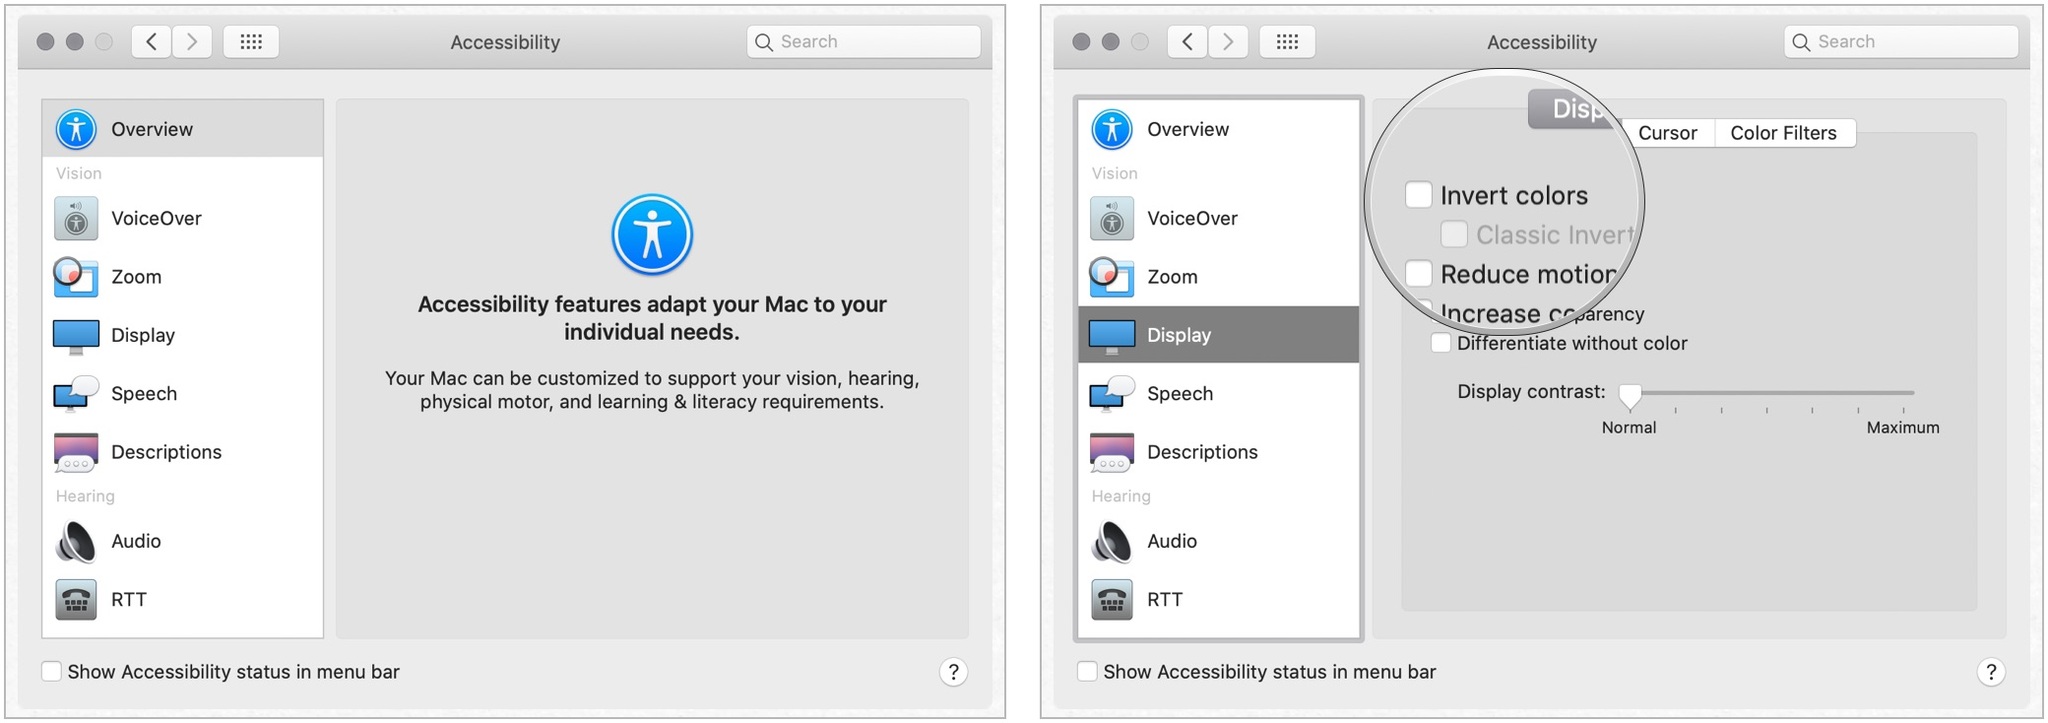
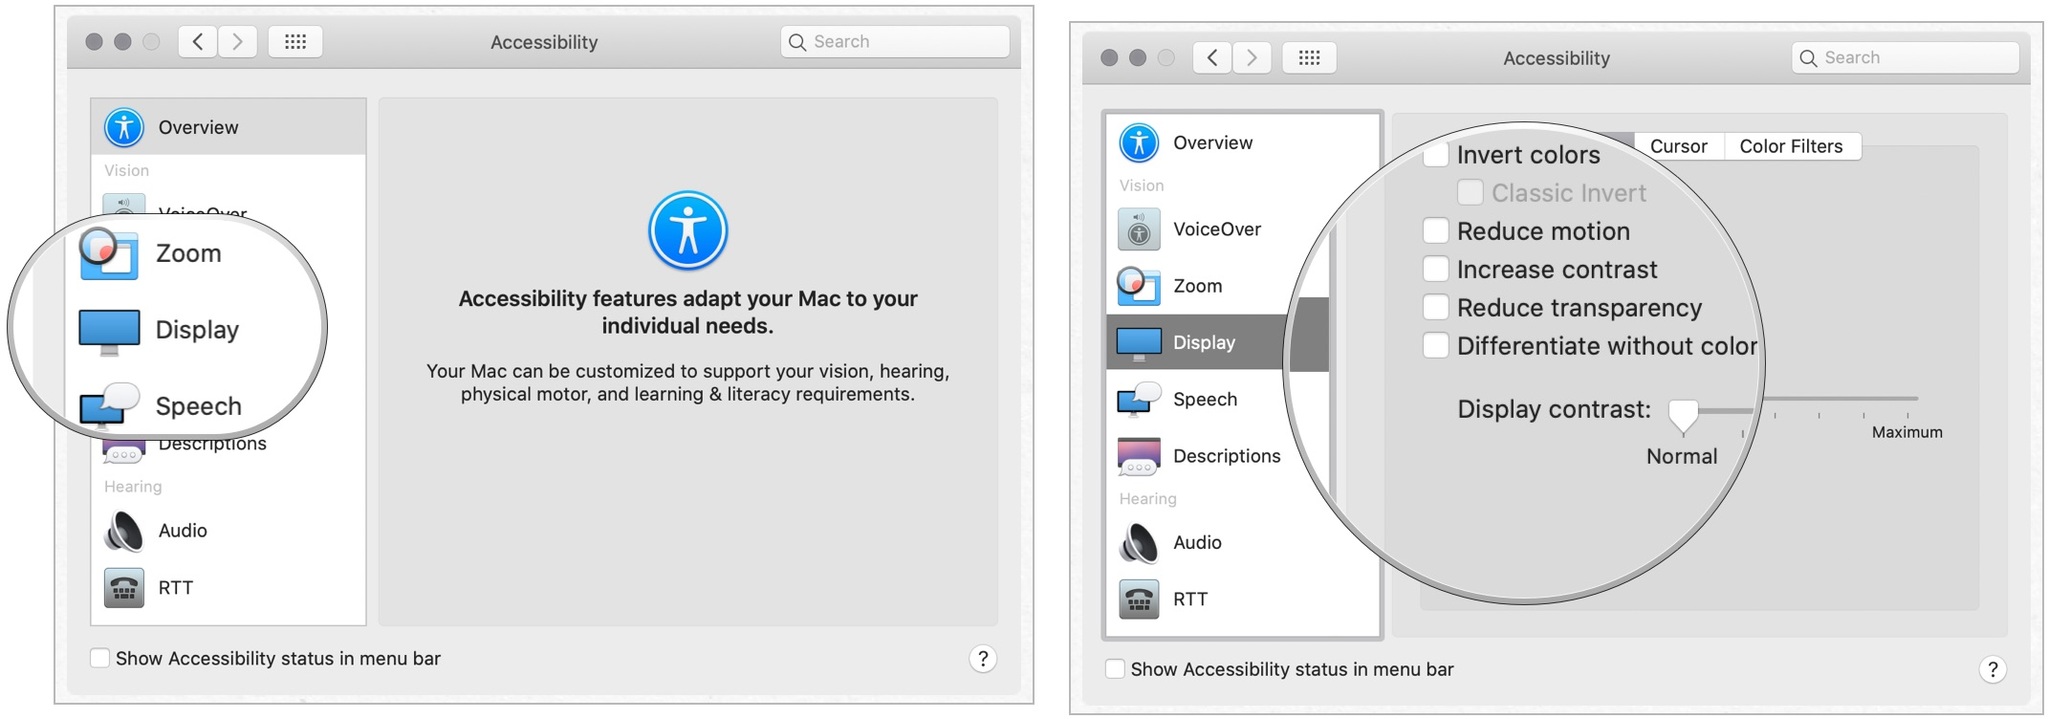
Click Accessibility.
- Click Display in the menu on the left.
Click the checkbox next to Invert colors.
How to switch to grayscale
- Click the Apple menu on the top left of your screen.
- Click System Preferences.
Click Accessibility.
- Click Display in the menu on the left.
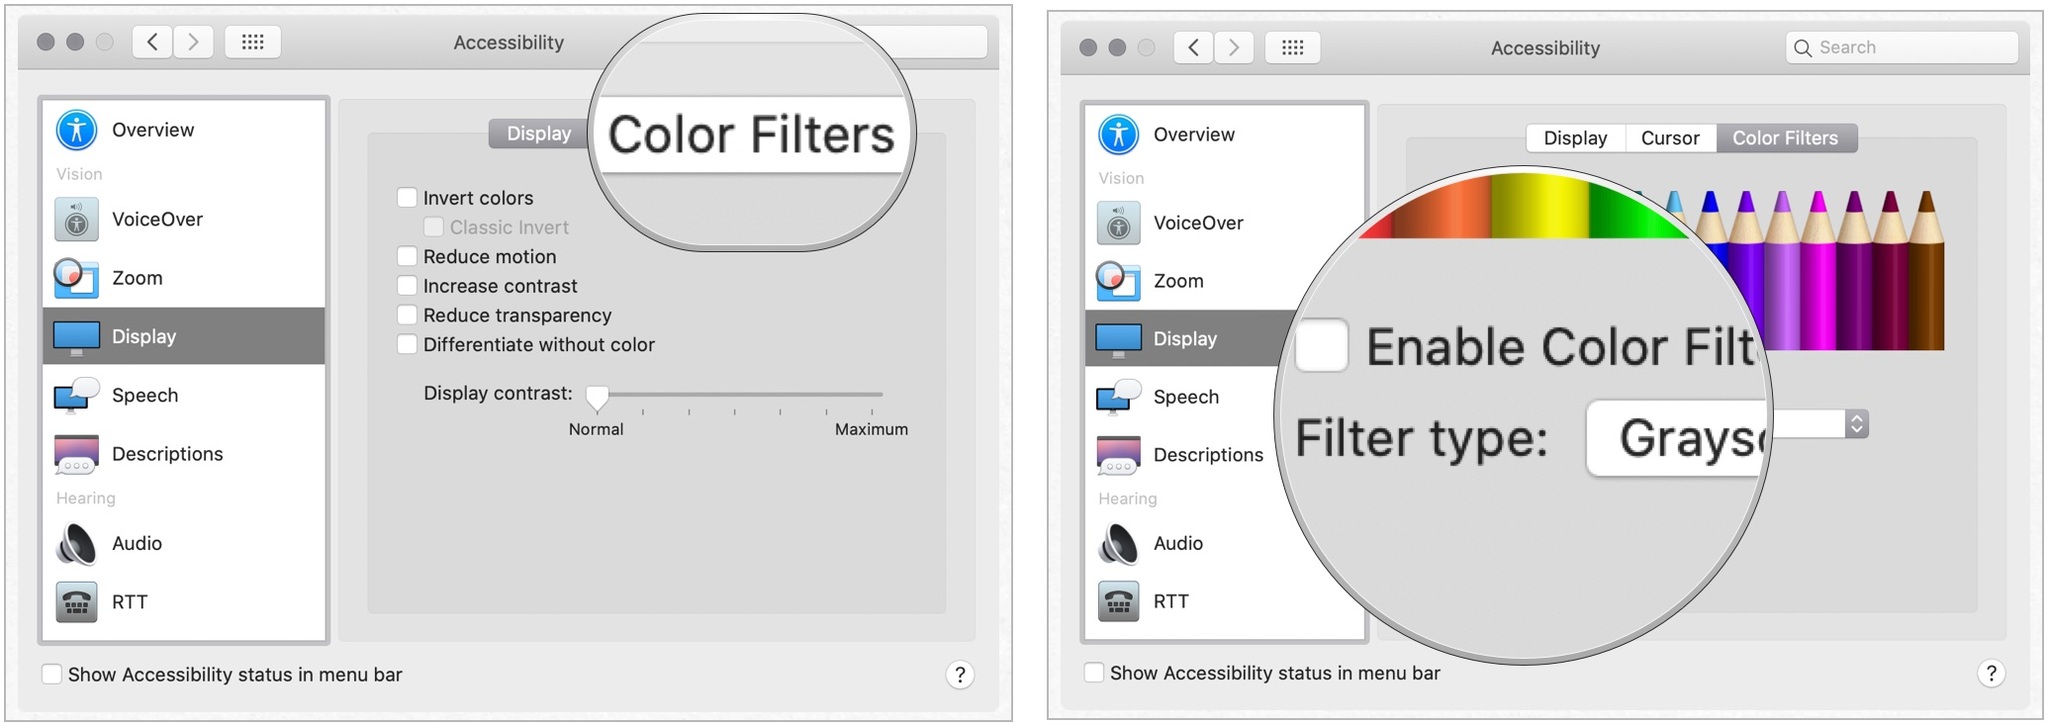
- Choose the Color Filters tab.
- Select the checkbox for Enable Color Filters.
Choose Grayscale from the pulldown menu.
How to use shapes to differentiate some settings
In the example of Messages, when you click Messages in the menu bar, you have the option to switch from "Available" to "Away," and colored bubbles denote these (green for Available, red for away), but by enabling Differentiate without color, you'll see a green circle and a red square instead, which is a boon to color blind folks.
- Click the Apple menu on the top left of your screen.
- Click System Preferences.
Click Accessibility.
- Click Display in the menu on the left.
Click the checkbox next to Differentiate without color.
How to reduce motion
Reducing motion on your Mac is new to macOS Sierra, and it makes animations more subtle. For instance, when you activate the dashboard, the windows jump instead of slide, and they crossfade back into place.
- Click the Apple menu on the top left of your screen.
- Click System Preferences.
Click Accessibility.
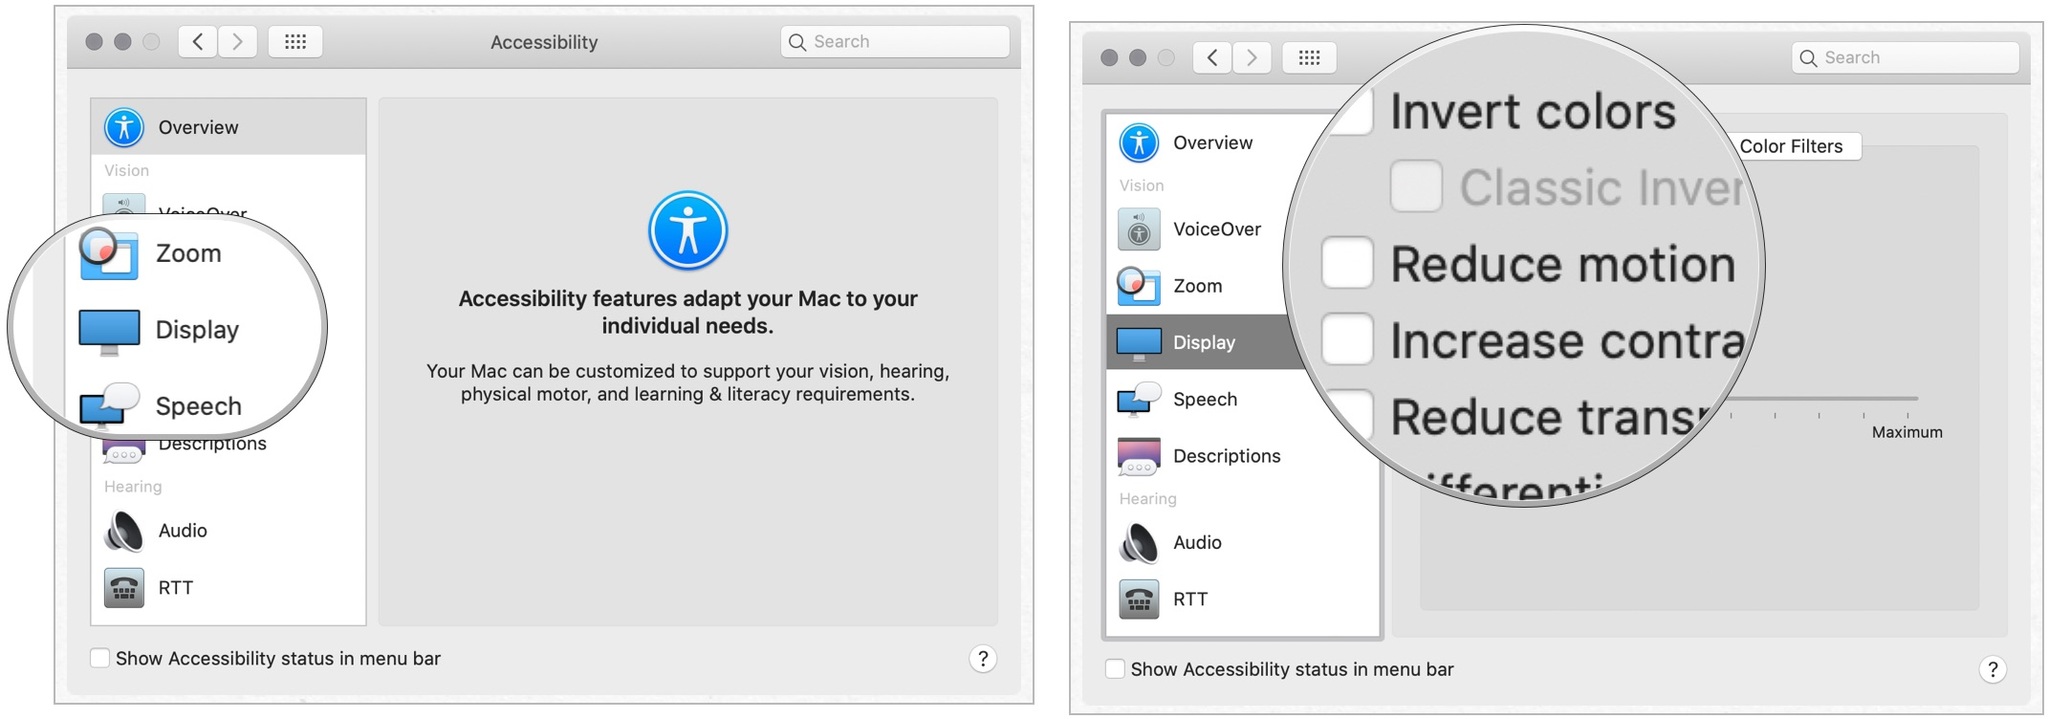
- Click Display in the menu on the left.
Click the checkbox next to Reduce motion.
How to increase contrast
Increasing contrast on your Mac can help text stand out more clearly and can help buttons and app icons appear more pronounced as well.
- Click the Apple menu on the top left of your screen.
- Click System Preferences.
Click Accessibility.
- Click Display in the menu on the left.
- Click the checkbox next to Increase contrast.
How to reduce transparency
Reducing transparency helps your Dock and desktop icons stand out more and also makes the top menu bar opaque so that you can clearly see all your app icons and menu items.
- Click the Apple menu on the top left of your screen.
- Click System Preferences.
Click Accessibility.
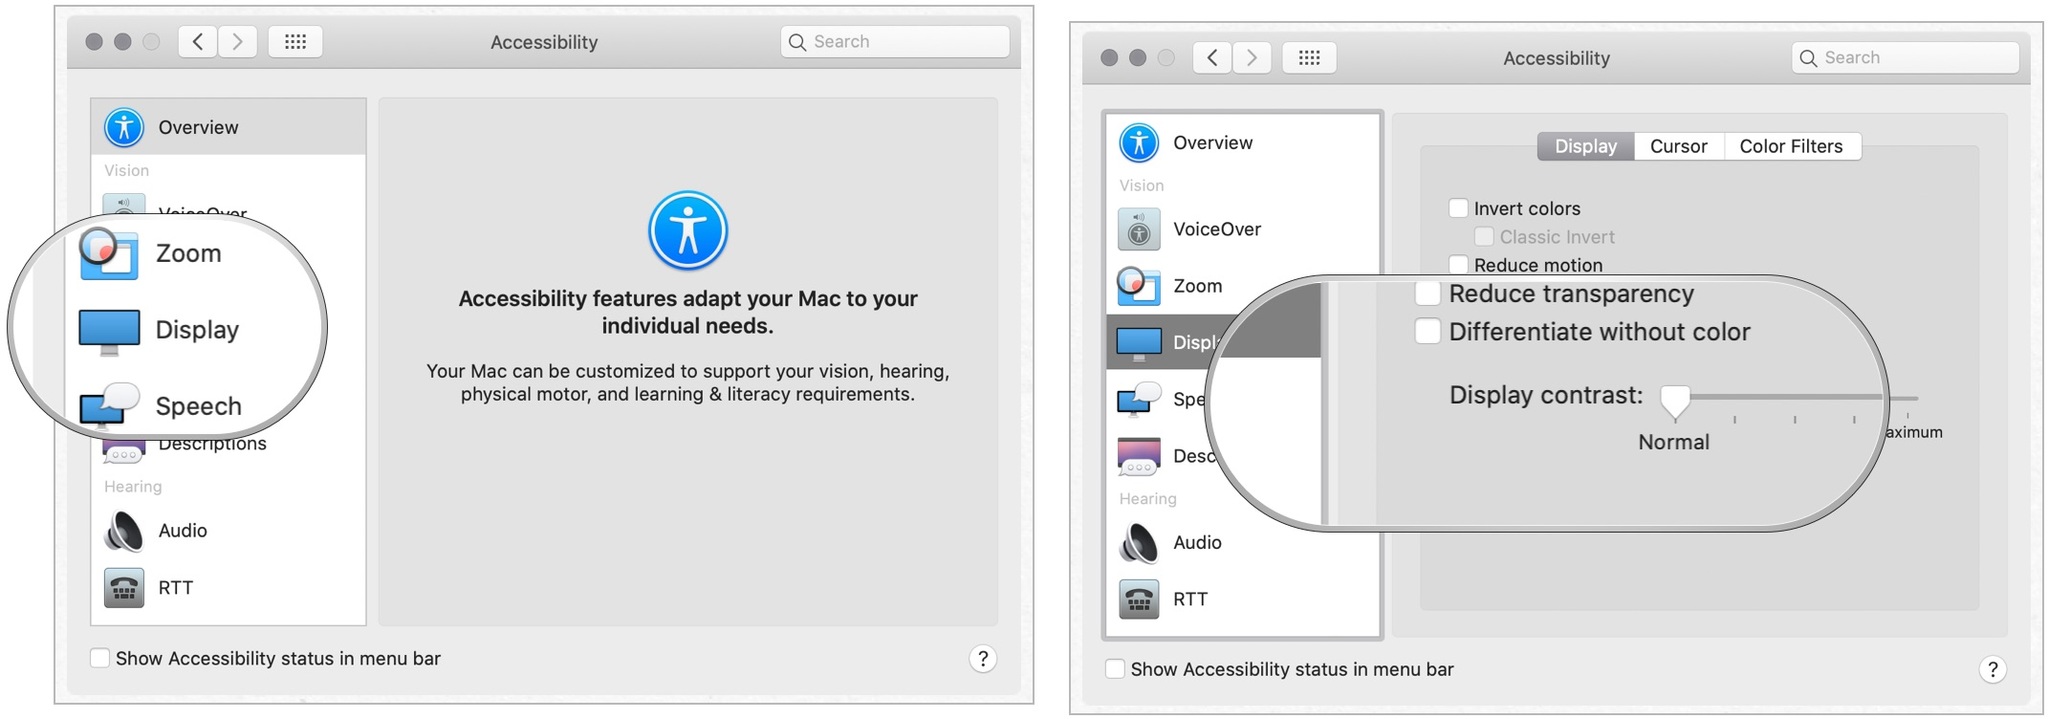
- Click Display in the menu on the left.
Click the checkbox next to Reduce transparency.

How to change the display contrast
- Click the Apple menu on the top left of your screen.
- Click System Preferences.
Click Accessibility.
- Click Display in the menu on the left.
Click and drag the slider next to Display contrast to increase or decrease.
How to change cursor size and enable/disable shake mouse pointer to locate
You can also adjust the cursor size based on your preferences.
- Click the Apple menu on the top left of your screen.
- Click System Preferences.
Click Accessibility.
- Click Display in the menu on the left.
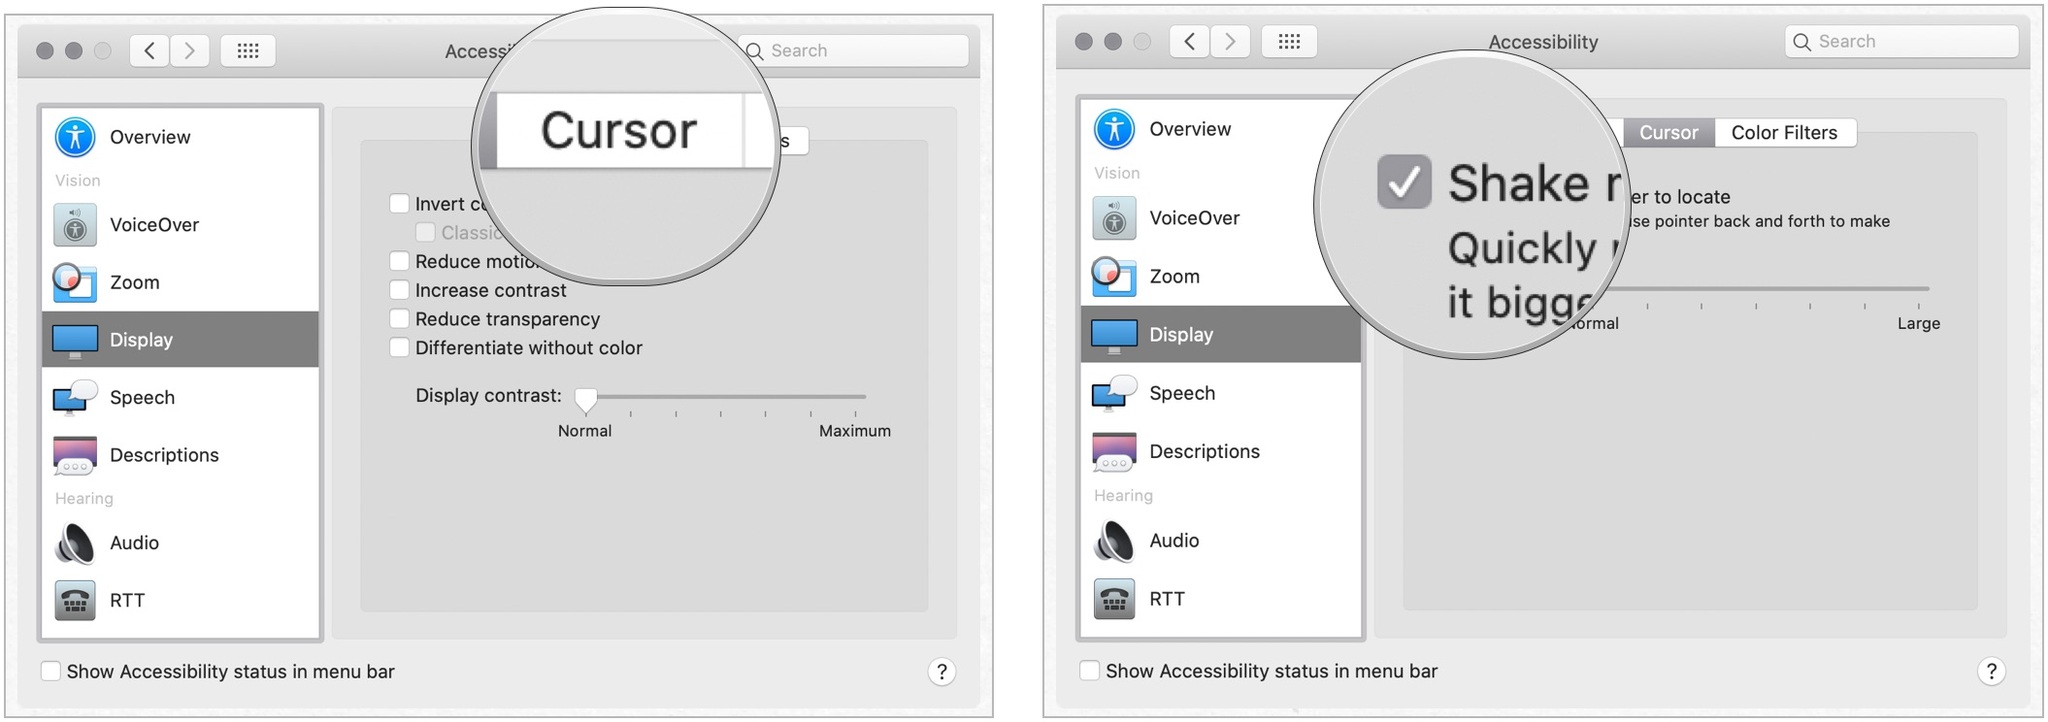
- Click on the Cursor tab on the right side of the screen.
Click and drag the slider next to Cursor size.

If you can't find your mouse cursor on your screen, you can enable the shake feature, and your mouse cursor will get bigger when you shake your mouse.
To enable/disable shake mouse pointer to locate:
- Click the Apple menu on the top left of your screen.
- Click System Preferences.
Click Accessibility.
- Click Display in the menu on the left.
Click on the Cursor tab on the right side of the screen. 6.Choose the checkbox next to Shake mouse pointer.
Questions?
Questions about using accessibility on Mac? Let us know in the comments below!
Updated May 2020: Updated for latest macOS version.