
It’s easy to set the scene with your HomeKit accessories — here’s how!
- aug
- 18
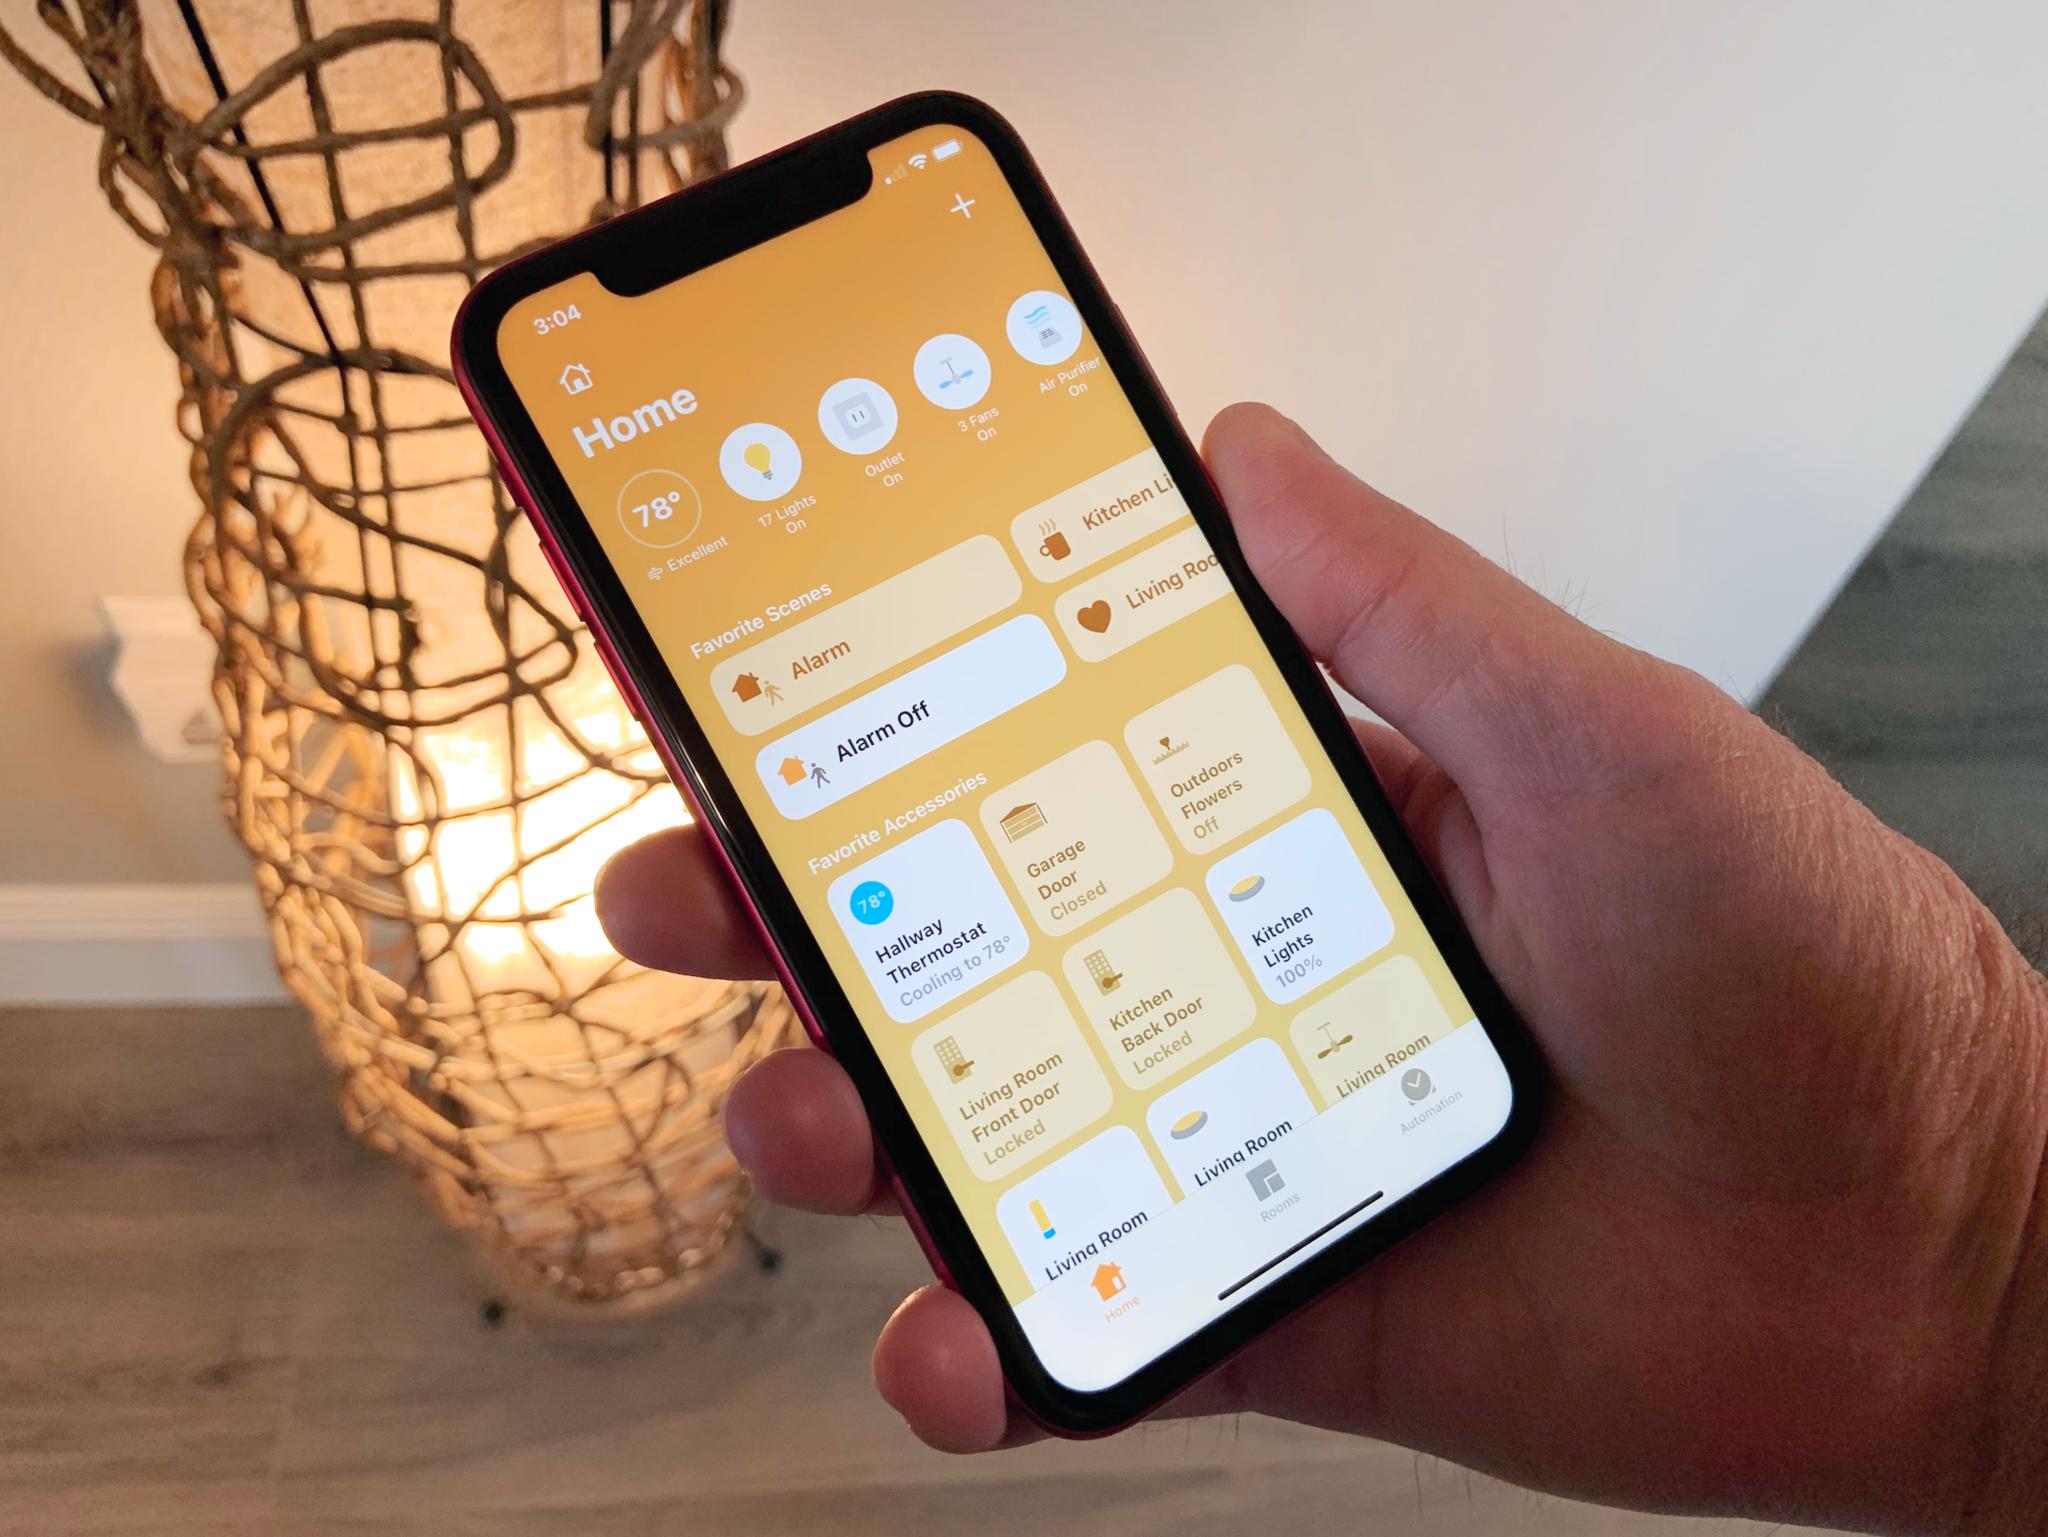
Scenes are easy to set up and can do multiple things at once with your various HomeKit accessories.
If you are tired of shouting to Siri to control lights one-by-one in your home, or searching around for the right smart plug on your iPhone, then you need to know how to create scenes in the Home app. With just a few simple steps, you can set the stage for your next big movie night that dims your HomeKit compatible lights, closes your HomeKit blinds, and fires up your HomeKit TV all with just a single tap or voice command. Here's how to create scenes in the Home app.
How to create scenes in the Home app
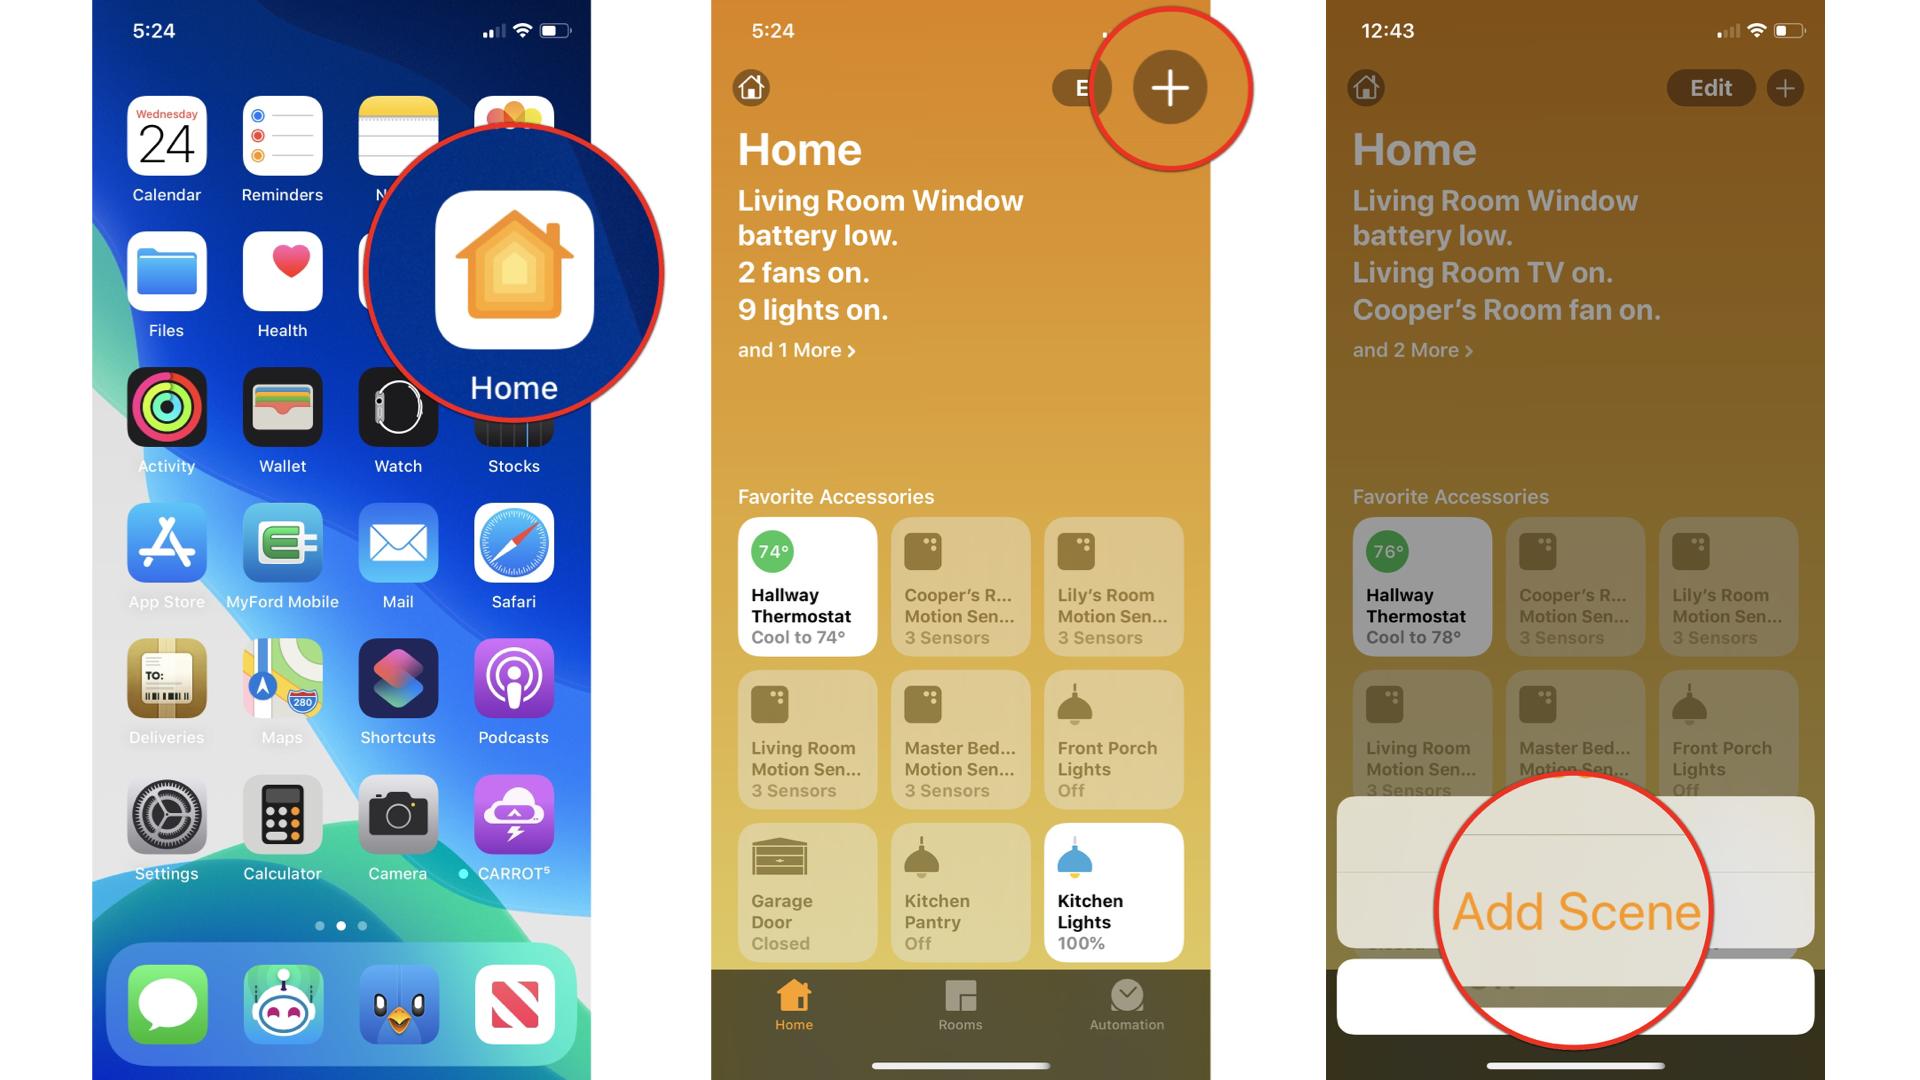
- Launch the Home app.
- Tap the Add Button in the top right corner of the screen (looks like a plus sign).
Tap Add Scene.
- Type in a Name for your scene.
- You can also assign a different icon for your scene by tapping on the Home icon next to the name.
- Tap Add Accessories.
Tap on the Accessories that you wish to add to your scene.
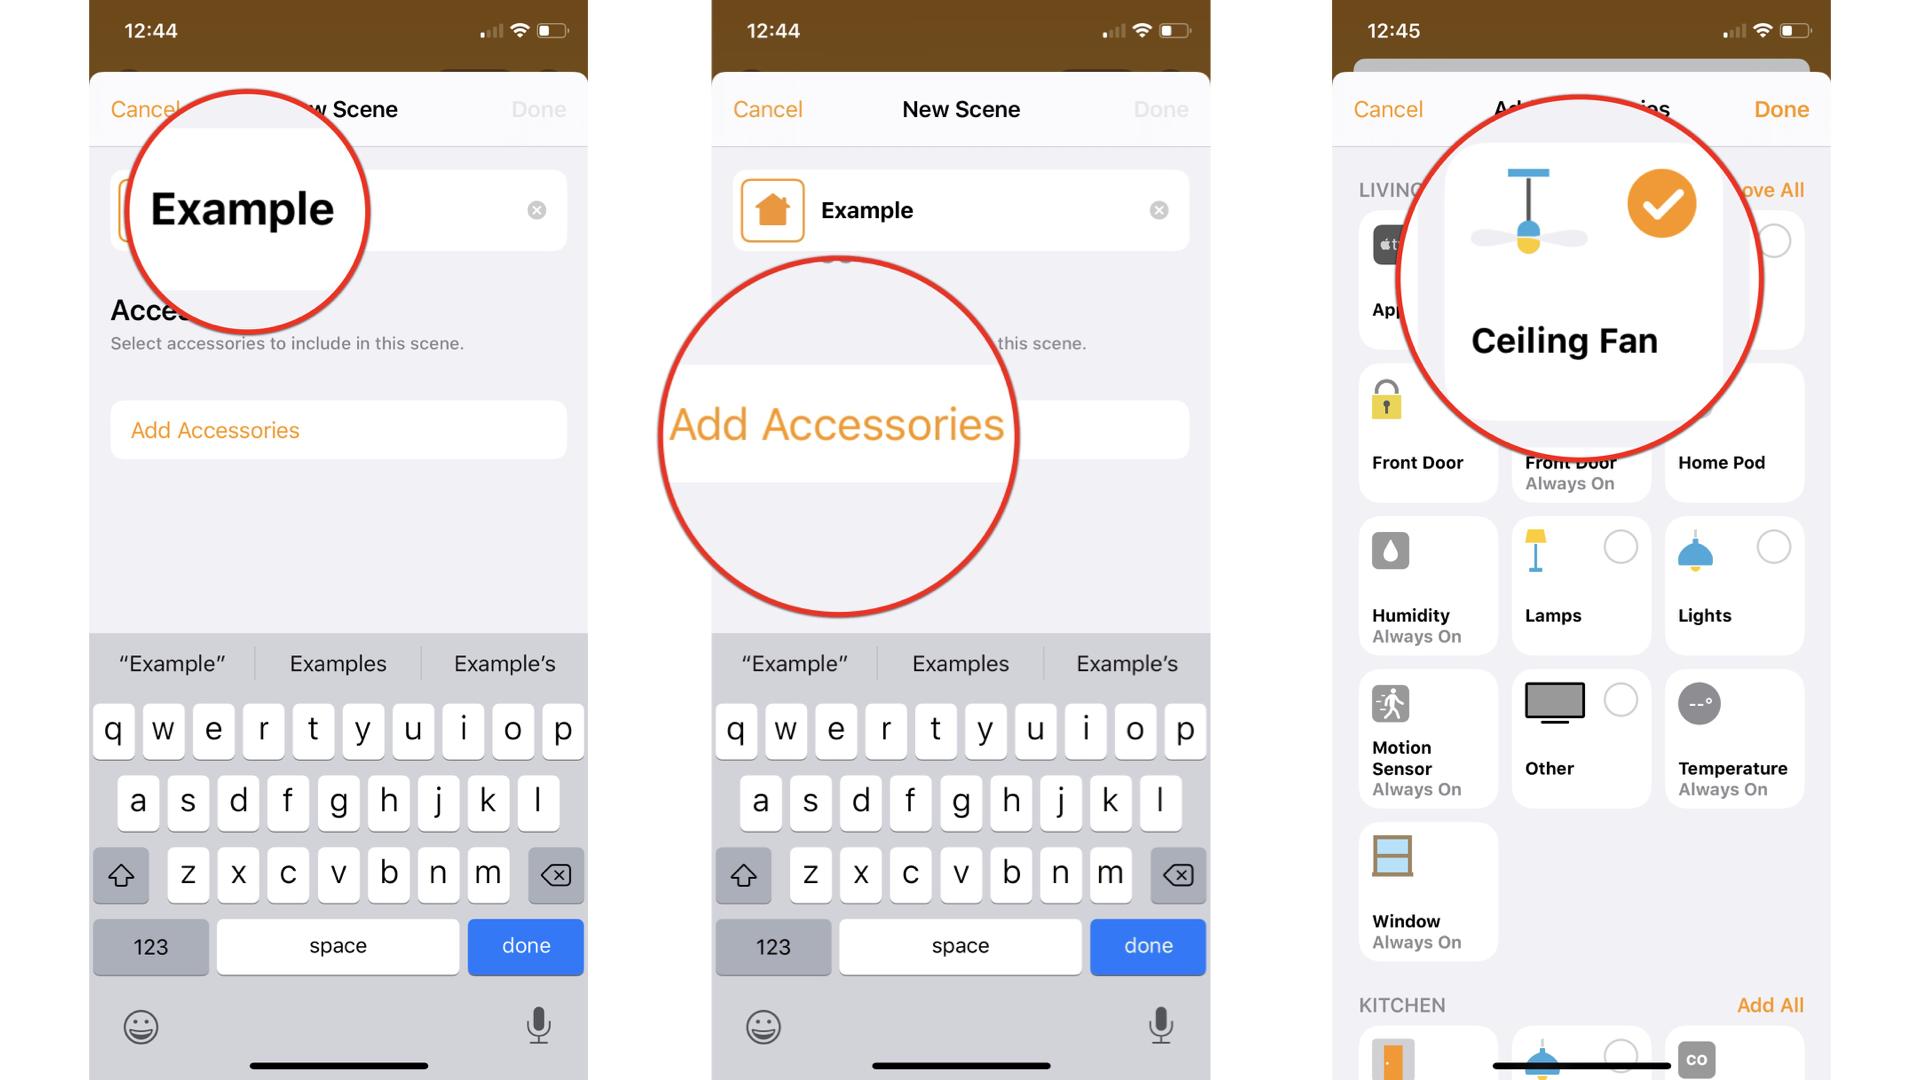
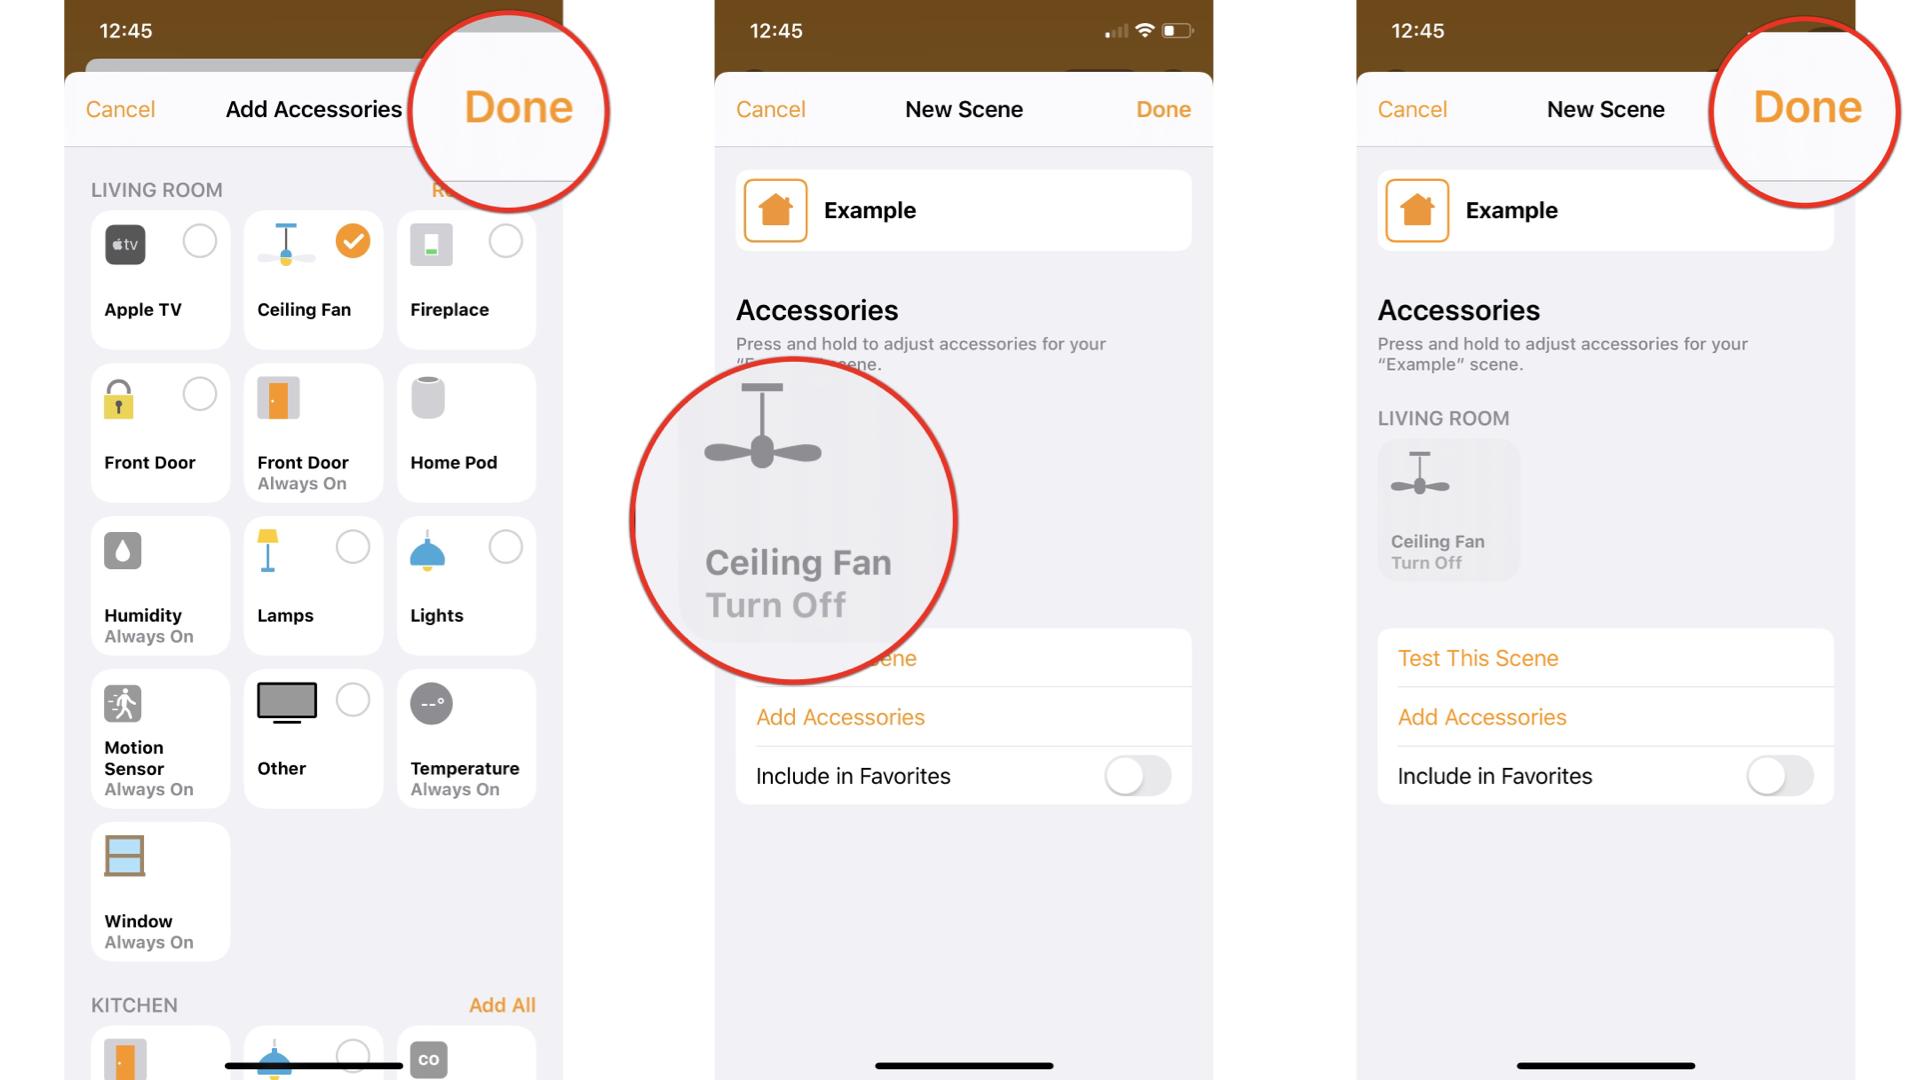
- Tap Done.
- Tap and hold on the Accessories in your scene to change additional settings such as brightness, then tap the X when finished.
Tap Done.
- Tapping Test This Scene will give you an in-person preview of your scene.
- Use the Add Accessories option to add any additional devices that you may have missed.
How to create scenes in the Home app on iOS 14 and iPadOS 14
Apple occasionally offers updates to iOS, iPadOS, watchOS, tvOS, and macOS as closed developer previews or public betas. While the betas contain new features, they also contain pre-release bugs that can prevent the normal use of your iPhone, iPad, Apple Watch, Apple TV, or Mac, and are not intended for everyday use on a primary device. That's why we strongly recommend staying away from developer previews unless you need them for software development, and using the public betas with caution. If you depend on your devices, wait for the final release.
- Launch the Home app.
- Tap the Add Button in the top right corner of the screen (looks like a plus sign).
Tap Add Scene.

- Tap Custom.
- Type in a Name for your scene.
Tap Done.
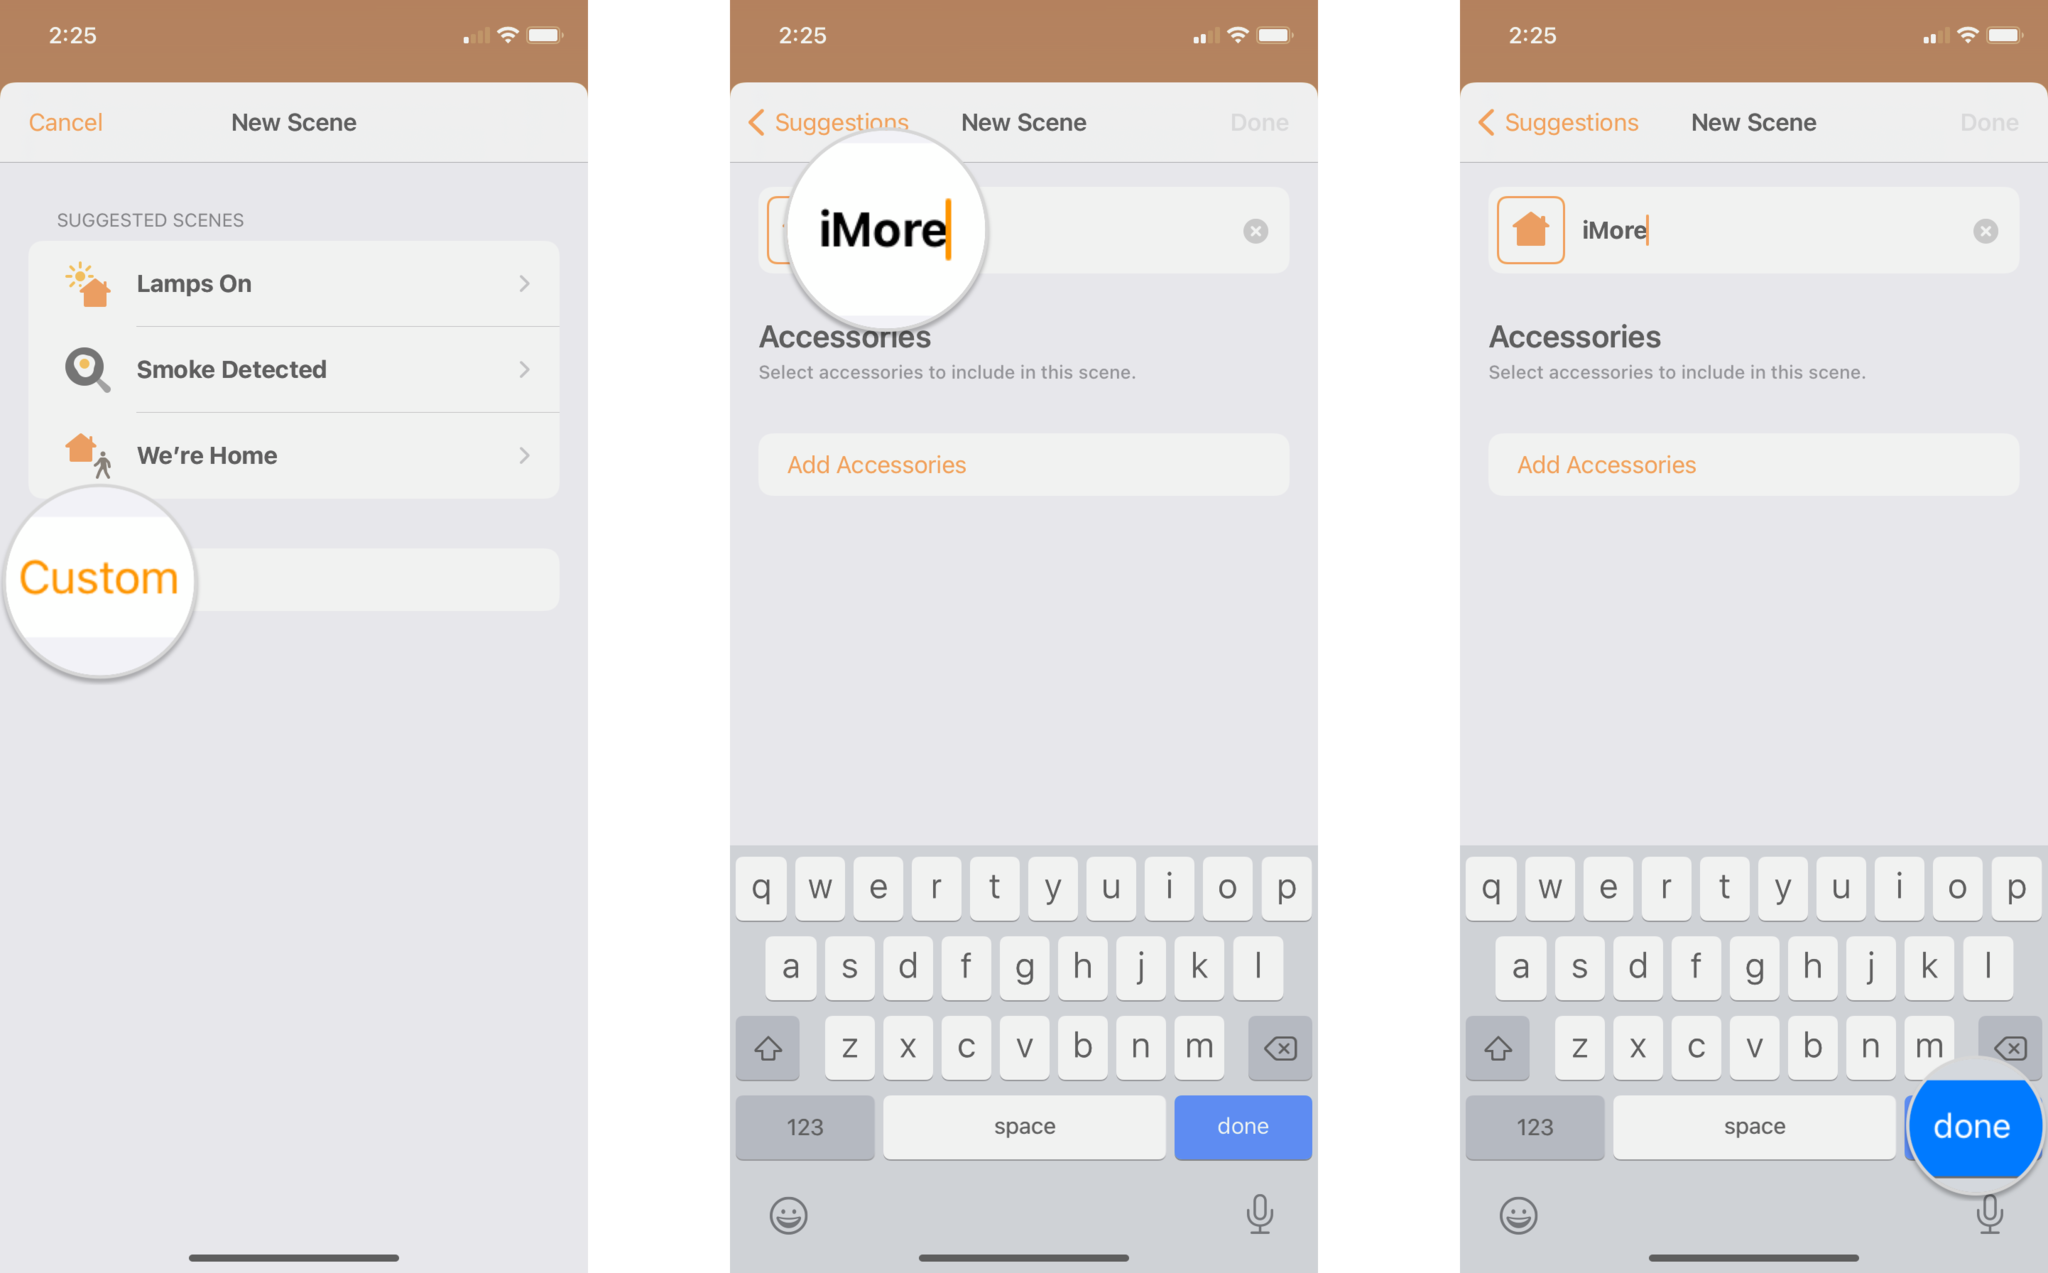
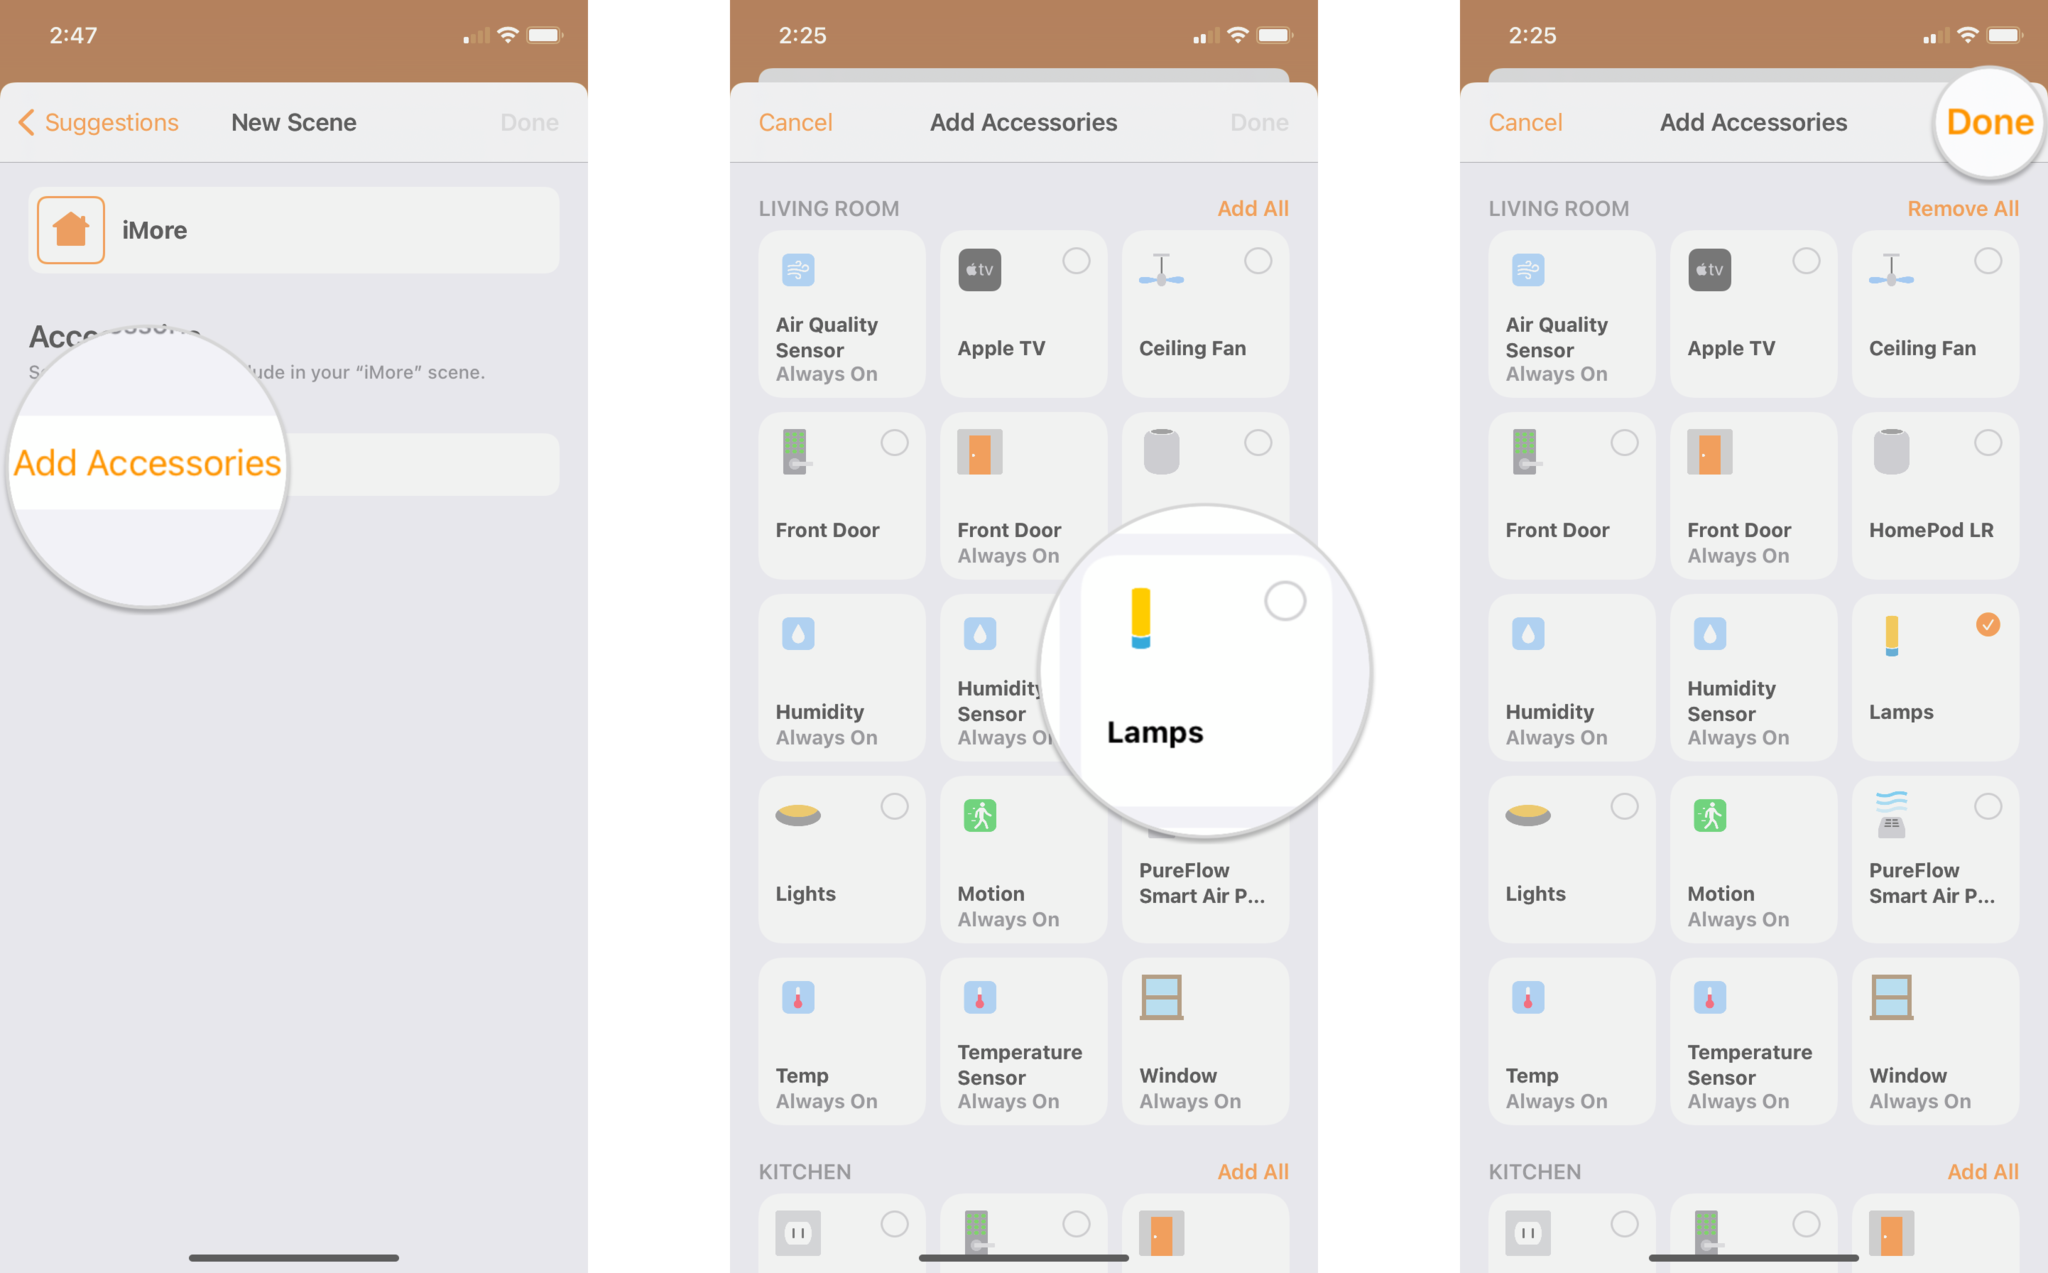
- Tap Add Accessories
- Tap on the Accessories that you wish to add to your scene.
Tap Done.
- You can also assign a different icon for your scene by tapping on the Home icon next to the name.
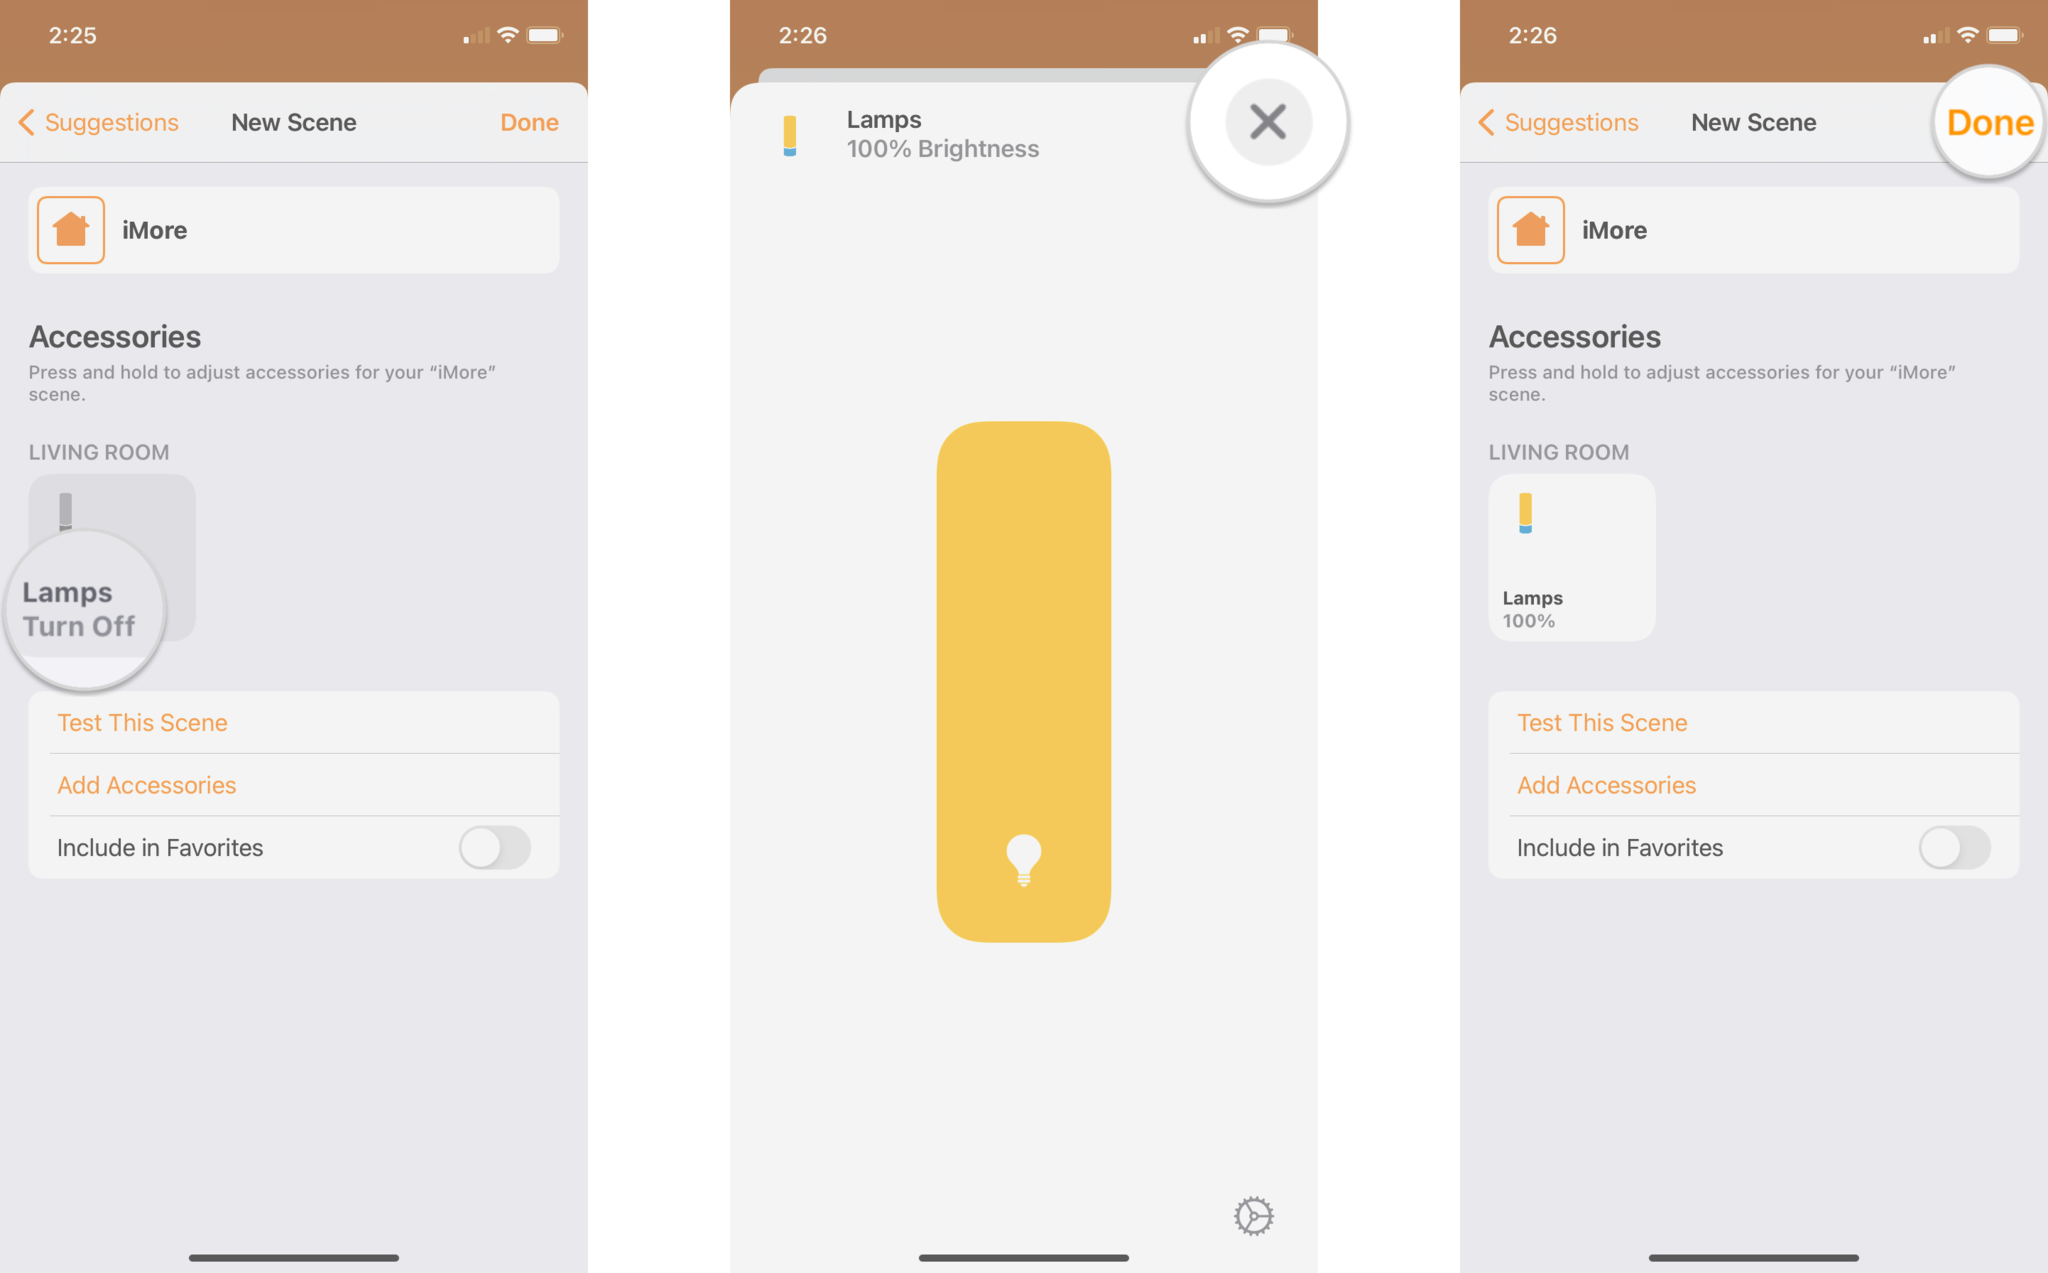
- Tap and hold on the Accessories in your scene to change additional settings such as brightness
- Tap the X button when you have finished setting the desired accessory state.
Tap Done.
- Tapping Test This Scene will give you an in-person preview of your scene.
- Use the Add Accessories option to add any additional devices that you may have missed.
That is all there is to it! Now that your scene is built, you can combine it with the ability to set your favorite scenes which gives you quick access to it either in the Home app, or in Control Center. If you want to take scenes even further, then you should definitely take the time to learn how to create automations.
Automations can run entirely on their own based on certain conditions, such as time, or accessory state. This gives you the ability to run a favorite scene that turns on your outdoor HomeKit accessories at sunset every day, which is just all sorts of magical when it takes effect.
What are your favorite scenes?
Do you use scenes in your HomeKit home? What are some of your favorites? Let us know in the comments down below!

Updated August 2020: Updated for iOS 14 (in beta).