
Did your AirPods Pro fail Apple’s ear seal test? Here’s the fix.
- maj
- 27
Have your AirPods Pro failed the iPhone ear tip fit test? Check out our troubleshooting ideas.
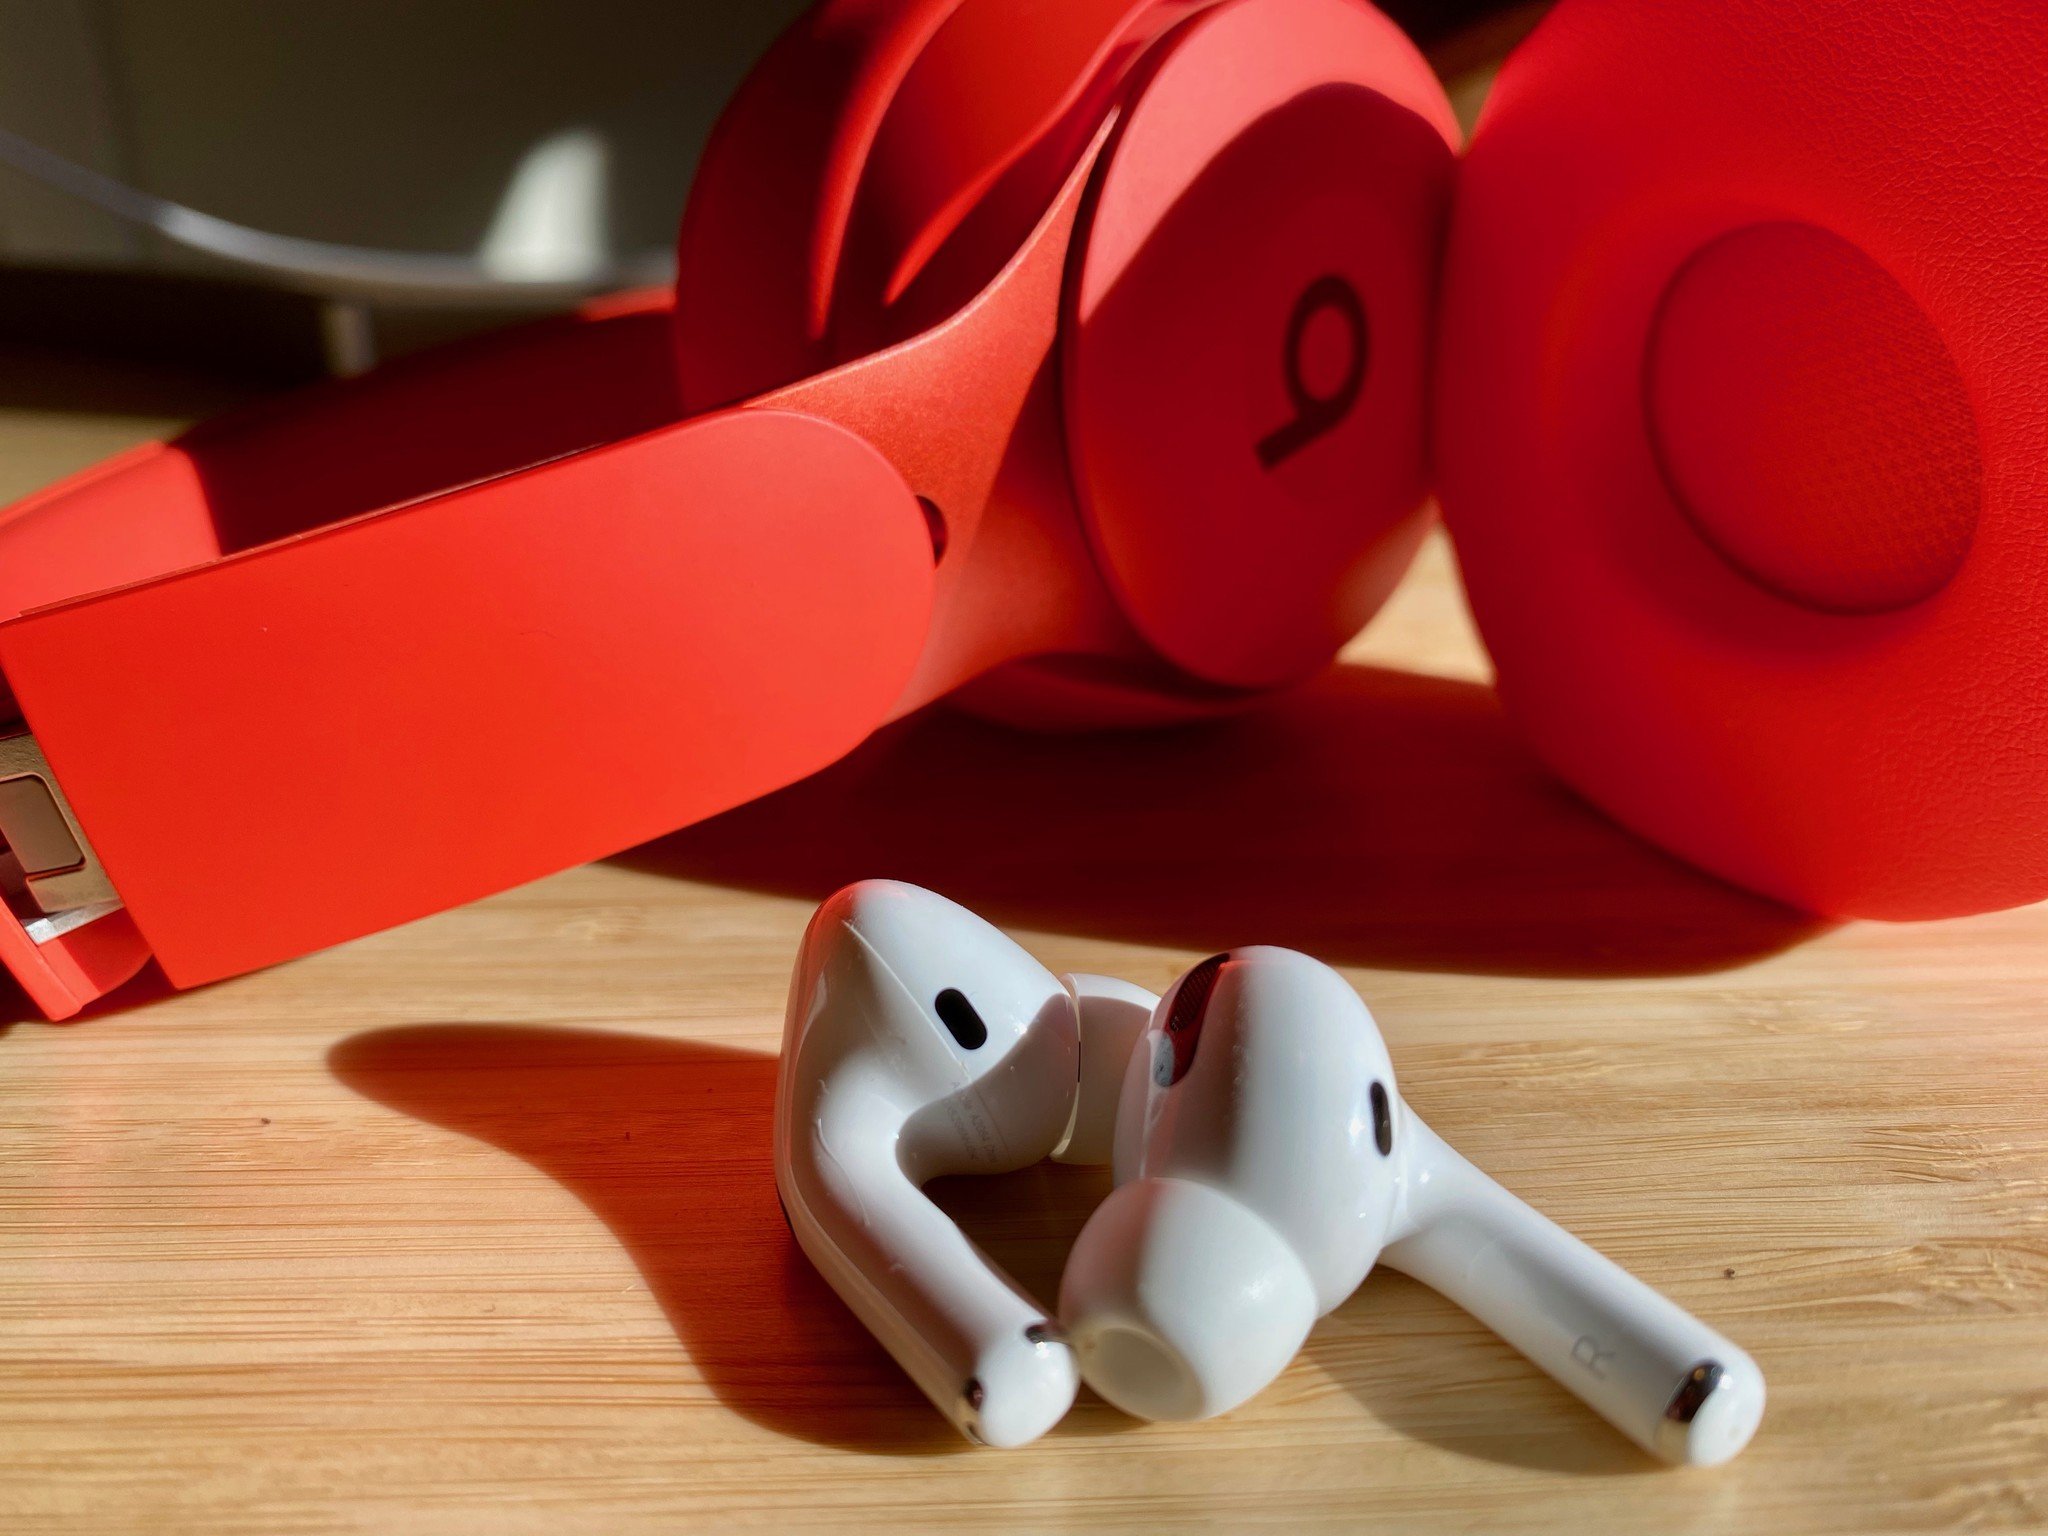
Apple AirPods Pro earbuds are trendy because of their noise cancelation and transparency sound capabilities. However, these functions are greatly enhanced when you use correctly sized tips. To assist you with sizing, the AirPods Pro comes with small, medium, and large silicone ear tips.
The iPhone maker also offers an ear tip fit test to help you achieve the best possible sound quality and noise cancellation. The test — which is available on your iPhone once it's linked to your AirPods Pro, our favorite true wireless earbuds — isn't perfect. It often fails. Luckily, there are some troubleshooting tips you can use to receive a positive result once again.
AirPods Pro
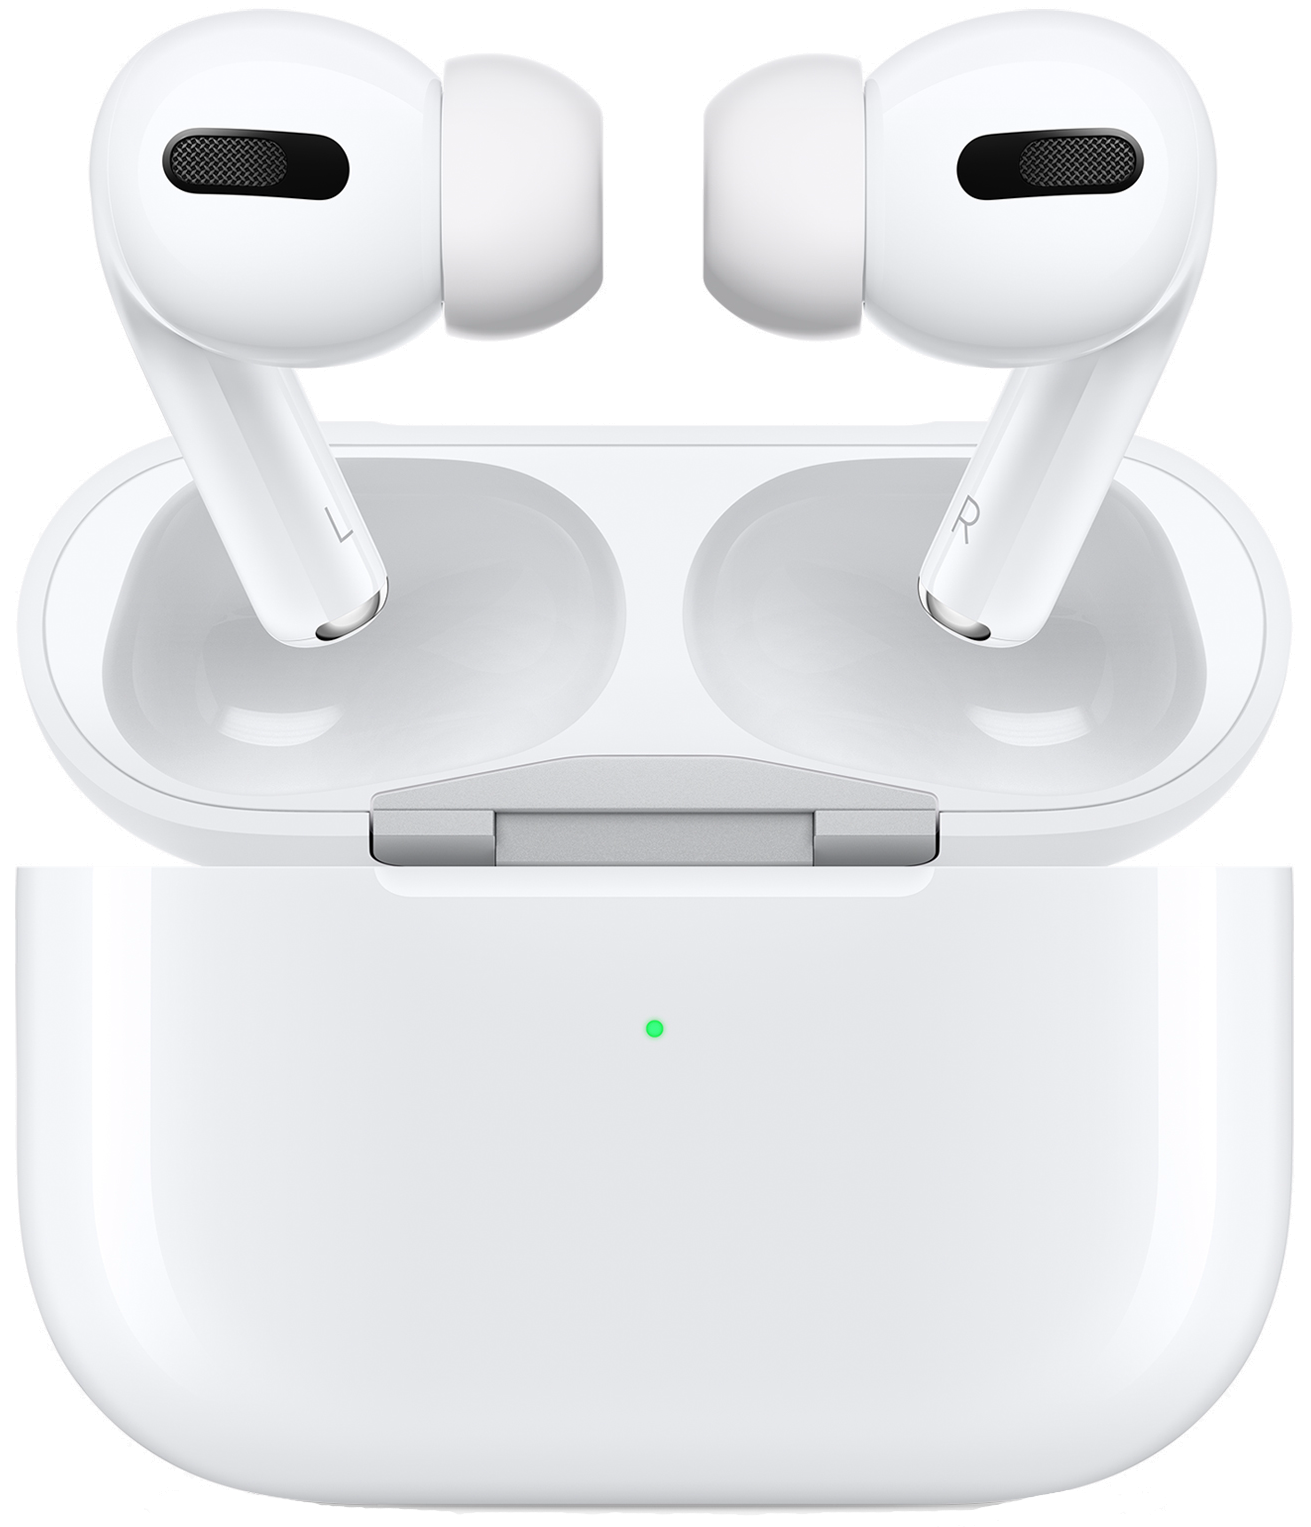
This is a worthy upgrade for anyone who wants a perfect Apple accessory that has a much better listening experience, especially when you're on the go.
As we previously noted, the AirPods Pro ear tip fit test is designed to ensure you have the best seal possible for each earbud. To get a successful test on each earbud, you must first ensure you have the correct-sized ear tips in place. A good rule is if the ear tip feels too large in your ear or is uncomfortable, try a smaller ear tip, and so forth.
Test the different tips
Don't be surprised if your ear sizes are different. In other words, you might have to use a different-sized tip for each ear. For example, after hours of trying to get the right fit for my AirPods Pro, I figured out that I needed a larger tip for my left ear.
Move the tips around your ears
If changing the tip sizes doesn't give you a positive ear tip fit test, start moving the tips around inside your ears, then do another test. The more vertical the buds are inside your ears, the better. You can order new ear tips on the Apple website if yours aren't working out or you need new ones.
Push them in further

If you're convinced the size of your ear tips is correct, but you still get a bad test result, try pushing the tips into your ears more during a test. If you get good test results while doing this, the tips are probably too small, so you should swap them out with larger tips and try again.
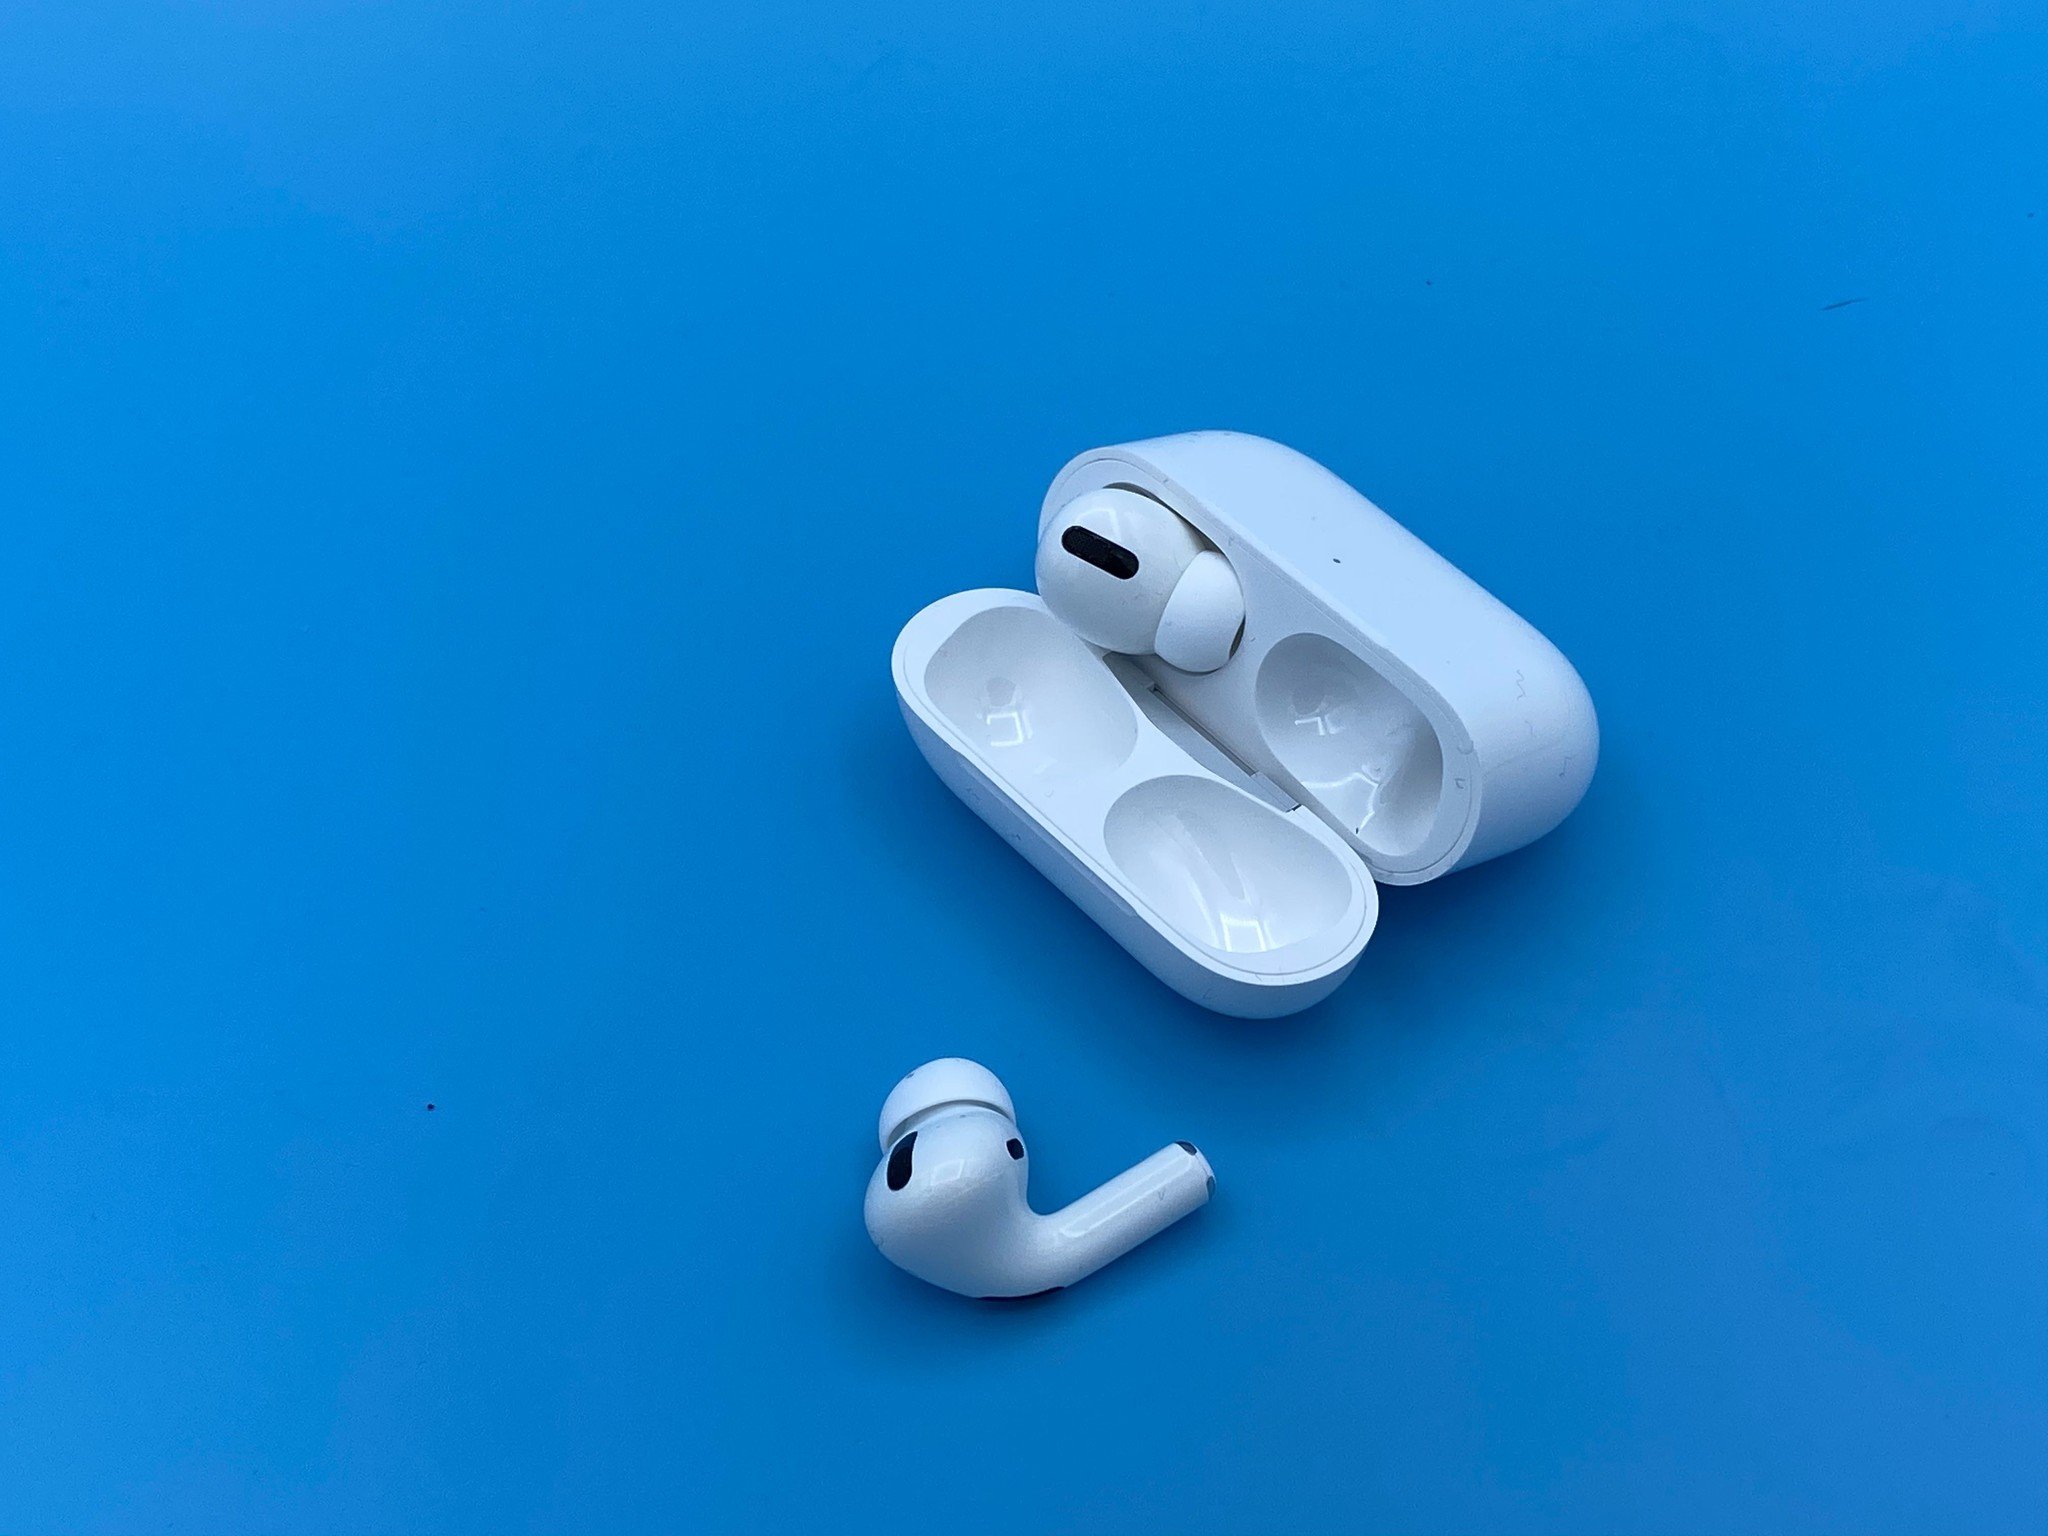
Time to clean
If you still can't get a positive test result, it's time to begin cleaning each earbud. To do so, you should follow Apple's guidelines.
These include:
- Don't run AirPods or AirPods Pro underwater.
- Use a soft, dry, lint-free cloth that's lightly dampened with fresh water.
- Allow them to dry before placing them in the charging case.
- Do not attempt to use them until they are completely dry.
- Make sure not to get any liquid in the openings.
- Clean the microphone and speaker meshes with a dry cotton swab.
- Don't use sharp objects or abrasive materials to clean your AirPods or AirPods Pro.
Of the suggestions below, I've found the most success by cleaning the speaker meshes. But unfortunately, ear wax builds up on the earbuds and can affect the seal.
Reset and repeat
Are you still having problems? You can troubleshoot and reset your AirPods and see if that helps.
When in doubt
As a last resort, you can contact Apple Support and ask about getting a new pair under the one-year limited warranty. Be sure to follow the previous suggestions first before contacting Apple. The support representative will want to know which troubleshooting tips you've tried before offering a return and replacement.
Updated May 2022: Minor updates made.