How to use VoiceOver and visual accessibility on iPhone and iPad
- apr
- 05
VoiceOver and visual accessibility features helps those who are visually impaired get the most out of their iPhone or iPad.
iPhones and iPads aren't just for those with perfect, 20/20 vision. Using the accessibility features — functions like inverting colors and VoiceOver — gives those who are visually impaired a user experience that is nearly on par with that of people who can see.
- How to activate VoiceOver on iPhone and iPad
- How to use VoiceOver on iPhone and iPad
- How to enable zoom for better visual accessibility on your iPhone or iPad
- How to invert screen colors on iPhone and iPad
- How to enable grayscale mode for iPhone and iPod
- How to enable and use speak selection for iPhone and iPad
- How to enable Speak Screen for iPhone and iPad
- How to use speak auto-corrections for iPhone and iPad
How to activate VoiceOver on iPhone and iPad
VoiceOver is an Accessibility feature that makes the iPhone and iPad easier to operate for blind people or people with impaired vision.
With VoiceOver, anyone with a visual impairment can have their iPhone or iPad's screen read to them, including buttons, icons, links, and other interface elements, and use gestures to navigate and select their options.
Because VoiceOver is included in Apple's UIKit framework for developers, any app using default controls gets VoiceOver support built right in.
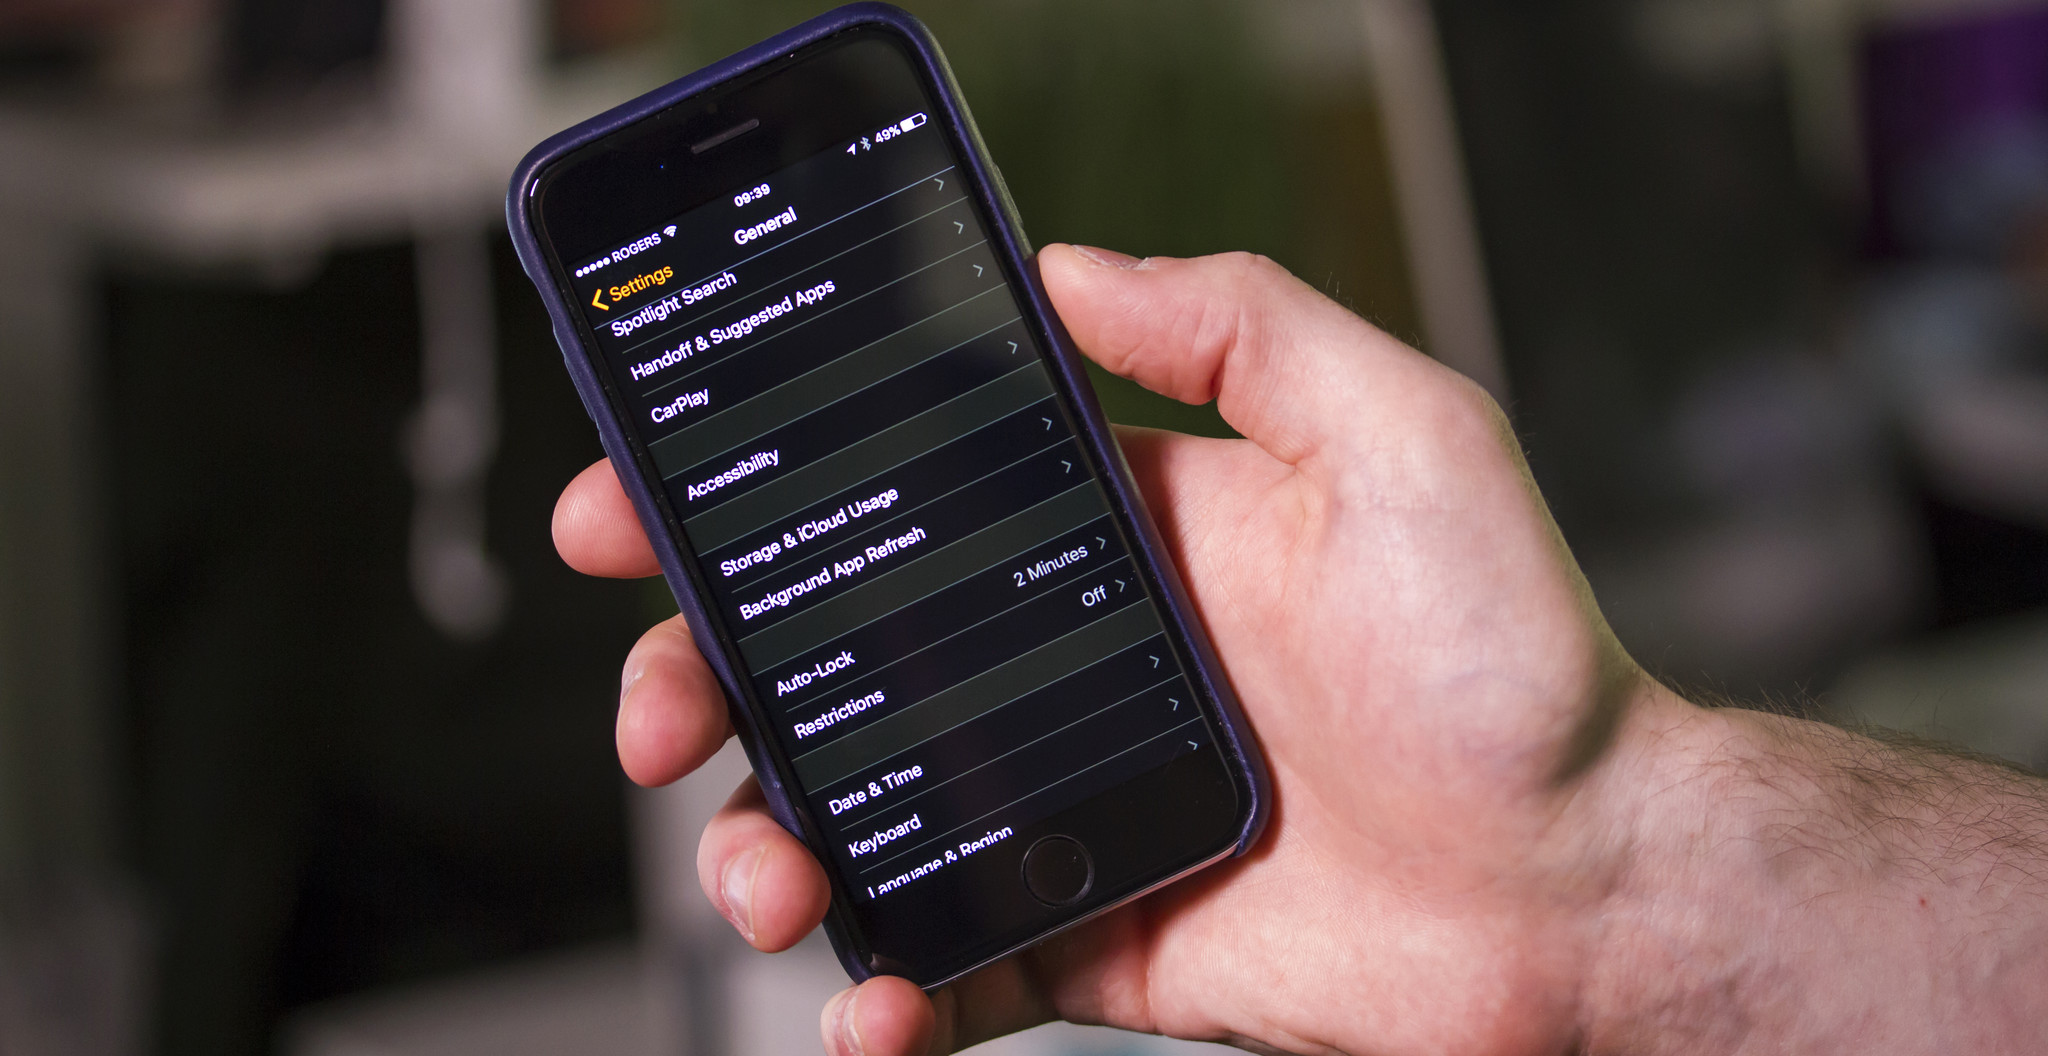
- Launch the Settings app from your Home screen.
- Tap on General.
Tap on Accessibility.

- Tap on VoiceOver under the Vision category at the top.
Tap the switch next to VoiceOver to enable it.
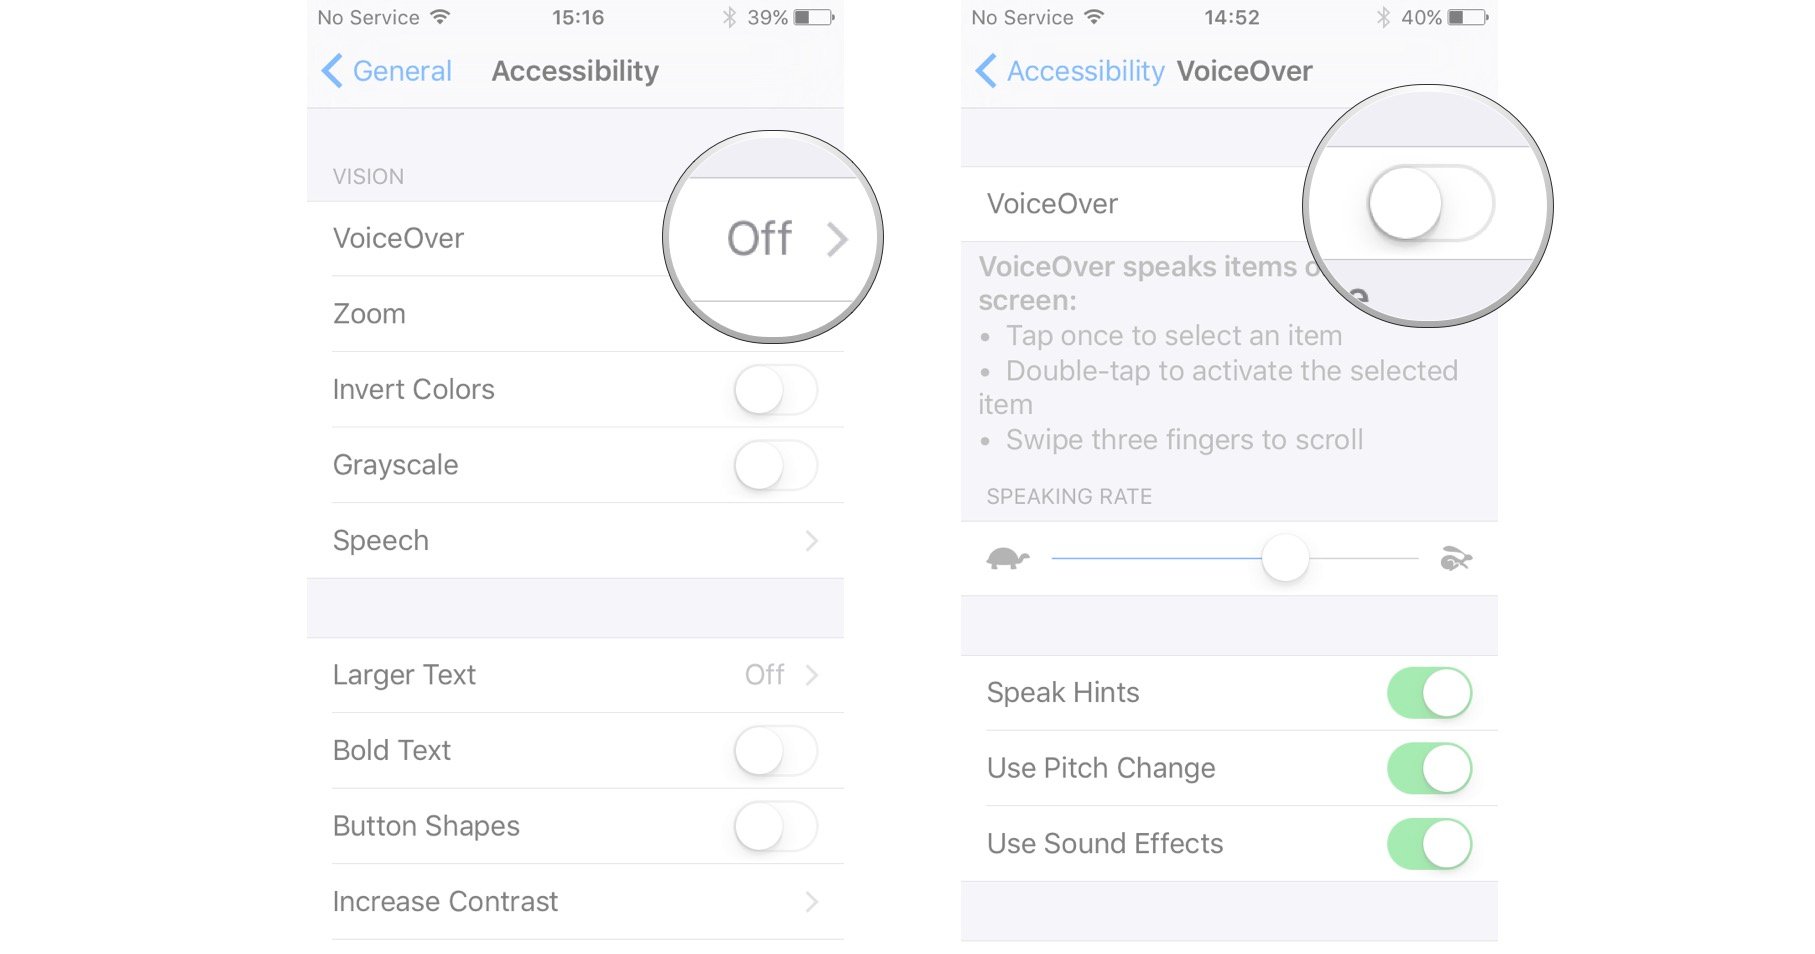
Now, VoiceOver is enabled. Keep in mind that the gestures you regularly use on your iPhone will change. Let's go through those next.
How to use VoiceOver on iPhone and iPad
VoiceOver changes the gestures in iOS in order to make it easier for visually impaired individuals to know what they're tapping on before they actually select it. Here are some tips to using VoiceOver:
- Single tap anywhere on the screen and your iPhone or iPad will speak aloud the item that you're tapping on.
- Double tap on an item to select it.
- To scroll through a page, use three fingers. With VoiceOver off you typically use only one finger to scroll, in VoiceOver, you'll need to use three, so that your iPhone or iPad doesn't misread a tap as a scroll.
- Double tap with three fingers to toggle speech commands on and off from the Lock Screen.
- A two finger double tap while performing an action will start or stop that action. For example, if you're on a phone call, double tapping the screen with two fingers will end the call. If you're in the Camera app, double tap with two fingers to take a photo.
- In VoiceOver options you can customize and fine tune options such as whether or not you'd like the device to speak notifications.
For more tips and tricks regarding VoiceOver, we recommend using the VoiceOver Practice option within the VoiceOver Settings menu.
This allows you to tap the screen as you'd like and the iPhone or iPad will speak aloud what that action does system wide. This will help get someone used to how VoiceOver works and what commands trigger what actions.
How to enable zoom for better visual accessibility on your iPhone or iPad
Zoom is an Accessibility feature that makes everything from text to icons to interface elements bigger and easier to see on the iPhone and iPad.
Zoom magnification defaults to 200% but can be set from 100%-500% to help anyone with low vision of any level.
When in zoomed mode, all the standard navigation and selection gestures — tap, swipe, and pinch — work just like normal. Zoom can even work alongside VoiceOver to provide even greater assistance for those with visual impairments.
Note: Designers use zoom as well to help check pixel-level details on-screen.
- Launch the Settings app from your Home screen.
- Tap on General.
Tap on Accessibility.
- Tap Zoom under the Vision section.
Tap the switch to turn on Zoom.

Once you've got Zoom enabled, you can use it on the fly. Here's how to use it:
- Double tap with three fingers anywhere on the screen to enable and disable zoom. You can do this from pretty much anywhere.
- Drag three fingers around the screen to pan around and move to another area of the screen.
- Use one or two fingers to scroll in the particular section that is on the screen.
- Tap and hold the anchor to drag the magnifying glass up and down the screen.
That's it! You're good to go! If you ever decide you don't like zoom enabled, you can easily disable it by following the same steps.
How to invert screen colors on iPhone and iPad
Inverting screen colors is an Accessibility feature that makes the iPhone and iPad easier on the eyes for some people with a sensitivity to brightness, easier to distinguish for some people with color blindness, and easier to make out for some people with low vision.
It can even be used in combination with zoom to greatly increase legibility for anyone with a visual impairment.
Note: Some people invert screen colors as a pseudo-dark theme or nighttime reading mode for when they want to greatly reduce light and glare from the display.
- Launch the Settings app from the Home screen.
- Tap on General.
- Tap on Accessibility.
Turn On the option for Invert Colors — it's under the Vision section at the top.

You'll notice the screen colors will now invert and somewhat resemble a photo negative. This can make it easier for those with certain visual impairments to pick out content and navigate easier.
You can pop back into Settings at any time to disable it if you'd like to later on. You can also set the triple Home-click action to invert colors so you can do it on the fly without having to navigate through the Settings app.
How to enable grayscale mode for iPhone and iPod
Grayscale mode is an accessibility feature that allows folks with a visual impairment, such as color blindness, to disable colors that make the display even harder for them to see.
Since some colors are harder to pick out than others for people that are color blind, grayscale mode may make reading menus and viewing images more detailed.
- Launch the Settings app on your iPhone or iPad.
- Tap on General.
- Tap on Accessibility.
Turn on the switch next to Grayscale under the Vision section.

You should now notice that everything on the screen is altered to show only shades of gray instead of varied colors. This should work through iOS and in apps, whether they're built by Apple or from the App Store.
How to enable and use speak selection for iPhone and iPad
Speak selection is an Accessibility feature that reads aloud any text you've highlighted on your iPhone or iPad.
It's ideal for anyone who has difficulty making out text due to size or style. It's also great for those with dyslexia or those who are just learning a written language.
Speak selection can even highlight words as they're read and adjust dialect and speed to aid in comprehension, so you can better follow along.
- Launch the Settings app from your Home screen.
- Tap on General.
- Tap on Accessibility.
Tap Speech under the Vision section.

- Turn on the toggle to enable Speak Selection.
- Tap and hold on text and select what you'd like Speak Selection to read to you.
Tap on Speak in the popup menu.

You can optionally control the speaking rate and highlight function from the Speech screen in Settings.
Speak Selection should work anywhere you are able to highlight text, including apps from the App Store. It's great for anyone young, old, or in between, who has trouble visually discerning writing or needs extra help learning or understanding a written language.
How to enable Speak Screen for iPhone and iPad
The Speak Screen function has your iPhone or iPad read the contents of a whole screen to you, to save you the trouble of tapping on each paragraph or item. Here's how to enable it:
- Launch the Settings app from your Home Screen.
- Tap General.
Tap Accessibility.
- Tap Speech.
Tap the switch next to Speak Screen to turn it on.

That's it. Now, when you swipe down with two fingers from the top of the screen, Siri will read you every item on the page.
How to have your iPhone or iPad speak auto-corrections and capitalizations
Speak auto-text is an Accessibility feature that makes the iPhone and iPad's automatic correction tool easier to use for the visually impaired.
With speak auto-text enabled, any auto-corrections– including auto-capitalizations– will be read to you before they're implemented.
That way, if iOS has made a mistake, or you meant to spell the word the way you did, you can revert any correction or capitalization before sending what you're writing.
- Launch the Settings app from your Home screen.
- Tap on General.
Tap on Accessibility.
- Tap Speech under the Vision section.
Tap the switch next to Speak Auto-Text to turn it on.

That's it! Now whenever your iPhone or iPad tries to correct a word or capitalization, it'll automatically speak the correction so you know about it before hitting the space bar to accept it.