
Shooting, editing, and importing RAW on iPhone: The ultimate guide
- sep
- 19

Take your iPhone photography skills to the next level by shooting RAW.
With iOS 10, you can have even greater control over your mobile photography thanks to Apple's new RAW shooting and editing features. With the RAW APIs, you can now shoot, edit, and process your RAW photos using third-party apps on your iPhone or iPad. Here's everything you need to know about shooting RAW.
Why do I want to shoot RAW?

RAW is a file format that contains the raw data directly from a camera sensor. This raw data is unprocessed and uncompressed; it's the "purest" form of the image. RAW files tend to appear quite flat in coloration and depth initially as a result, but it allows users to really bring them to life in post-production.
When you shoot RAW, you can pull down highlights or boost shadows to bring out new detail in the image. It's a huge win for photographing high-contrast scenes, and it's why most professional photographers generally opt to shoot RAW. You may put more work in when doing post-production tasks, but the benefits are huge.
Best manual camera apps for shooting RAW

Whether you just want to take more stunning shots in general, or need to focus on something more specific, like long exposure, full manual control, or advanced editing, the App Store has several amazing camera apps that'll help you do just that. No matter what your iPhone photography needs are, there's something for everyone. Here are our current favorites.
How to shoot RAW on your iPhone or iPad

You can get great images straight from the iPhone and iPad's stock Camera app and share them with your friends and family. But if you're interested in using your iPhone for more pro-level photography experiments, there's a new tool for you in iOS 10: shooting RAW. As with Apple's manual camera controls, you can only shoot RAW in third-party apps that support the feature.
How to import and edit RAW photos on your iPhone or iPad
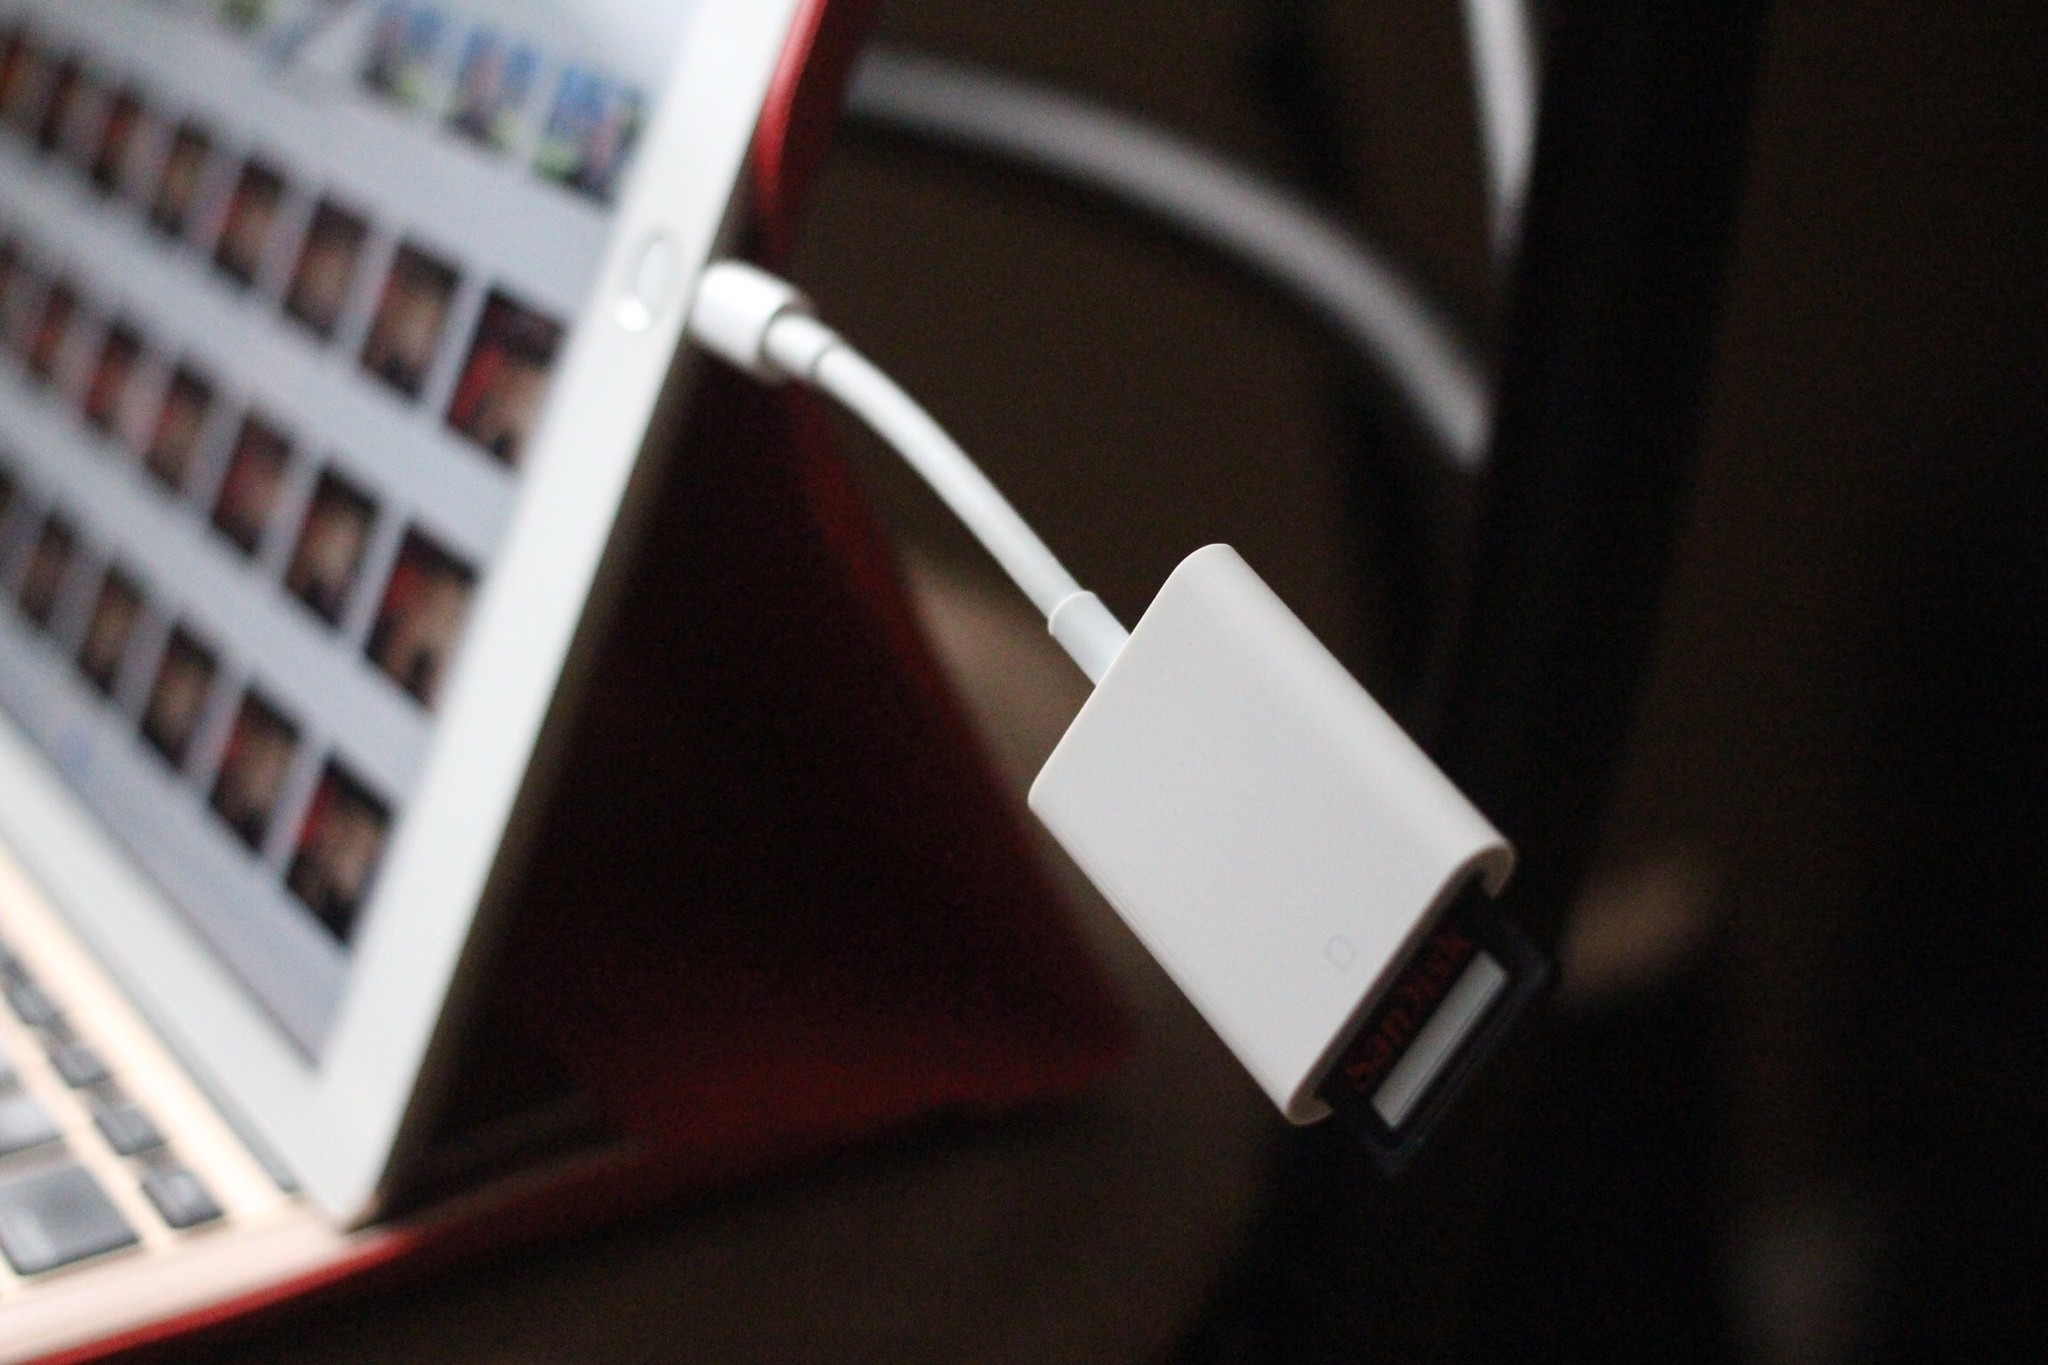
The iPhone and iPad's cameras are impressive for portable devices — especially so if you've just picked up the new iPhone 7 or 7 Plus. But if you love shooting with your DSLR or other professional camera, too, you can have the best of both worlds: Snap RAW images on your primary camera, then transfer them to your iPhone for editing and publishing with Apple's Lightning to SD card reader or Lightning to USB cable. Here's how to go about it.
How to edit RAW files in the Photos app for iPhone and iPad

As of iOS 10, iCloud Photo Library will sync your RAW files. Any RAW images you snap in a third-party camera app on your iPhone will show up as RAW on your iPad and Mac, and better yet — you can now import RAW images from your DSLR or other pro camera to your iPhone or iPad and have them sync properly.
You can also process and edit those RAW files directly on your iPhone or iPad using an external editor like Lightroom, and even through the Photos app. But be aware: If you want to edit a RAW file with Photos for iPhone, you're going to want to create a duplicate of it first.
Questions about shooting and editing RAW files?
Let us know below.