
How to use Time Machine local snapshots to recover data on your Mac laptop
- jan
- 17
If you use Time Machine to back up your Mac laptop and something goes wrong with your hard drive, you can still recover data with local snapshots!
Time Machine is Apple's built-in software program for backing up your Mac. All you need is an external hard drive and a cable to connect said hard drive to your Mac. If you're using a MacBook Air, MacBook, or MacBook Pro and, for some reason, it is not connected to its external hard drive after you enable Time Machine, you can still access your recent backups thanks to local snapshots. Here's how it works.
Note: Time Machine does not create local snapshots on a Mac desktop like the iMac or Mac Pro.
What is a local snapshot and how is it different than an external hard drive backup?
Time Machine stores backups on an external hard drive, while local snapshots are stored on your Mac laptop's internal storage.
All Time Machine backups are stored on your external hard drive, dating back years, until you run out of space. Only one daily local snapshot is saved from the time you start or restart your computer, and one weekly local snapshot is saved every week to your Mac laptop's internal storage. But, weekly backups stay on your Mac for as long as you have space to store them.
When does Time Machine create a local snapshot?
As soon as you set up Time Machine on your Mac laptop, local snapshots are created automatically. Time Machine will make one daily snapshot every 24 hours when you start up your laptop. Time Machine will also store one weekly snapshot every week.
How do I retrieve data from a local snapshot?
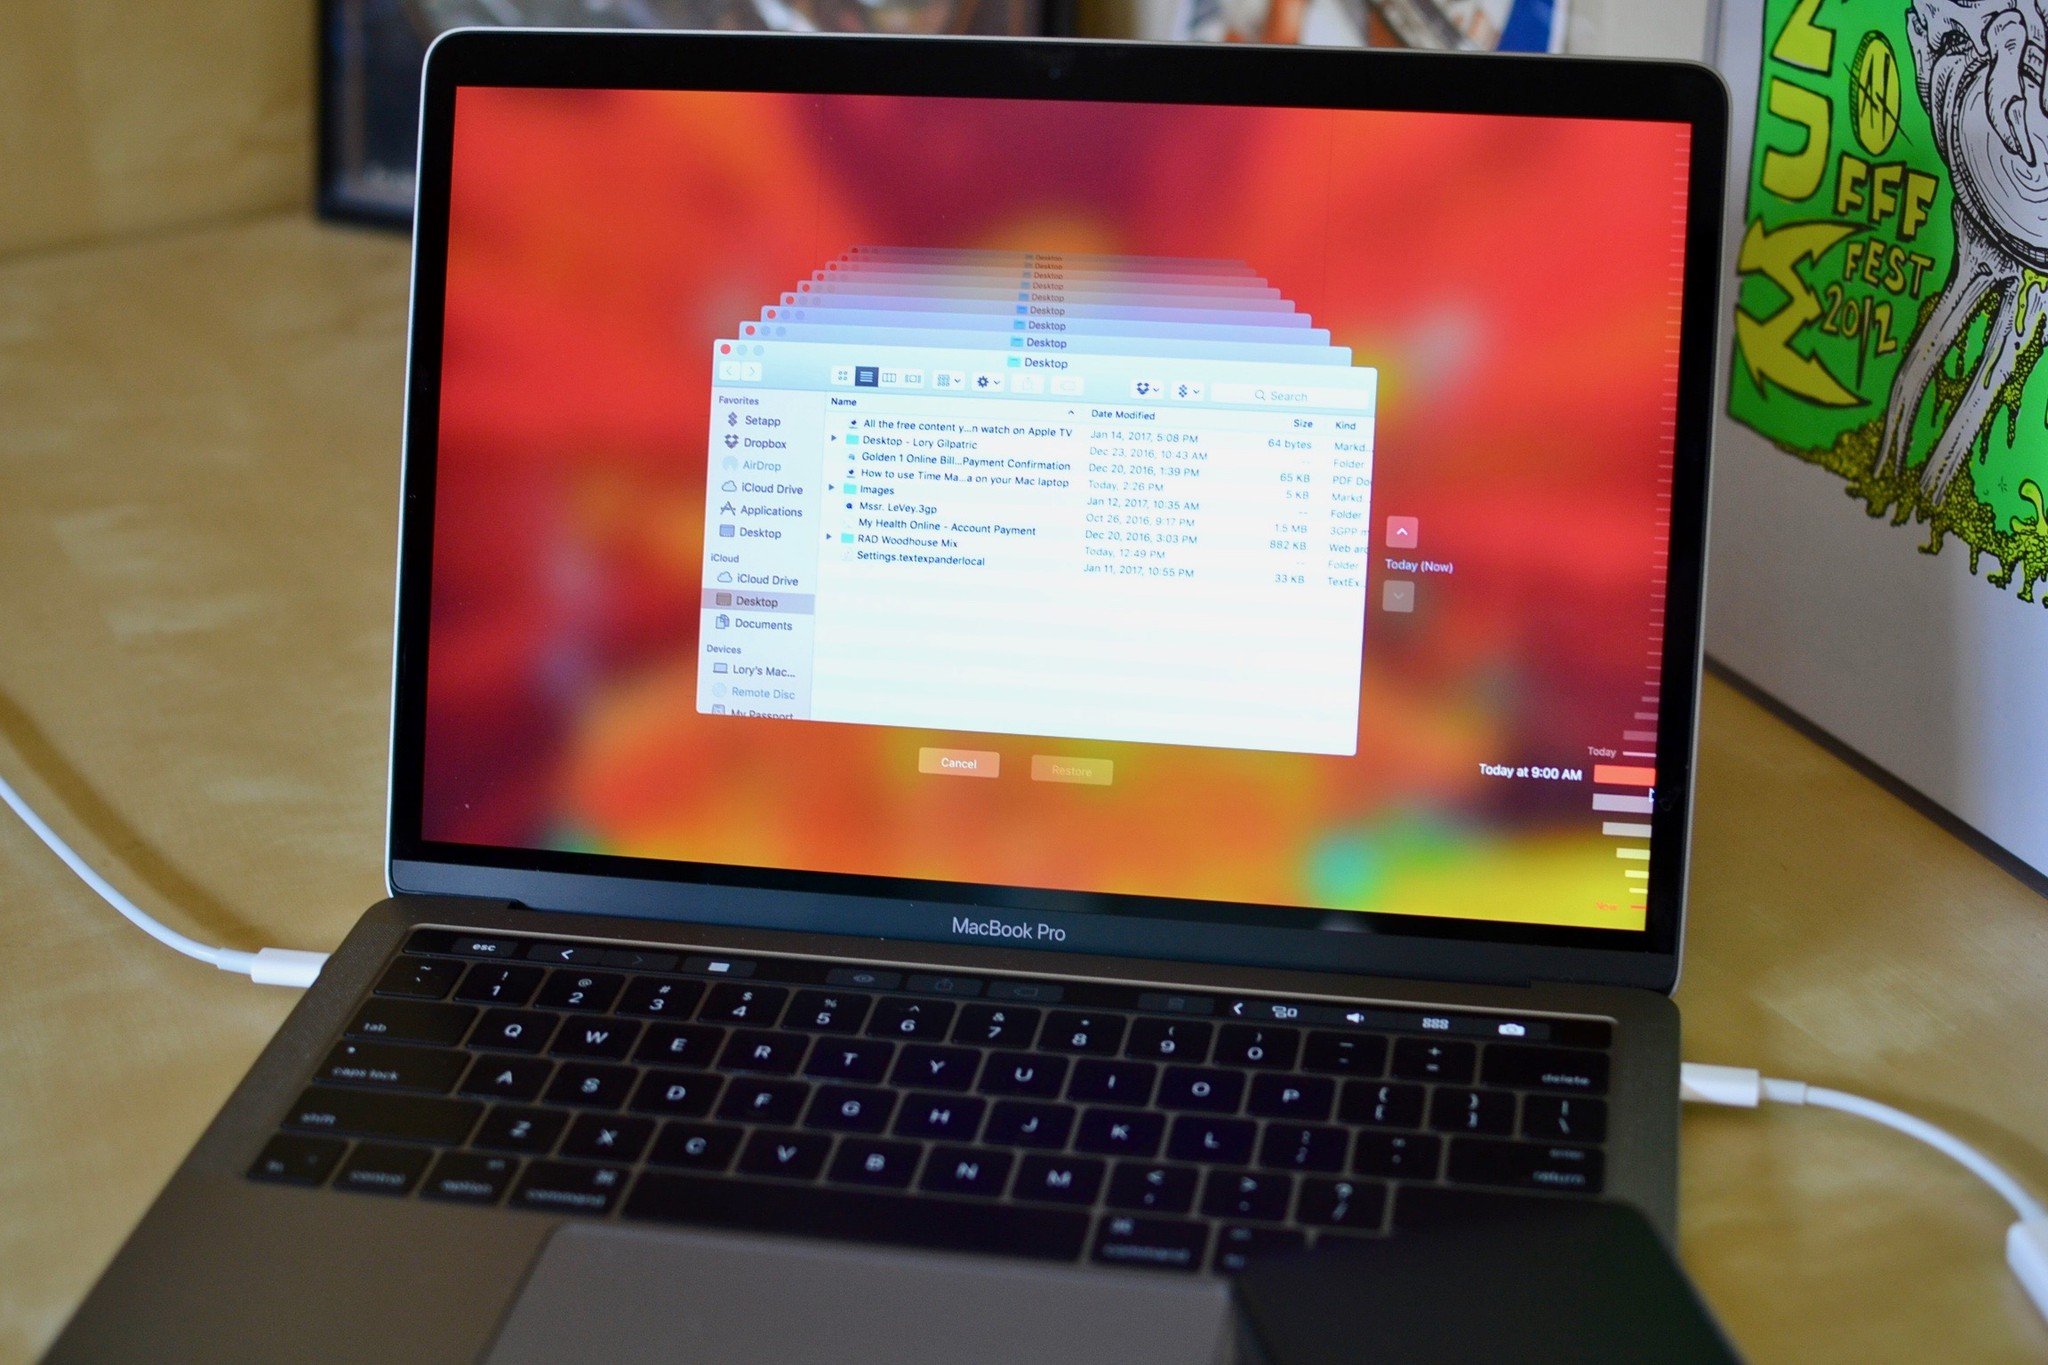
It's much easier than you might think. Open Time Machine and go to your backups. If your external hard drive is not connected to your Mac, the only backups you'll have access to are the local snapshots. Available backups will be highlighted in red. You'll see that you can only restore from a limited amount of backups.
Backups that you can access after you've connected your Mac laptop back to your external hard drive will be dimmed.
- Enter Time Machine.
- Select a file or folder.
- Select an older version of the file or folder.
- Click Restore.
Time Machine will copy the file back to its original location on your Mac's hard drive.
How to I get rid of local snapshots to free up space on my Mac laptop's internal storage?
When the internal storage of your Mac laptop starts to fill up. Time Machine will start automatically removing older backups to make room. If you have less than 20 percent of your total storage, Time Machine removes local snapshots, starting with the oldest, until you have more than 20 percent of free space. If you drop to only 10 percent (or less than 5GB of internal storage space), Time Machine will remove older backups until only one local snapshot remains. Time Machine will then start replacing the old local snapshot with the new local snapshot until you free up space in your Mac laptop's internal storage.
There is no way to manually remove local snapshots from your Mac laptop without disabling Time Machine altogether (When you disable Time Machine, all local snapshots are purged from your internal storage). However, there is a Terminal command you can use to disable Time Machine's local snapshot feature. Doing so will remove all local snapshots, but will also stop Time Machine from creating new snapshots.
To disable local snapshots in Time Machine and remove them from your internal storage:
- Open Terminal on your Mac laptop.
Enter the following command into Terminal:
.sudo tmutil disablelocal
- Press Enter.
This will remove those local snapshots from your internal storage. You can then re-enable the feature in Time Machine (which I highly recommend).
- Open Terminal on your Mac laptop.
Enter the following command into Terminal:
.sudo tmutil enablelocal
- Press Enter.
Time Machine will start over saving local snapshots to your Mac laptop's internal storage.
Can I get local snapshots on a desktop Mac?
No, but sort of. If you have enabled Time Machine on a desktop Mac, but do not have your external hard drive connected to it, you can access some content specifically from apps whose data is saved in iCloud Drive. For example, if you save your Desktop, MarkDown Pro, Pages, Scrivo Pro, Affinity, Scanner, or content from another third-party app in iCloud Drive, you can access older versions of documents via Time Machine.
- Select the app for which you want to access older versions.
- Enter Time Machine.
- Select an older version of the document.
- Click Restore.
Remember, this does not work with all files. If the data is not being synced with iCloud Drive, you won't be able to enter Time Machine on your Mac until you reconnect the hard drive.
Any questions?
Do you have any questions about local snapshots in Time Machine and how they work on your Mac laptop? Let me know in the comments and I'll help you out.