
How to restore your Mac from a backup
- feb
- 16
If your Mac crashes and you lose it all, you can restore it back to its current state thanks to backups.
You may have already heard my diatribe about backing up your devices in order to safeguard your most precious data. If you're already using iCloud to sync your content, do you really need to do a full backup? Yes. One of the biggest reasons a full backup is so important is to cover you if or when your device crashes and you lose everything.
If you're in the middle of a very important, time-sensitive project and your Mac poops out, you may have protected the document you're working on in iCloud, but without a backup, you didn't protect your apps or settings and it'll take you a really long time to get things back the way you want them. With a recent backup, you can just restore your Mac and continue working. Believe me, you'll be happier if you just back up your Mac.
How to restore your Mac from a Time Machine backup
If you use Time Machine to back up your Mac, you can restore individual files, or restore your entire hard drive from a recent backup.
Note: Because you have to enter Recovery mode on your Mac, I suggest printing out these instructions or switching to another device to read them.
- Restart your Mac.
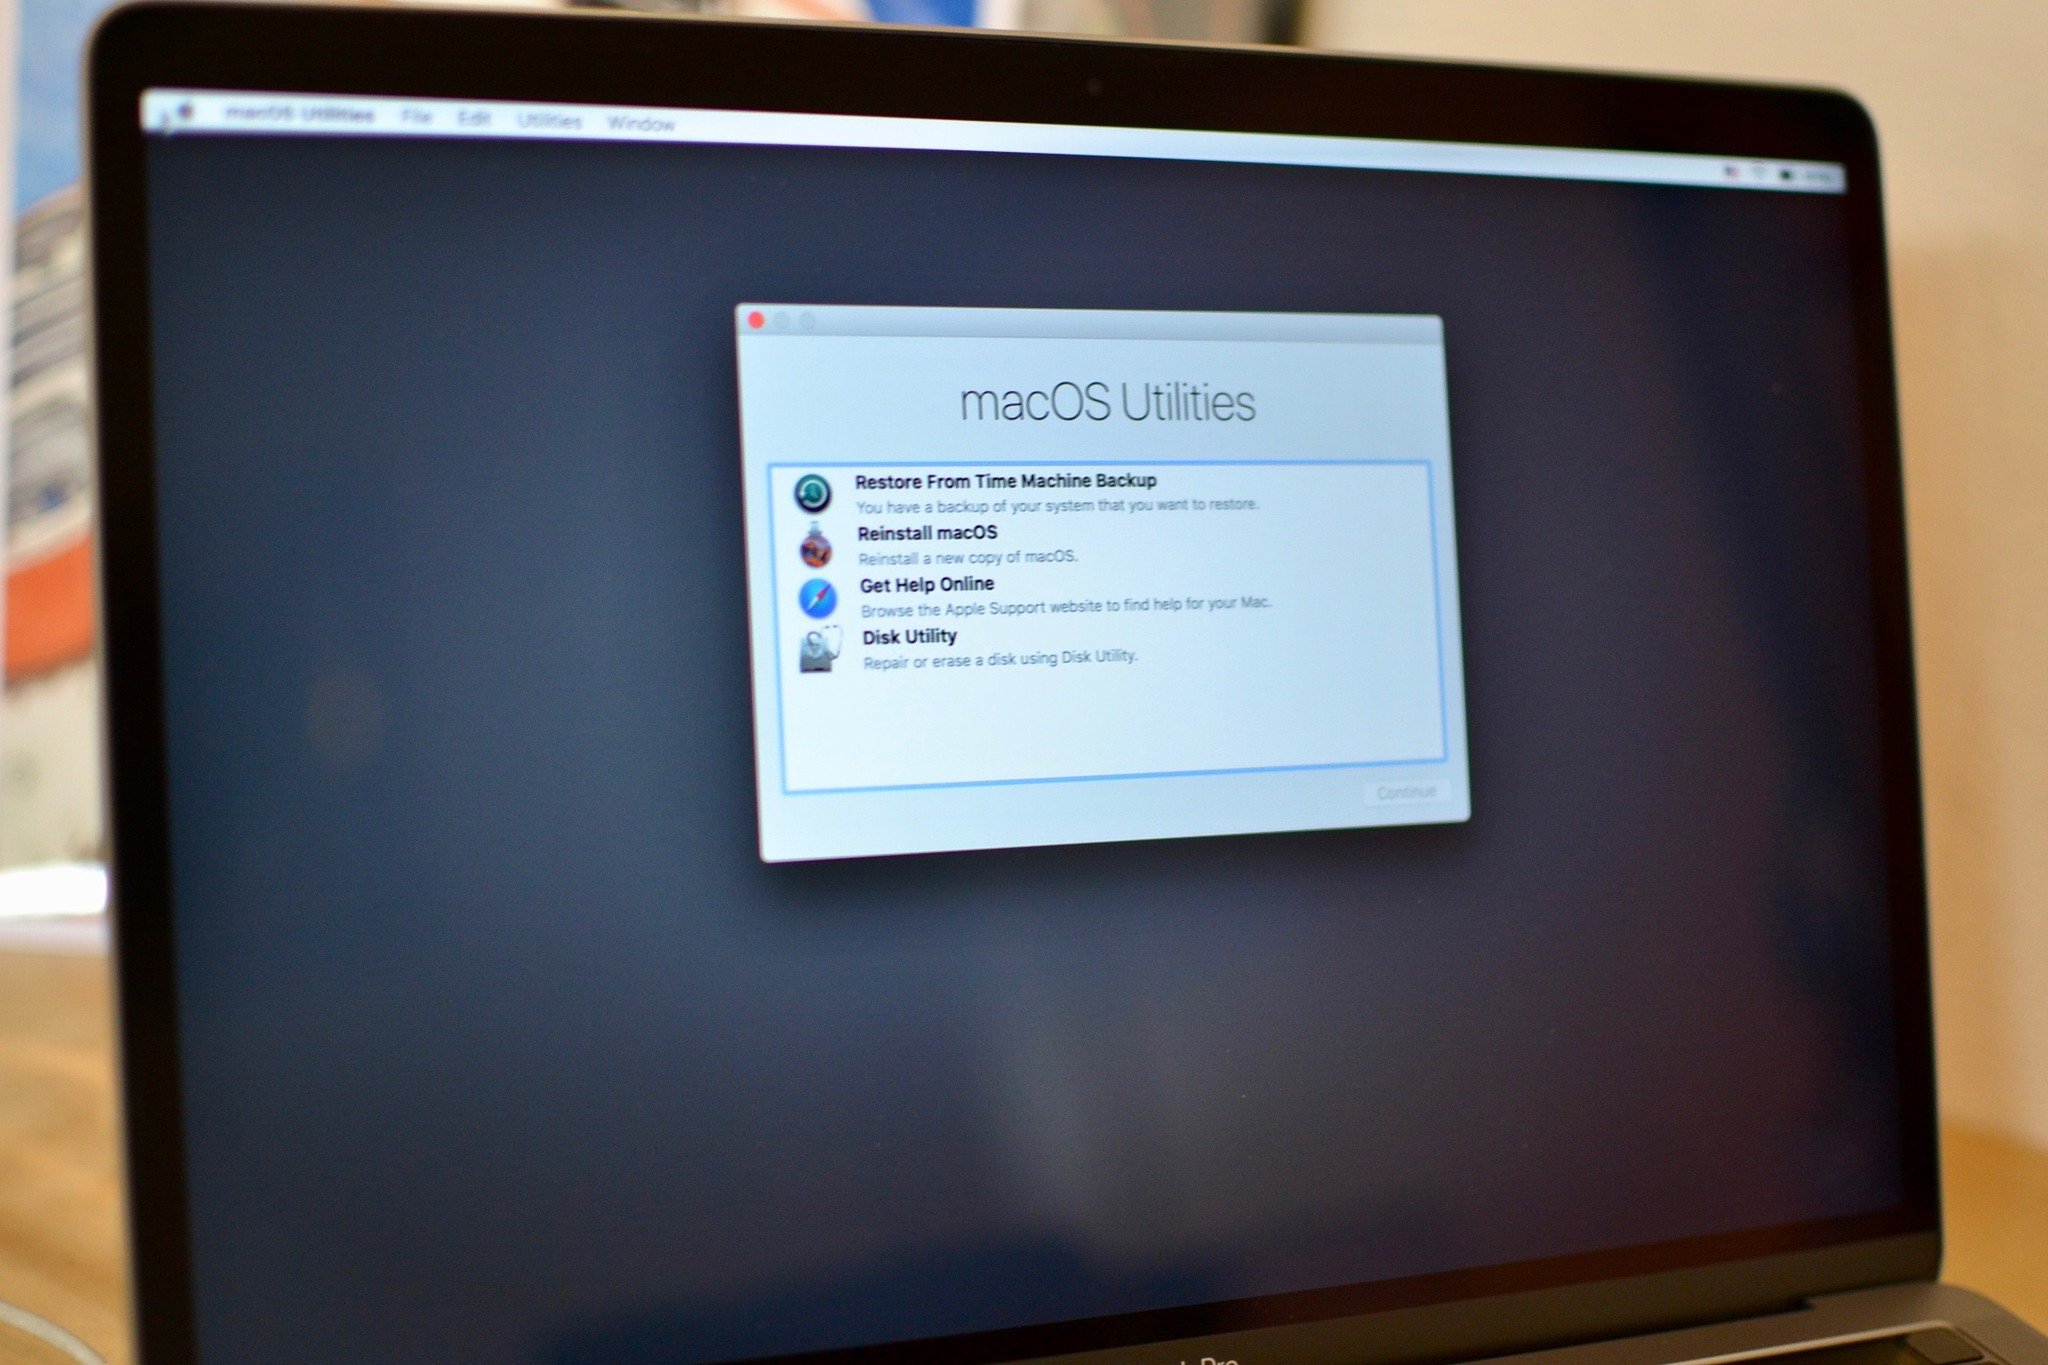
- While the startup disc is waking up, hold down the Command and R keys simultaneously. You're Mac will boot into macOS Utilities. If it doesn't, try again.
- Select Restore from Time Machine Backup from the list of available options.
- Click Continue.
- Click Continue on the Restore Your System Page.
- Select your Time Machine Backup.
- Click Continue.
- Select the most recent backup of your Mac's hard drive.
- Click Continue.
Your mac will restore the Time Machine backup and then restart once it is finished.
How to restore your Mac from a local backup
If you clone your Mac using a cloning program like Super Duper or Carbon Copy Cloner, you can restore your entire hard drive from a backup, and even create a bootable installer.
Note: Because you have to enter Recovery mode on your Mac, I suggest printing out these instructions or switching to another device to read them.
- Restart your Mac.
- While the startup disc is waking up, hold down the Command and R keys simultaneously. You're Mac will boot into macOS Utilities. If it doesn't, try again.
- Click on Disk Utility.
- Click Continue.
- Select your Mac's hard drive.
- Click the Restore tab at the top of the Disk Utility window.
- Select the external hard drive that your cloned backup is stored next to "Restore From."
- Select your Mac's hard drive next to "Restore to."
- Click Restore.
Your Mac will restore the cloned backup and then restart once it is finished.
If you want to install a bootable backup, hold down the Option key while your Mac is restarting and select the clone from your external hard drive in your partitioned hard drive.
how to restore your Mac from a cloud backup
If you use a cloud-based backup service, like Backblaze or CrashPlan, you can download missing data so you can restore you Mac.
Each cloud-based backup service is different. All of them will require that you download a backup from their remote servers, though - unless the service offers to send you a physical hard drive that you can use as a backup (Backblaze offers this feature).
Most programs will have a Restore files tool right in the user interface. You can launch the remote app on your Mac, or visit the company's website.
You can then select the files and folders you want to restore from your backup menu.
Because you either have to download files from the Internet, or send away for a physical copy, I only recommend using a cloud-based back up service to restore your Mac if you don't already have a local backup on hand. It is very time consuming and less efficient than restoring directly from an external hard drive you have sitting right on your desk.
Any questions?
Do you have any questions about how to restore your Mac from a recent backup? Put them in the comments and I'll help you out.