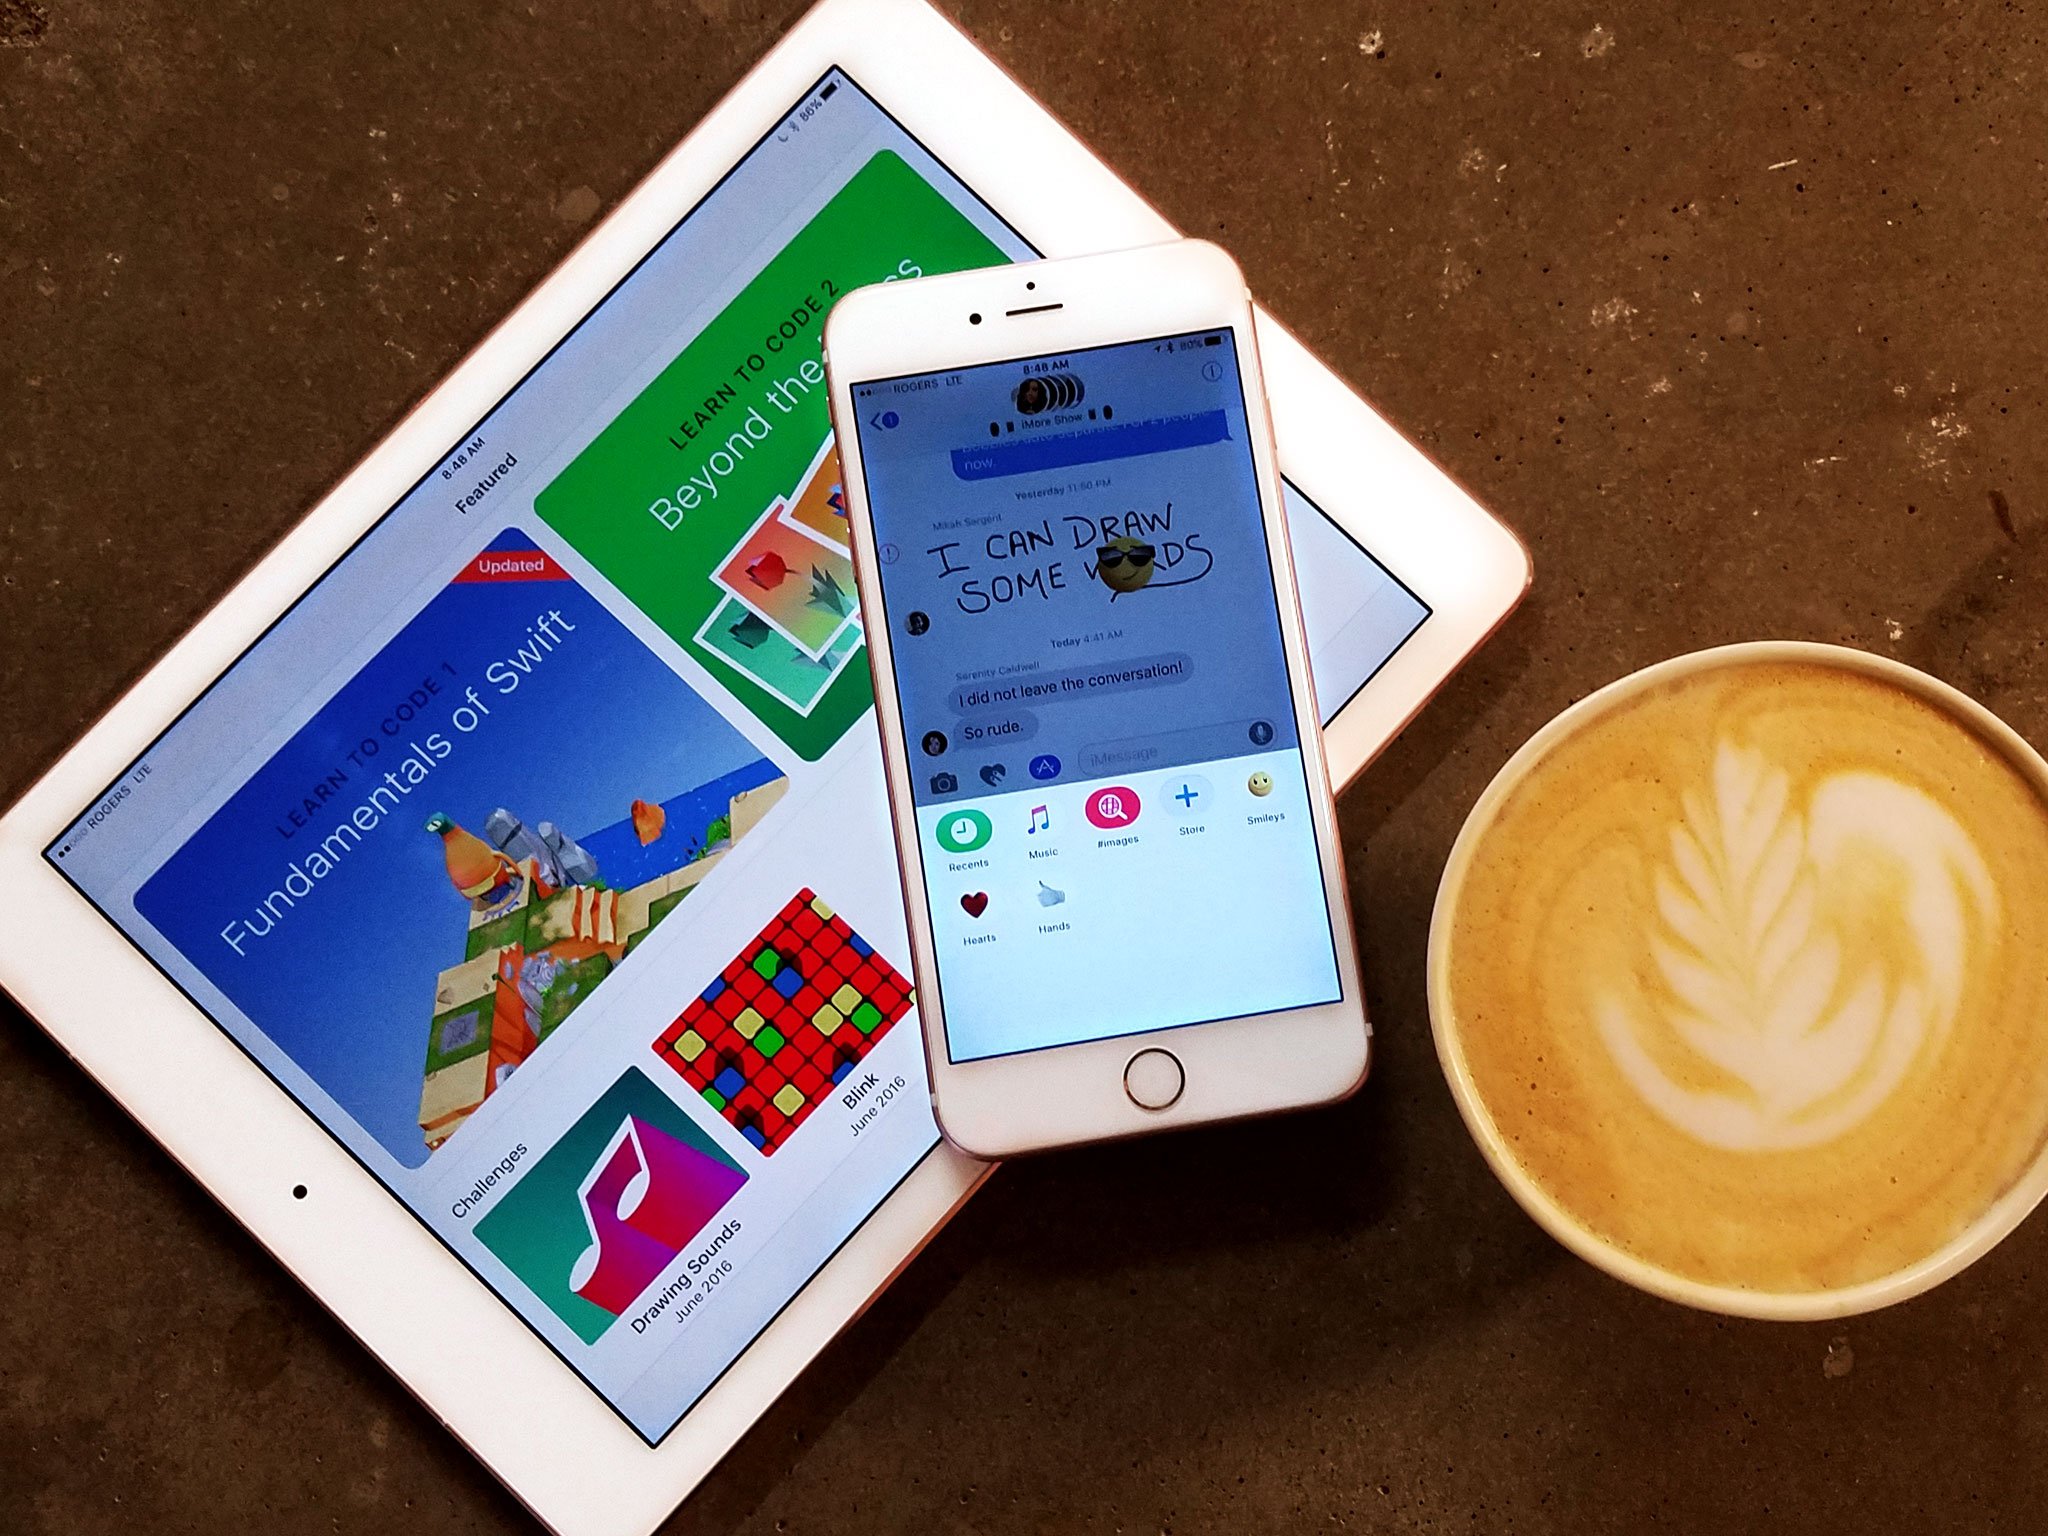
How to add your child onto Family Sharing
- mar
- 20
How to I add a child account onto Family Sharing? Like this!
You can add child accounts onto your Family Sharing setup for any child under 13. That way you can prevent them from buying things willy-nilly on your dime. Creating a child Apple ID creates an "Ask to Buy" button, which notifies you when your kid wants to purchase an app, song, TV show, or anything else found on iTunes or the App Store (Mac App Store included). If your child already has an Apple ID, you can move them onto a child ID (sort of).
Here's how to add your child onto Family Sharing.
How to create a new child Apple ID
A child under 13 cannot create their own Apple ID. Adding a younger birthday halts the regular Apple ID creation process, so you have to do things a special way.
- Launch Settings from the Home screen of your iPhone or iPad.
- Tap your Apple ID at the top (should be the name you used to sign up).
- Tap Family Sharing.
- Tap Create an Apple ID for a Child at the bottom of the screen.
Tap Next on the top right of your screen.

- Enter your child's birthday using the picker.
- Tap Next on the top right of your screen.
- Tap Agree on the bottom right of your screen after you've read the Parent Privacy Disclosure.
- Enter the security code for the payment method you have on file. This somehow verifies that you're the legal guardian of the child in question (what?).
Tap Next.

- Enter the child's first and last name.
- Tap Next.
- Enter a name. This email address will become the Apple ID for your child.
- Tap Next.
Tap Create when you're sure of the email address. You cannot change it afterward.

- Type a password that contains at least 8 characters, an uppercase letter, and a number.
- Tap Next.
- Choose security questions and answers, tapping Next after each one.
Tap Next on the Ask to Buy screen. You'll want to leave the switch green so that your child requires approval before buying anything.

- Tap to share your child's location with the rest of the people on your Family Sharing account. Otherwise, tap Not Now.
- Tap Agree to agree to the Terms and Conditions.
Tap Agree in the pop-up.

Your child is now added to your family sharing. Their Apple ID is the @icloud.com email address that was created during the setup process. They may use it to sign in on their own devices if they have them. Any time they try to make a purchase, you will be notified and can approve or decline the transaction.
How to move your child onto Family Sharing
If your child is on a regular Apple ID, but you would like them to have a child account because they're going a bit nuts buying up apps and TV shows, then you can move them onto a child ID by changing the birth date associated with their Apple ID.
- Make sure the account is a member of your Family Sharing group. If not, add it to your Family Sharing group
- Go to appleid.apple.com and sign into your child's existing Apple ID using your favorite web browser.
- Click Edit next to the Account section.
- Change the birthday in the BIRTHDAY field.
Click Done on the upper right.

That's it. You've created a child account. It is important to note that once you change the birthday to under 13 years old, you won't be able to change the birthday back.
By just changing the birthday, you're able to keep all the purchased content and everyone in your Family Sharing can partake and enjoy.
Questions?
Questions about adding children to Family Sharing? Let us know in the comments below.