
How to control your lights with Amazon Echo
- apr
- 03
Want to use Amazon Echo, Dot, or Tap to control your lights? Here's how!
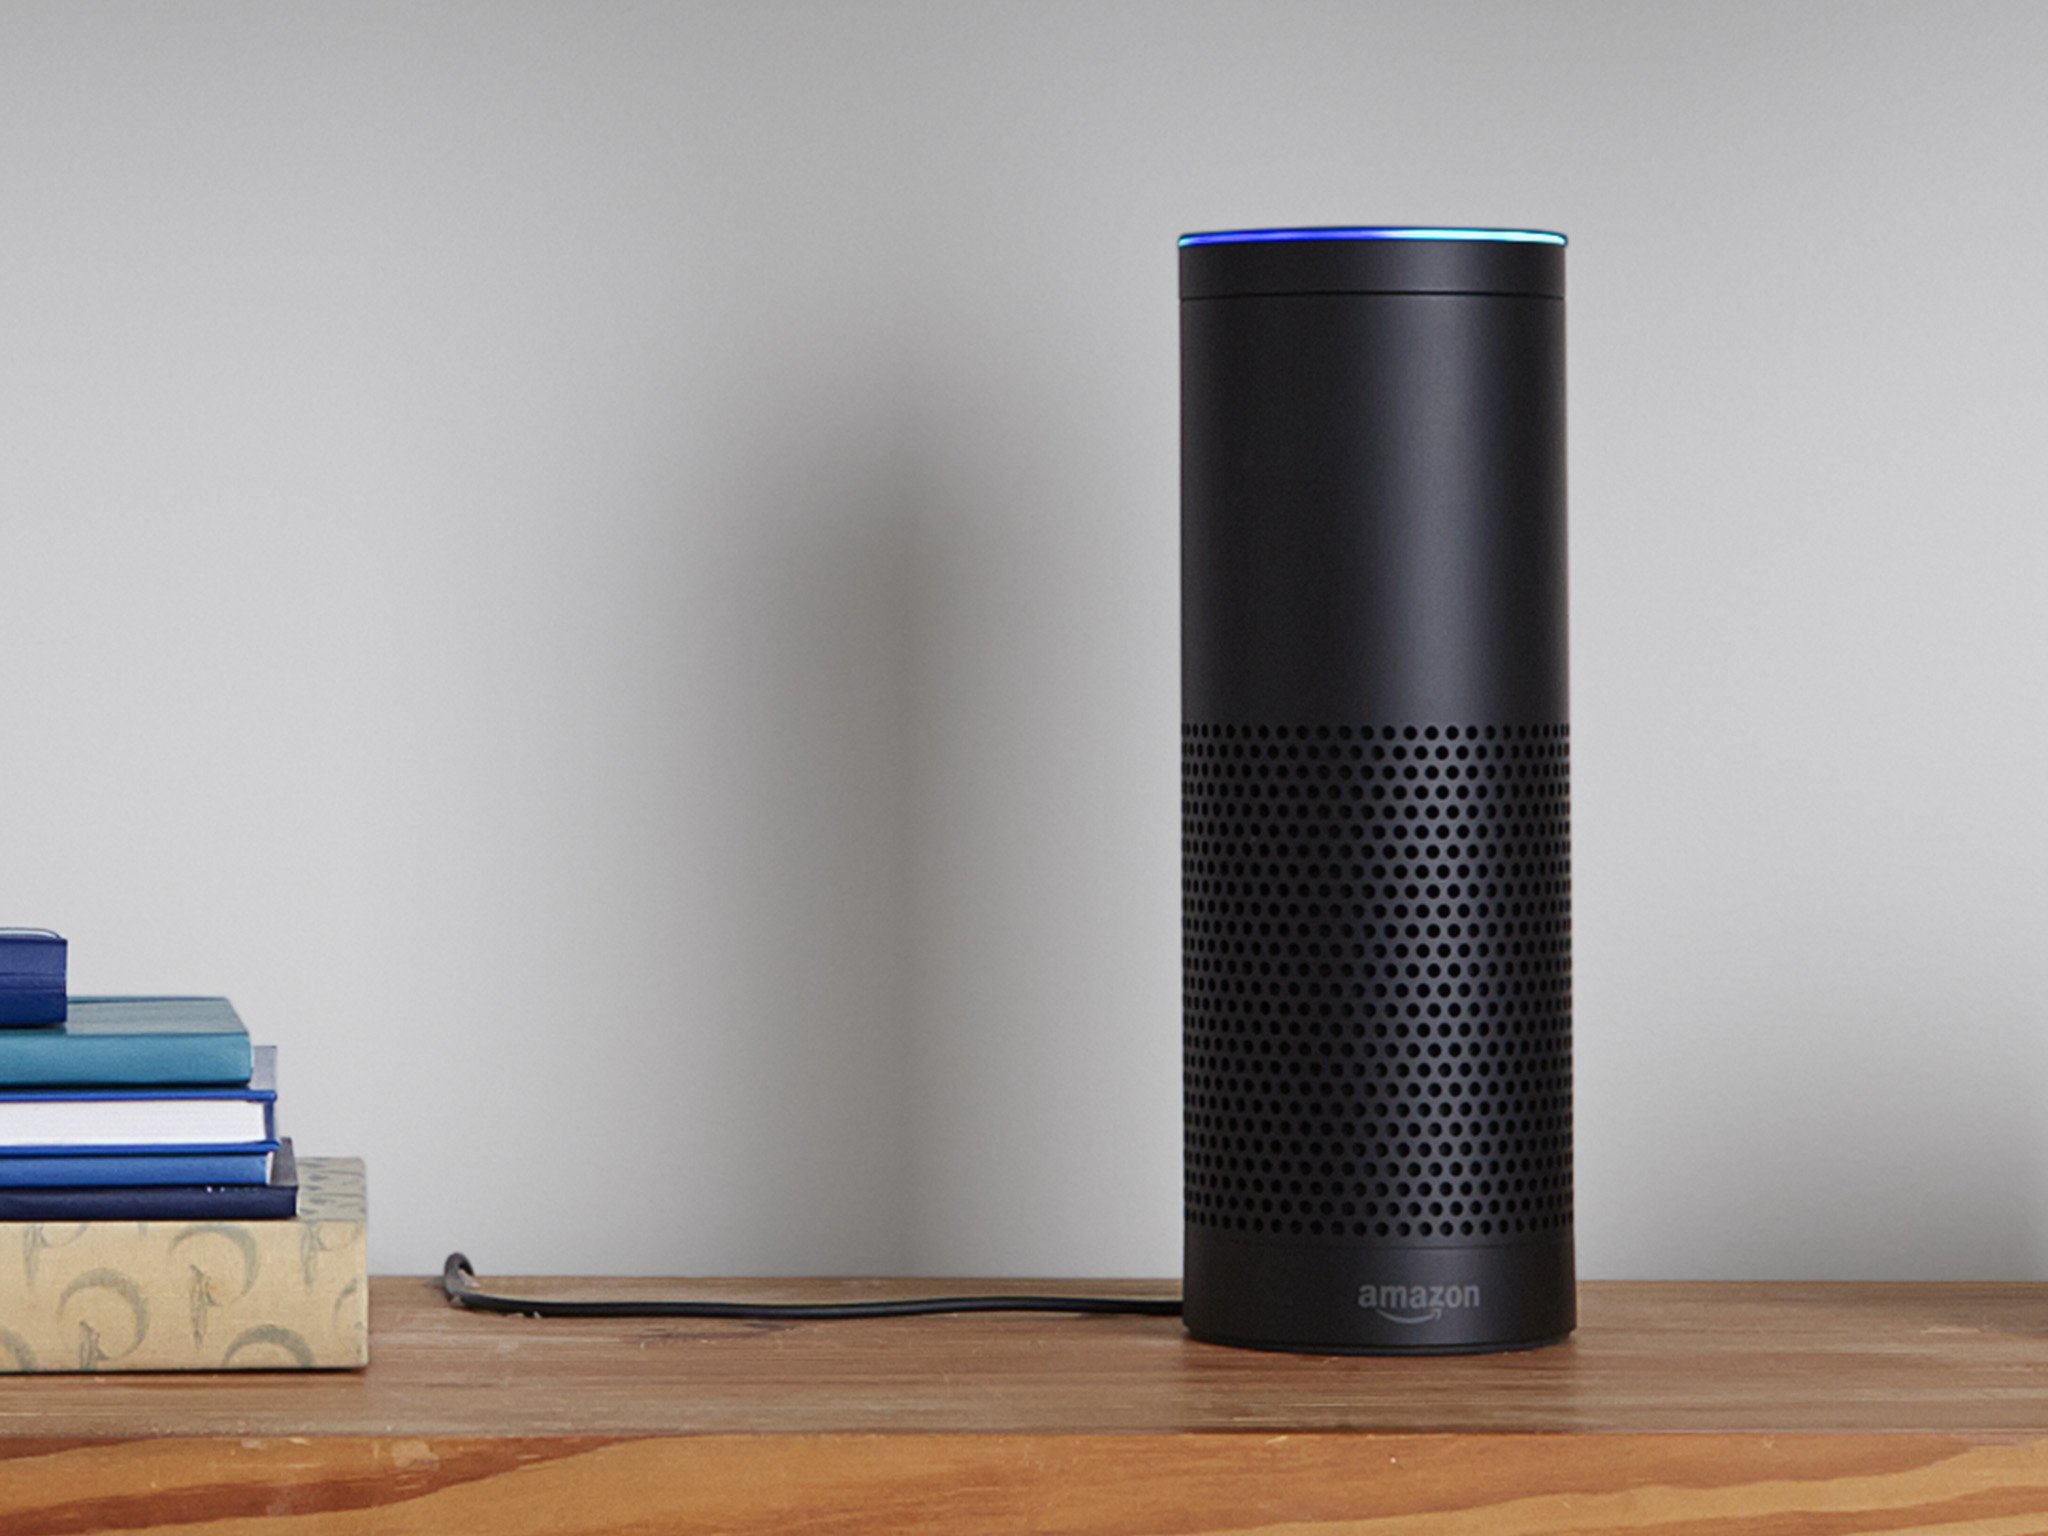
Amazon's Echo smart speaker is a great device for music listening, setting timers and reminders, and ordering stuff you probably don't need from Amazon's vast online store, but the best thing about Echo — at least in my opinion — is its ability to control smart home devices. Alexa, the intelligent assistant baked into the Echo, is compatible with a wide array of smart home devices; owning one means being able to control your entire connected household with your voice. Pretty cool!
Many people who are getting into the whole "smart home" thing like to start with a wireless bulb or two. Turning on and off your bulbs with your voice isn't just a damn good party trick (the first few times), it's the perfect starting point for budding home automation enthusiasts.
Once you've snagged an Amazon Echo (or Dot/Tap), you can follow below to learn how to set up your connected lighting!
Controlling your lights with Amazon Echo and Alexa
There are several different smart lighting brands that will work with your Alexa-Enabled device. I'm going to show you how to connect Philips Hue bulbs to the Echo, but you should check out the other brands that offer Alexa integration. Amazon has a product page dedicated to said products:
Alexa Smart Home Store for Lighting
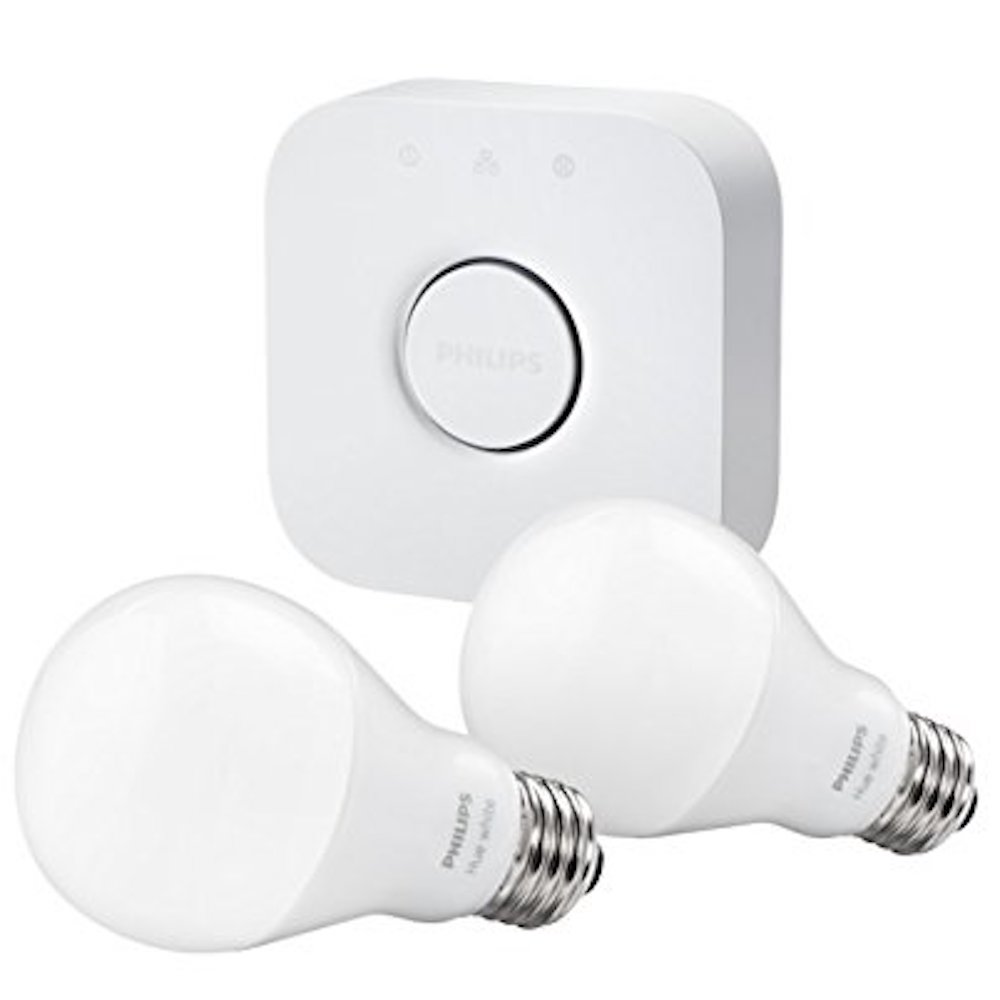
I'm sticking with Philips Hue for the example for a few reasons:
- Philips Hue is a fantastic choice for your first set of smart bulbs. The company's lighting products continue to improve and Philips continues to add new and awesome products to the Philips Hue lineup.
- Amazon's Philips Hue integration is frictionless. Once you've got your lighting set up, it's no sweat to make the connection!
- Alexa's connection process is nearly the same regardless of the smart device you're connecting.
Connect your lights to Amazon Echo
Alright, let's get going! Here's how you get your lights connected up.
- Launch the Alexa app.
- Tap the hamburger menu in the top left corner of the screen.
- Tap Smart Home.
Scroll down to the Your Devices section and tap Discover devices.

- Tap your foot or twiddle your thumbs while you wait for Alexa to discover devices.
Scroll down to see the devices Alexa has discovered.

Your Philips Hue bulbs should appear in the Your Devices list. Your lighting products will keep the name you gave them during initial setup.
You can issue commands using the names you've given the bulbs:
- "Alexa, turn off the laundry light."
- "Alexa, turn my hallway light green."
- "Alexa, dim the desk light."
Setting up lighting groups
If you have more than one light in more than one location (three smart bulbs in a bedroom, two light strips in a media room, etc.), you might want to use Alexa to control multiple lights at once. You can do this by grouping your lighting in the Alexa app.
- Launch the Alexa app.
- Tap the hamburger menu in the top left corner of the screen.
- Tap Smart Home.
Tap Create group in the Your Groups section.

- Name your group.
- Choose the devices that belong in the group.
Scroll down and tap Save to save your group.

Now you can issue commands using individual light names or group names:
- "Alexa, turn off my living room."
- "Alexa, turn the kitchen blue."
- "Alexa, dim the office."
Adding new lighting
Any time you add new lights to your home, it's as simple as repeating the connection process. The Alexa app will maintain your current group settings and smart home skills.
- Launch the Alexa app.
- Tap the hamburger menu in the top left corner of the screen.
- Tap Smart Home.
Scroll down to the Your Devices section and tap Discover devices.
- Tap your foot or twiddle your thumbs while you wait for Alexa to discover devices.
Scroll down to see the devices Alexa has discovered.
Questions?
If you run into trouble trying to connect your lights to Amazon Echo, Dot, or Tap, gimme a shout in the comments below or over on Twitter! We'll try to troubleshoot the issue.