
How to use Portrait mode and Portrait Lighting on iPhone X
- sep
- 29
What exactly is Portrait mode on the iPhone, and how do you use it? Here's everything you need to know.
Exclusively available for the iPhone X, 8 Plus, and 7 Plus, Portrait mode uses the 56mm-equivalent (52mm-equivalent on the iPhone X) "telephoto" lens kit on your iPhone to shoot images in portrait or landscape orientation with "bokeh"-style blurred backgrounds and foregrounds.
The 8 Plus and iPhone X also get Portrait Lighting as part of this feature: It uses machine learning and Portrait mode's depth map to intelligently add special lighting to your photos in real time. Here's how to use it!
- How does Portrait mode work?
- How does Portrait Lighting work?
- How to shoot a person in Portrait mode or Portrait Lighting mode
- How to take photos of other objects and animals in Portrait mode
- How to shoot a great Portrait selfie
- How to remove depth or lighting effects on a photo
How does Portrait mode work?

When you shoot in the Camera app's Portrait mode, you're framing an image as seen by your iPhone's 2x "telephoto" lens. But the wide-angle is also working for you: It automatically measures the difference in distance between what it sees and what the telephoto sees, creating a multi-point depth map.
This depth map is then used to create the most fun part of Portrait mode: artificial depth of field, which blurs both the background and foreground with various "bokeh" effects to create a DSLR-camera-like image. On the 8 Plus and X, you'll also use the depth map for Portrait Lighting (more on that below).
When in Portrait mode, you can only frame with the telephoto lens (there are no zoom options, digital or otherwise), but as of iOS 11, users have most other Camera app features available to them. That includes flash — and the iPhone 8 Plus's and iPhone X's Slow Sync flash feature — along with timed photos, filters, and HDR. You can't get Live Photos quite yet, but you can always record your iPhone's screen while in the Camera app if you really want a pseudo-live Portrait photo.
How does Portrait Lighting work?
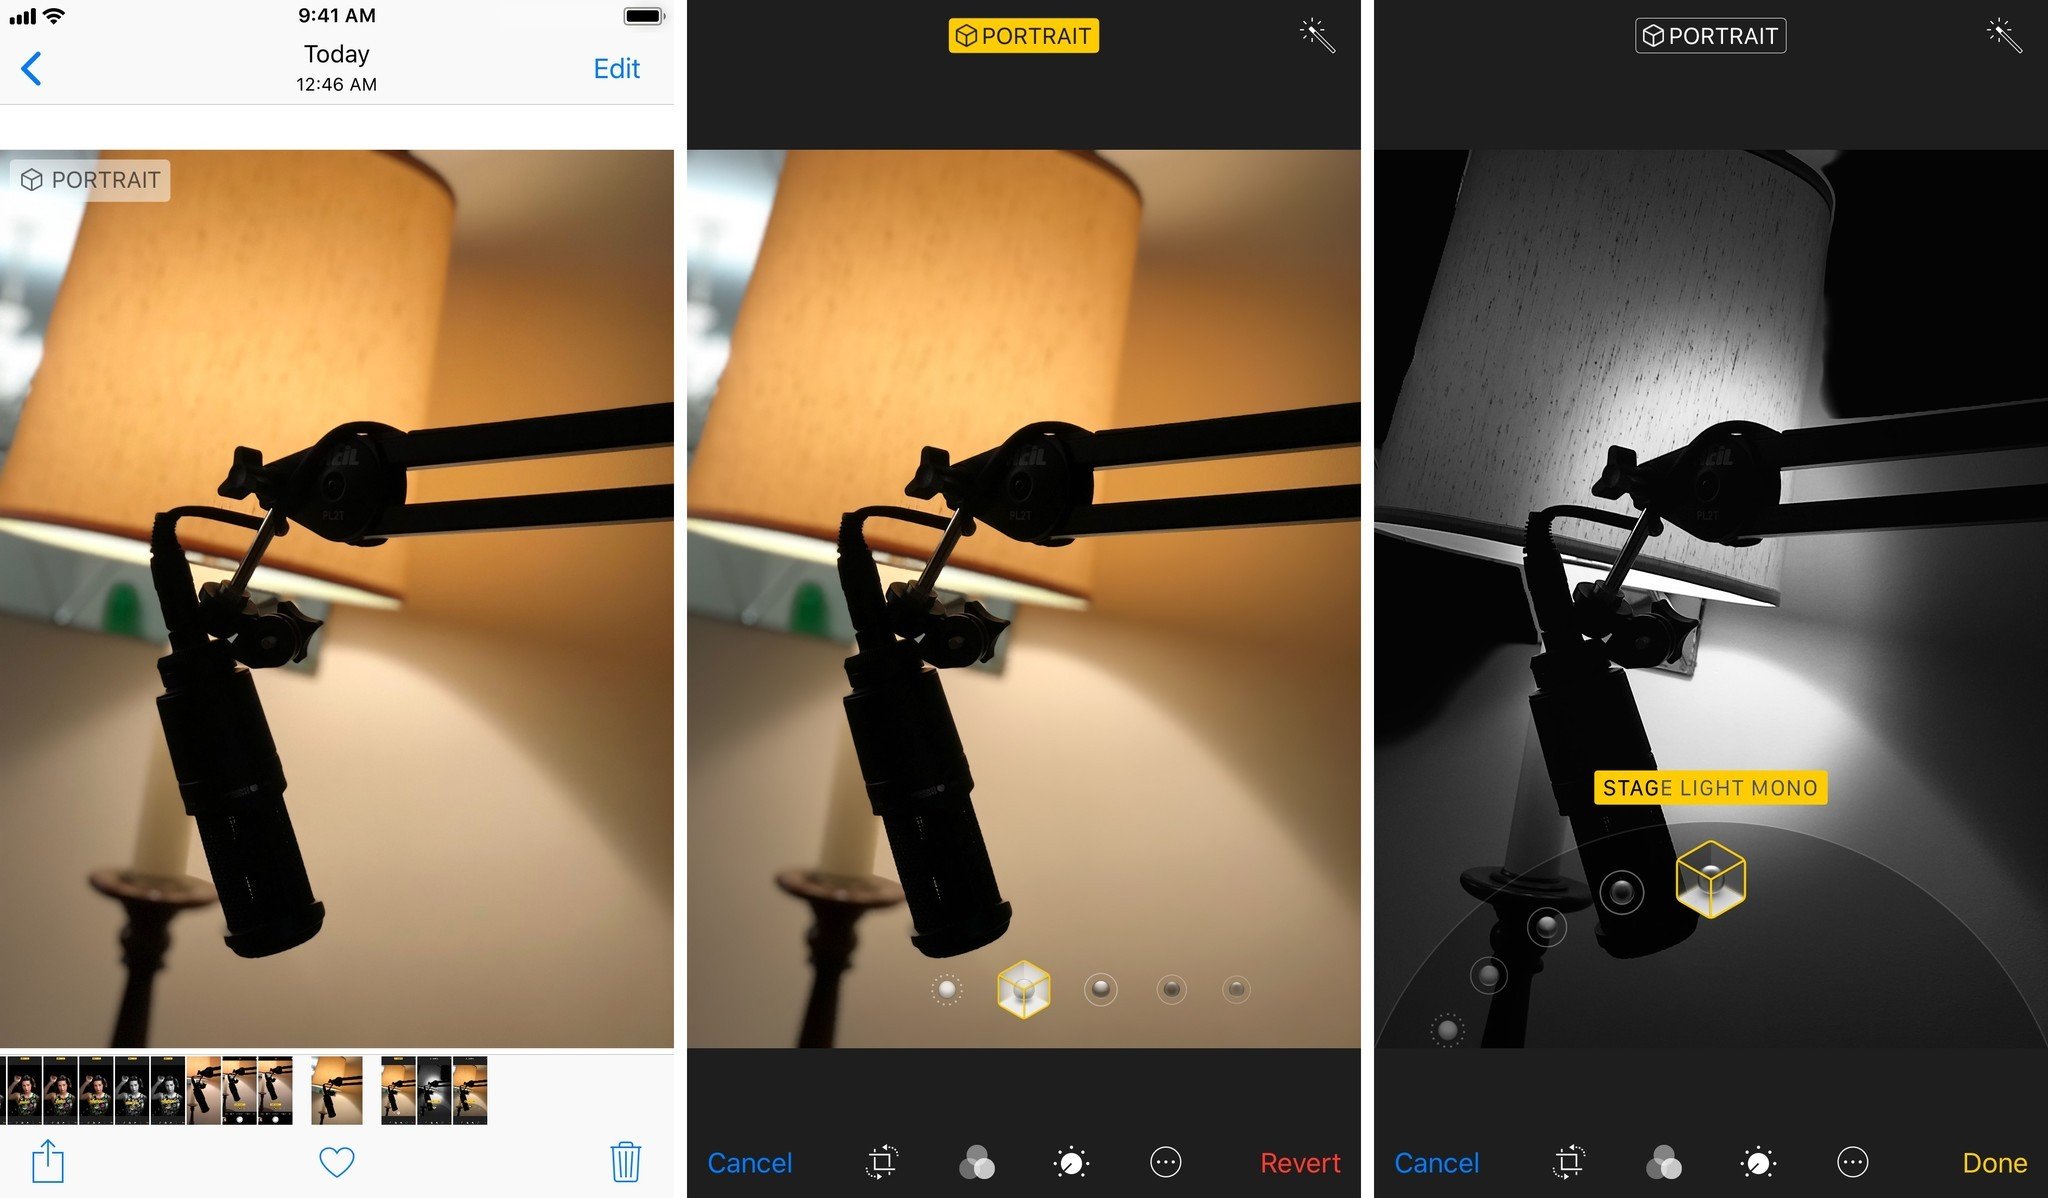
The iPhone 8 Plus and iPhone X support Portrait Lighting: It augments existing Portrait mode features by using the depth map to add different lighting options to your image on the spot or later in post-processing.
In a professional studio, photographers use all sorts of lights when photographing a subject. By altering these lights, an experienced photographer can use the light on or around the subject to emphasize certain areas of the photo. Portrait Lighting allows users to do the same thing, but digitally: You can choose one of five different lighting settings to adjust your iPhone's "virtual" light rig. And as with Apple's other editing features, it's non-destructive: You can add or remove Portrait Lighting at any time.
Note: Portrait Lighting is currently in beta, and may not work properly 100% of the time; luckily, you can easily turn it off from the Editing screen.
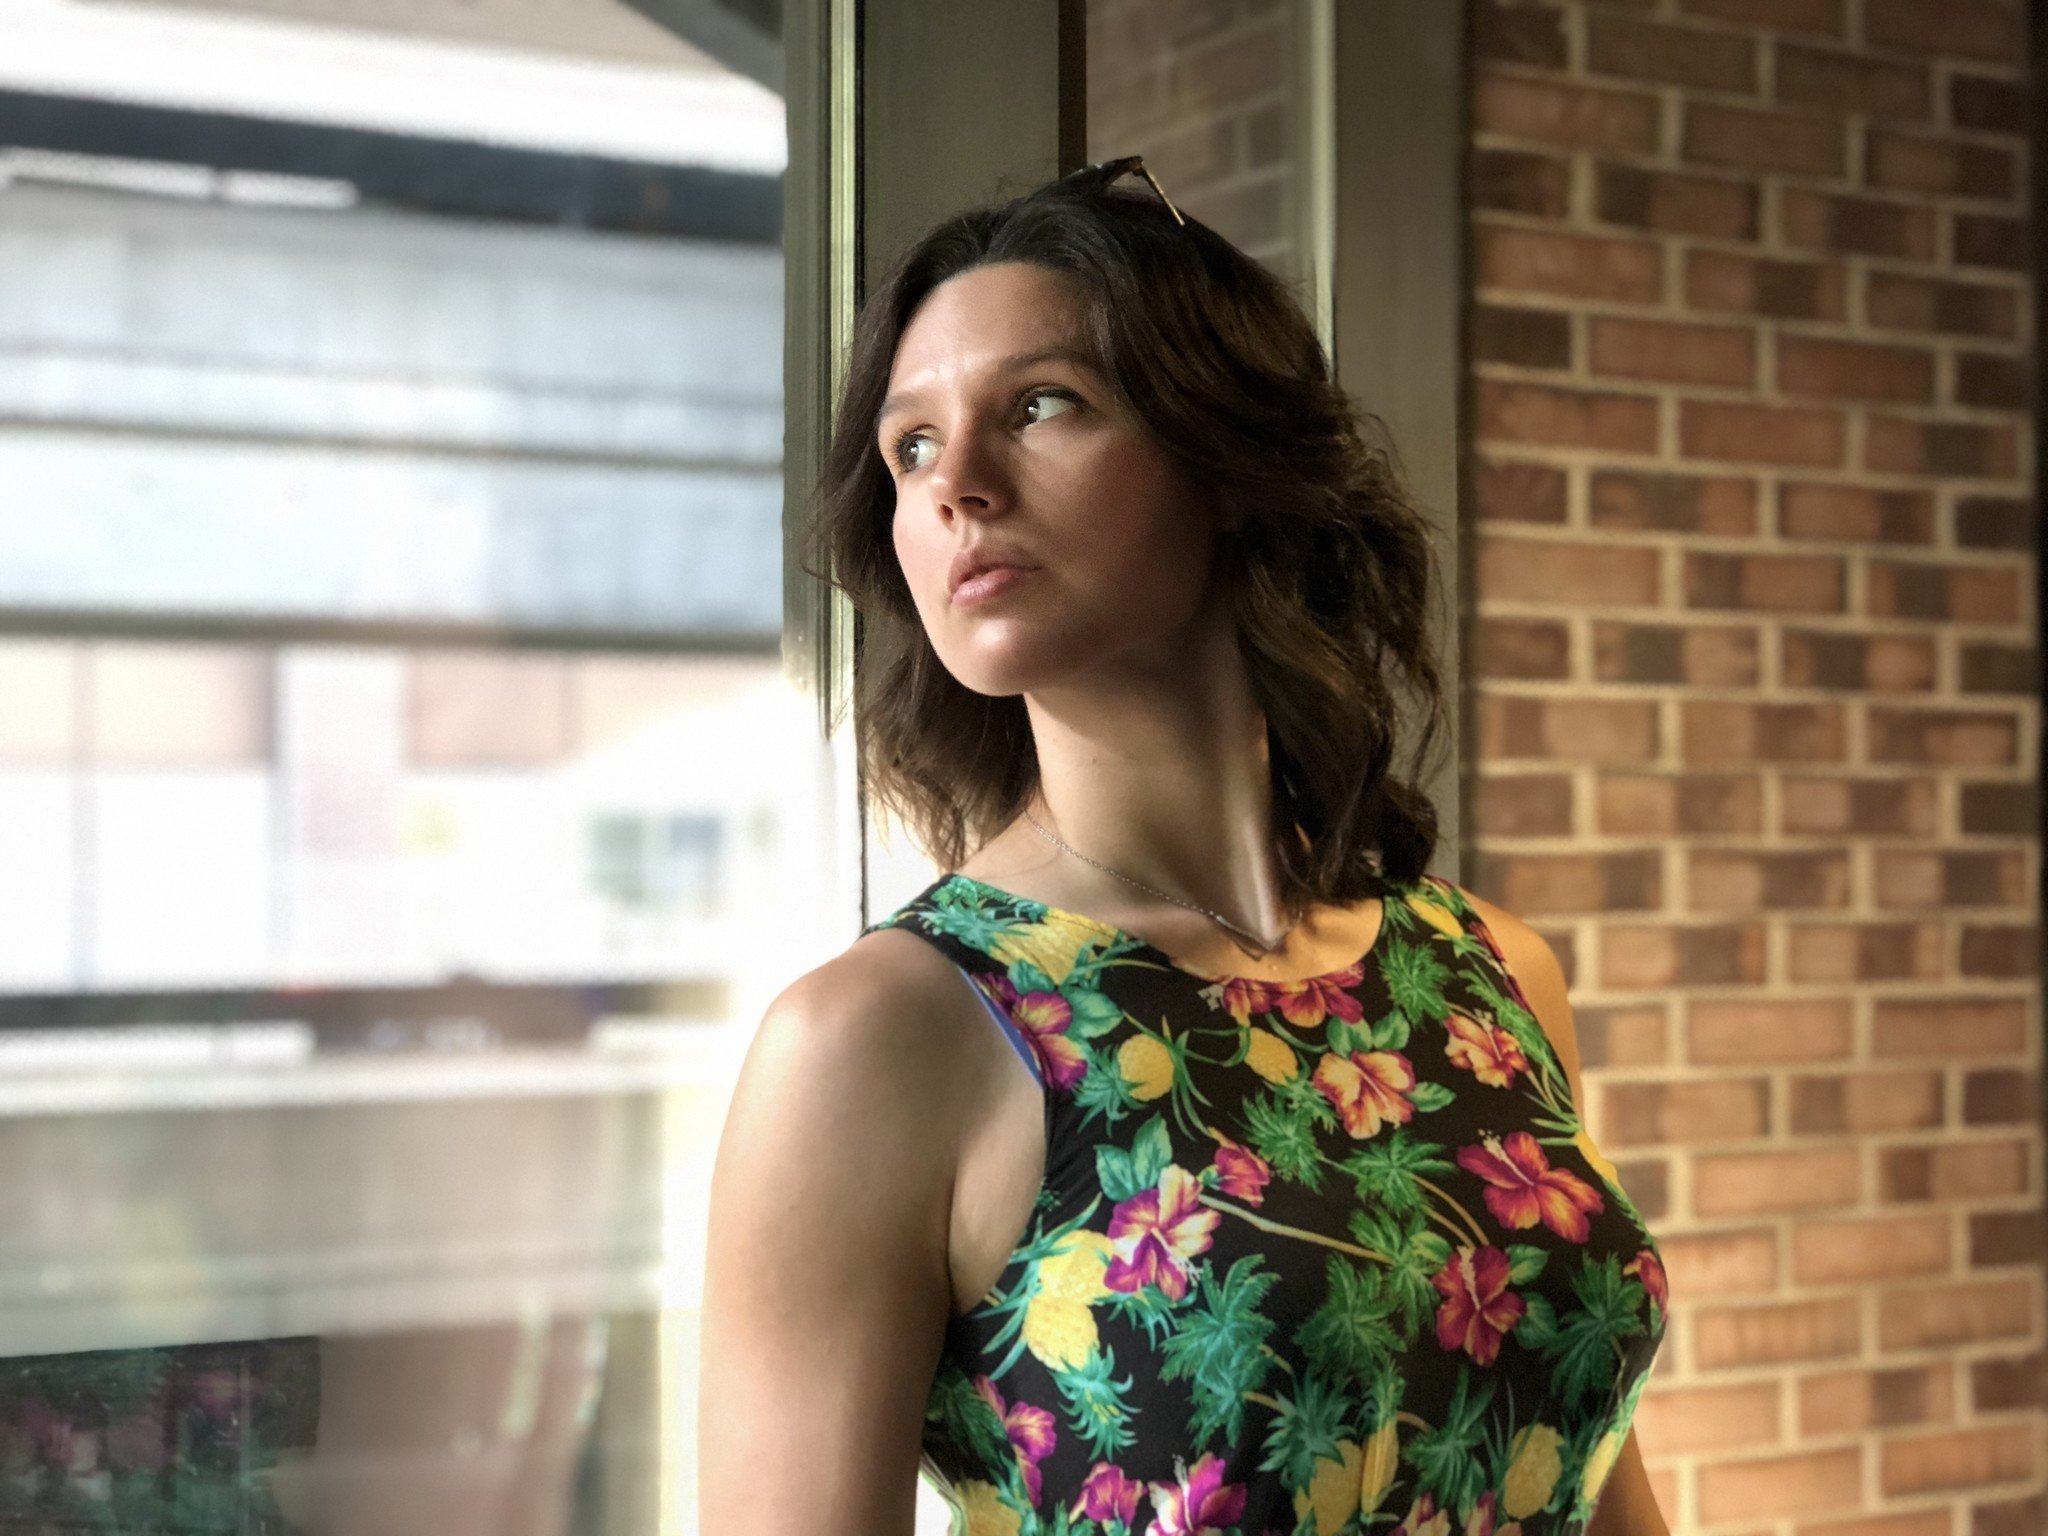
There are currently five different types of Portrait lighting: Natural, Studio, Contour, Stage Light, or Stage Light Mono.
Natural Light
This is the basic lighting mode that Portrait Mode has always used, which keeps your subject's face in focus and blurs the background for contrast.

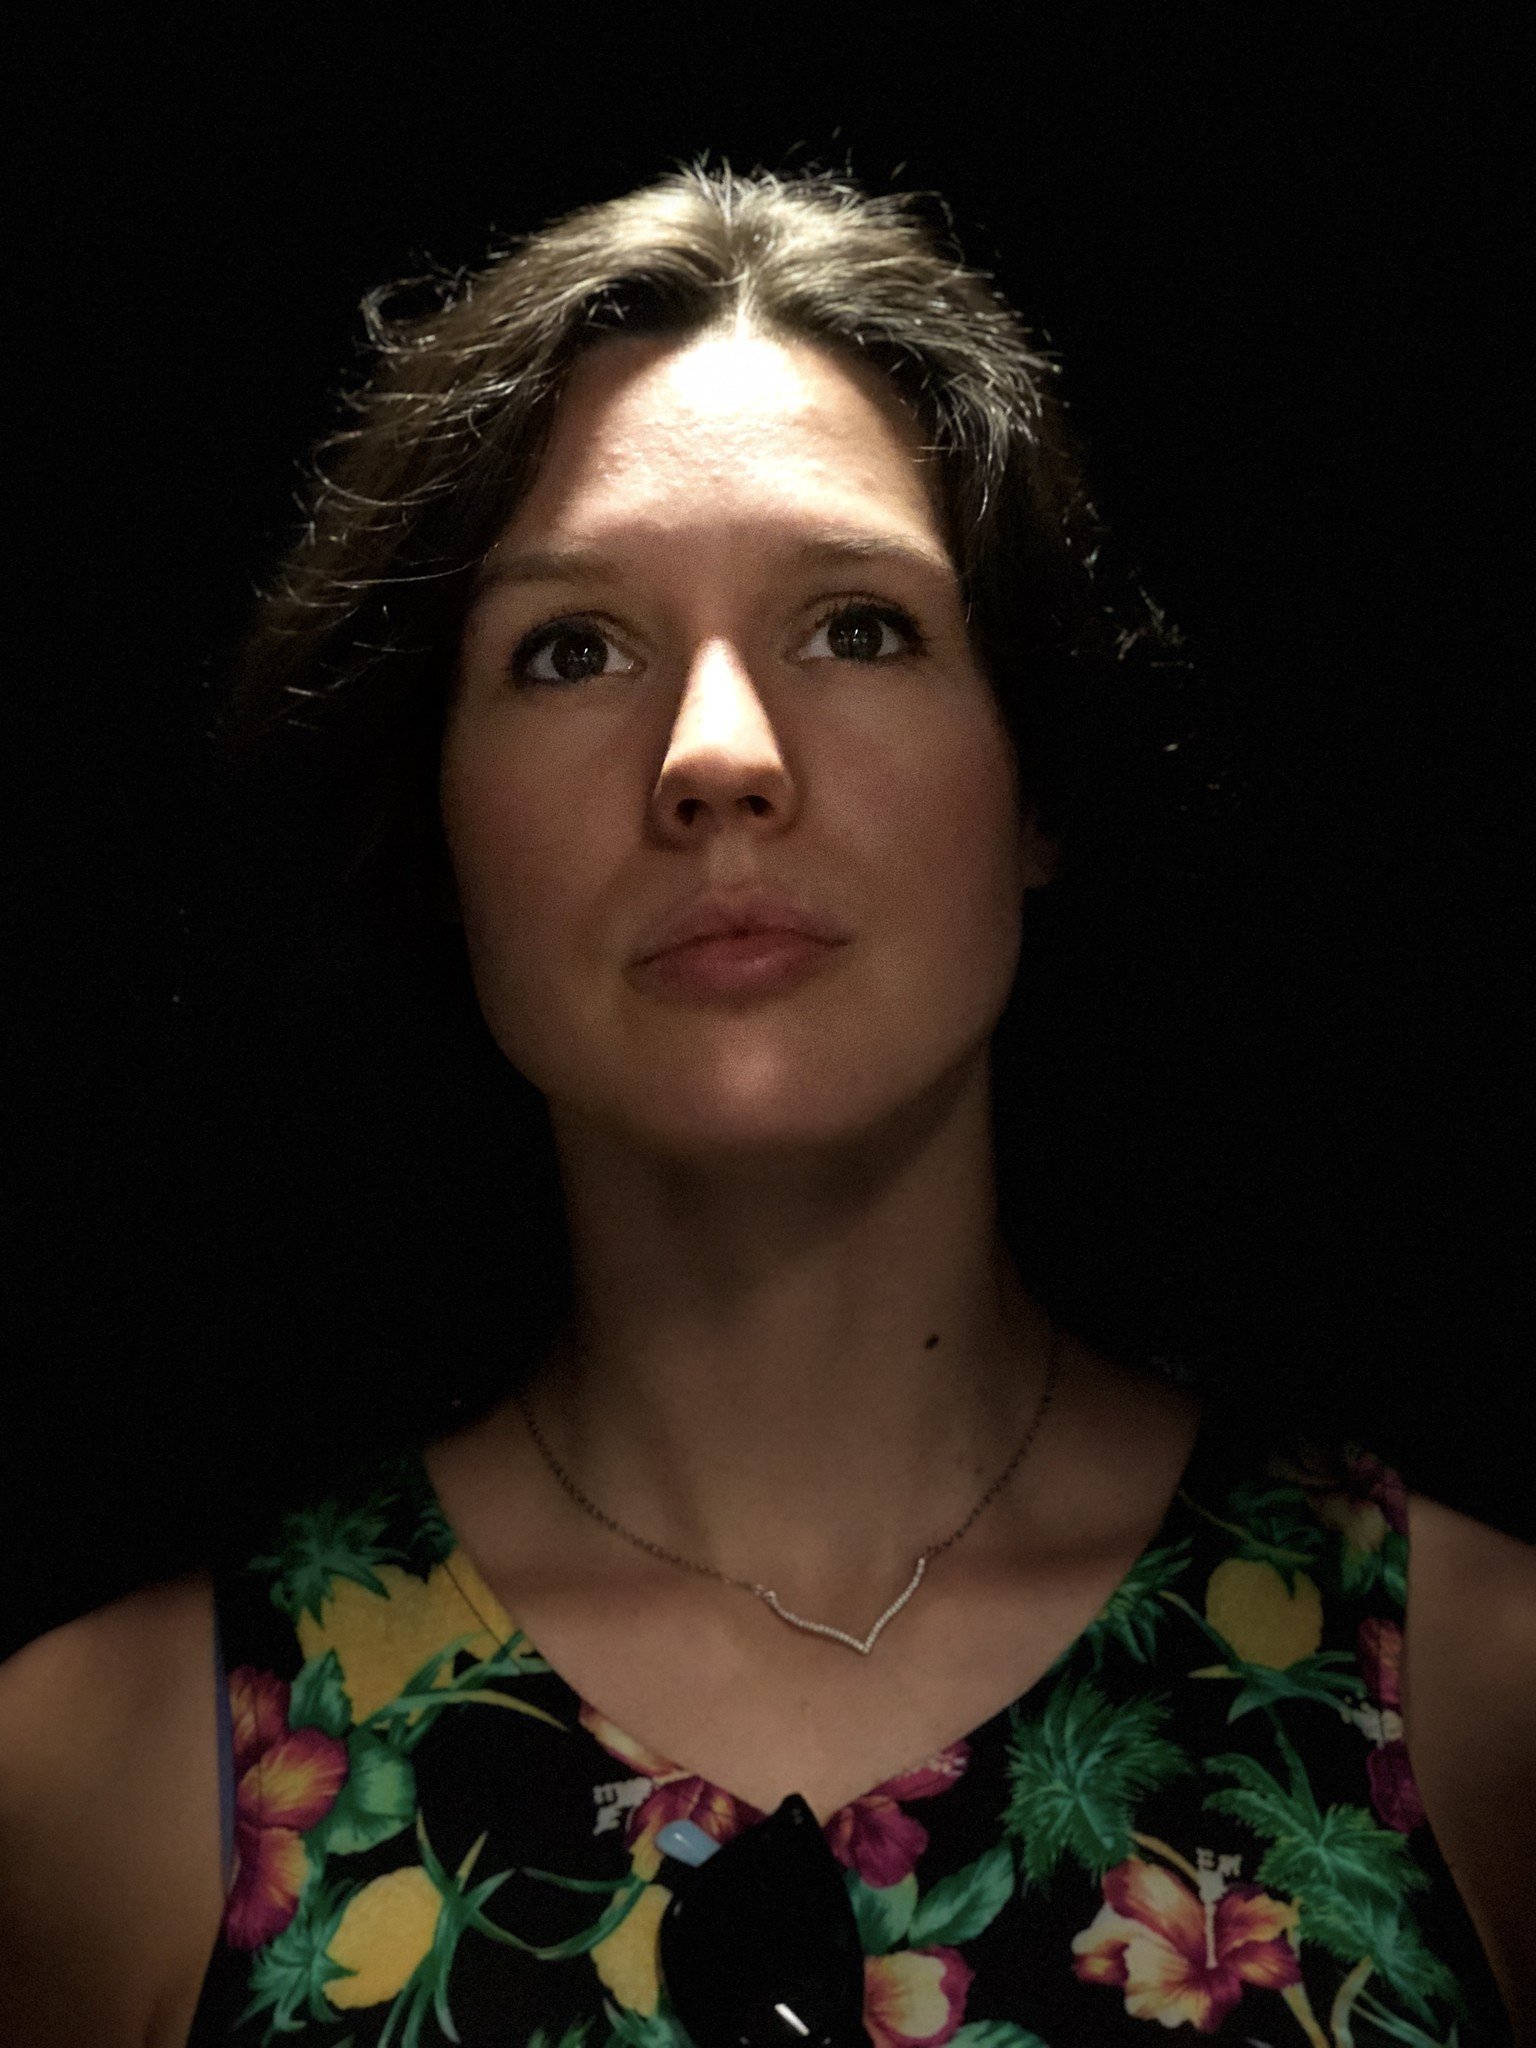
Studio Light
Your subject's face will be in focus and brightly light allowing you to see more detail in the face while the background will blur for contrast.
Contour Light
Will cast shadows on your subject's face and surroundings to show a dramatic difference between highlights and lowlights.
Stage Light
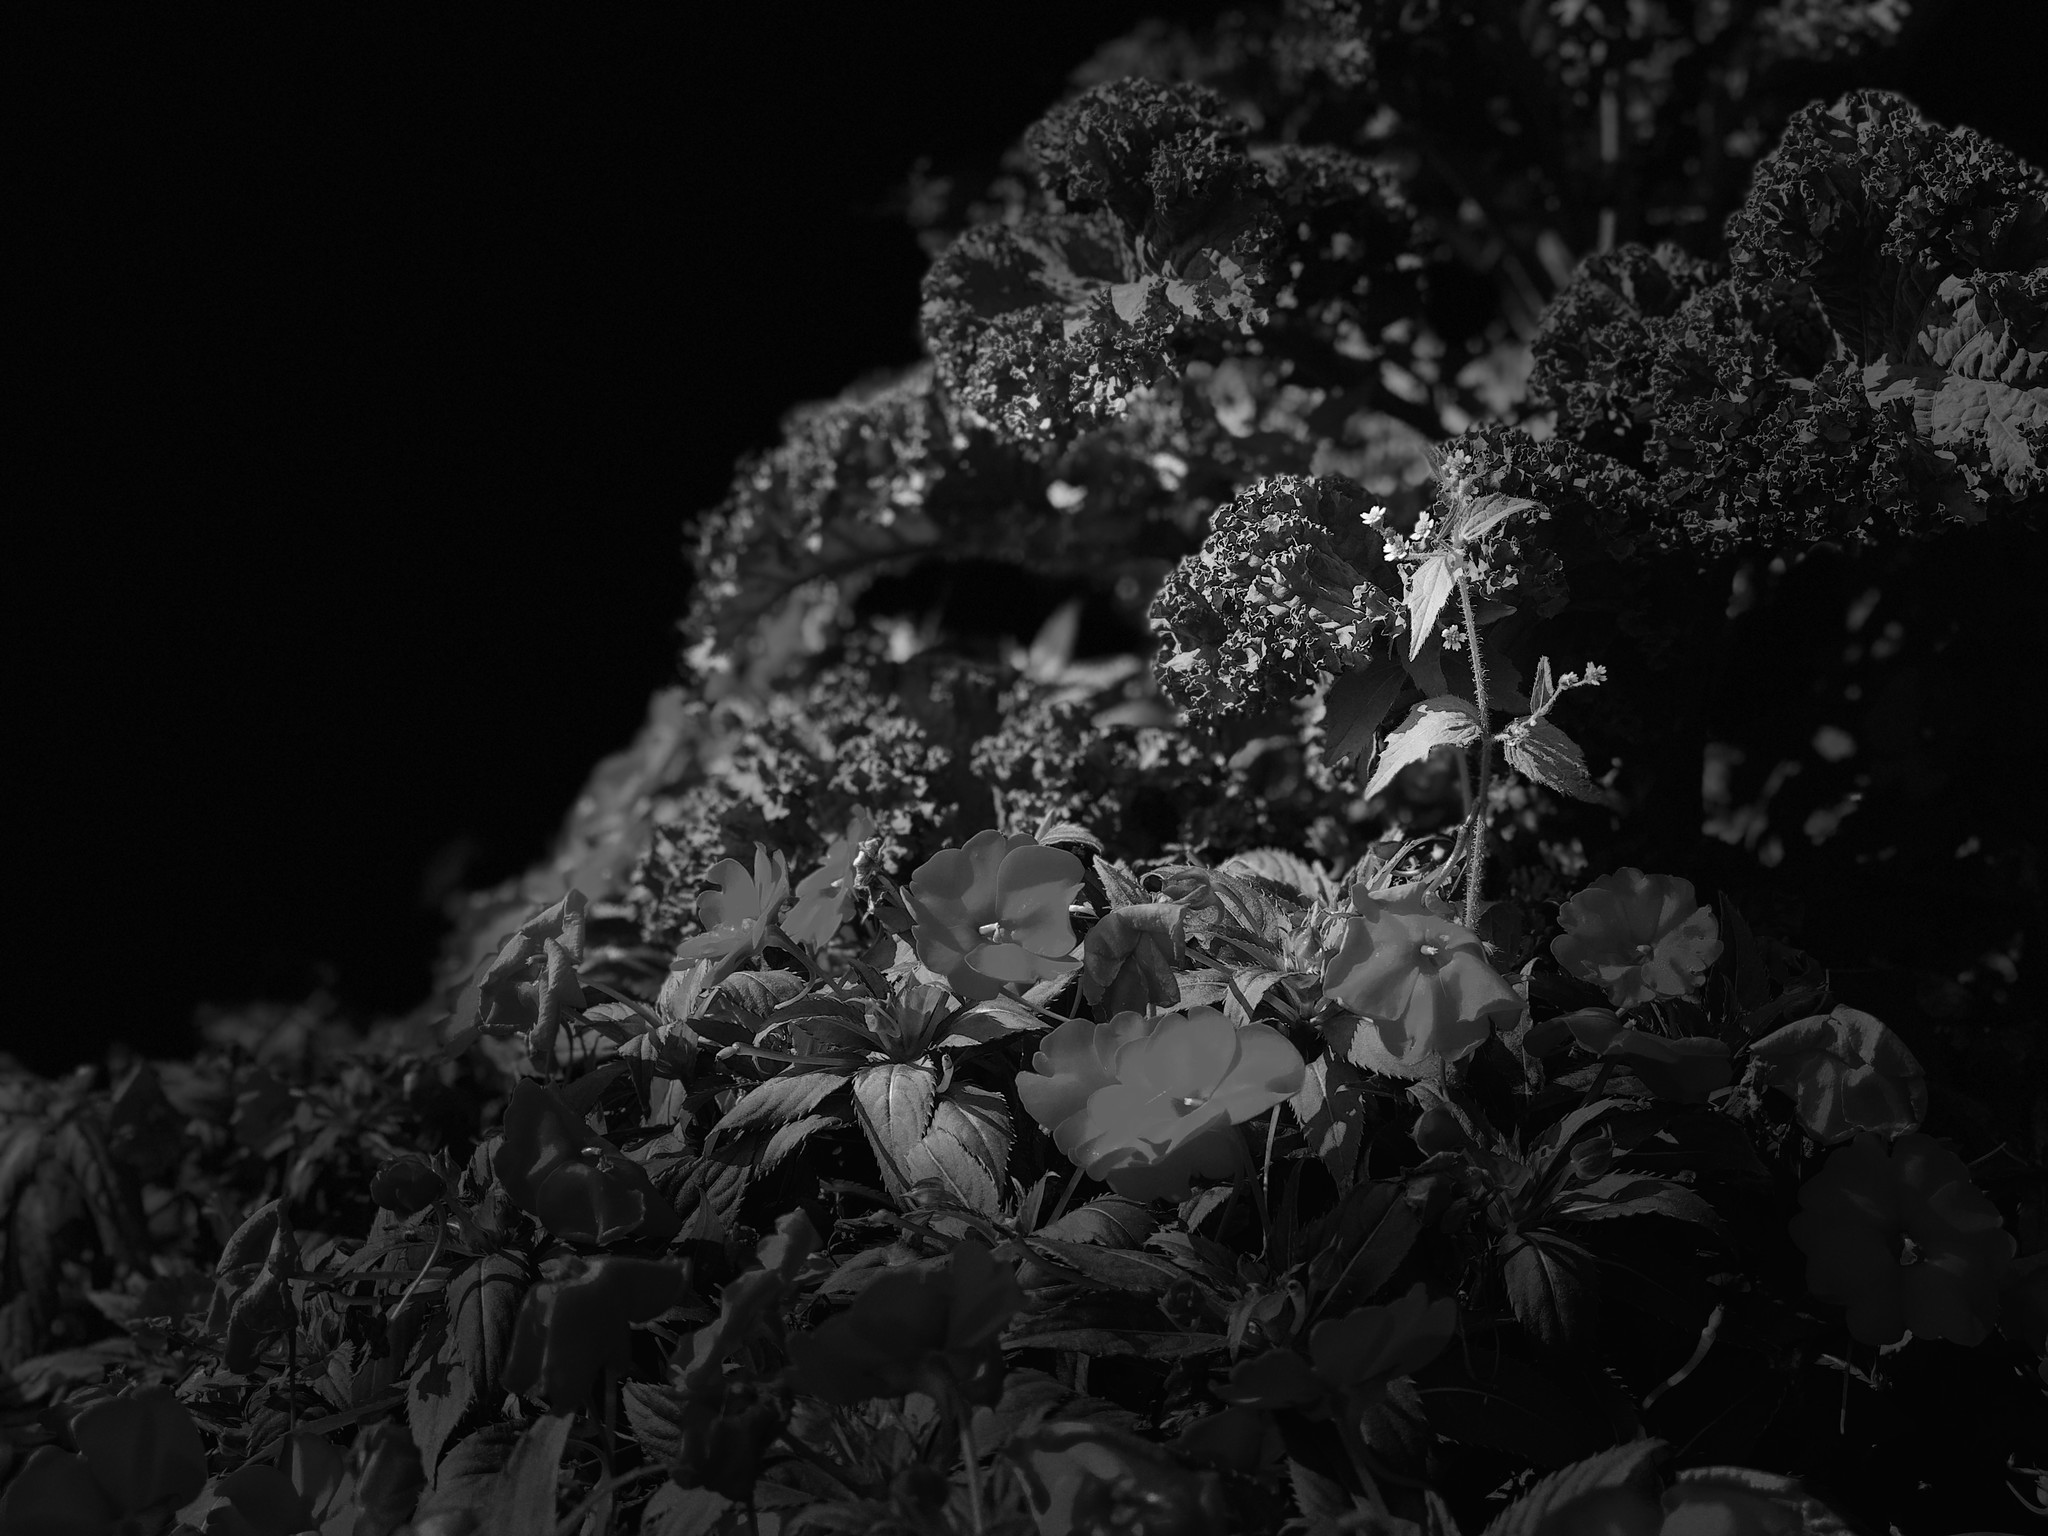
Cuts the background of the photo out into a deep black while light on the subject is bright and clear, giving a dramatic, high-contrast photo.
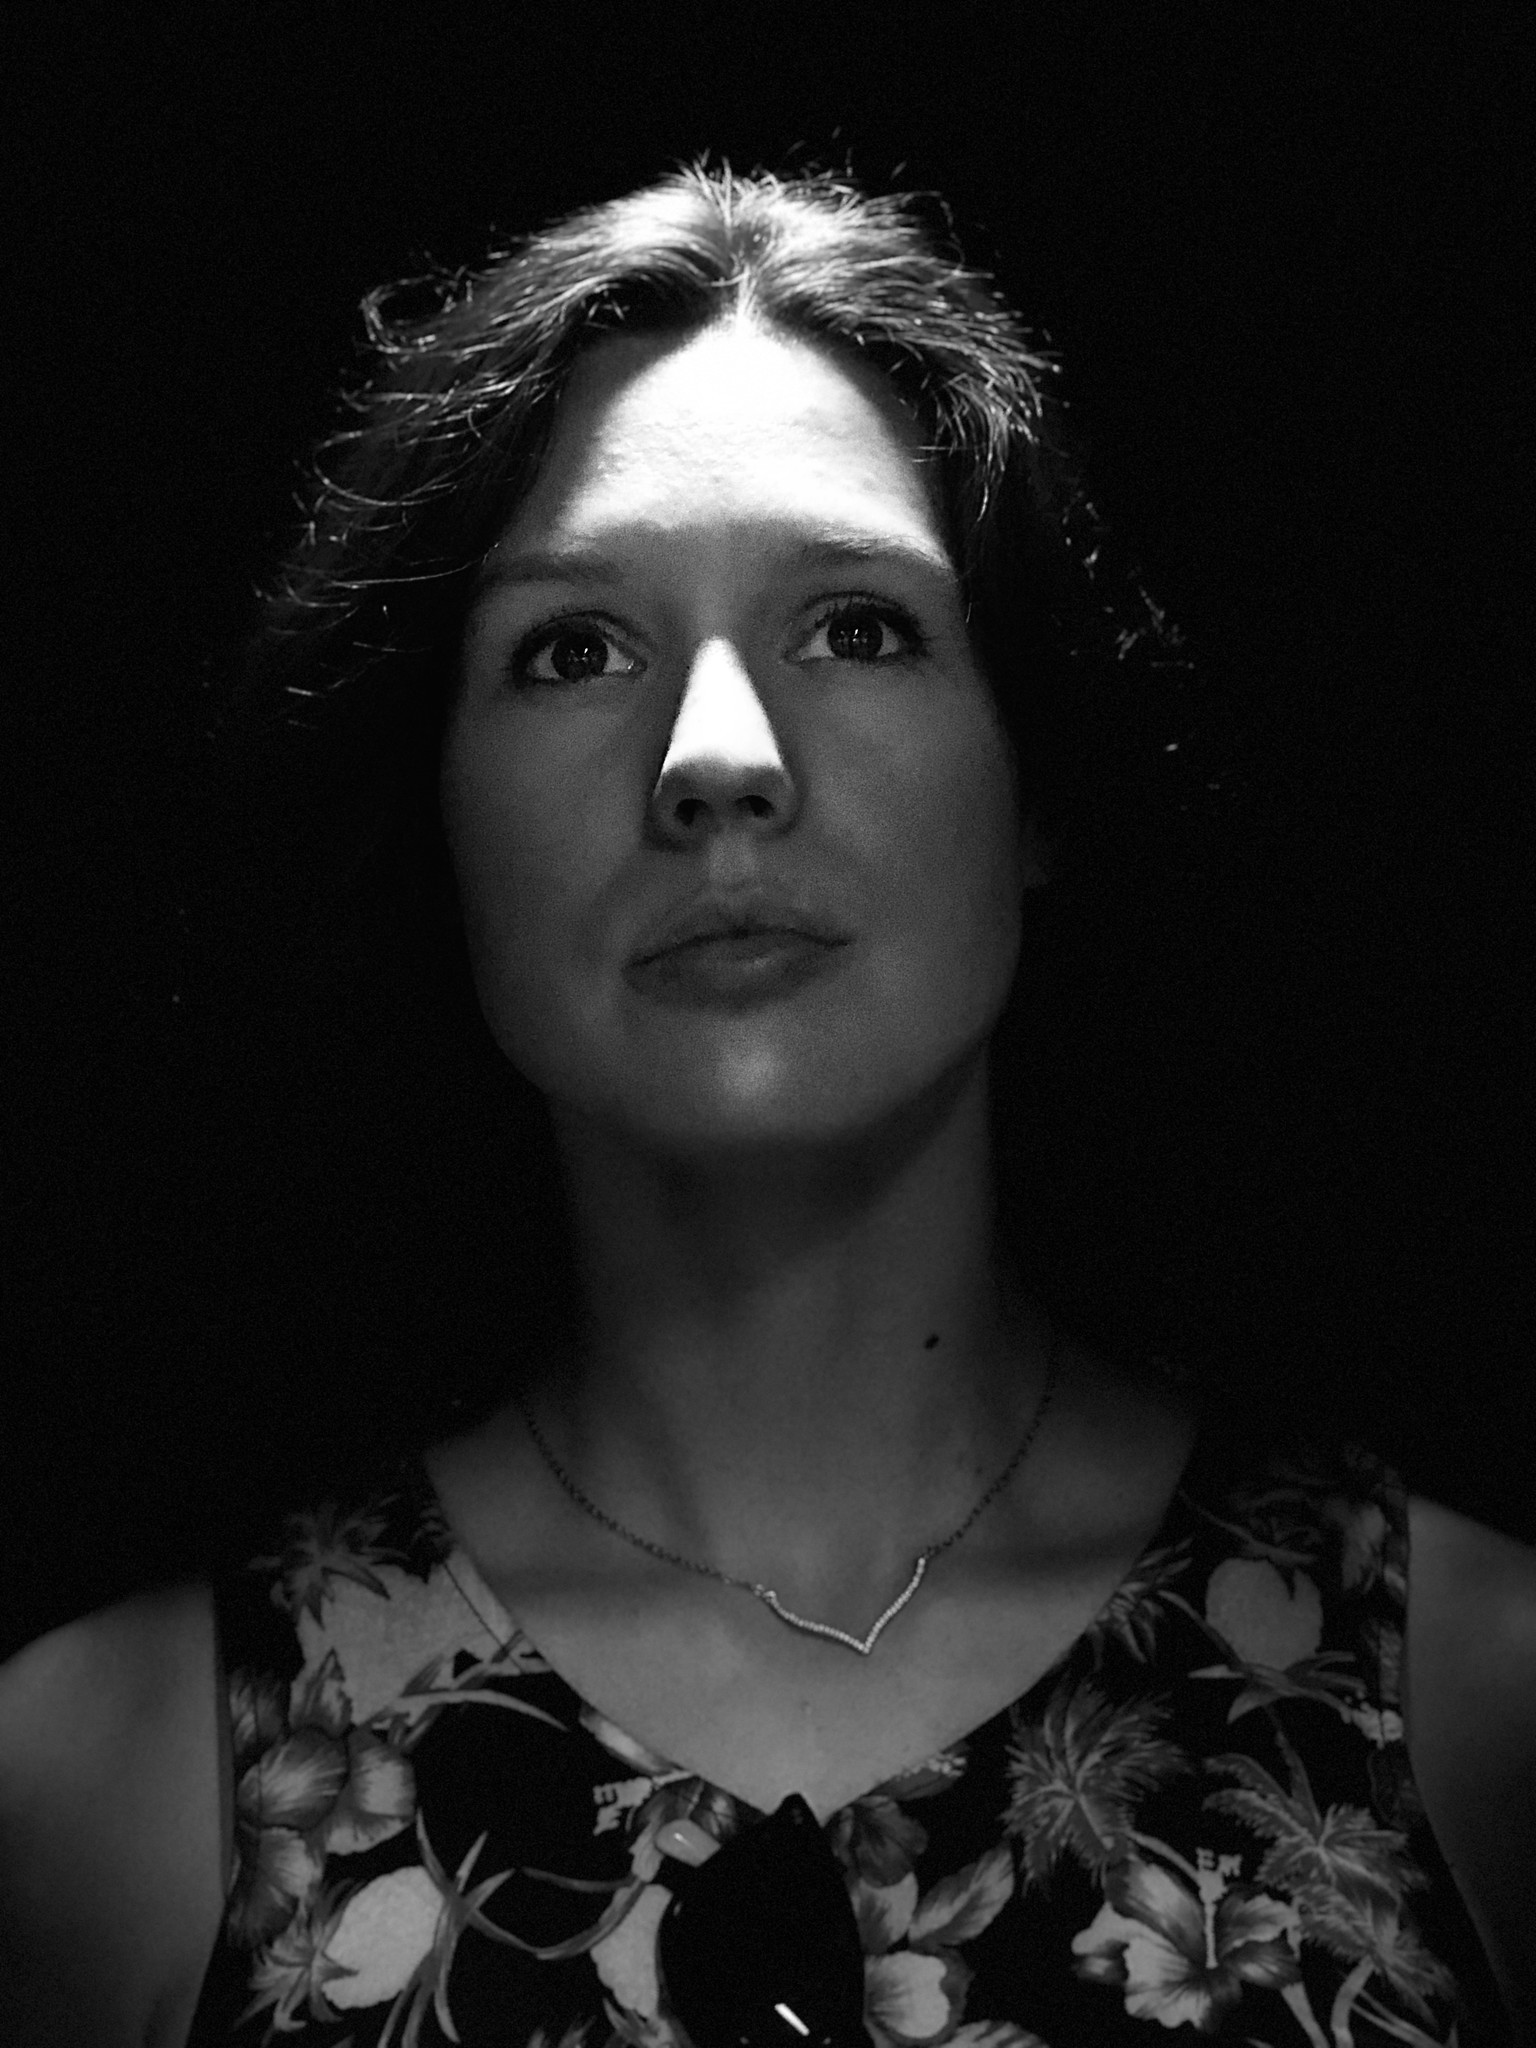
Stage Light Mono
Just like Stage Light, Stage Light Mono will cut the background of the photo away and brightly illuminate your subject; however, it will also apply a monochrome filter with a black and white photo.
How to shoot a person in Portrait mode or Portrait Lighting mode
Want to take a photo of someone in Portrait mode? Here's how you go about it.
- Open the Camera app.
- Swipe over to the Portrait setting.
- Line up the shot you wish to take within 2-8 feet of your subject. The camera's face and body detection should automatically identify your subject.
- Pay attention to the Camera app's prompts (either "More light required," "Flash may help," "Place subject within 8 feet," or "Move farther away.")
Once you've met the camera's needs, you'll see the banner at the bottom (iPhone 8 Plus, iPhone X) or top (iPhone 7 Plus) turn yellow.
Note: You can still shoot with the telephoto lens in Portrait mode even if the banners don't turn yellow — it just means you won't get depth or lighting effects.
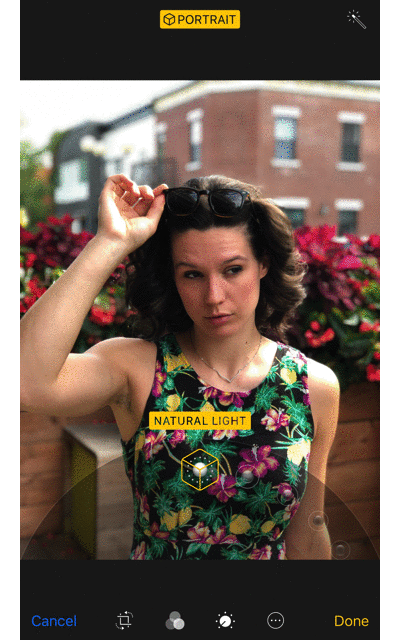
- If you have an iPhone 8 Plus or X, you can swipe or tap on the cube icons above the shutter button to change your lighting effects.
- Press the shutter button to take your photo.
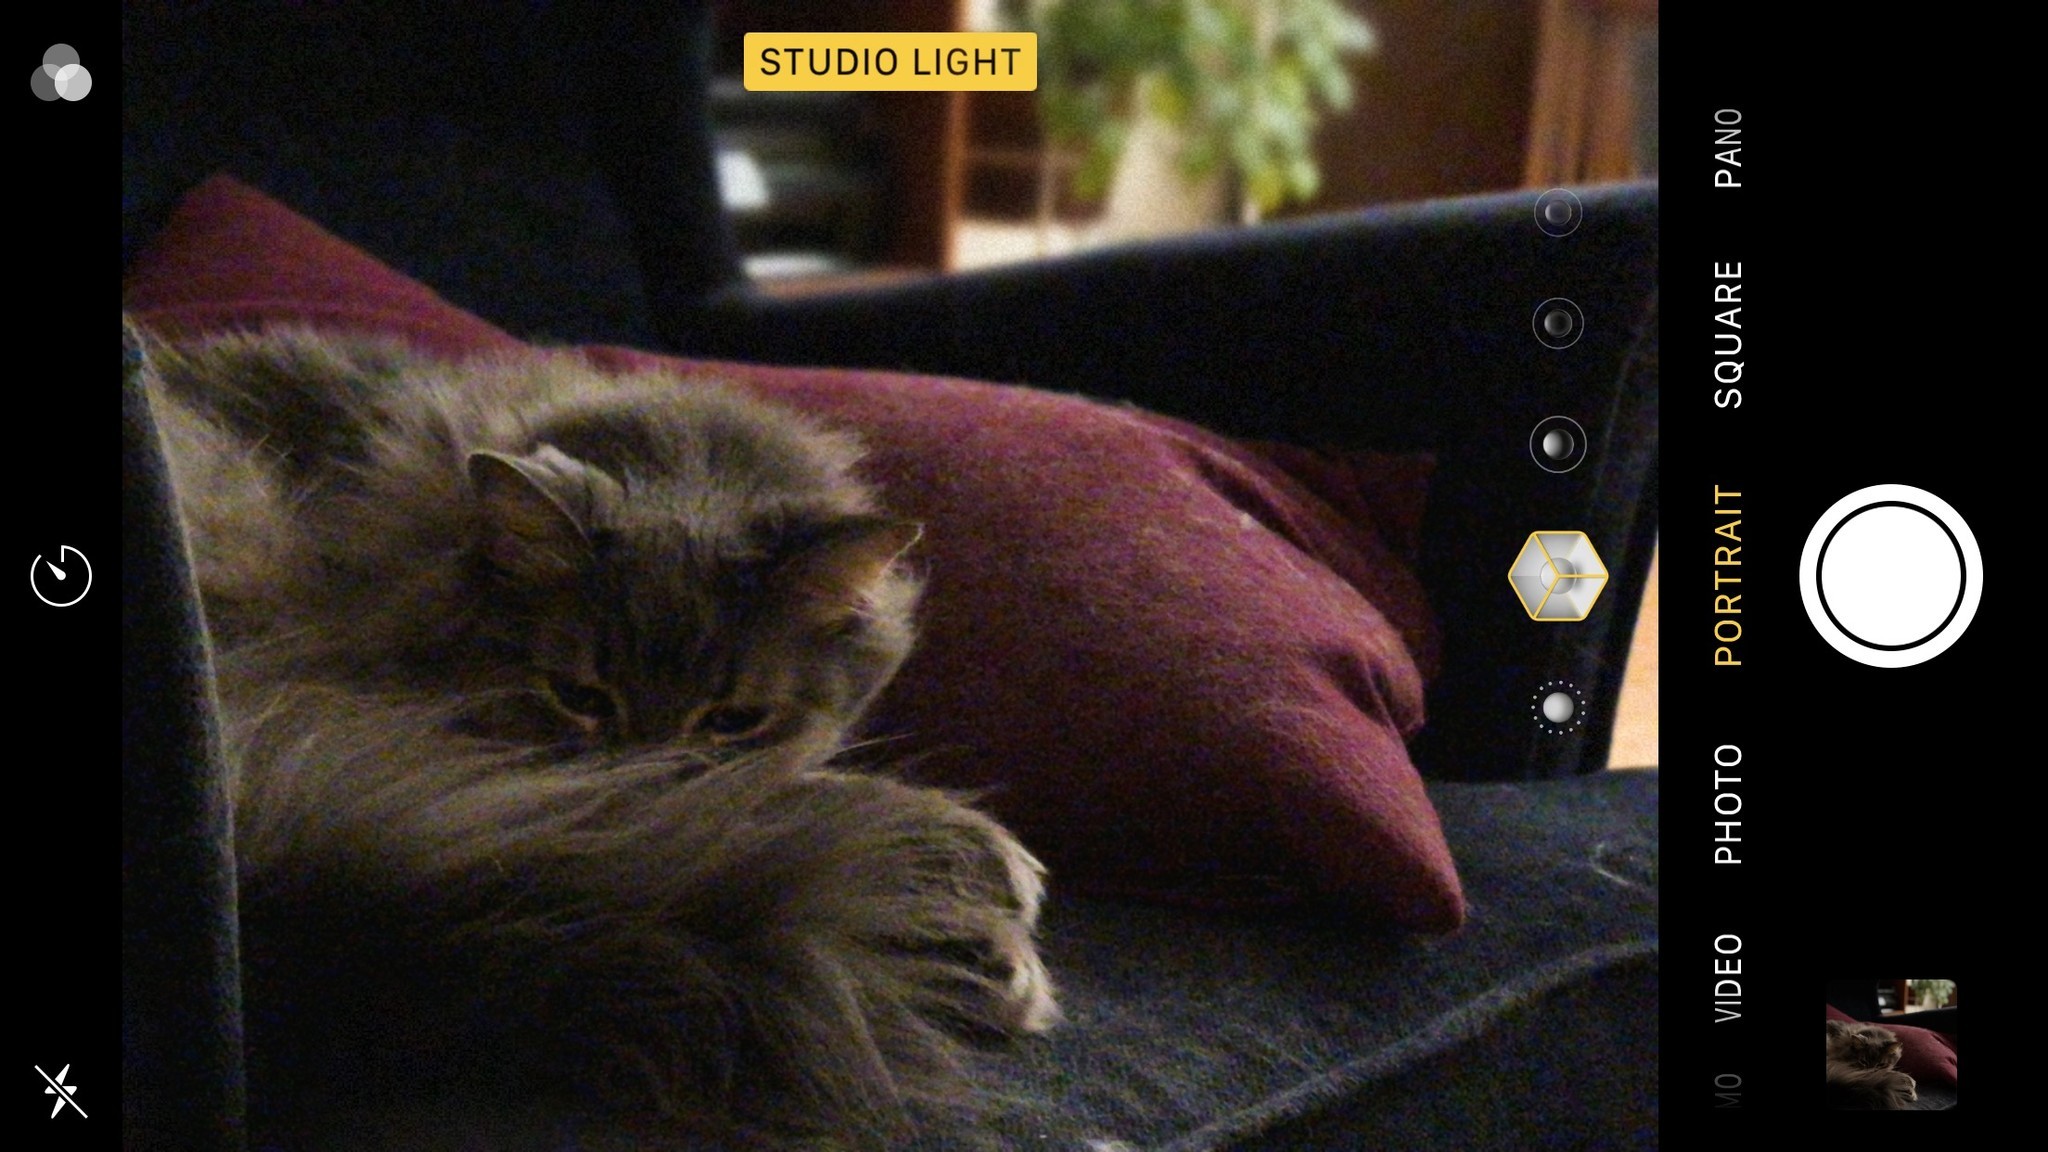
How to take photos of other objects and animals in Portrait mode
Shooting other, non-human objects isn't officially supported for Portrait mode, but you can still do so if you wish; just be prepared for the artificial depth of field to not look perfect.
- Line up the shot you wish to take within 8 feet of your subject. Your iPhone will attempt to automatically identify a subject or focal point, but you can also tap on the screen to set a manual focal point.
Pay attention to the Camera app's prompts (either "More light required," "Flash may help," "Place subject within 8 feet," or "Move farther away.")
Once you've met the camera's needs, you'll see the banner at the bottom (iPhone 8 Plus, iPhone X) or top (iPhone 7 Plus) turn yellow.
Note: You can still shoot with the telephoto lens in Portrait mode even if the banners don't turn yellow — it just means you won't get depth or lighting effects.
- If you have an iPhone 8 Plus or X, you can swipe or tap on the cube icons above the shutter button to change your lighting effects.
- Press the shutter button to take your photo.
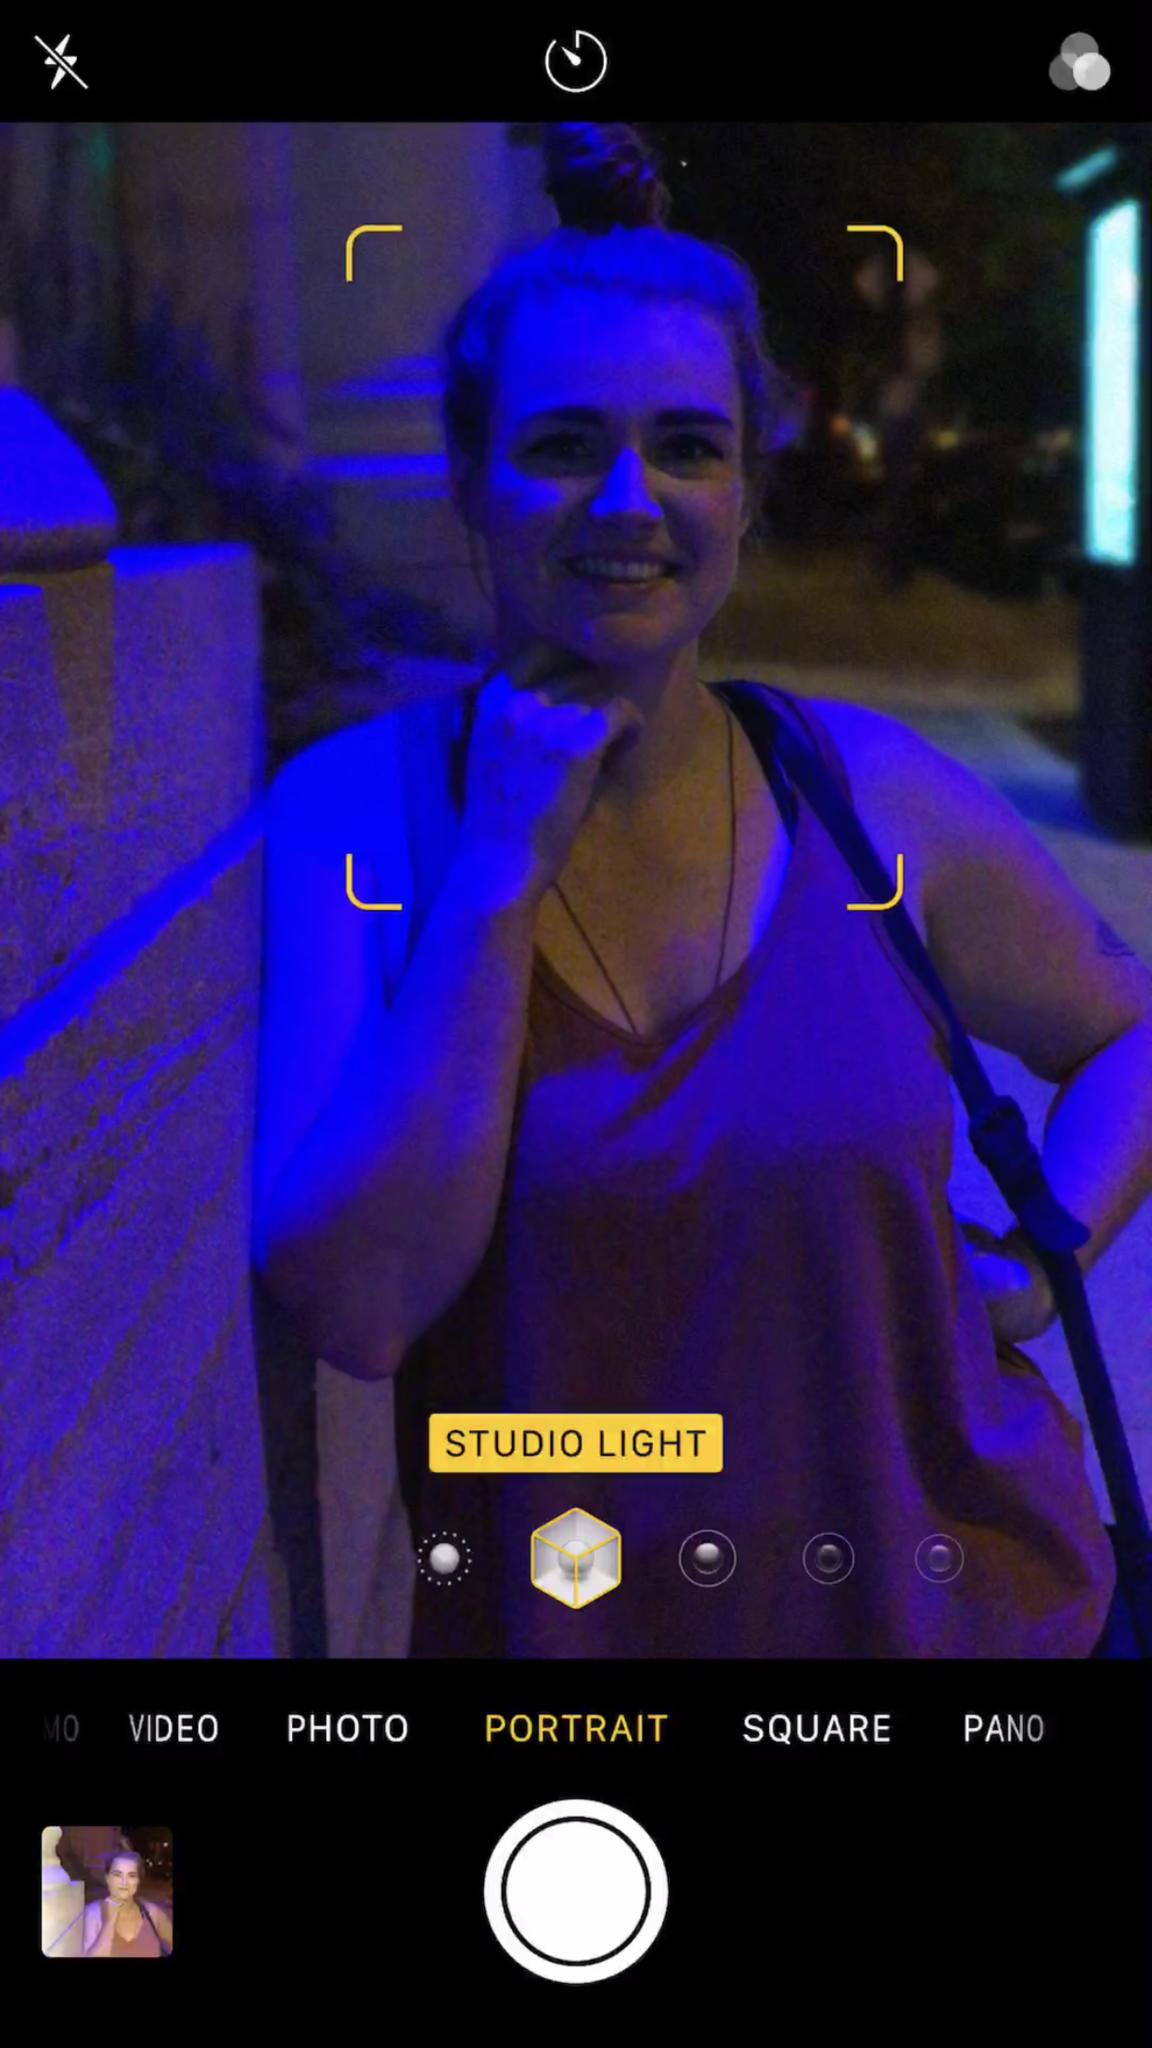
How to take great Portrait Lighting selfies with iPhone X
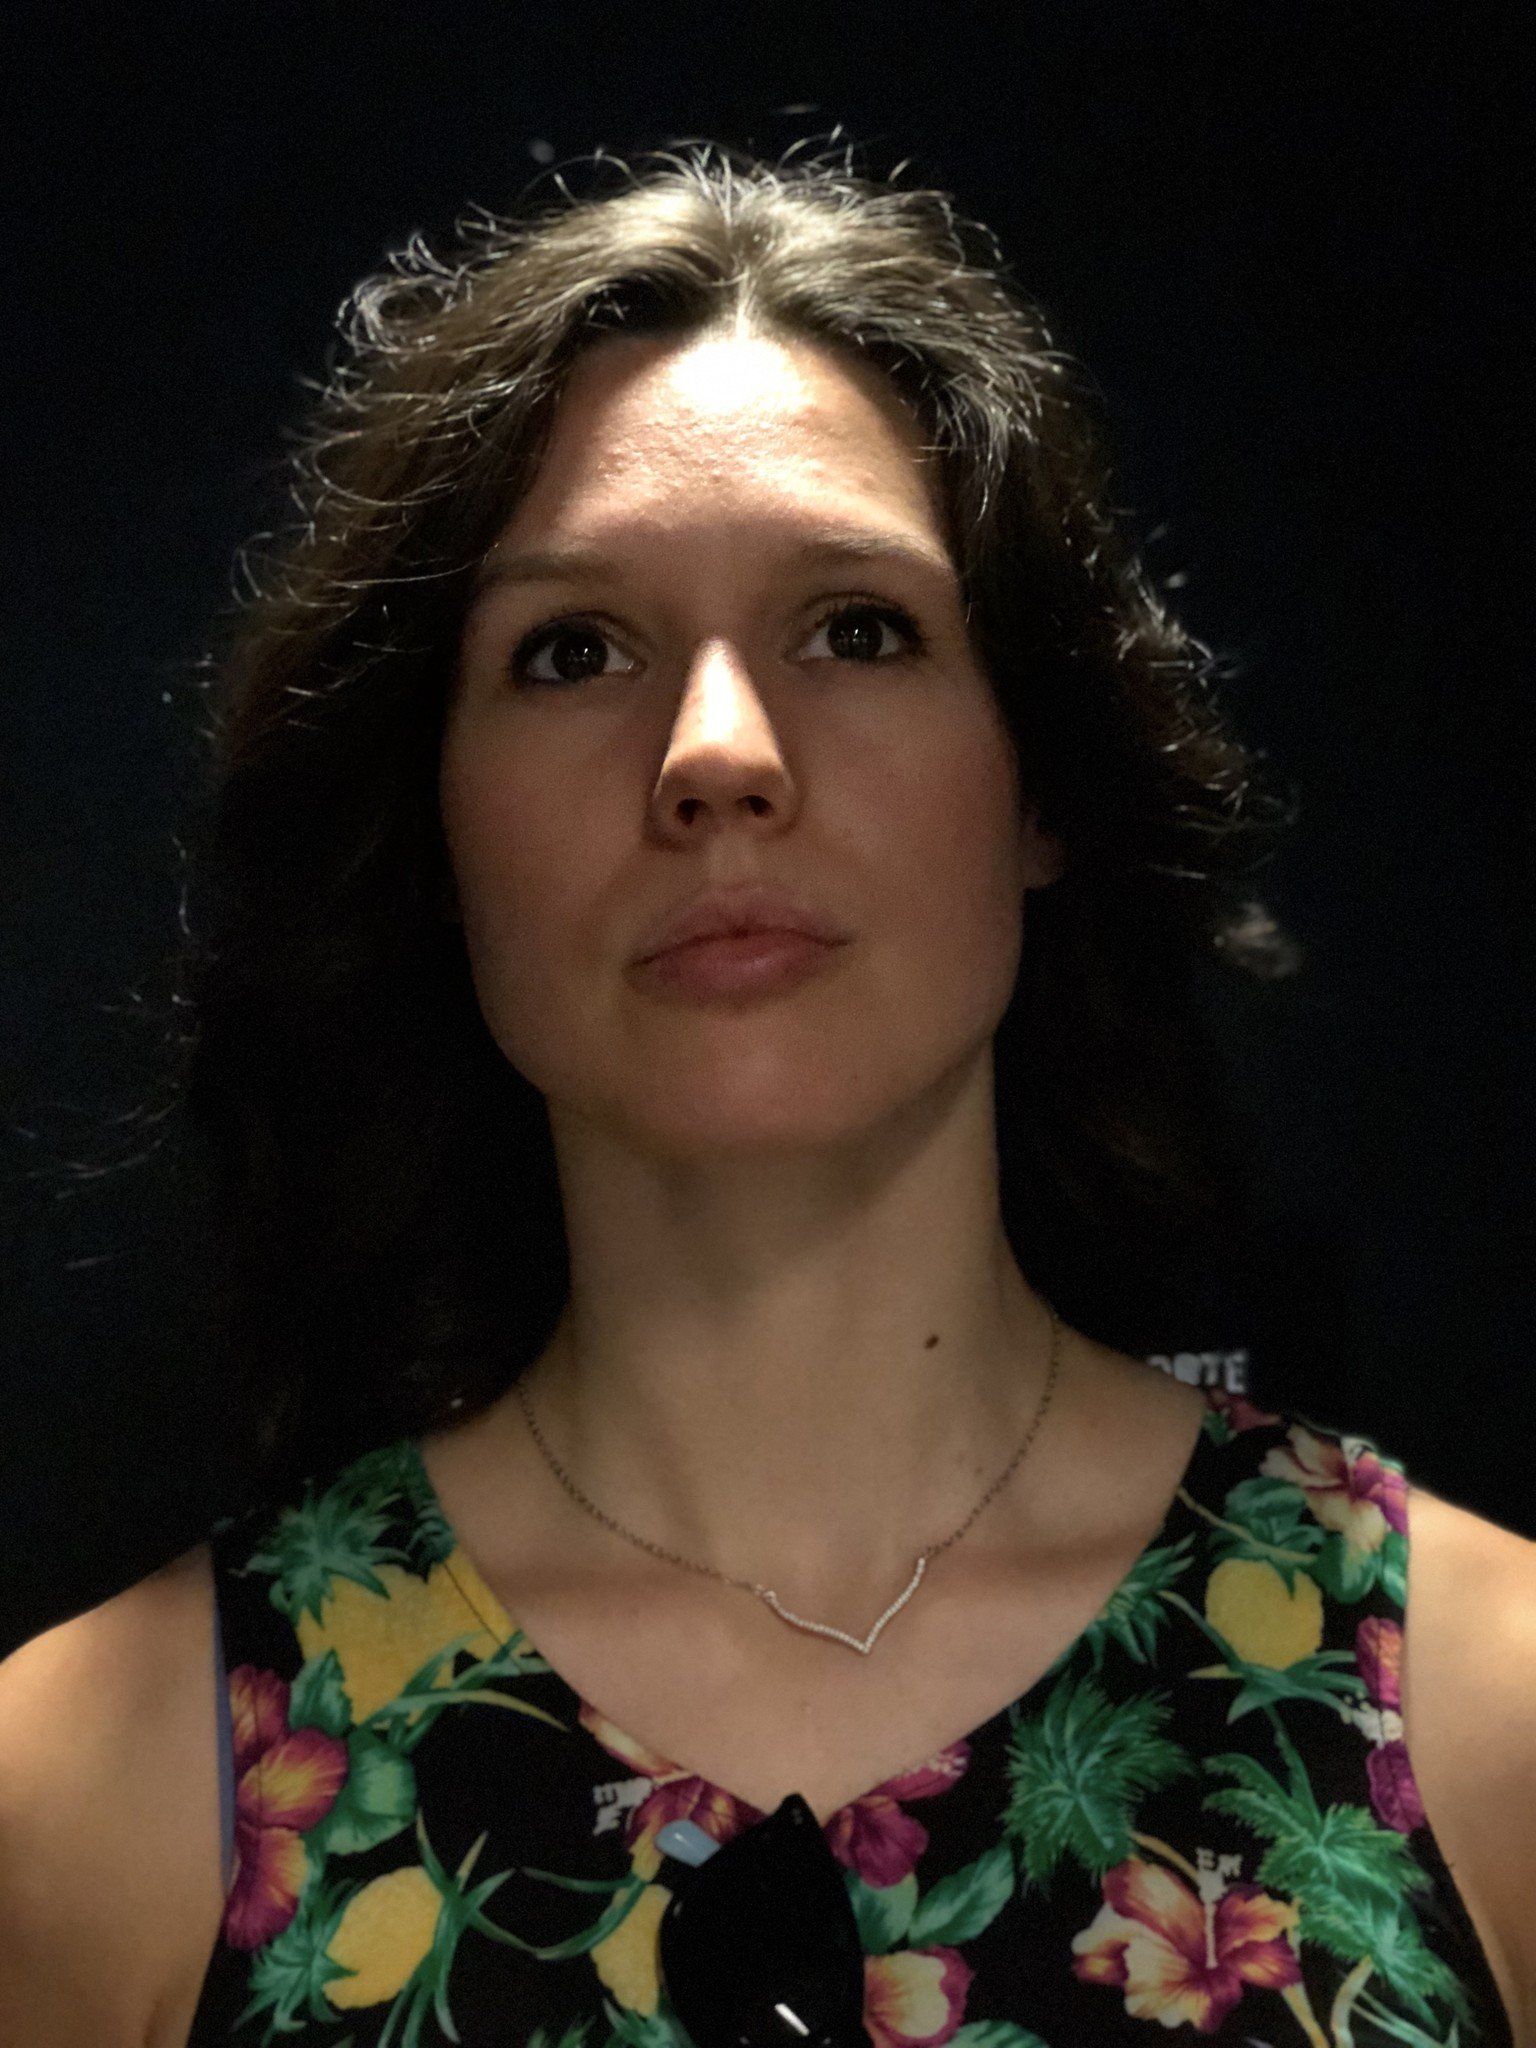
I have a certain fondness for selfies — I find they're a great way to snap quick facial expressions you don't have an emoji for, or show off something awesome you found.
 The author, hard at work writing about selfies while... doing research by taking a selfie.
The iPhone X is Apple's best smartphone yet for great front-facing photos, thanks to its TrueDepth system, which lets you take selfies with actual depth to them, simulating the bokeh-style effect of DSLR cameras.
How to take great Portrait Lighting selfies with iPhone X
How to remove depth or lighting effects on a photo
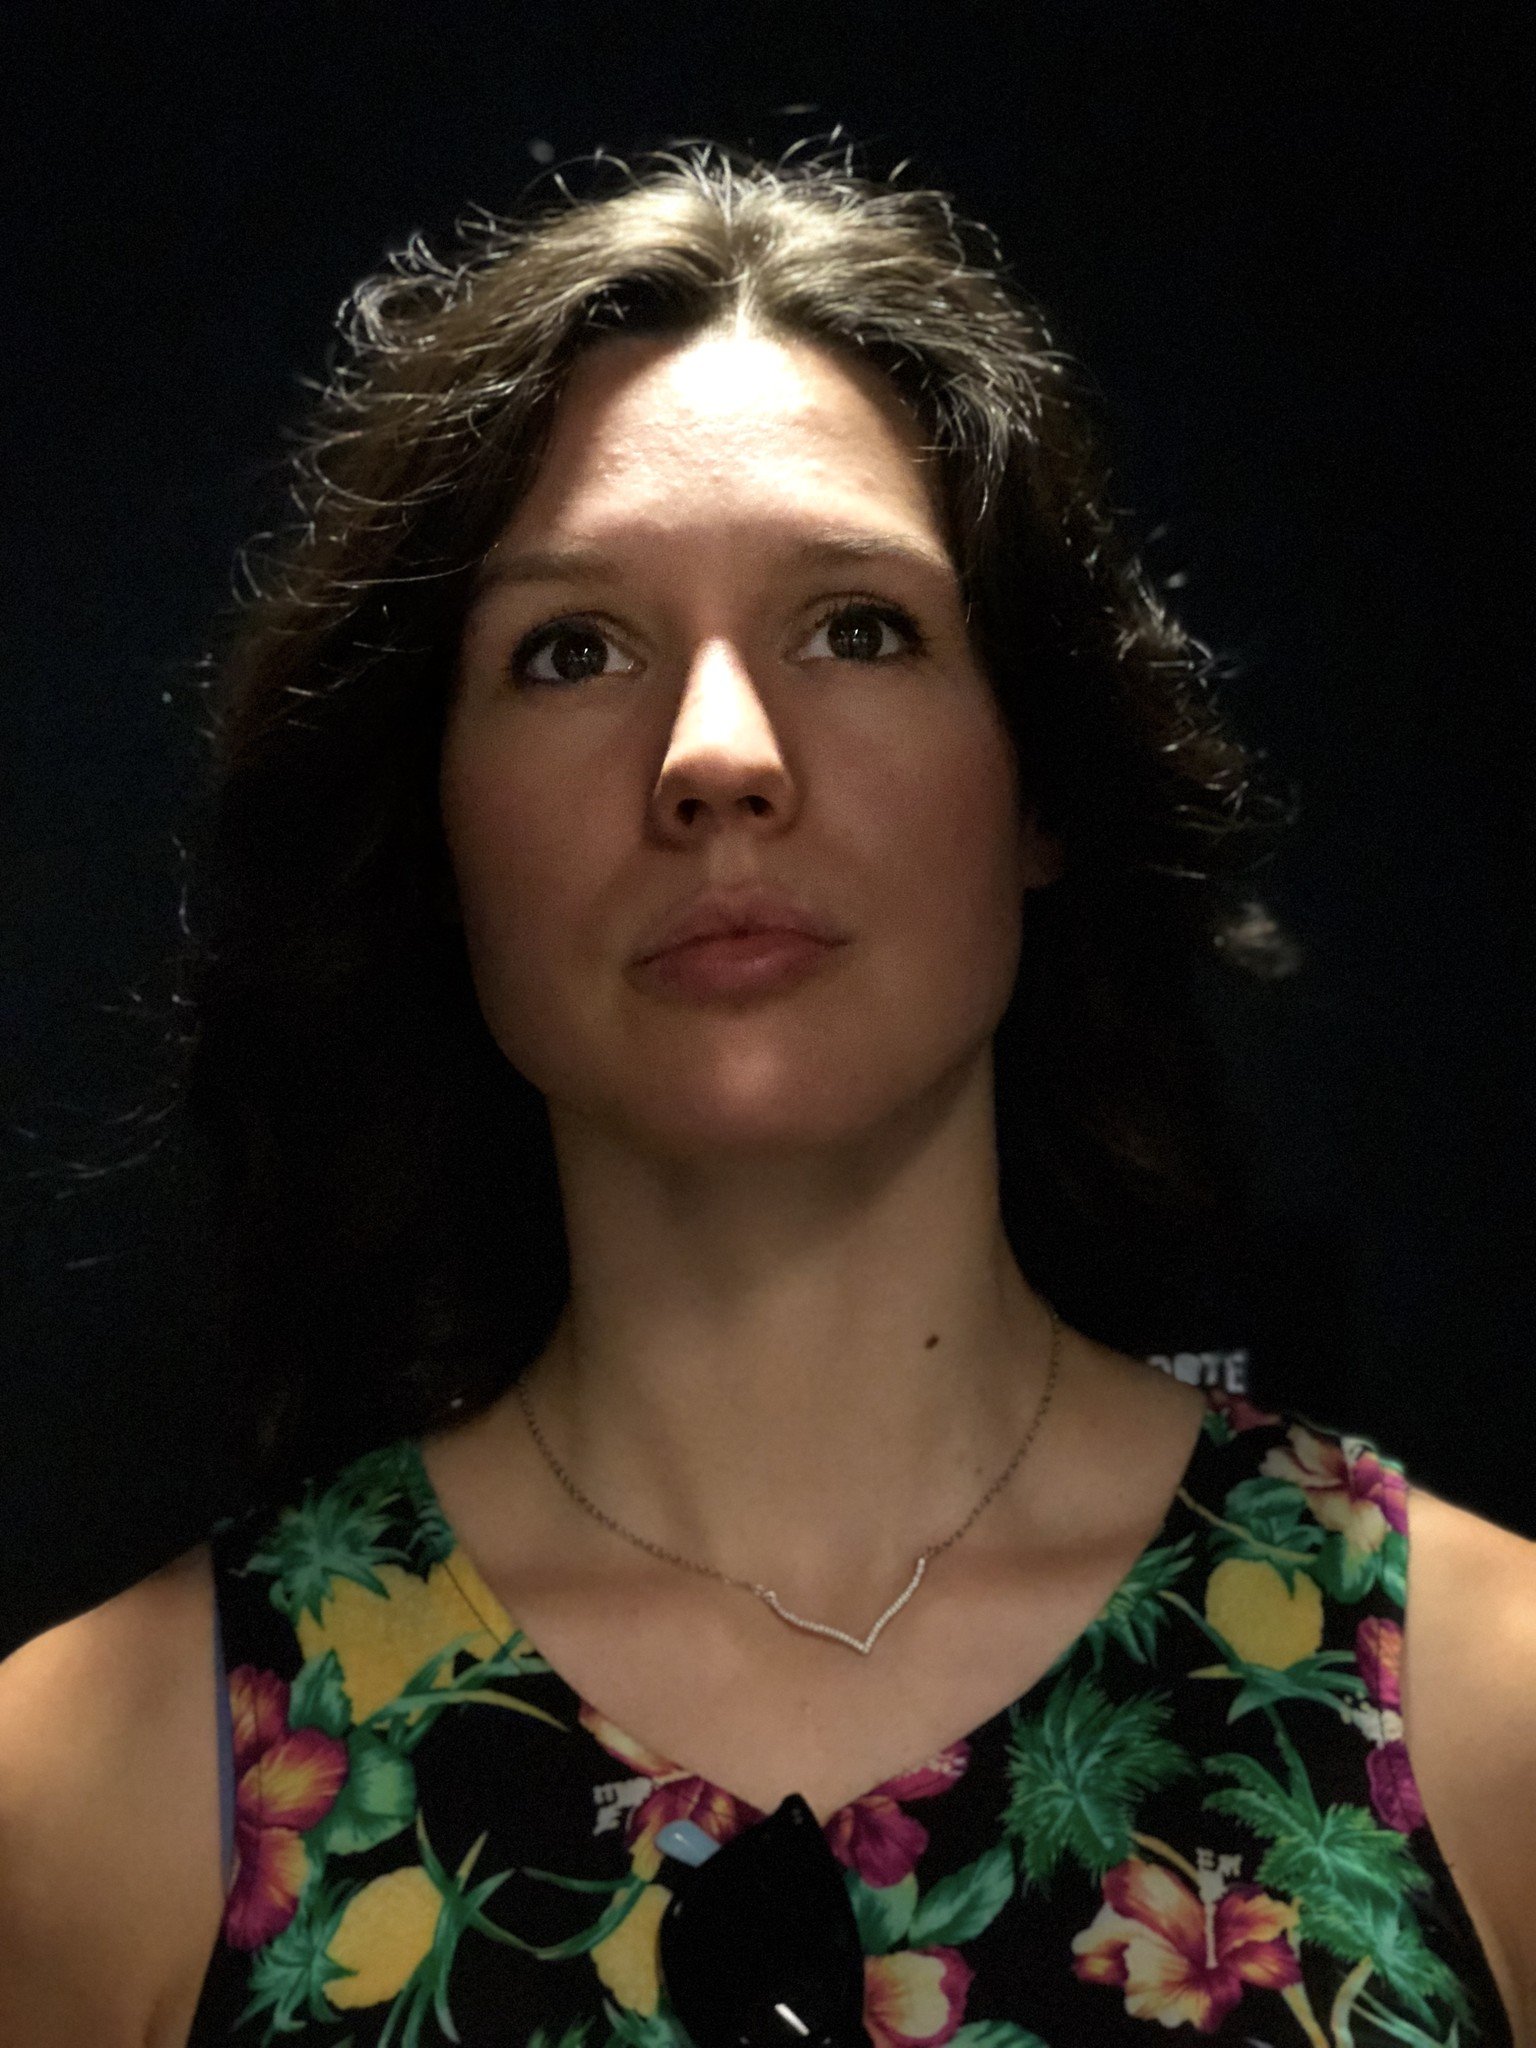
 Stage lighting? Not always such a good call. But taking it away is an easy fix.
If you took a shot in Portrait mode and decide you'd rather not have that bokeh effect or Stage Lighting gracing your image, removing either option is an easy fix. And because Apple operates non-destructively, you can always restore the look later on if you so choose.
Note: Though you shoot both Depth effects and Lighting effects in Portrait mode, they exist independently of each other: You can remove Depth without removing lighting effects, and vice versa.
How to remove a photo's depth effect on your iPhone
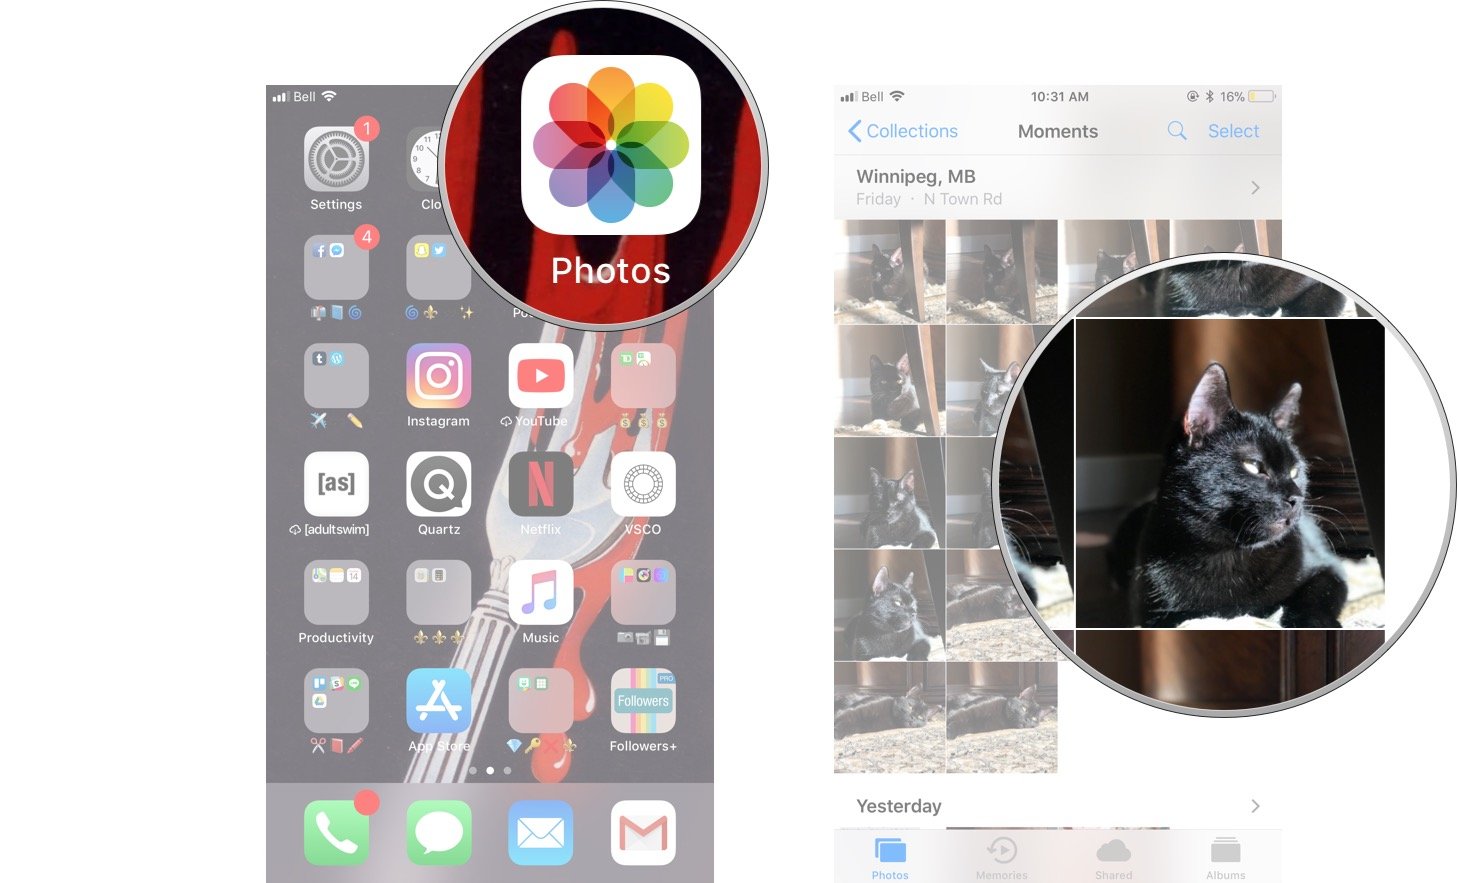
- Open the Photos app on your iPhone or iPad.
- Find the Portrait mode photo you want to edit.
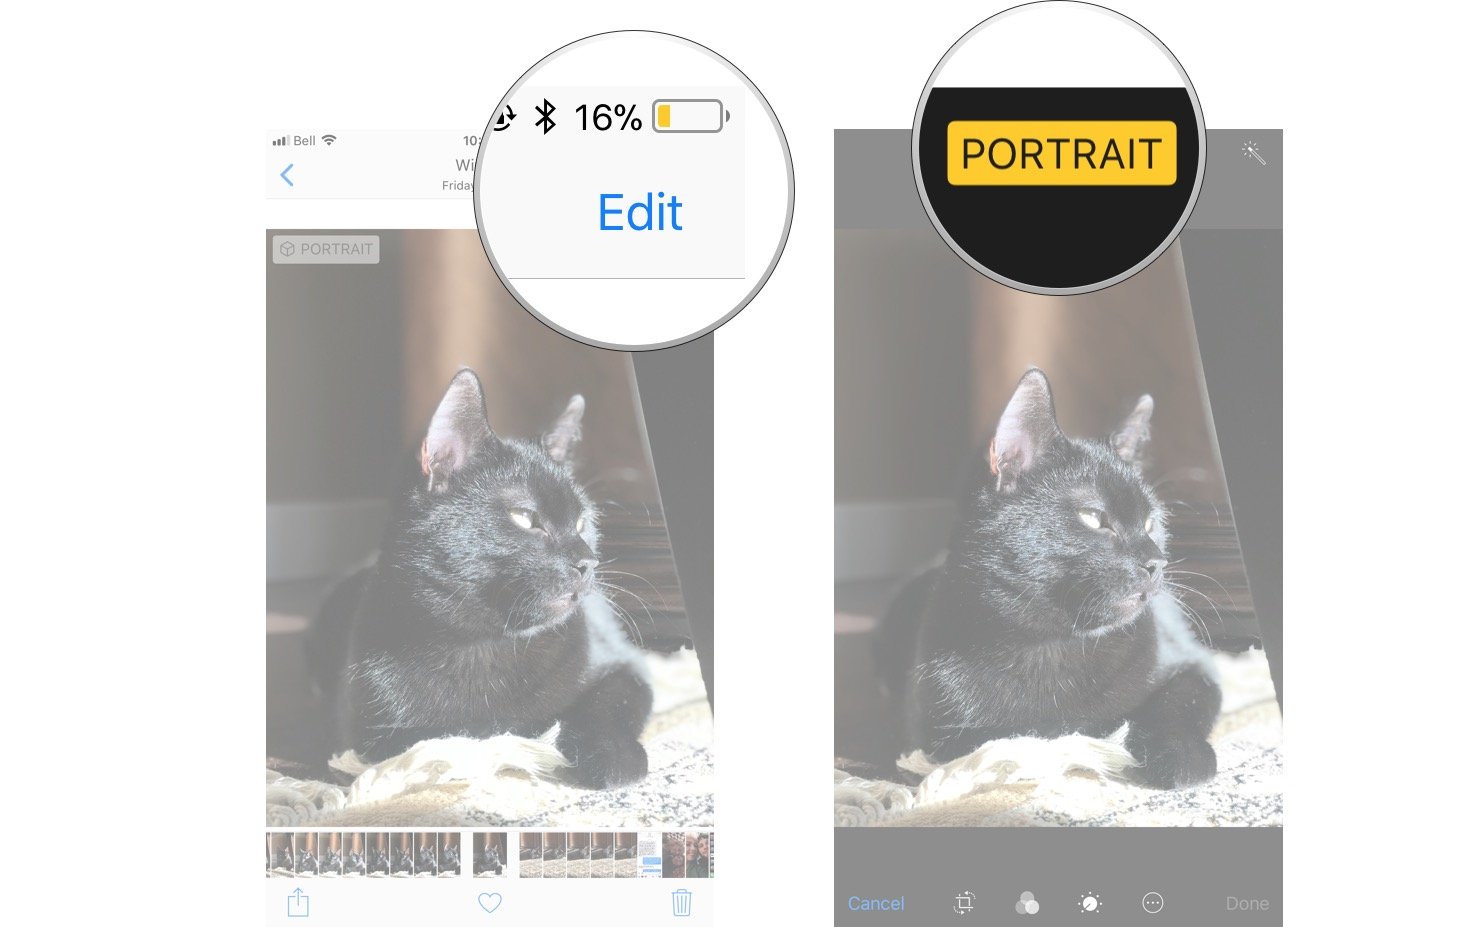
Tap Edit.
Tap on the yellow Portrait button when it appears at the top of the screen.
Note: Users can only remove depth effects on images taken on iOS 11 or later; Portrait mode photographs taken on iOS 10 won't load the Portrait removal button.
- Tap Done.
How to remove or change a photo's lighting effect on your iPhone
Note: This feature is only available for iPhone 8 Plus or iPhone X.
- Open the Photos app on your iPhone or iPad.
- Find the Portrait mode photo you want to edit.
Tap Edit.
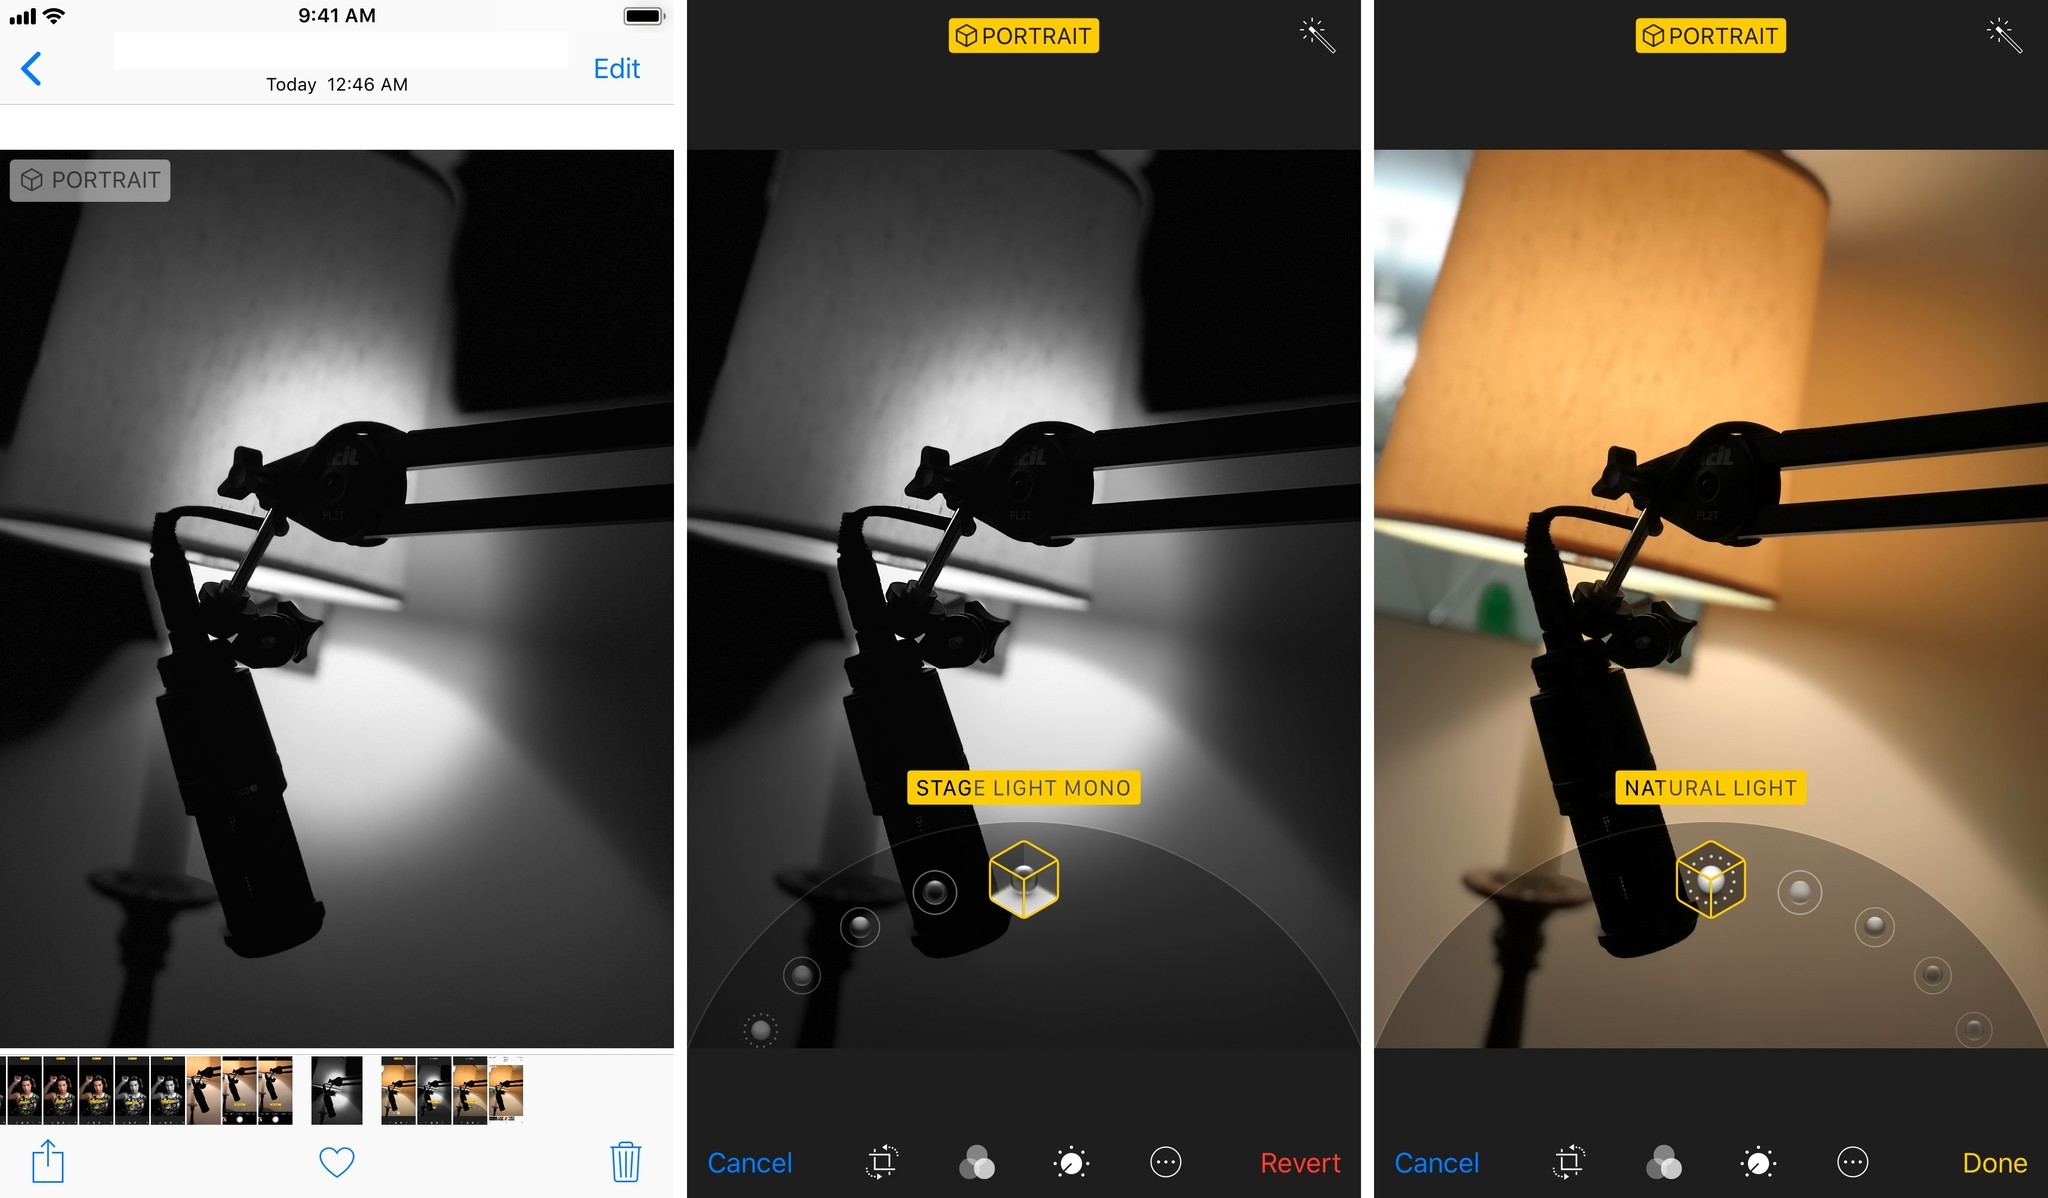
- Tap on the cube in the bottom center of the screen to bring up the lighting menu.
- Swipe right on the cubes to return to the Natural Lighting option, or pick an alternate lighting option.
- Tap Done.
How to remove a photo's depth or lighting effect on macOS High Sierra
- Open Photos from your Dock or Applications folder.
Double-click on the photo you want to edit.
- Click Edit.
- Click on the Portrait button in the bottom-left corner of the editing screen to disable it. You can also click on the cubes (if available) to adjust lighting effects.
Click Done.
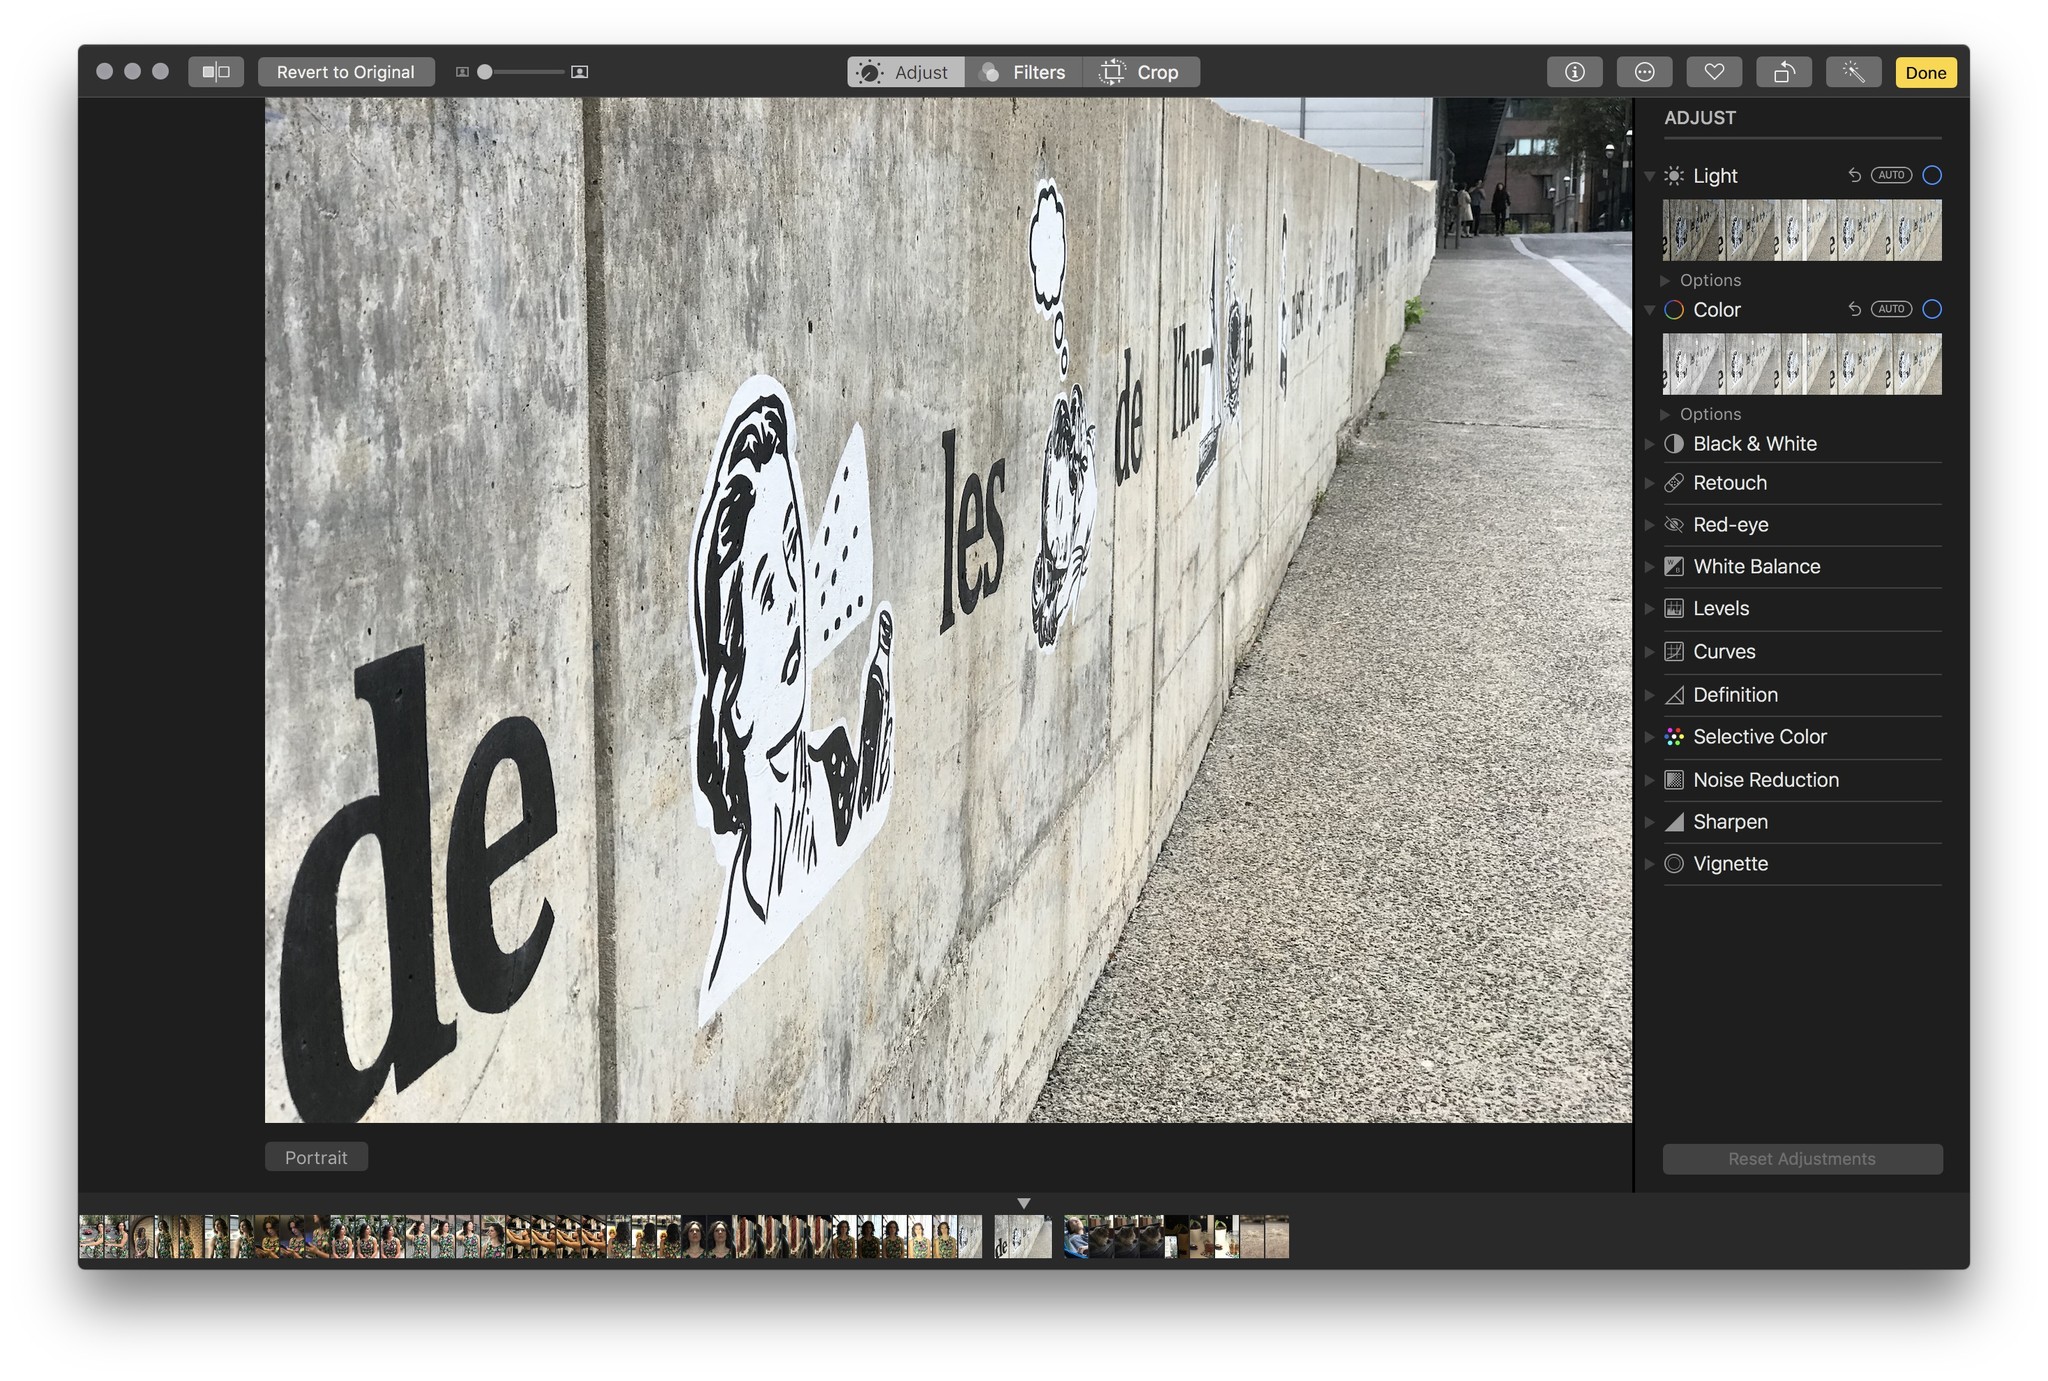
Just as you can on iOS 11, go back in and click the Portrait button again to restore the bokeh effect to the photo.
How to remove Depth Effect from Portrait Mode photos in iOS 11
Looking to remove Depth Effect from your Photos on your iPhone? Here's how!
- Tap the Photo app.
Tap the Portrait Mode image you would like to remove Depth Effect from.
- Tap Edit in the upper right corner.
Tap Portrait at the top of the screen. This will make the Depth Effect disappear. You can tap it again to bring it back.
If you don't want to go through Photos to remove the Depth Effect, or maybe you want to do some other editing while you're messing around with the feature, then you should consider using a third-party app.
There are different third-party apps that have started letting users edit and tweak their Portrait Mode masterpieces by using hooks in iOS 11 along with the same advanced camera technology that comes along with the iPhone 7 Plus, iPhone 8 Plus, and the iPhone X. Pretty awesome, hey?! (Cella Lao Rousseau, iMore)
Some of the best apps out there to do this include Focos, Slør, Anamorphic, and infltr.
Questions about Portrait mode and Portrait Lighting?
Let us know in the comments.
Updated January 2018: Updated with How to remove Depth Effect from Portrait Mode photos in iOS 11.
iPhone photography

- How the iPhone X camera and Slow Sync Flash work
- How to use Portrait Lighting
- Camera tests: TrueDepth Portrait vs Rear Portrait
- Tips for shooting great Stage Light Portraits
- Ten tips for taking great iPhone photos
- Camera app: The ultimate guide
- Photos: The ultimate guide
- Best manual camera apps that shoot RAW for iPhone