How to kill commercials on your Mac DVR
- dec
- 06
![]()
Three ways to make your recorded TV commercial-free, from quick and lazy to time-consuming but precise.
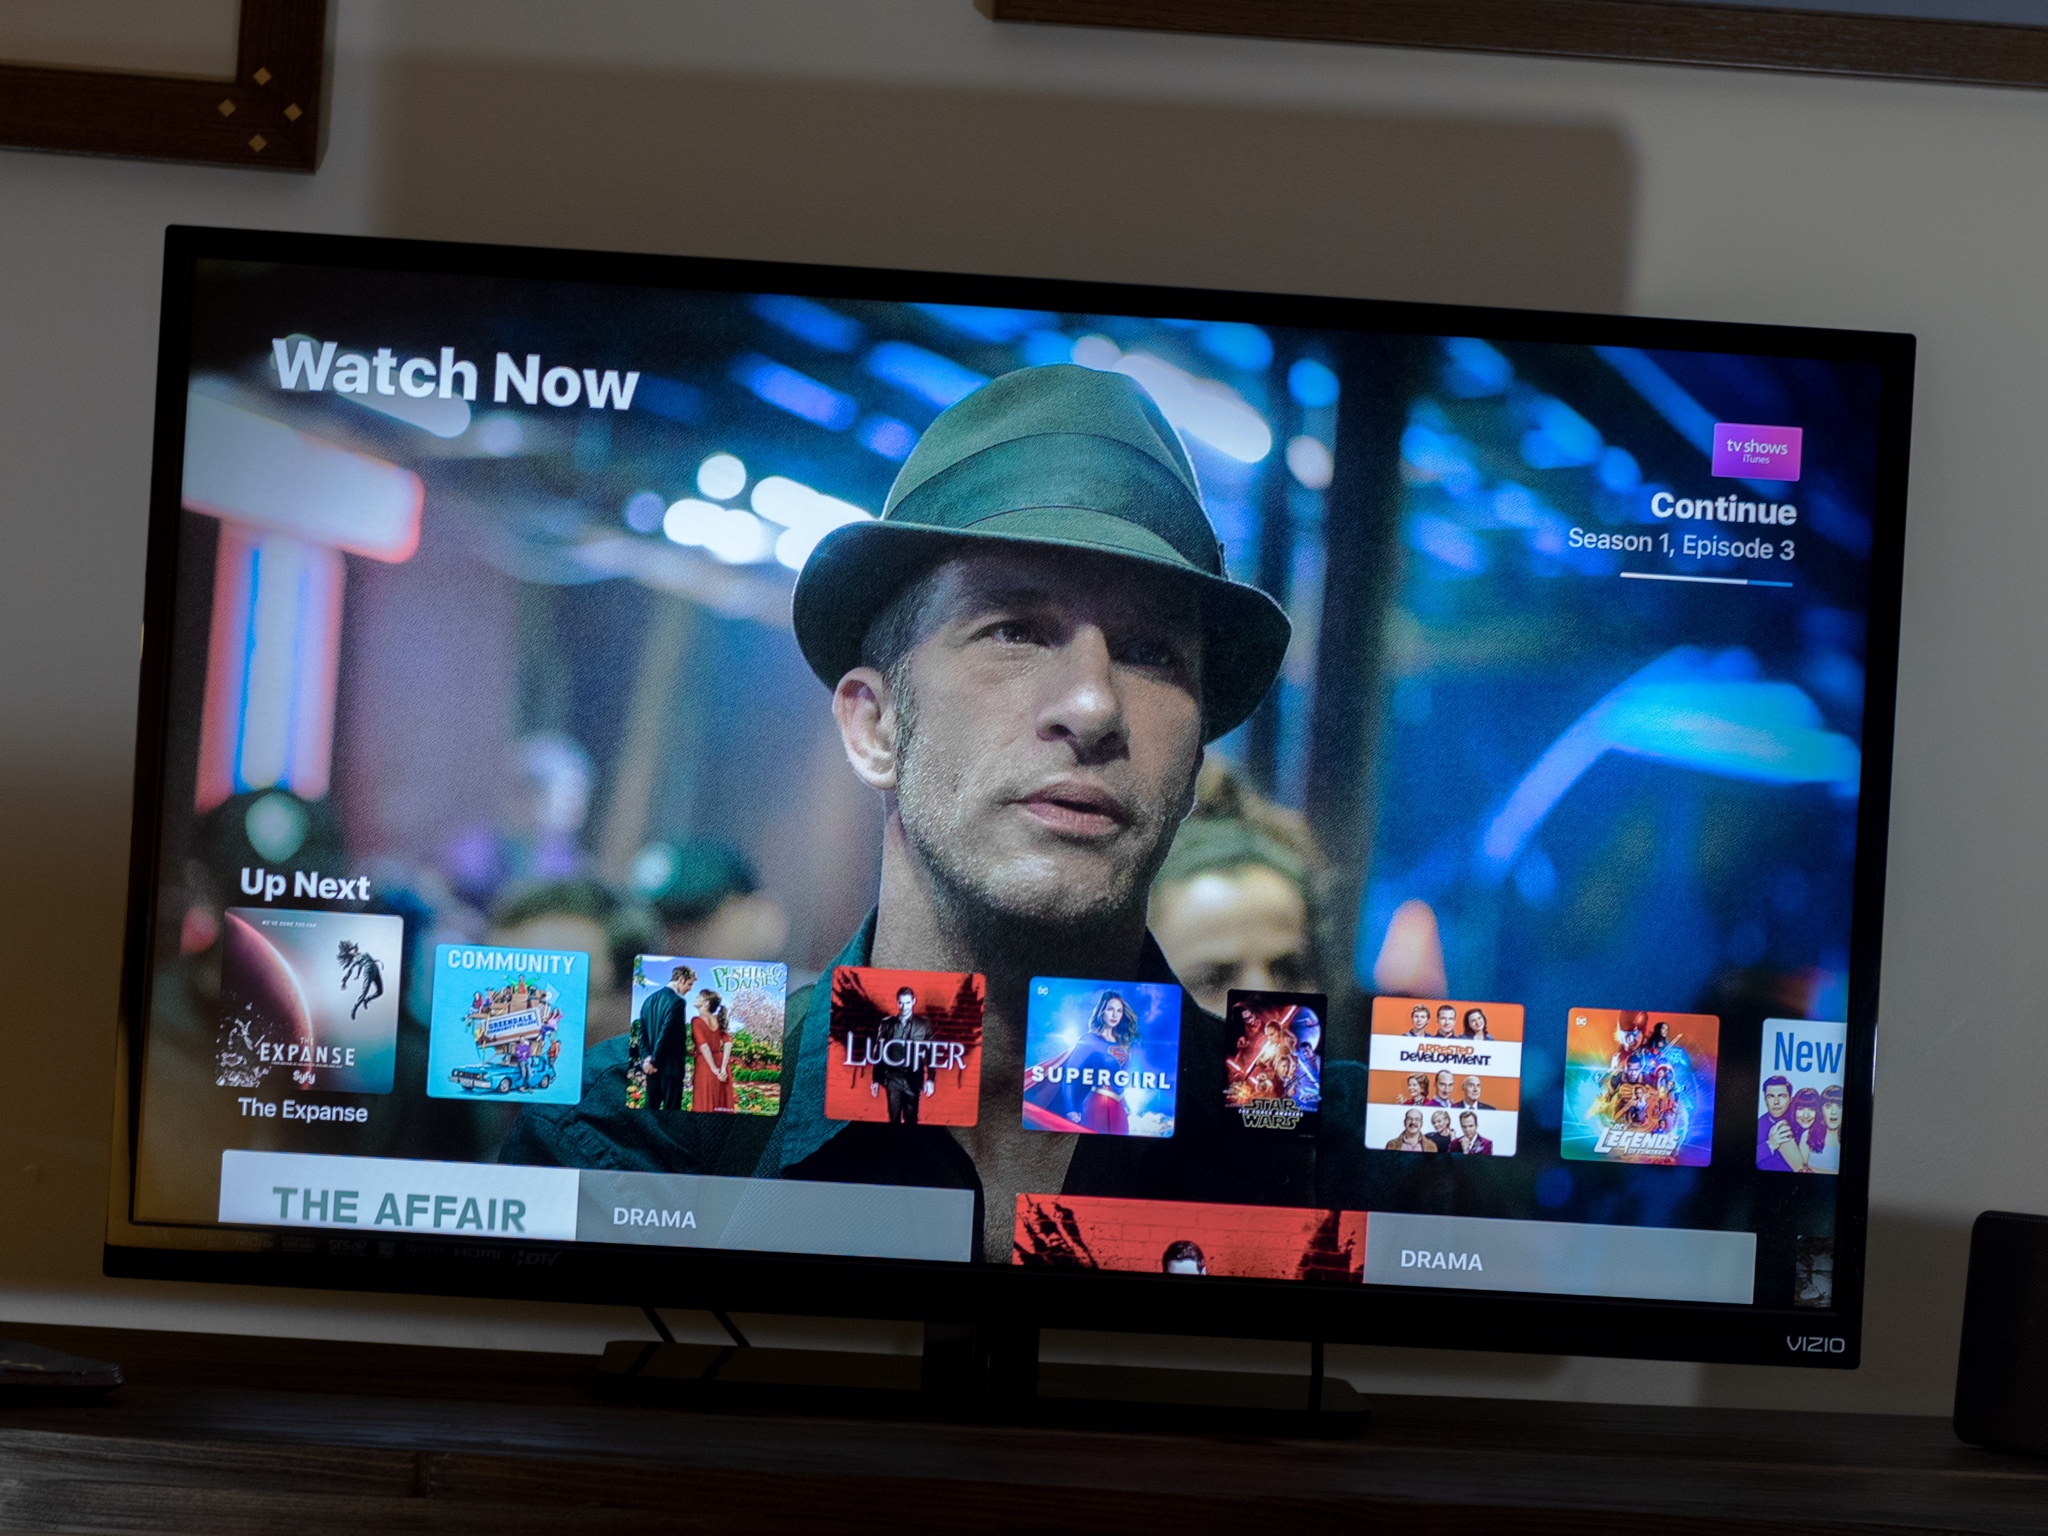
Commercials: They're the worst. Sure, they help pay for your favorite TV shows, but they also eat up time and, in a Mac DVR app, hard drive space. Commercials must die. And you can destroy them.
Since I'm running a Plex DVR, I'll focus on three ways to crush commercials in that app, from the simplest to the most complex. Stay tuned to the end of this article to see how other Mac DVR apps can alleviate your ad aggravation.
Method 1: The 30-second skip
If you have plenty of hard drive space, watch shows soon after you record them, and delete them promptly afterward, just click the 30-second fast-forward button in Plex's viewing controls whenever ads begin. Jump too far ahead? Try the 10-second back button.
This takes a few clicks per commercial break, but it's the fastest, easiest way to ignore ads.

Method 2: The automatic annihilation
Plex can now remove commercials from your DVR recordings. You can enable that for every recording via Settings > Live TV & DVR > DVR Settings, or on a show-by-show basis through each show's advanced Record Options.
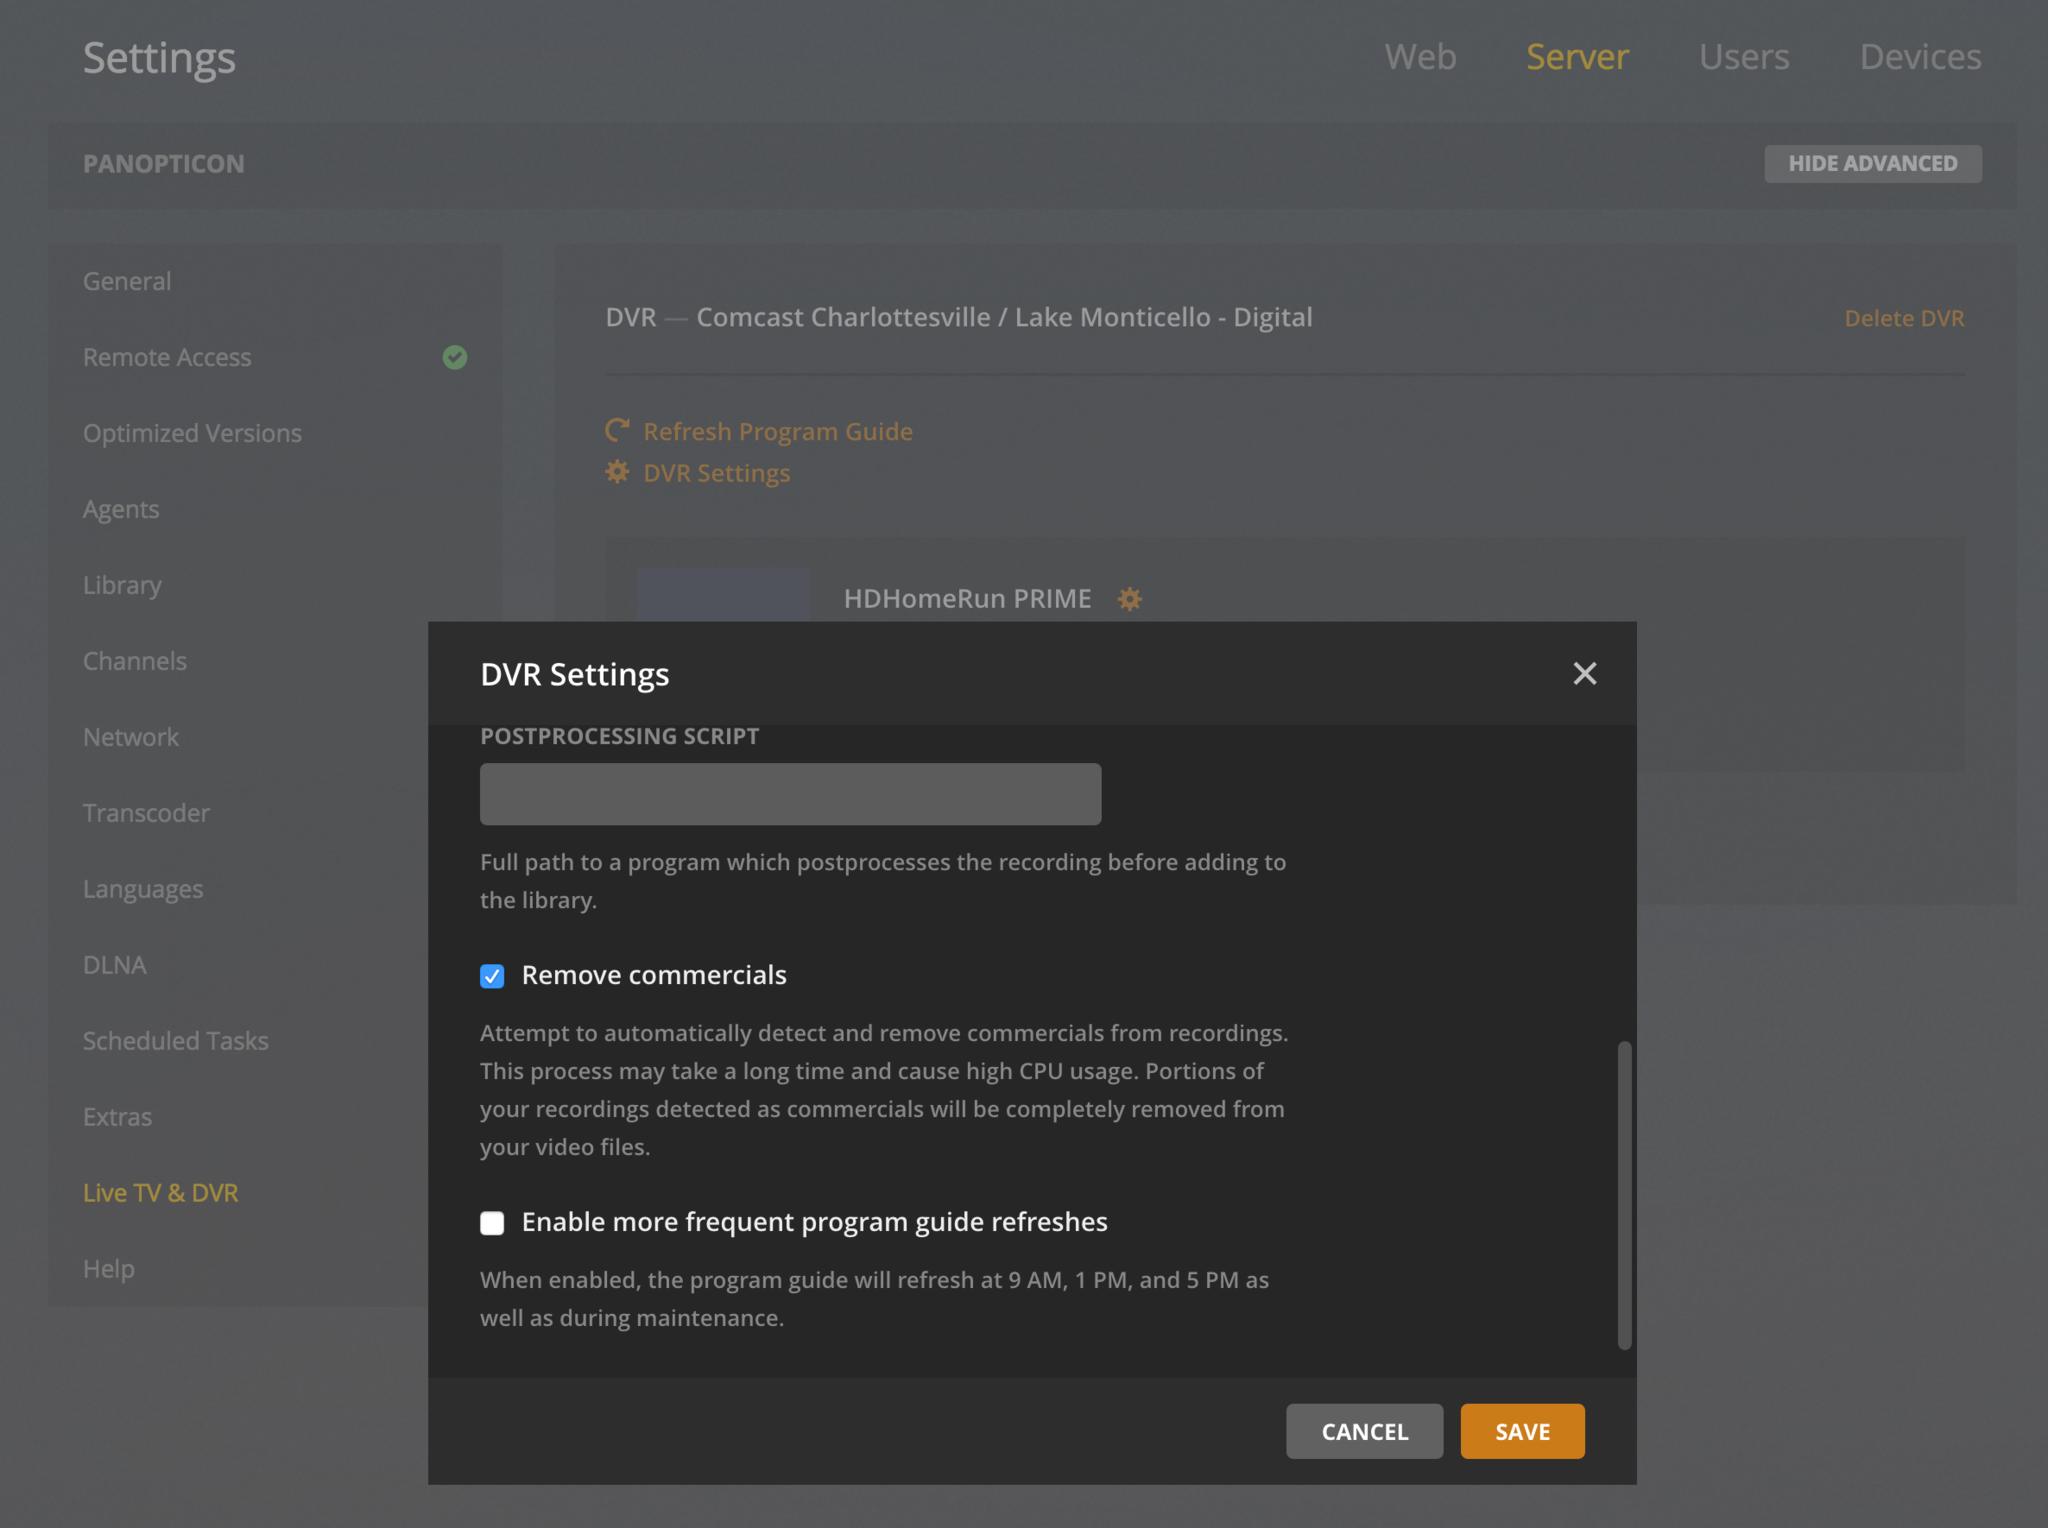
Plex warns that automatic commercial-skipping requires extra CPU power and time. In my tests, my 2012 Mac mini's CPU held up fine, and recordings processed in roughly 13-23 minutes per hour, depending on whether they were 720p or 1080i. You can't watch an episode until it's finished recording.
Plex did a generally respectable job of clipping commercials. In most cases, its guesses at where ads ended and the show began were off by a second at worst.
That said, Plex once ate about 15 seconds from the beginning of one act, likely because it mistook an all-black frame in the show for the end of another commercial. On another occasion, it inexplicably excised the first minute or two from a couple of acts in a two-hour episode — annoying, but I could still follow the action.
Based on previous experiments with homebrewed Plex commercial-skipping, Plex might also confuse super-short sections at the end of half-hour shows for ads, and lop them off. In my testing, I wasn't able to find or record any shows with segments short enough to confirm that.
Plex's automatic commercial-skipping works well enough for casual use. But any part of an episode that it cuts is gone for good. If you want to preserve your shows in flawless, ad-free glory, take matters into your own hands.
Method 3: The Shotcut solution
Plex, Channels DVR, and HDHomeRun DVR all record episodes in MPEG Transport Stream or .ts format. In theory, you could manually edit these streams. But even on a fast Mac, QuickTime got sluggish and barely responsive when I tried to excise ads with its editing tools. And iMovie can't even work with .ts files unless they've been converted to another format.
The free Avidemux has no such problem. Snipping out commercials from my .ts recordings was a snap, and the app offers lots of options for compressing and exporting your trimmed video. Unfortunately, Avidemux crashed often and inexplicably. It created garbled, unusable videos when I tried to save in the speediest .ts format — even when I carefully followed its rules to account for video compression's mathematical quirks. And it took forever to reprocess videos into other formats.
I had better luck with Shotcut, a free, open-source video editor that works with .ts files (and nearly everything else). Once you get past some initial initimidation, you can quickly cut out commercials, then compress the resulting files for great-looking, space-saving, ad-free TV.
How to cut out commercials in Shotcut
- Move the .ts file you want to edit to your local hard drive. Editing will work much faster that way.
Open Shotcut and drag the .ts file into the blank window. Your video will appear. Save yourself some aural annoyance by going to the Settings menu to uncheck Scrub Audio.

Click the Timeline button at the top of the Shotcut window. The Timeline pane will appear at the bottom of the window.

- Drag the video down into the empty Timeline, where it will appear as a video track.
Find the Zoom slider at the end of the Timeline buttons; slide it to the left to shrink the timeline track for easier scrolling.

- The white vertical line on the Timeline is the playhead. Drag it left or right to travel through the video. Find where the episode begins; look for an all-black frame, a good sign that a commercial break's beginning or ending. If you need to fine-tune the playhead, hold down the right or left arrow keys to travel forward or backward frame by frame.
Press the S key to split the clip at the playhead. Everything to the left of the playhead becomes a separate clip. Continue through the timeline, splitting at the beginning and end of every commercial break. Once you get the hang of it, this should take you five minutes or less.

- Click on each clip that contains commercials or other non-show content. A red border will highlight your selected clip.
Press the X key to delete the clip and slide everything remaining in the timeline to the left.

When you've removed everything but the show itself, click the Export button at the top of the Shotcut window. The Export pane will appear to the left of the video. You can safely ignore the long, long, long list of presets on the left side. (Get used to incredibly long lists. You're about to see a lot of them.) Shotcut should automatically set the correct resolution, aspect ratio, and other key settings.

Make sure you're set to export from the Timeline — it should be the only option available — and choose a Format. For Plex, I recommend either "MP4" or "Matroska," an open-source video format that tends to produce slightly smaller files than equivalent MP4s. For Channels or HDHomeRun, use "mpegts."

- In the Codec tab, make sure "libx264" is selected to use H.264, the current video compression standard. Macs made from 2017 onward can also try "libx265." This new HEVC standard requires a powerful processor and can take three or more times as long as H.264 to encode, even on a fast computer. But it produces files roughly 35% smaller that look just as good.
Whichever you choose — H.264 is just fine! — set the Rate Control menu to "quality-based VBR." Below that, you'll see a Quality menu, defaulting to 60%. In my tests, I found a solid balance of image sharpness and file size anywhere between 55% and 60% quality.

Under the Audio tab, I got good results from a 44100 Hz sample rate, the AAC codec, and a 128k b/s bitrate. Feel free to experiment and find the results you like best.

You're all set! Hit the Export File button at the bottom of the Export Pane. Choose a filename and destination for your video, then click Save. You can follow the file's progress in the Jobs pane on the right side of the Shotcut window.
An hourlong 720p show took about 25 minutes to process. At 60% quality, and minus around 20 minutes of commercials, Shotcut squeezed an original 4.6GB file into just 1.8GB.
What about other DVR apps?
Channels DVR
Channels has built-in, non-destructive commercial indexing. Double-click your AppleTV remote's fast-forward button during a commercial break to jump right back into the show. For more precise or permanent editing, use Shotcut.
HDHomeRun DVR and Emby
If the Mac versions of these apps offer any commercial-skipping or -indexing features, I couldn't find information on them. Shotcut seems like your best bet. Just avoid HEVC, which HDHomeRun DVR doesn't currently support on Macs (as of this writing).
EyeTV
EyeTV offers its own powerful, built-in engine for editing out commercials. You can give it a head start by installing ETV-comskip, which guesses at commercial breaks and adds markers you can later adjust. Once you've marked all commercials, EyeTV can compress each episode (extremely slowly) to get rid of them.
Reclaiming your time
Whether you skip over ads, edit them yourself, or let your app do the work, it's easy to spend less of your life sitting through commercials, and more of it enjoying the shows you love.
Any other tips or tricks I've overlooked here? Share your advice in the comments below!