
How to set up and start using Photos on your Mac
- apr
- 08

What are the best ways to set up and start using the Photos app on my Mac?

Apple's Photos for Mac has built upon the reliable foundations laid out by iPhoto and Photos for iOS to offer users like you a speedy and functional way to manage, edit, and share all their images (without any of the stress).
Plus, with the new Markup editor from macOS Sierra, you can really get creative with your memories and make something awesome!
Whether this is your first time using a photo management app, you're upgrading from iPhoto, or you're exploring a non-Aperture or Lightroom avenue, here's what you need to know about Photos for macOS Sierra.
Getting started with Photos on the Mac
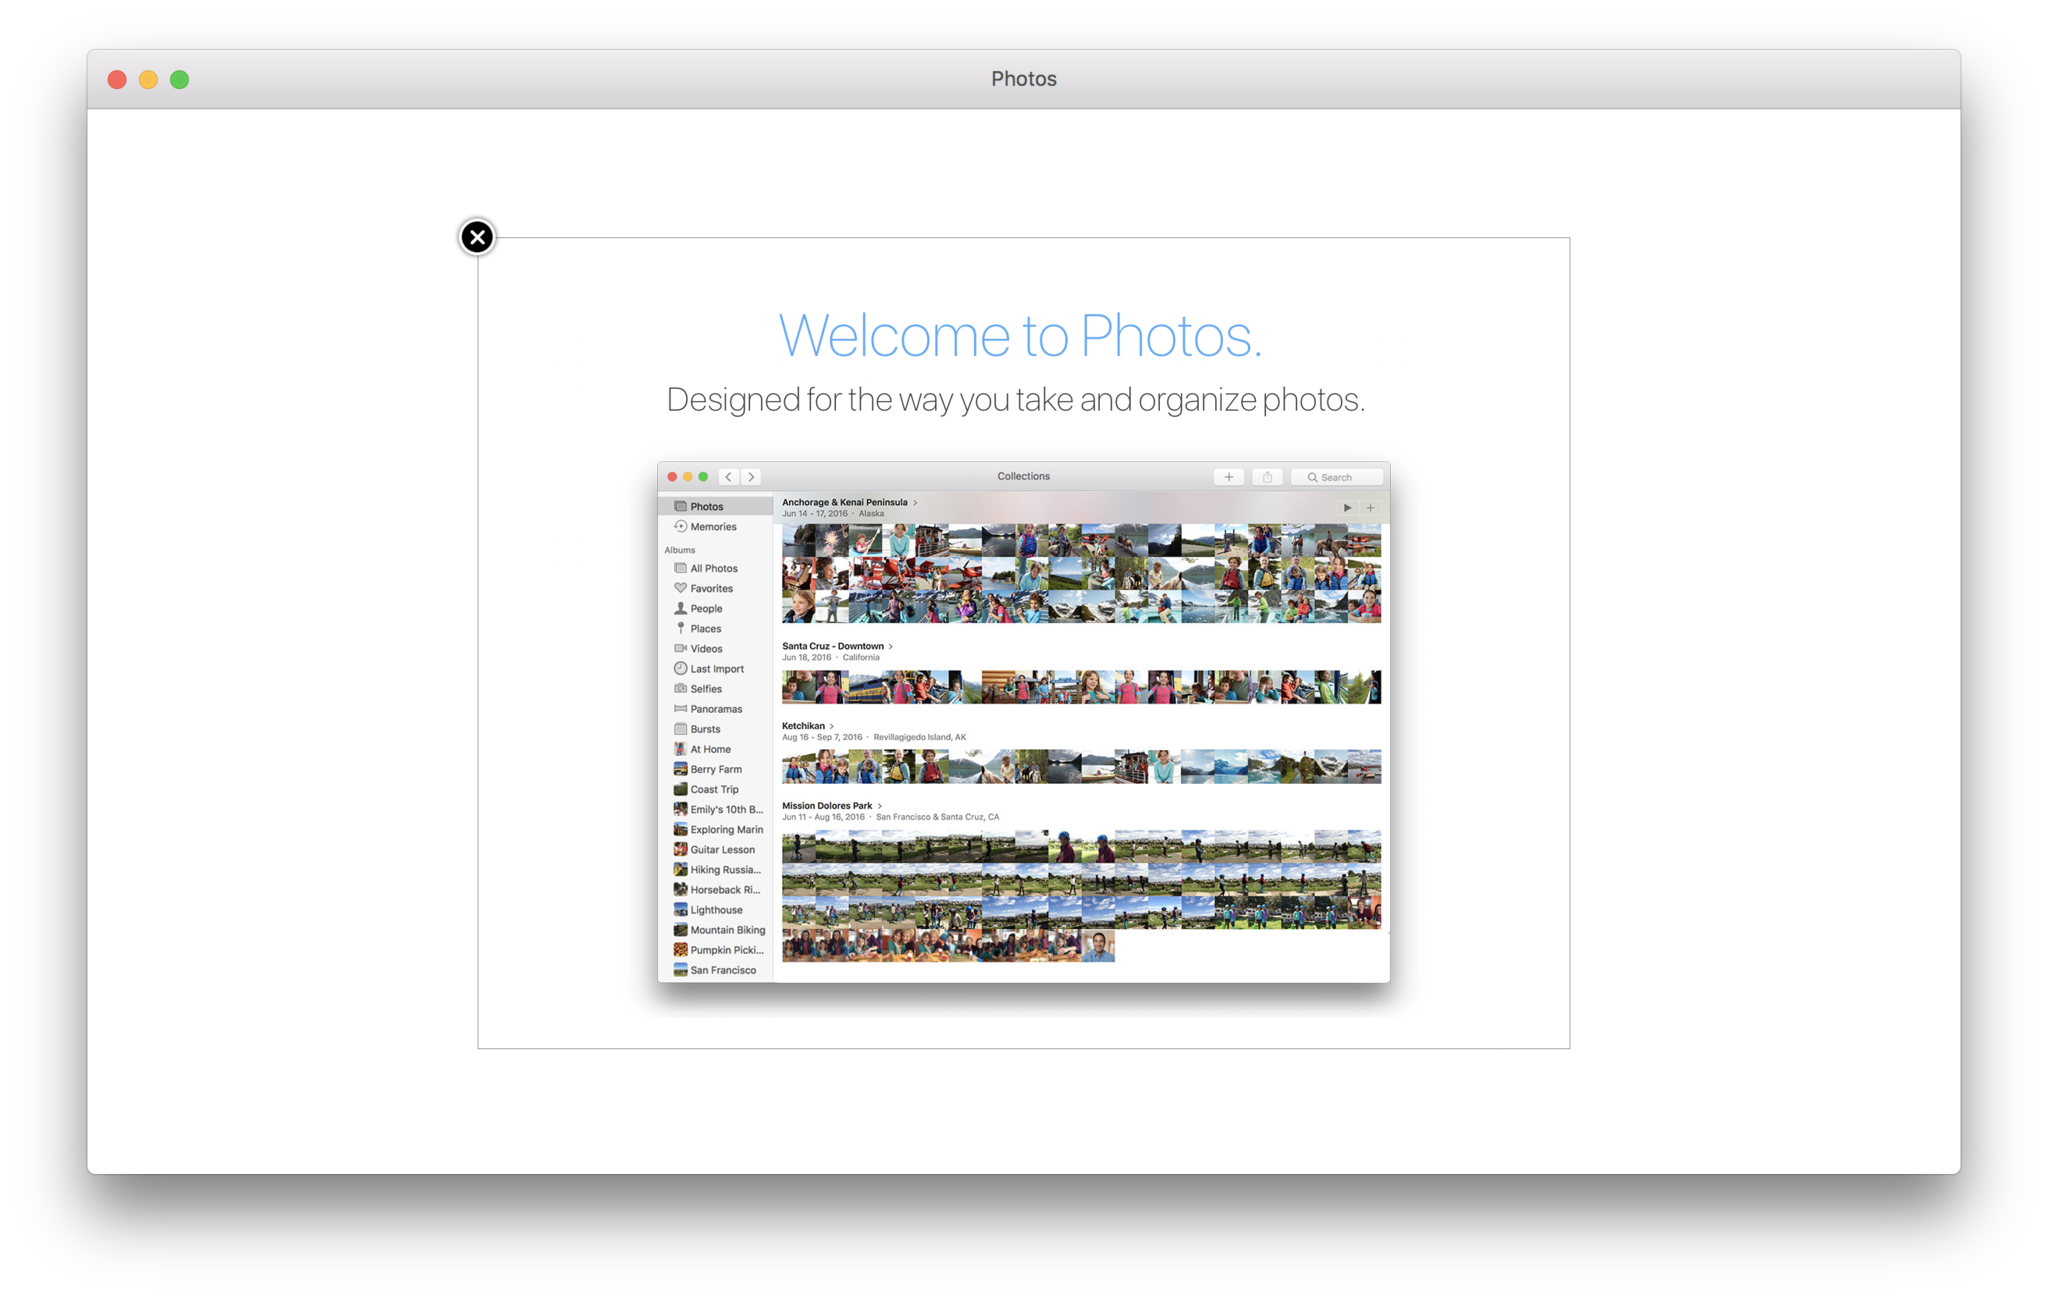
The first time you open Photos, you're shown an overview of what exactly the app will look like once you upload all your pictures, videos, and memories. You'll get a quick rundown of what you can expect.

One option with the Photos app is being able to make physical memories, like calendars, collages, mugs, and more, but they're only available in the U.S., Canada, Japan, and certain European and Pacific Asian countries.

The introduction will show you how you can organize and categorize your photos.
From here, your path diverges a bit depending on whether you're new to photo management or a former iPhoto, Aperture, or Lightroom user.
If you're brand new to managing photos on your Mac

Do you have folders of unorganized images glaring at you from your desktop? Have you never used one of Apple's other Mac photo programs like iPhoto or Aperture? Photos makes it simple to get that content off your desktop and iPhone and into Photos on the Mac and in the cloud.

Once you've finished the initial setup process, you can get started by uploading your pictures and videos or by taking a tour. If you are unfamiliar with Photos, then the tour is the best way to go!


Once you're finished the tour, you can go ahead and either...
- Connect a camera or memory card
- Drag pictures directly into Photos
- Choose import from the file menu
- Turn on iCloud Photo Library in Preferences
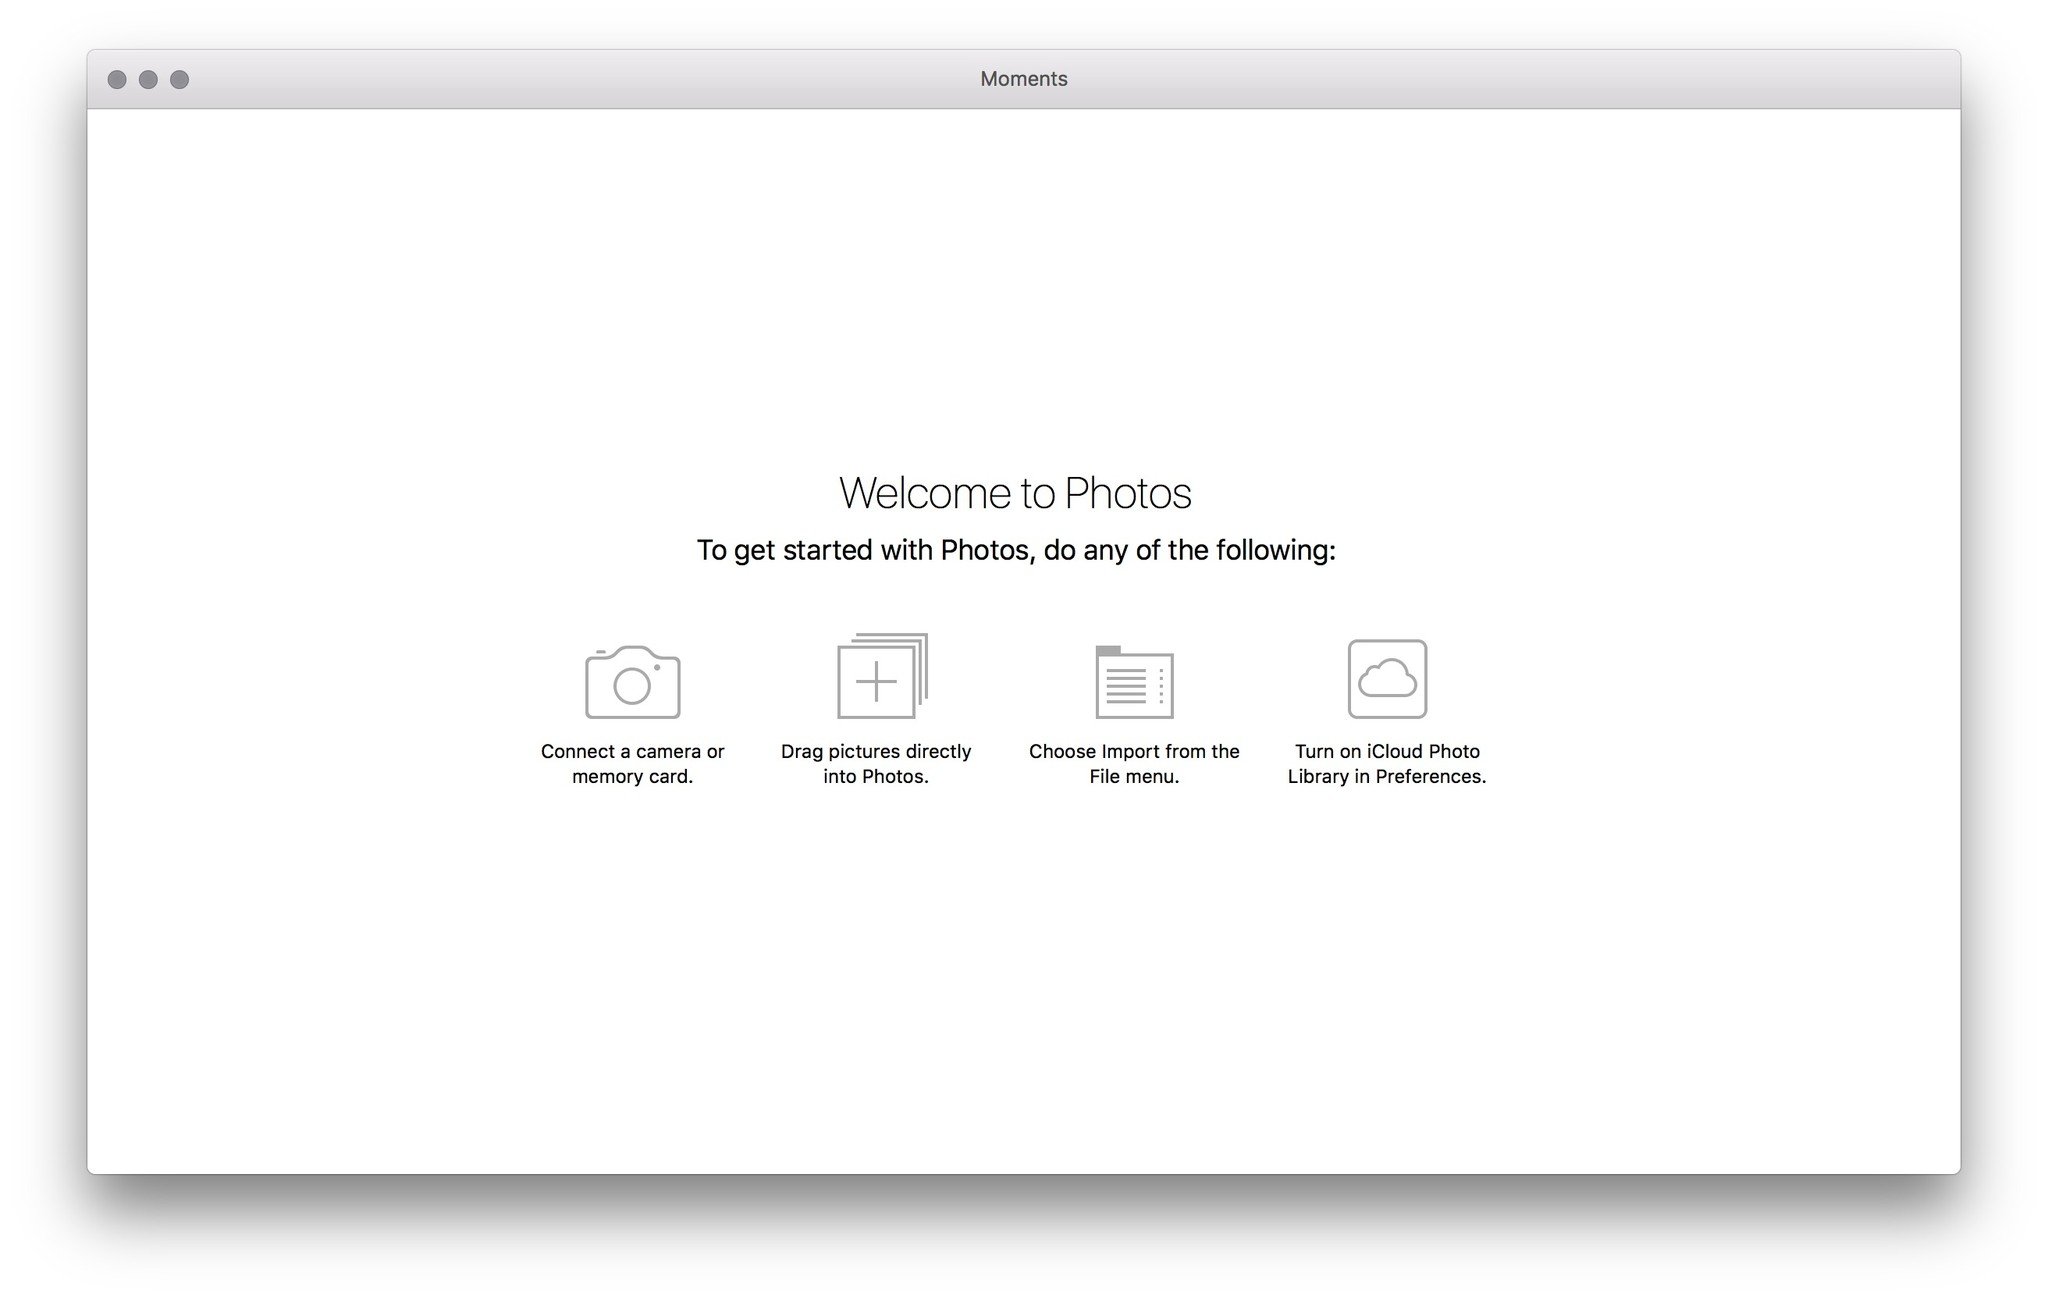
... And just like that, you're good to start uploading photos!
If you're upgrading from iPhoto or Aperture
Apple announced in 2014 that it would no longer continue developing for iPhoto or Aperture, its older photo storage and editing programs for the Mac. Instead, the company launched Photos. If you've been resisting the transition, but have finally decided to switch to Photos on the Mac, it isn't as painful as you might thing.
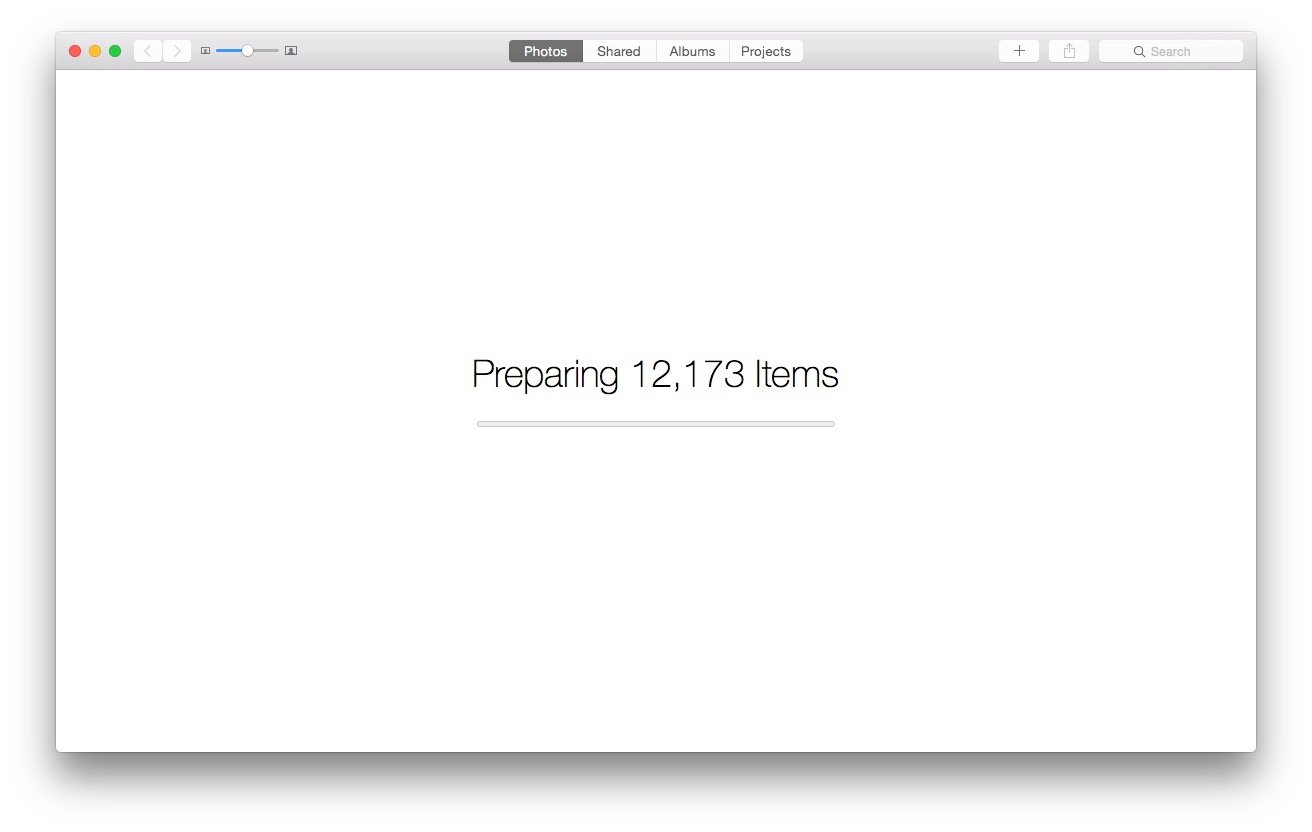
If you only had a single iPhoto library on your Mac, it should upgrade automatically as soon as you open the Photos app. Your old iPhoto library will still remain if you need to use iPhoto for whatever reason, but changes made to those older images won't automatically sync to your new Photos library.
If you had multiple libraries on your machine, Photos will ask you to select which library you'd like to import. Unfortunately, you can't consolidate multiple libraries into a single Photos library — you have to pick which one you want to use. (If you need to do this, you can use Aperture first to consolidate libraries, then import that unified library into Photos.)
Time to adventure!

Once you've imported your first batch of photos or your initial library, then the fun really begins.
You can poke around the app yourself (don't forget to play with Markup!), or for more help with Photos on the Mac, you can check out our full Ultimate Guide below!