
How to learn to draw with iPad and Apple Pencil
- apr
- 18

Whether you've drawn many things or this is your first digital sketching tool, make the most of your Apple Pencil with these tips.
Apple's Pencil stands out from the rest of the stylus crowd for a number of reasons: It works in tandem with Apple's display to create low-latency brush strokes, it's lengthier than your average digital pen, and it charges via Lightning connector. But when it comes to drawing or writing with one, there are only a few basic techniques you need to know before you can start mastering your new tool.
- Learn how to draw from the masters
- Use your hands
- Test the Pencil's pressure
- Shade with the sides
- Tap and scroll
- Add a clip or sleeve (and store that cap!)
Learn how to draw from the masters
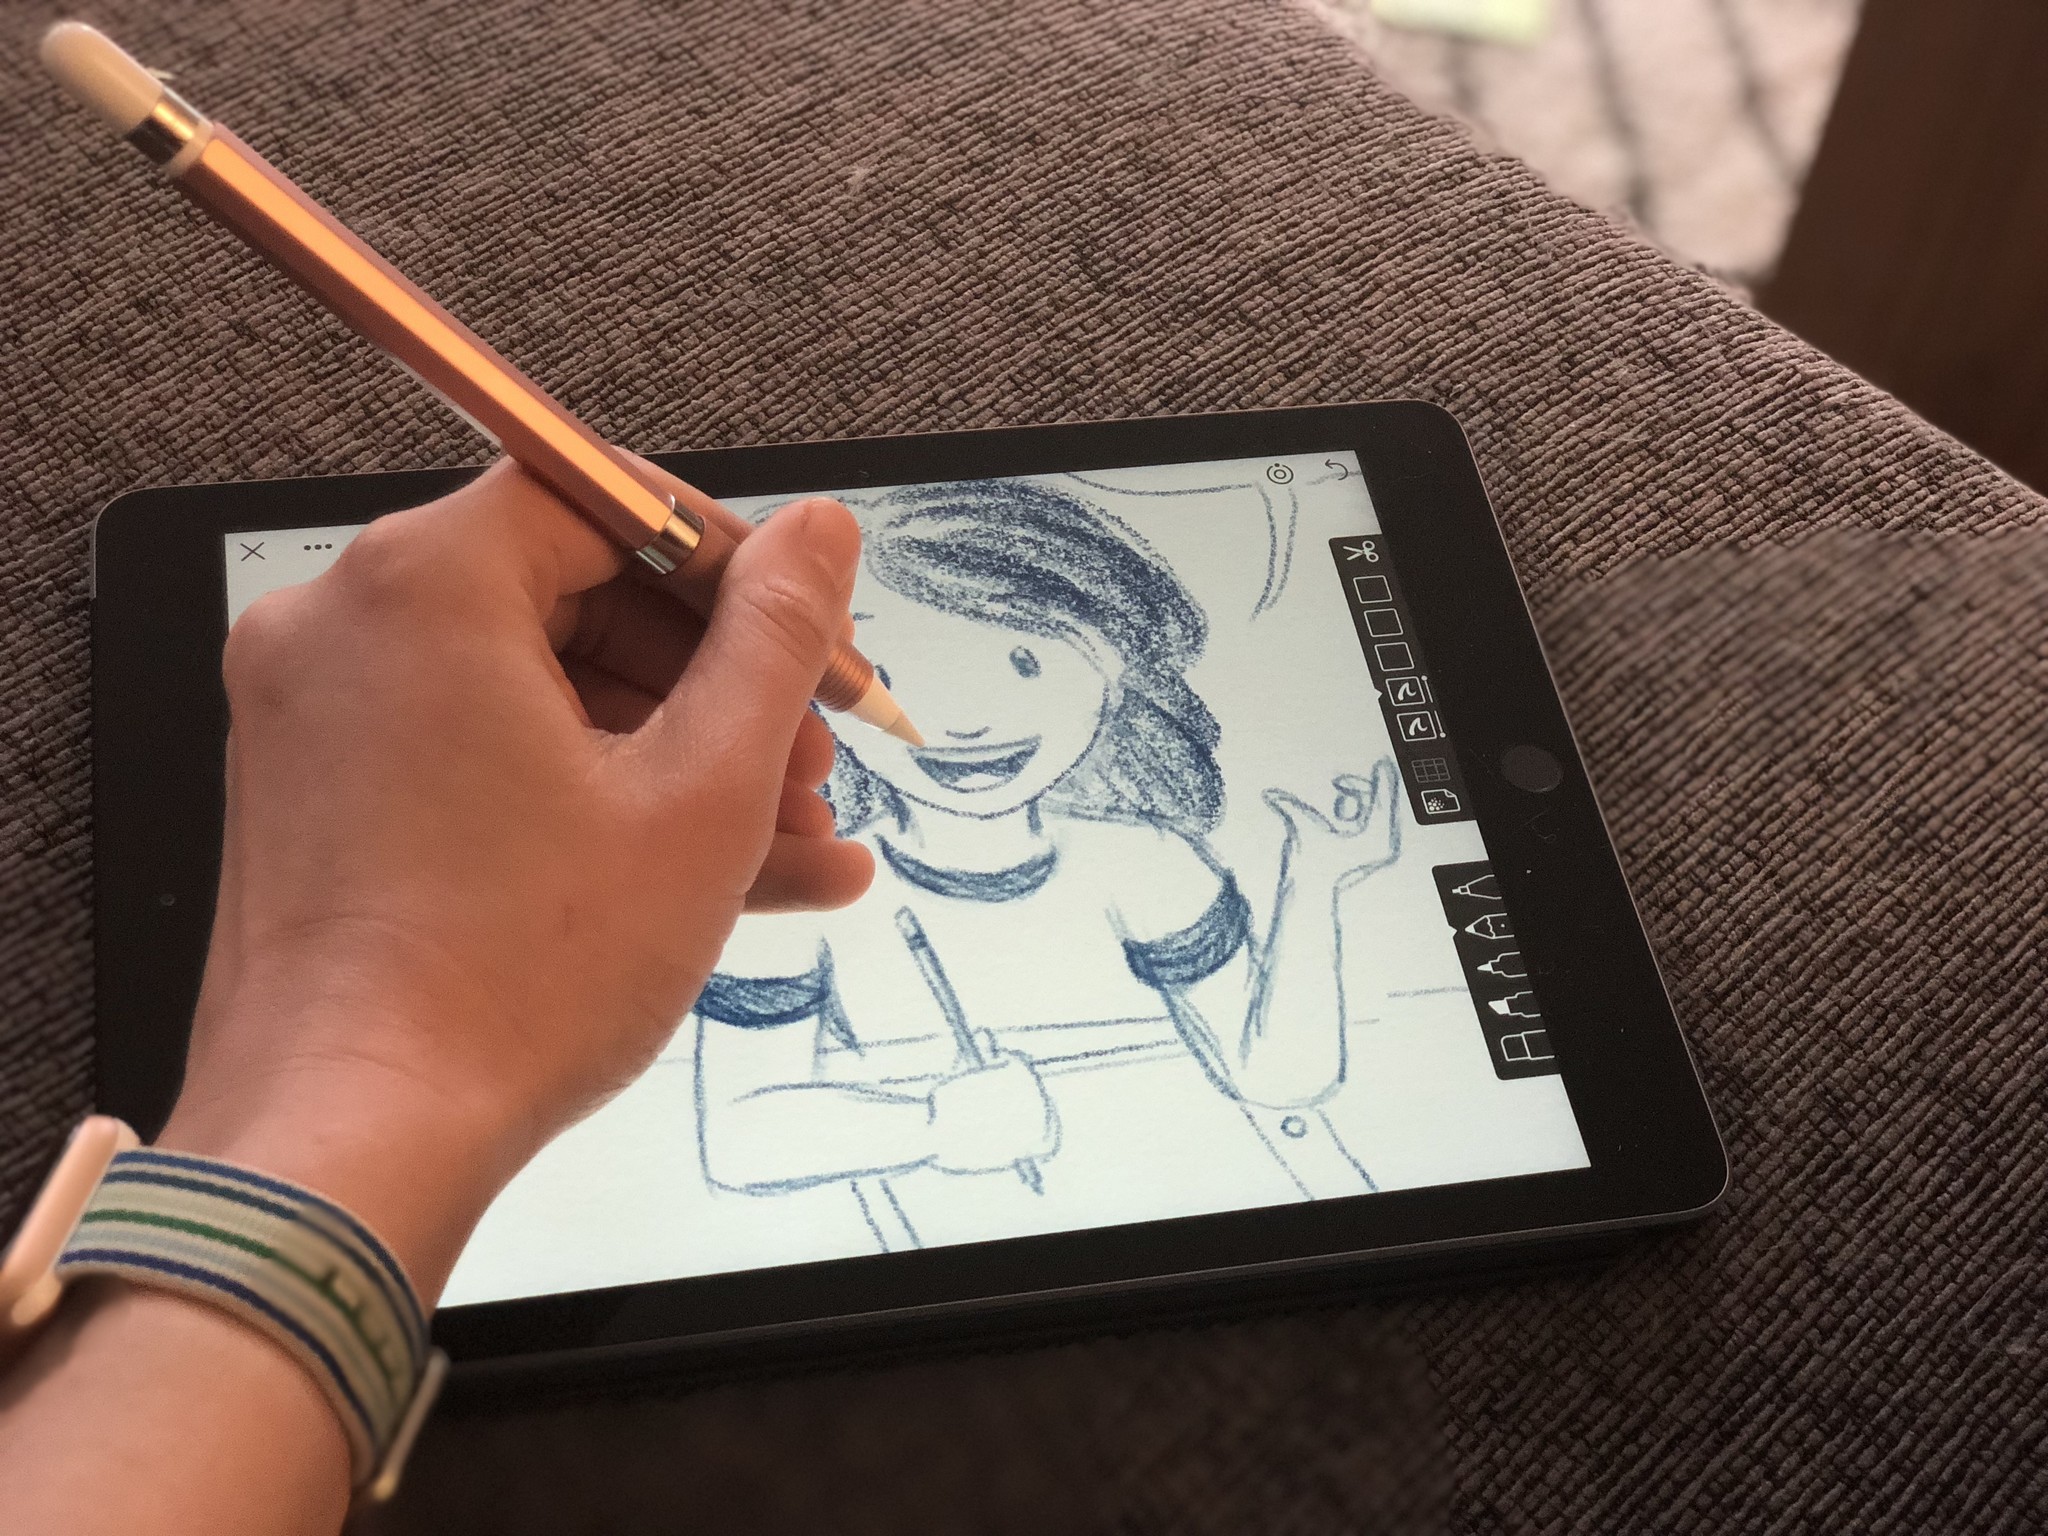
If you love the idea of an Apple Pencil but your drawing skills are lackluster, my best advice is going to be the advice of many artists before me: Practice! Drawing constantly is the best way to get better.
If you're just starting out, I recommend looking at some of your favorite artists, studying their styles, and trying to recreate them on your choice of digital canvas. It's a fun exercise and should get you thinking about shapes and styles.
That might be too complex for you — and that's fine! If you truly want a 101 course, there are a couple of drawing apps and websites out there that offer great tutorials, videos, and PDFs.
Apps
- ShadowDraw doesn't support tilt or pressure sensitivity for Apple Pencil, but it has a bunch of interesting tutorials to help show you how to draw in the style of various artists.
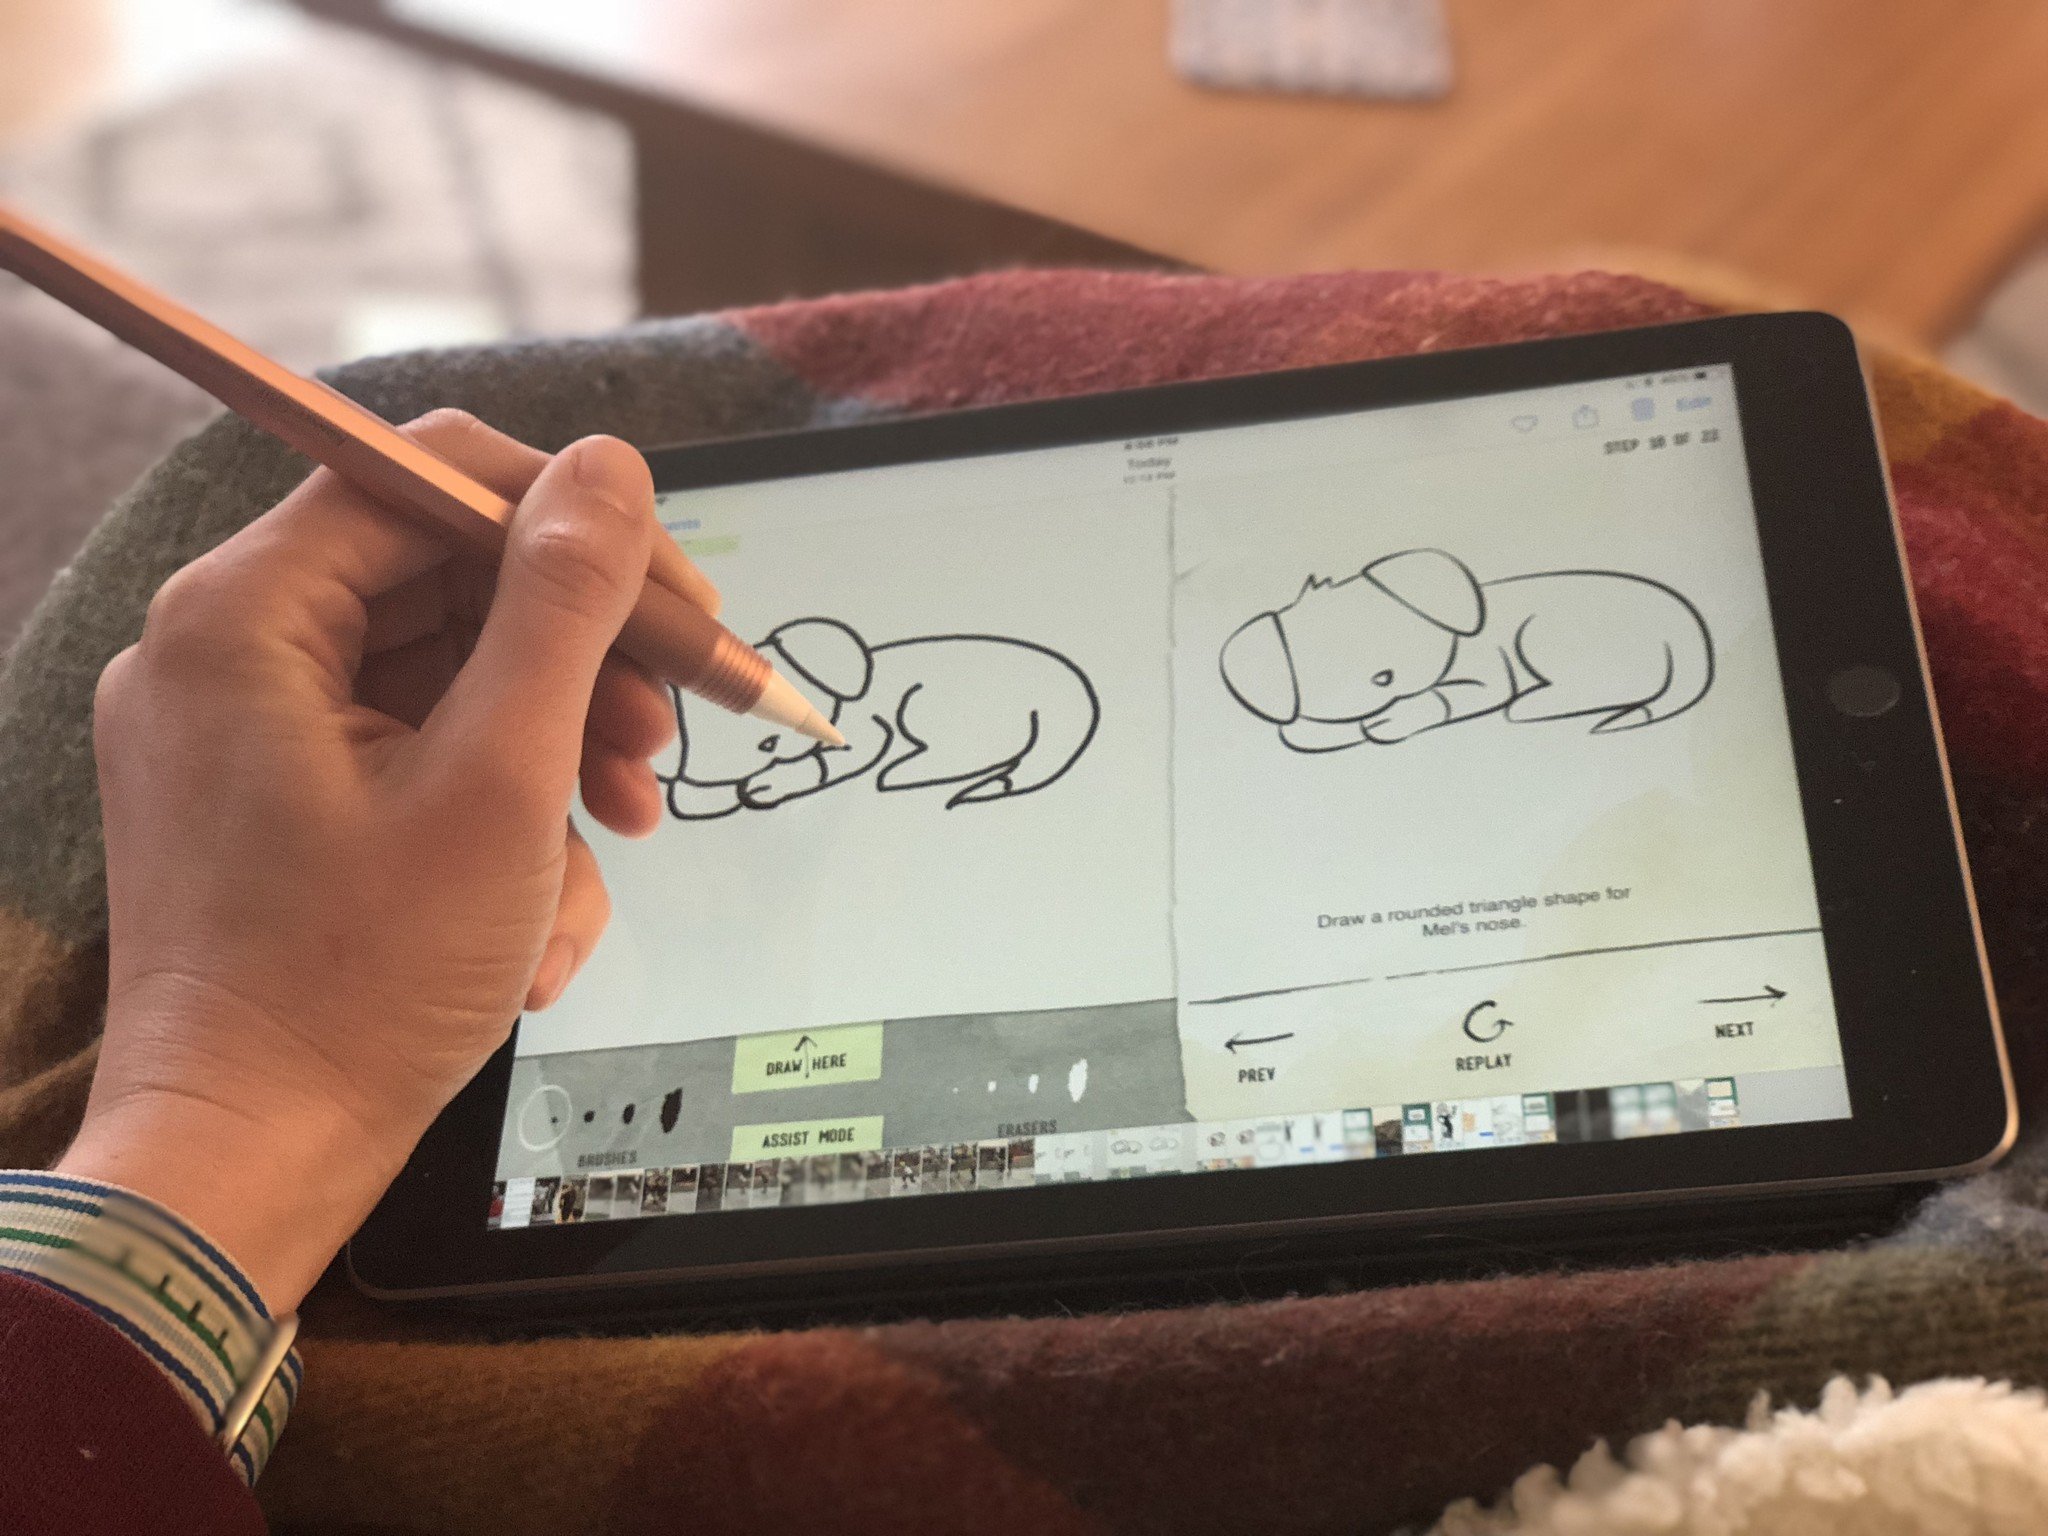
- How to Draw also doesn't support pressure for Apple Pencil, but the app does offer a nice breakdown of drawing common animal shapes, and doubles as a cute coloring app for budding artists.
- How to Draw Everything hasn't been updated in a few years, but the library is a good step-by-step resource to learn how to draw popular anime and game characters, animals, and other elements. You can't draw in it, though, and it's not updated for Retina devices.
- Calligraphy Penmanship has its quirks — it's not the most well-designed app, and its pressure controls take some tweaking. But if you're looking to practice basic calligraphy forms, it's a neat option. (The app is free, though you'll have to pay $3 to keep using it after the initial 80-hour trial.
Websites
- Drawspace boasts the slogan "now everyone can draw," and if its excellent step-by-step drawing lessons are anything to go by, that statement is the absolute truth.
- Proko offers a bunch of great videos on drawing forms and anatomy shapes.
- Draw a Box offers some great active tutorials for drawing everyday objects, people, landscapes, and yes — boxes.
- Learning in Hand has a great resource for starting to draw on the iPad, as well as some all-purpose tips for setting up your workspace and drawing.
- The Postman's Knock is a website designed to teach modern calligraphy techniques with a dip pen, but their printable PDFs are also incredible tools for learning letter forms and figures.
Use your hands
When you draw with Apple Pencil, your hand, arm, and fingers can rest on the screen thanks to the iPad's palm-rejection technology. While previous third-party styluses have had variations on palm rejection in certain apps, they never quite worked perfectly; the Apple Pencil, in contrast, is about as perfect at palm rejection as you can be with a digital touchscreen (though its implementation in some apps can, admittedly, vary.)
Because of bad stylus experiences in the past, I've seen dozens of first-time Pencil users awkwardly gripping the pen to hover their hand above the screen. Trust me: I did it too, but you don't need to with the Pencil. Feel free to rest your hand against the screen while you draw. It'll take a bit of getting used to, but once you do, it'll feel as natural as resting your hand on paper.
Test the Pencil's pressure
Equipped at the drawing end of the Apple Pencil is a beautifully responsive plastic nib for all manner of sketching and writing. It's pressure-sensitive, too, so you shouldn't be afraid to press harder and softer on the screen to see how your Pencil reacts. One of my first calibration tests with any new drawing tool — digital or not — is drawing a series of vertical and horizontal lines, to test how different pressure results in different line widths. I highly encourage everyone to do something similar — not only will it get you comfortable with the Pencil's variations, but you'll also get a better sense for how you need to hold the tool for optimal control.
I also recommend moving your grip up closer to the nib when doing detailed lettering or drawing: It gives you more precision over those fine lines. (And don't be afraid to pinch-to-zoom with your free hand — most great apps support it.)
Shade with the sides

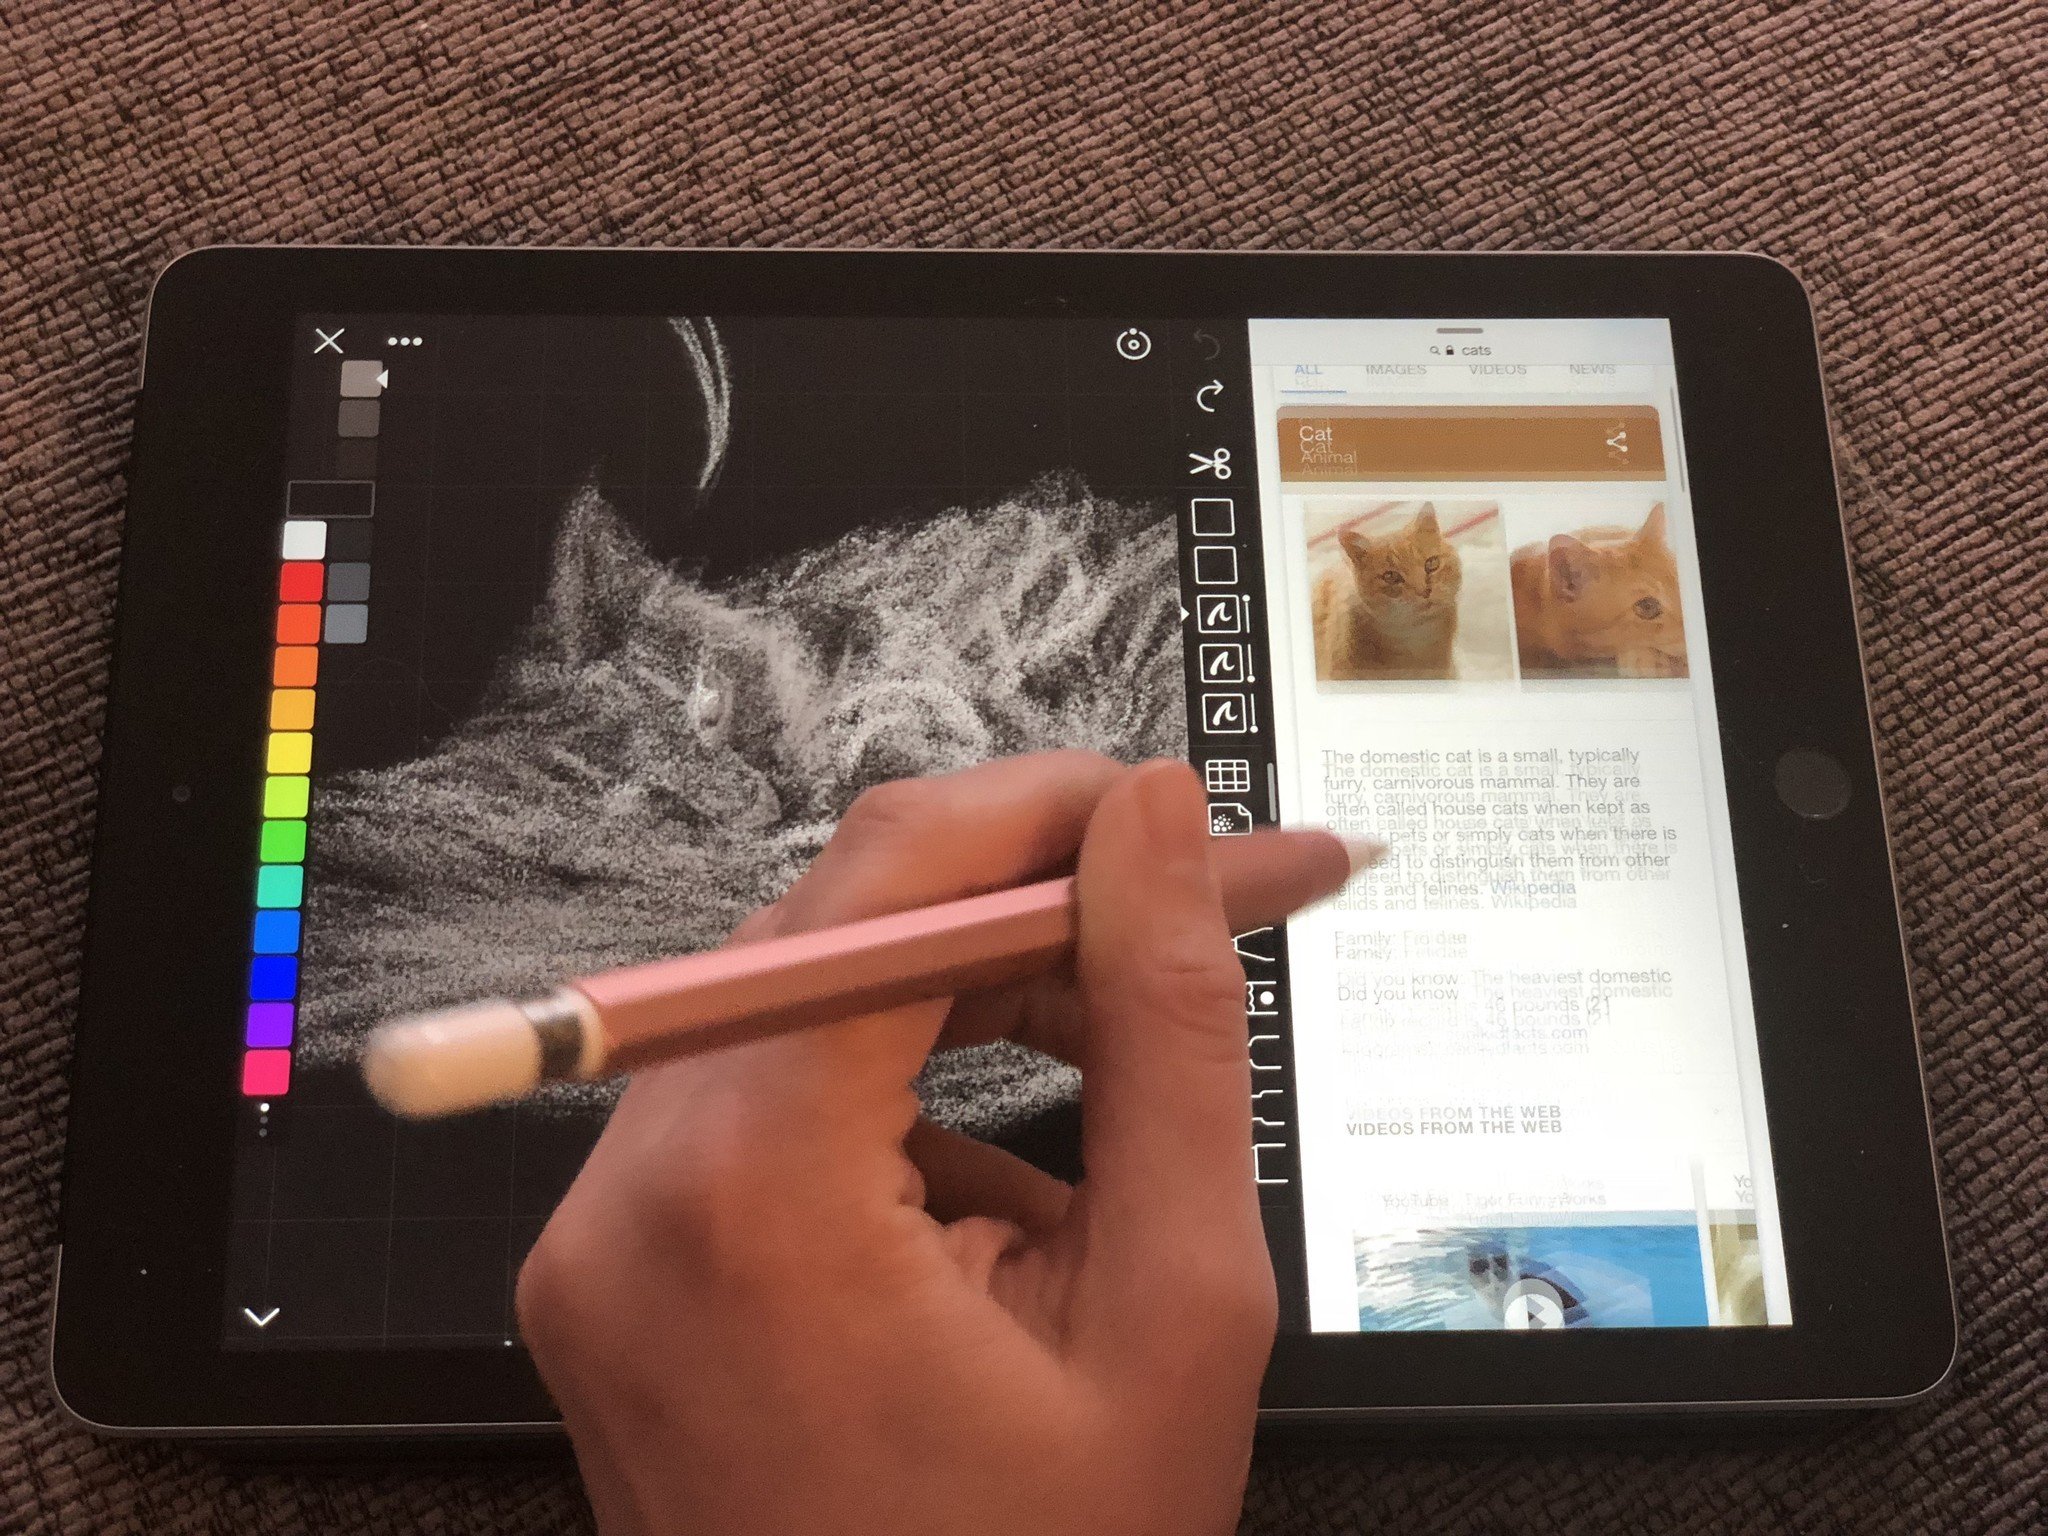
It's not just the tip of the Pencil nib that works on the iPad Pro's screen: The entire cone of that nib is responsive. As a result, you can use the side of the Pencil to shade with your digital brushes — much as you might use the side of a graphite stick to color in a shadow on paper. Not only is it a cool effect, but it's one I see early Pencil users miss out on when they're first getting to know their new tool.
Shading also looks different in different apps and with different brushes — don't be afraid to experiment to find which brushes and apps work best for your purposes.
Tap and scroll
In addition to being a great drawing implement, the Apple Pencil can be used to navigate your iPad in-between drawing programs.
I really enjoy using the Pencil to scroll lists and swipe between views — its precision tip makes tapping and selecting certain items a whiz, and if I have to switch to another app while drawing, it keeps me from having to put the Pencil down to enter a task.
Add a clip or sleeve (and store that cap!)
While the Pencil's smooth, cylindrical shape may please the eye in the negative space of an Apple Store or design lab, in the real world... well, pencils roll. The Apple Pencil does have a clever weighted magnet that stops slow rolls, but even that won't help you when you want to store the Pencil somewhere.
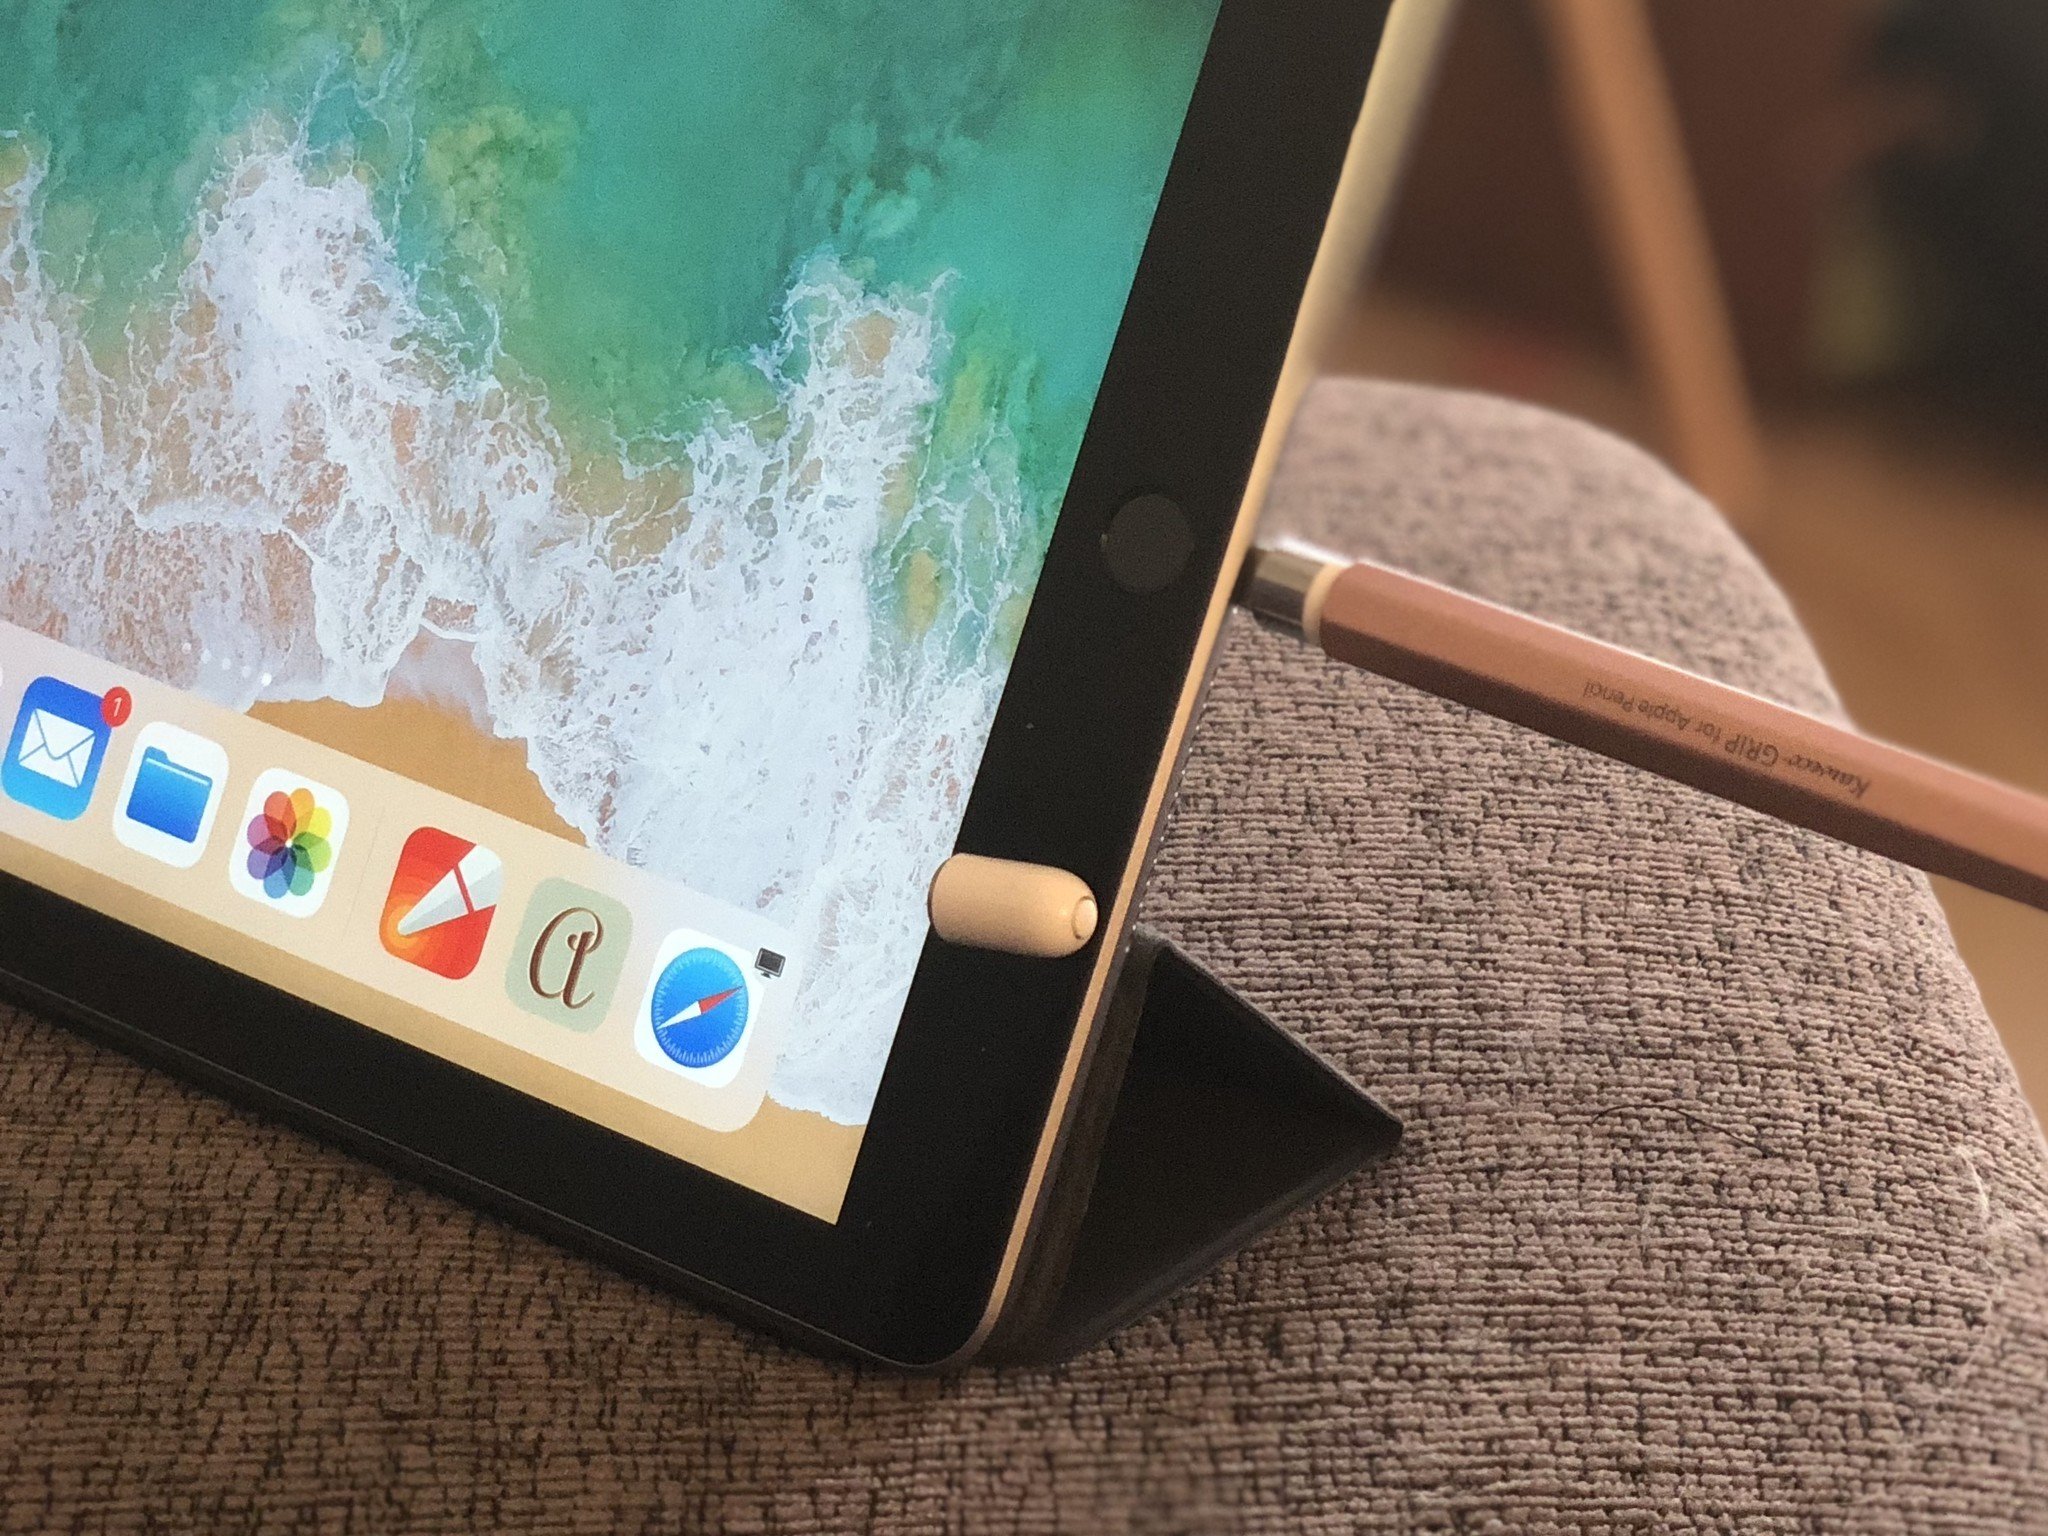
Luckily, it's easy enough to add a free-standing clip or third-party sleeve. I originally adorned my Apple Pencil with a clip from one of my Micron pens: Once you slide it off the Micron top, you just have to slip it on, nib first, up the Pencil body. Easy peasy. Currently, though, I'm testing Kaweco's pen sleeve GRIP for Apple Pencil, which is gorgeous and comfortable if a bit expensive for U.S-based folks.
One other accessory-style tip — or cap, as it were: If you charge the Pencil with your iPad's Lightning port, you can store its magnetic cap on the iPad surface using one of the two bottom Smart Cover magnets next to the home button. I use this trick constantly: It's a great way to avoid losing a tiny white plastic cylinder while charging the slightly larger cylinder it belongs to.
Questions?
Have other questions about your Pencil? Want to know something else about drawing on the iPad not covered here? Let me know in the comments! And be sure to check out our round-up of the best drawing apps for iPad.
Updated April 2018: Added some new drawing suggestions and updated for the sixth-generation iPad.
