
Here are three alternatives to replace your aging Apple Airport
- jun
- 20

Need to replace your Airport Wi-Fi? Maybe one of these would fit your needs!
With Apple exiting the Wi-Fi router business, you may be looking for other manufacturers that can fit into your Apple-centric environment. Here are three alternatives to the Apple Airport Base Stations.
Our network requirements
These products are being suggested as a replacement to Apple's Airport series in conjunction with having Wi-Fi extending capabilities that are being sought after by more and more consumers. We chose these products for these capabilities and for their ease of setup that give you an Apple-esque experience.
Linksys Velop
Simple setup and versatile
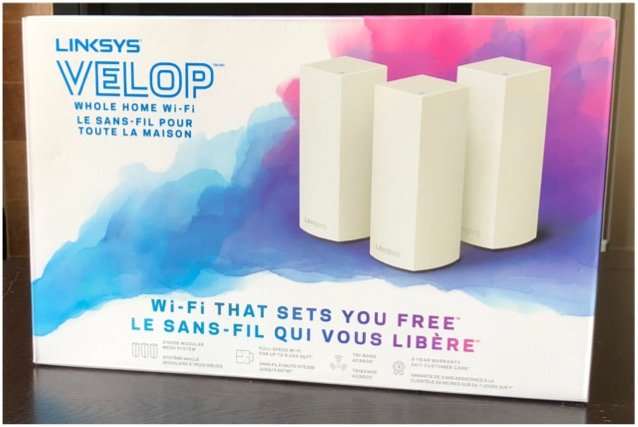
Linksys has been in the Wi-Fi/router business for decades now and as such you get to benefit from all of those years of experience in the products it creates. The Velop system is targeted as a "Whole Home Wi-Fi" that provides a Wi-Fi router connection as well as mesh Wi-Fi units for a complete solution in one box.
Velop features a "tri-band" system that allows for connecting multiple Wi-Fi mesh nodes and subsequently load-balancing each node on the three radios to reduce the inherent slow down of bridged Wi-Fi setups where it would be typical to have a reduction of speed (by half) for each node added to a network.
Each node has two physical ethernet ports. On the main node, you'd need to have one of the port plugged into your ISP connection. Otherwise, any other node can use either port as a physical connection to your network.

Linksys also provides an app available in the App Store for installation and configuration of your network whilst also having an option to remotely access and configure your nodes.
We decided to use the 3-pack Velop system to provide coverage of our three-story home. Our main router access point is connected in the basement where our cable ISP provider comes into the home. You can add nodes as needed for your network and home Wi-Fi needs.
Setting up the main node is straightforward. Download the Linksys app and follow the on-screen instructions. It will guide you through setting up your main node connected to your ISP first and then ask you if you have other nodes you'd like to add to the system.
Setting up the main node was no trouble at all. There was some waiting for a firmware update but all in all there were no issues. Where we did run into problems was during the mesh Wi-Fi setup. Placement of the node will depend on its ability to adequately communicate with the main node. It tests this by running a diagnostic that takes about five minutes. Unfortunately, you only know if your placement of the node is good or bad after the full diagnostic time of five minutes. We had ours fail after the first diagnostic, only to have it fail two other subsequent times before we decided to scrap the location altogether. It essentially took 15 minutes of mostly waiting for us to get to that point only to find out it wouldn't work.
After we set up another node in another room closer to the main node, we were able to setup the troublesome location without issue as it was routing data through the other mesh node.
Once setup was complete, however, the speed throughput was excellent, both on Wi-Fi and on physical connections through a node. Although I did find the near $450 price tag for the three-node system to be quite expensive, the signal throughput was worth it. I very much enjoy that each node could be the main access point as each device is identical. This allows for each remote node to have ethernet ports for network access as well and being Wi-Fi mesh extenders.
Stability was good overall but we did experience some disconnects as the network decided to drop out and reboot on its own. It's uncertain if this was a larger issue or some isolated event. When things worked properly, I would get a stable speed of around 30Mb/s to 60Mb/s, depending on location, on my 60Mb/s cable connection.
Eero
Simpler setup with minimalist design
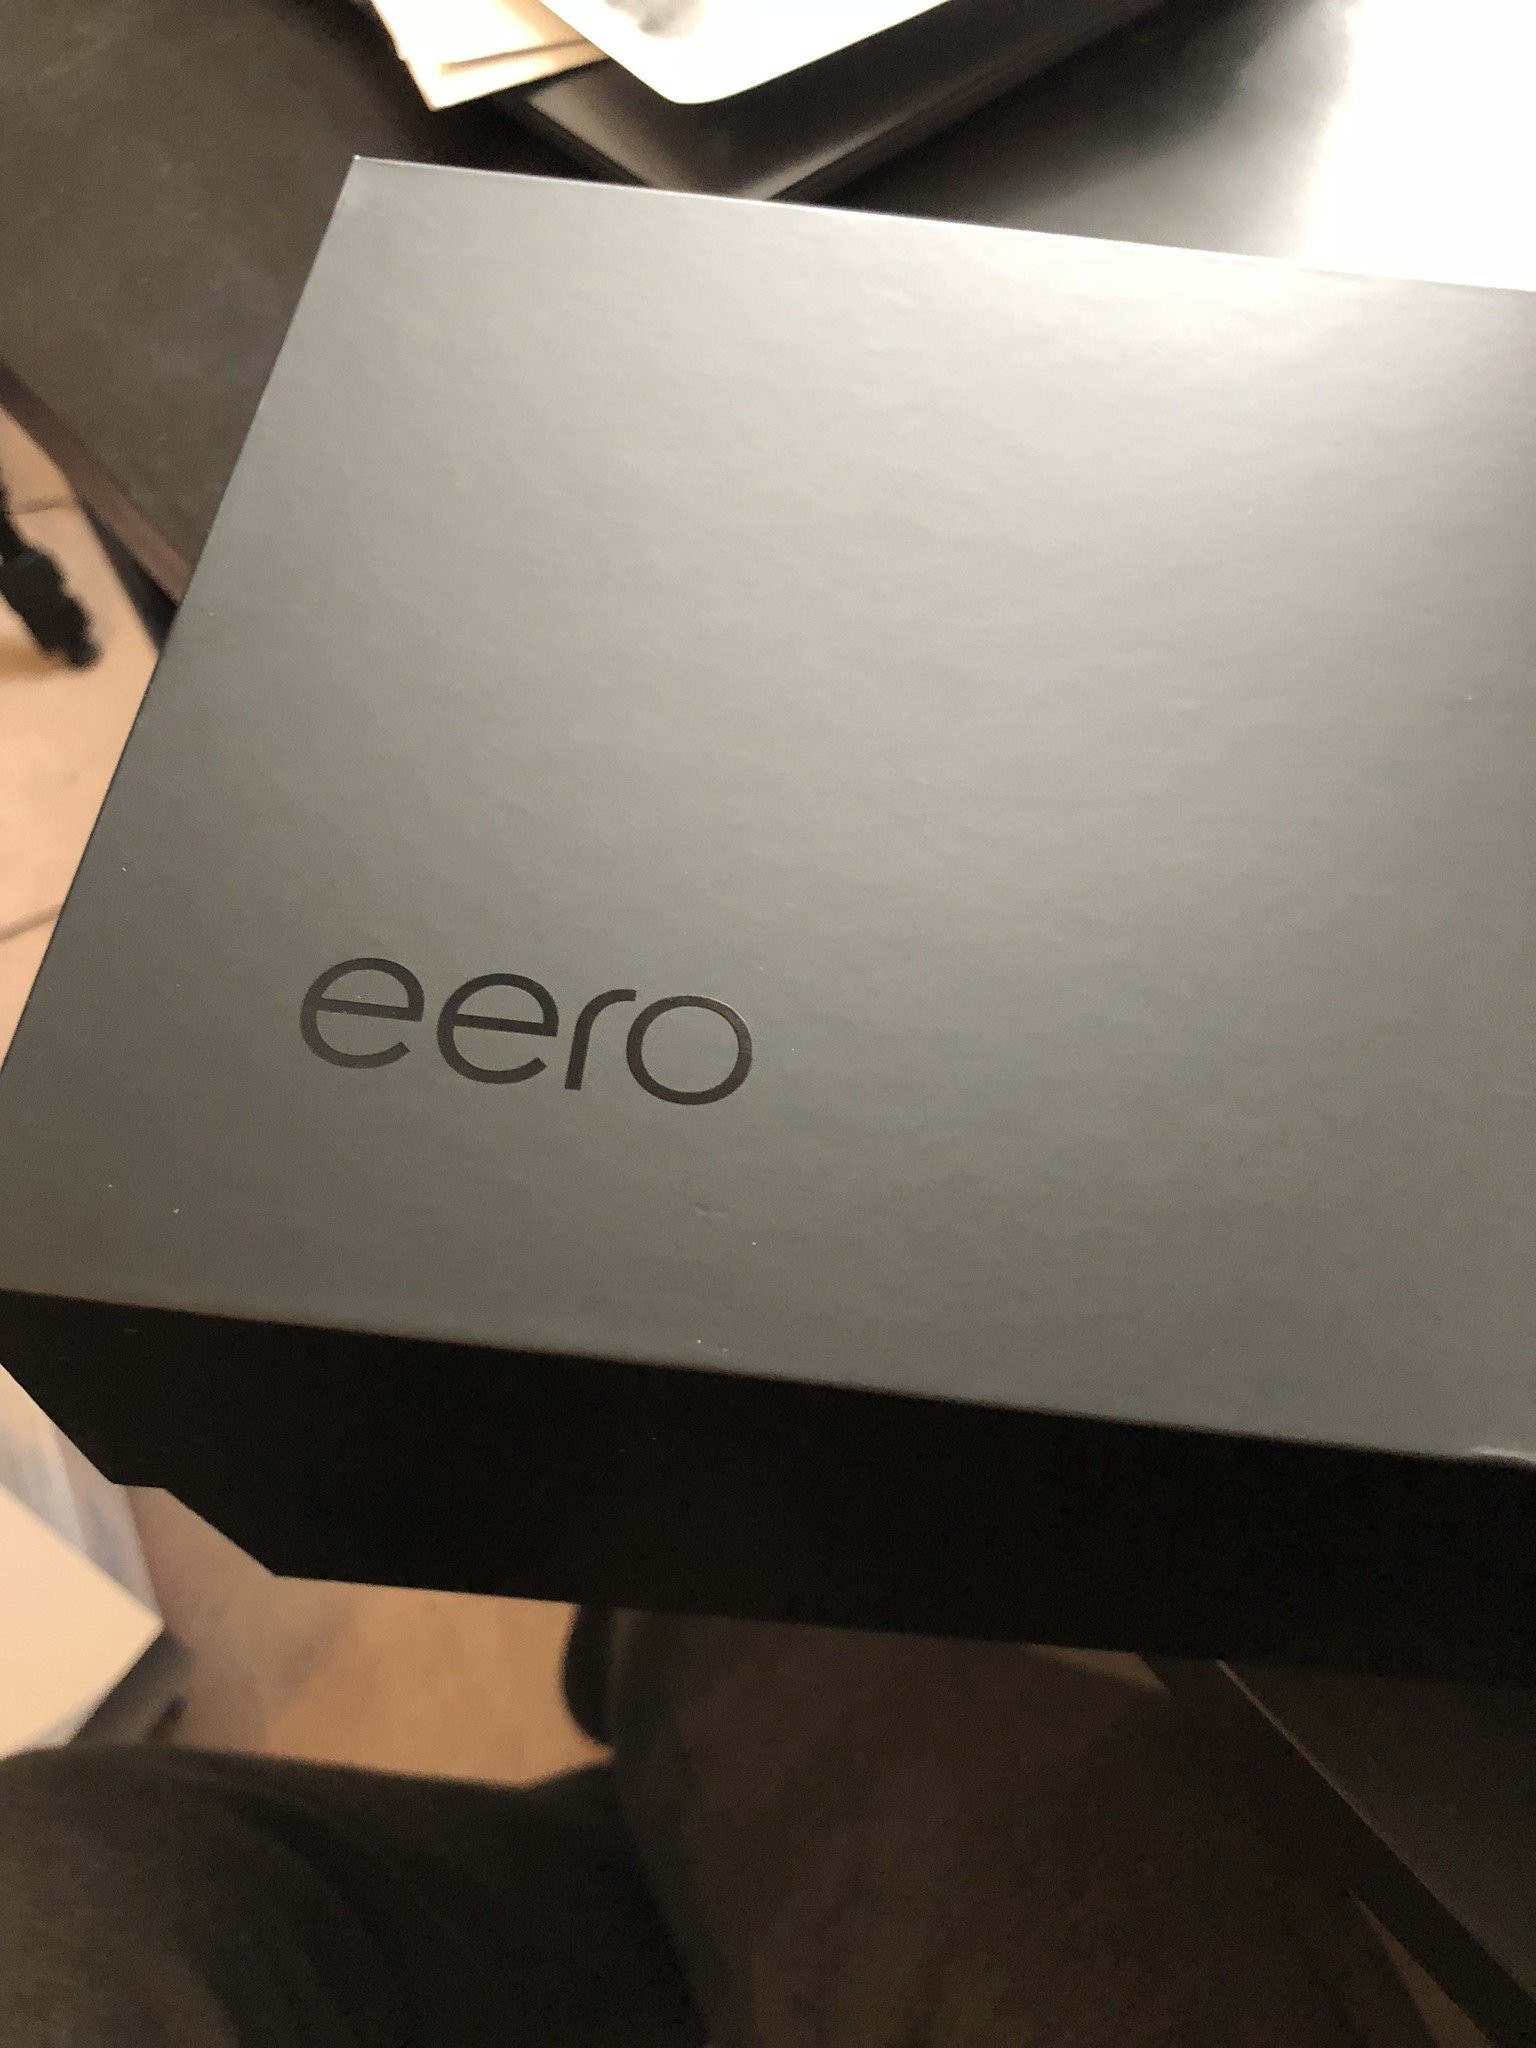
The first thing you notice about Eero is that its packaging and design have that Apple-like minimalist feel. Unsurprising since the people behind the Eero are former Apple employees.
Similar to Velop with respect to the Tri-band mesh Wi-Fi technology, Eero also allows for load balanced Wi-Fi mesh connectivity throughout your home. It too allows for the adding of nodes, called beacons, as needed for your particular setup. We purchased the Eero Home Wi-Fi System also for nearly $400.

Unlike Velop, the only unit that has physical ethernet ports is the main unit. It has two ports, of which one must be plugged into your ISP connection. All of the other beacons are devoid of any ports. You just plug them into a wall socket. So if you need physical ethernet connectivity for some of your systems, you'll be limited to being connected to the main node or a network switch connected to the main node.
Continuing with the comparison to Velop, Eero also provides an app available in the App Store for installation and configuration of your network. Again, you simply download the app. Follow the instructions. You follow the path of plugging in your device to your ISP and then adding beacons.
The setup process is also from the perspective of replacing a currently working Wi-Fi network. So you'll be able to swap and replace your old Airport as part of the steps you take to get Eero running.
Setup issues were similar to that of the Velop. Plug in your mesh point, see if the node is detected, run a test. If it fails, you're asked to retry somewhere else. Even after we train the exact same locations as the Velop, we still had the Eero complaining about node placement. Once we skipped the node setup we were able to update the firmware on the main node and then things started to work as expected. Mercifully, the placement tests were considerably shorter than the Linksys version so although frustrating, it didn't take nearly as long to finally get things up and running correctly.
Once again, the speed was very good. I would range around 45-60Mb/s from my Wi-Fi devices throughout my home.
Amplifi HD
Simple and Accessible
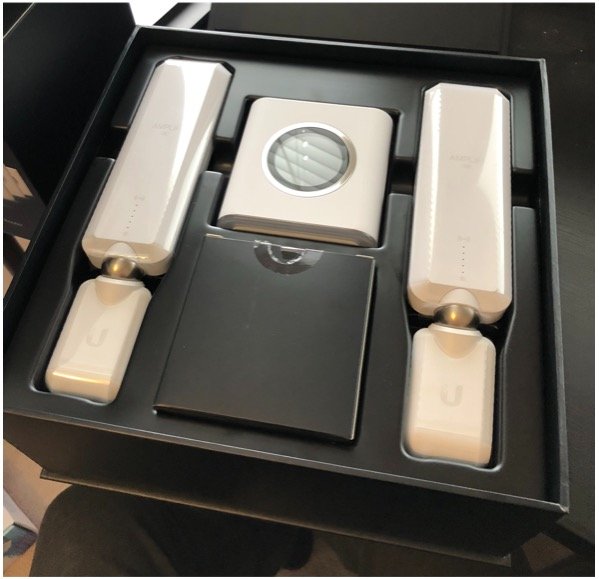
As with our other two featured systems, Amplifi HD is a multi-node meshed router capable system. Like the Eero, Amplifi HD's pedigree comes from former Apple employees who worked on the Airport series of Wi-Fi Base Stations.
Amplifi HD also touts having a multiple banded internal antenna to communicate with the mesh points to balance data throughput load to achieve the best transfer speeds possible. Whilst an App Store application is used to initiate the setup and configuration of the router, Amplifi HD is the only router of the three featured that has a touchscreen display that not only shows you network statistics, but you can setup and configure your network from the router itself. Neither the Eero nor the Linksys Velop had this useful feature.
We set up the Amplifi HD Home Wi-Fi kit for almost $340 which comes with the main router and two mesh points with adjustable antennae. The main unit has the best solution for those who need ethernet port near the main ISP connection as it comes with a total of five ports. Four 10/100/1000BaseT ports for any number of ethernet capable devices yo may have and one for your ISP connection. However, like the Eero system, each mesh point is devoid of any ports at all and only provides Wi-Fi connectivity. These, like the Eero beacons, simply plug into a wall outlet.
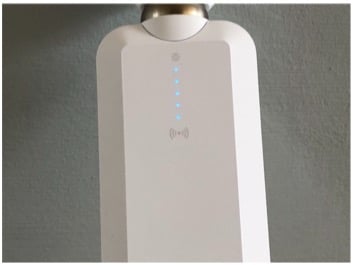
The main Amplifi HD node shows various Wi-Fi and networking statistics on-screen. The Antennae mesh points, although not having a touchscreen, also give you a view of its Wi-Fi signal with five LED lights to demonstrate signal strength at a glance. This was a handy feature during our setup to find the best locations and positions of our mesh points.
Although we could have used the Amplifi HD application from the App Store to set things up, we instead used the touch screen to get our network going. I very much appreciated having the option of using my phone or the touchscreen when I need to make any sort of configuration changes or to view statistics.
My favorite feature of the Amplifi HD is that you can optionally purchase a node called the Amplifi Teleport. Teleport allows you to create a remotely accessible secure network connection when you away from home. You would use the Amplifi iOS app to initiate the remote secure connection and then all of your data would run through that secure connection. Think of it as a super easy VPN setup to your home network.
Whereas the Eero has a minimalist design which is arguably very nice, neither the Velop nor the Eero offer the same kind of end user feedback as the Amplifi HD. You get beeps and pings for completed setup and connections all without the use of a phone. You also needn't create an account for setup. Something that bothered me with both the Velop and the Eero.
The Home Wi-Fi kit comes hard-coded with the remote nodes already configured to speak to the main router so once you set up the main node (something that took a few moments for an SSID and a password) all you need to do is plug in the remote mesh points and you're done. No testing nor configuring. Just plug in and get your Wi-Fi. The signal strength LEDs also are very useful in this endeavor.
You can optionally add remote configuration access to the Amplifi HD system via a FaceBook or Google account, something I decided not to enable. Although arguably the easiest to setup, it didn't offer the same throughput as the other devices. I would vary between 16Mb/s to the full 50Mb/s throughout the house.
Final comments
We chose these systems for their mesh capabilities, their easy-to-add-to node design, ease of setup, ease of use, and performance. Although I'm sad to have the Airport series go, it's great to see the excellent products taking up the void such as the Velop, Eero, and Amplifi HD. Have you switched from your Airport Base Station? What did you go with and how does it perform? Let us know in the comments!