
How to use the document scanner on iPhone and iPad
- maj
- 16
Apple's document scanner might be the only scanner you'll ever need, ever again.
If you've been using an iPhone for a few years, you probably have tried a number of document scanner apps in your lifetime. I know I have. I have my favorites. I keep a couple of them in my Productivity folder on my iPhone and iPad.
If you're tired of storing extra apps, just for the purposes of scanning a business card, flier, or document every once in a while, you're about to be free of the multi-app grind.
Apple's document scanner is hidden inside the Notes app, and because it supports in-app sharing, you can store the newly scanned document anywhere you want. Here's how.
- How to scan a document
- How to mark up a scanned document
- How to convert a scanned document to a PDF
- How to send a scanned document to another app
- How to delete a scanned document
How to scan a document on iPhone and iPad
The document scanner is tucked away in the Notes app on iPhone and iPad. With just a couple of taps, you'll have a solidly scanned document ready to mark up, covert to PDF, and share with another app.
- Launch the Notes app on your iPhone or iPad.
- Create a New Note.
- Tap the More button just above the keyboard. It looks like a plus (+) symbol.
-
Tap Scan Document from the list of options.

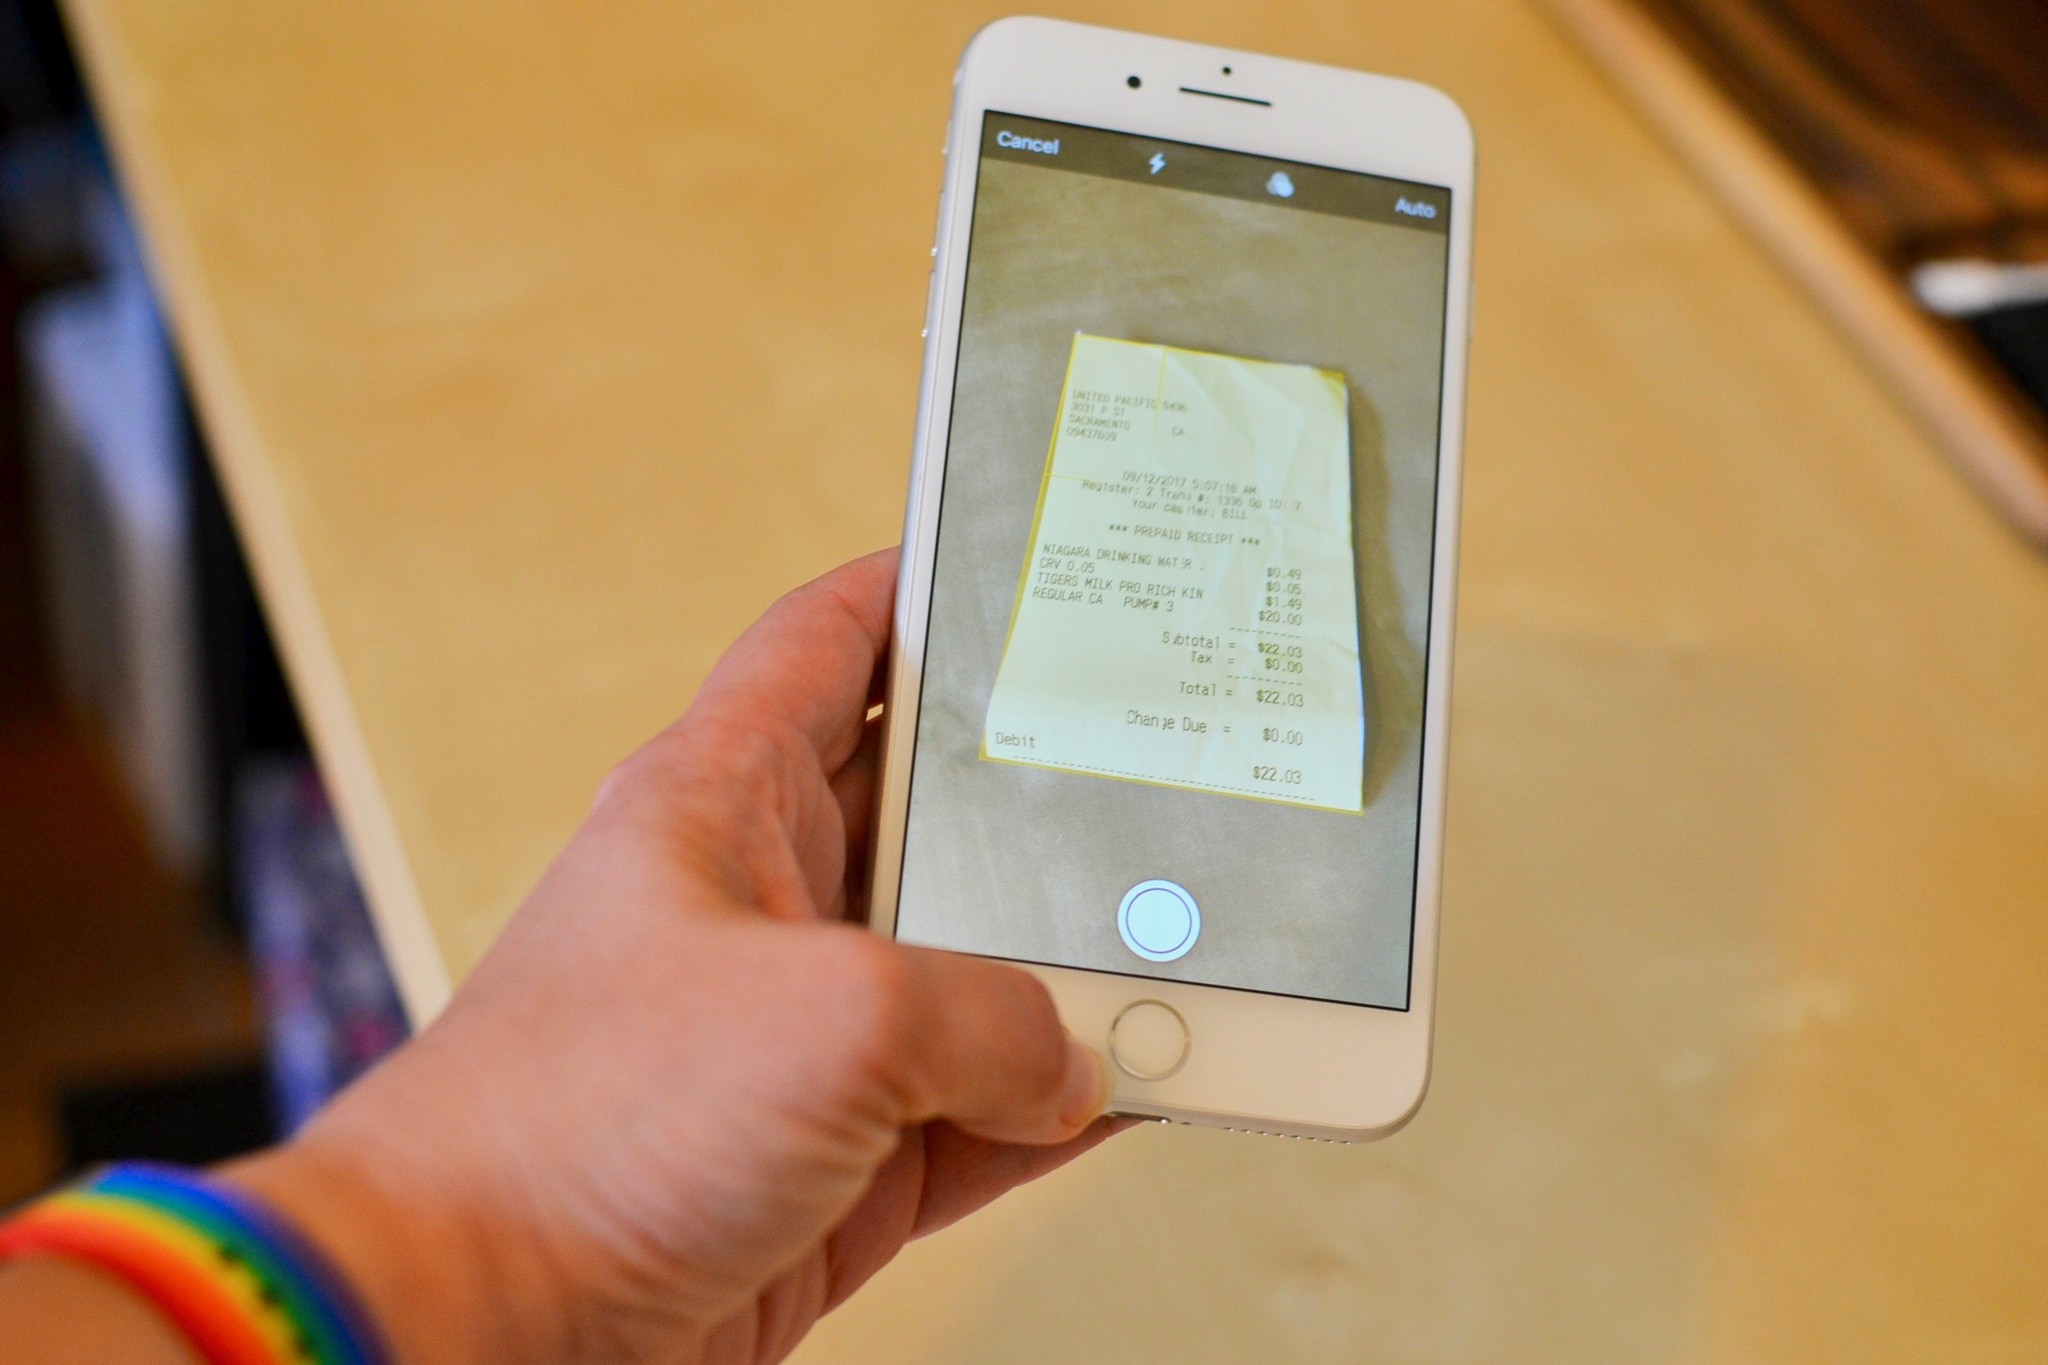
- Line up the document you want to scan.
- If the scanner doesn't automatically scan, tap the shutter button to manually scan the document.
- Repeat the step above for each page you want to scan for a single document.
-
Tap Save when you've scanned all of the pages you want to include with one document.

The scanned pages will populate in a new note in the Notes app.
How to mark up a scanned document on iPhone and iPad
Once you've scanned a document you can mark it up with any of the built-in markup tools in the Notes app. With the markup tools, you can highlight, hand write, cut out and move sections (magic rope style), and add a text box, shape, or arrows. You can also add your signature right from within the Notes app.
- With the scanned document open, tap the Share button in the upper right corner of the screen.
-
Tap the Markup button.

- Select the tool you want to use.
- If you want to add a shape, text box or signature, tap the more tools icon. It looks like a plus symbol.
- Mark up your document.
-
Tap Done when you are finished.

The scanned document will save all of the markup changes you made.
How to convert a scanned document to a PDF on iPhone and iPad
If you plan on saving your scanned document as a PDF, you can quickly convert all pages into one PDF from the Notes app.
- With the scanned document open, tap the Share button in the upper right corner of the screen.
-
Tap the Create PDF button.

- Tap the Share button in the bottom left corner.
-
Select an app to share the PDF to.

How to send a scanned document to another app on iPhone and iPad
You don't have to turn a scanned document into a PDF in order to send it to a different app or share it with someone. In fact, the scan itself is a PDF, and when you share it, it will already be configured as a PDF for you (in other words, you don't have to open it in the Notes app).
- With the scanned document open, tap the Share button in the upper right corner of the screen.
- Select which app you're going to send the document to or share it via.
-
Complete the process of sending or sharing the document.

How to delete a scanned document on iPhone and iPad
If you've accidentally scanned the same document twice, or decide you want to try again after you've saved a scanned document, you can delete a single scan without having to delete an entire document.
- With the scanned document open, swipe to the left or right to select the scan you want to delete.
- Tap the Trash button in the bottom right corner of the screen.
-
Tap Delete scan.

You will only delete the specific scanned page you've selected. If you want to delete the entire document, simply delete the note.
Any questions?
Do you have any questions about how to use the document scanner in the Notes app? Put them in the comments and we'll help you out.