
How to start playing your Nintendo Switch right out of the box
- dec
- 06
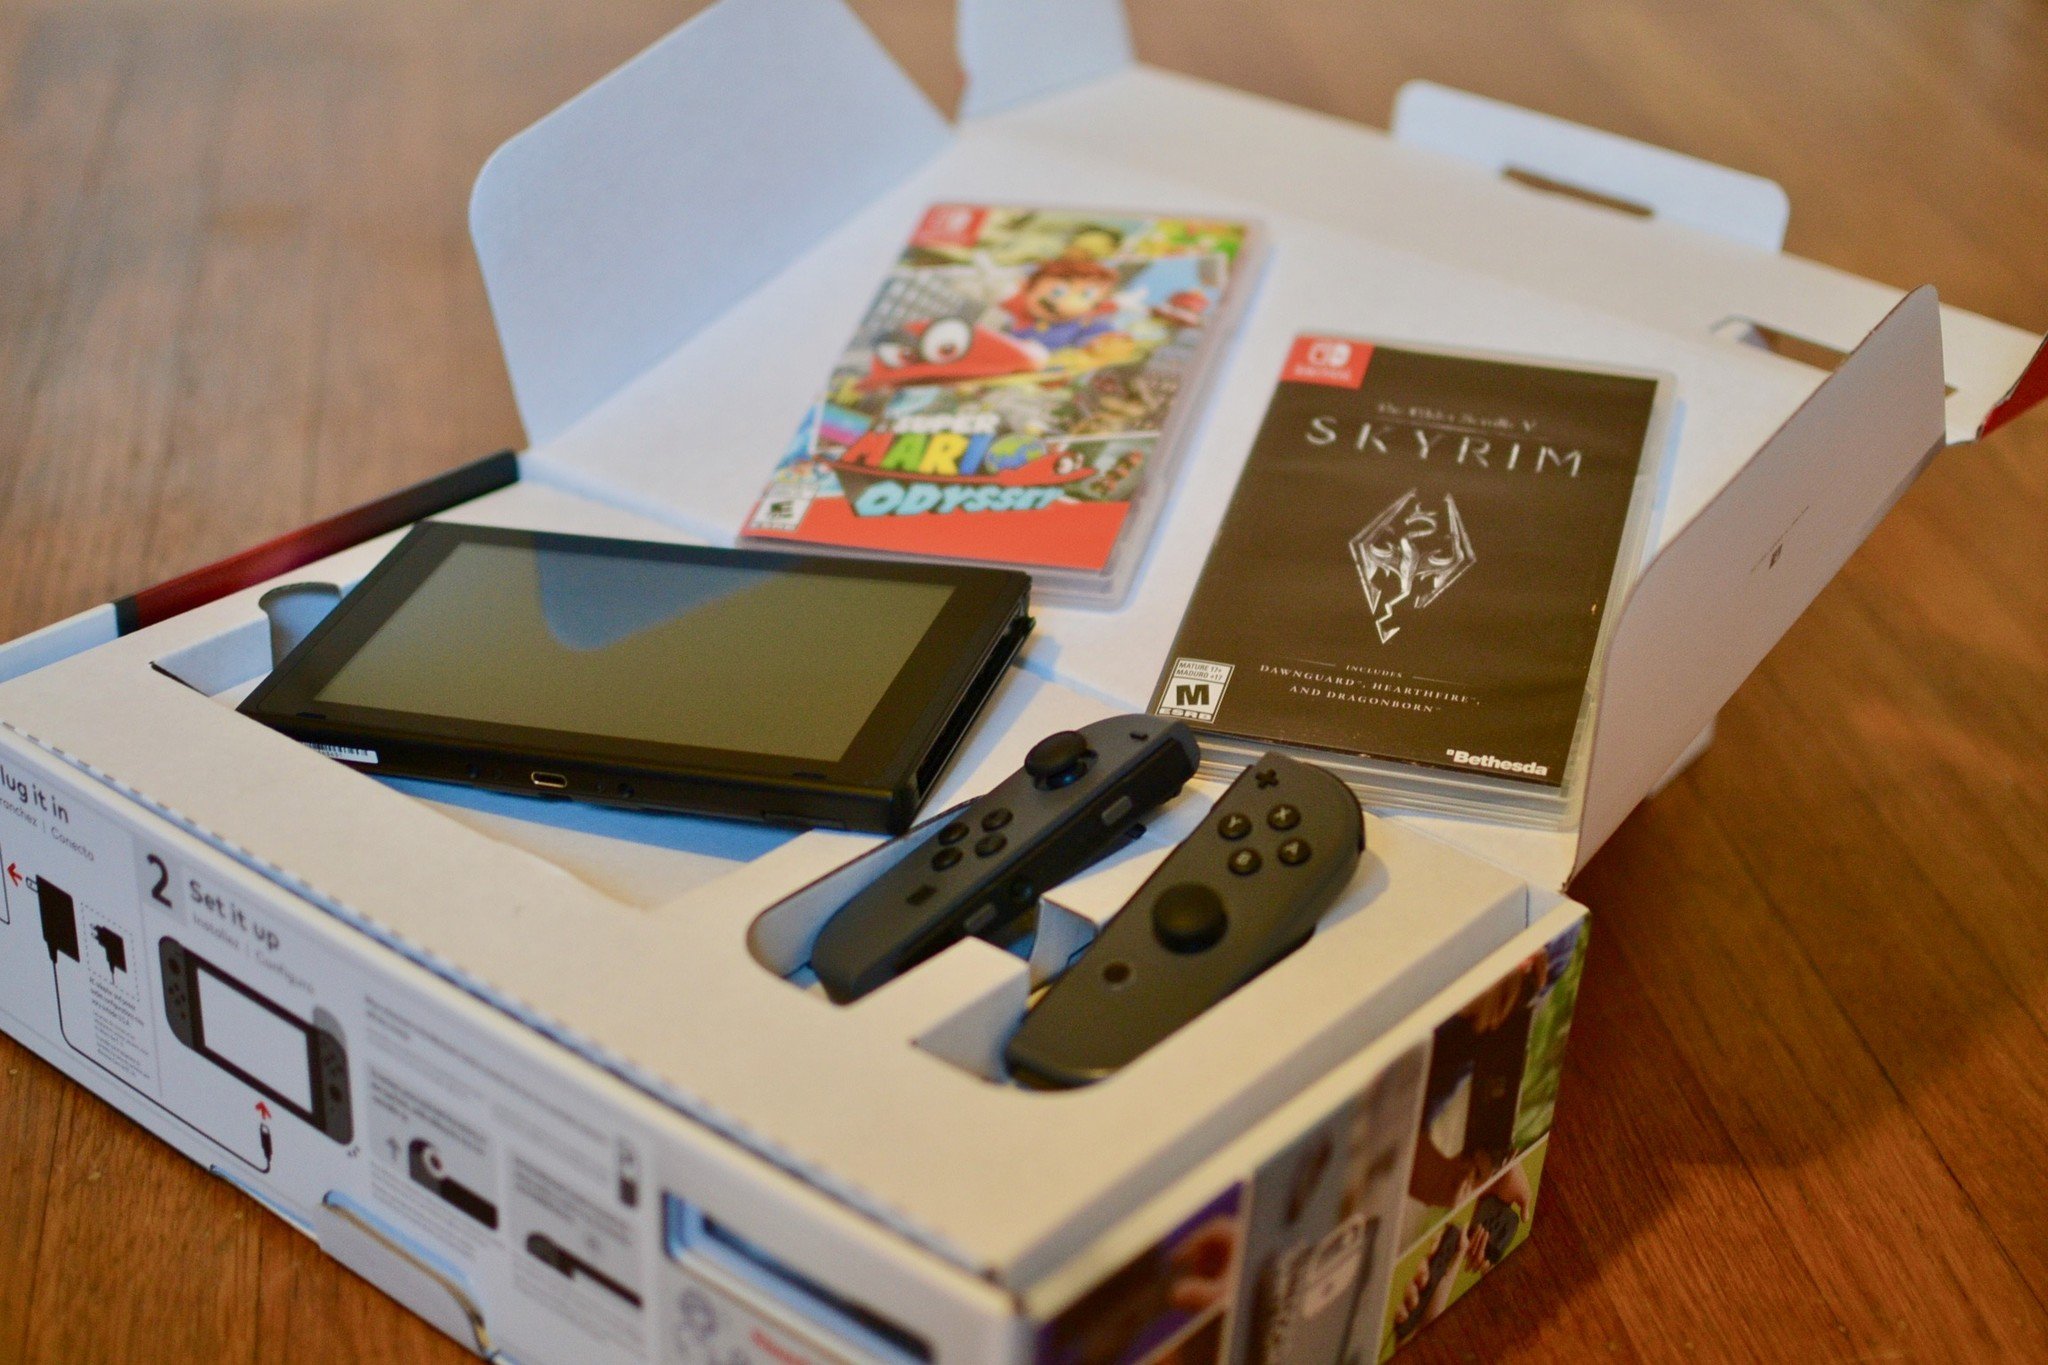
Just got a Nintendo Switch? Here's what you should do as soon as you take it out of the box!
If you just got a Nintendo Switch, you might be wondering what the best process is to set up and start playing games right away. Should you charge it right out of the box? How do you pair your Joy-Cons? You've got questions. We've got answers. Here's everything you should do with your Nintendo Switch right out of the box.
- Connect your Joy-Cons to your Switch
- Charge your Switch
- Connect the Dock to your TV
- Set up all the things: Language, WiFi, TV view, profile
- Set up parental controls for the kids
- Insert your microSD card
- Insert your game card
- Things you don't need right out of the box, but you should get really soon
Connect your Joy-Cons to your Switch
Once everything is out of the box and out of its plastic bag, go ahead and turn on your Switch to power it up. Then, snap those Joy-Cons into place. This not only automatically pairs them with the Switch, but also charges them up if they've lost any battery power while sitting in the box.
Charge your Switch
The Switch uses an Ion Lithium battery, which performs better when fully charged and lasts longer than if your battery were drained below 50% on a regular basis.
Chances are, the Switch is already fully charged out of the box, but it doesn't hurt to make sure it's topped off. If you have a USB-C cable lying around, connect it to your Switch while you are setting up the TV Dock. Otherwise, you can charge it once you've set up the Dock.
Connect the Dock to your TV
It's incredible easy to connect the Switch's Dock to your TV set, but if you don't feel comfortable, you can wait until you set up your Switch before doing this step. The setup has step-by-step instructions for connecting your Switch Dock to your TV set.
If you know what an HDMI cable is and how to plug in a power source, go ahead and connect everything right now. You'll be ready when the time comes in the setup process.
Set up all the things: Language, WiFi, TV settings, profile, etc.
Speaking of setting up, the next step is to get your Switch configured. We have a great how-to guide for setting up your Switch, but it's all fairly self-explanatory. Just follow the on-screen instructions for choosing a language, wi-fi network, and time zone, as well as creating a user profile. The setup will also instruct you to connect your Switch to your TV using the Dock.
How to set up your Nintendo Switch
Set up parental controls for the kids
If this Switch is for a child, or if you have children in the house that will have access to your Switch, the next thing you should do is set up parental controls. The Switch has system-wide restrictions for protecting your kids from accessing important settings or accidentally playing adult-themed games. You can also create a special account just for your little ones and use a dedicated app for restricting your child's Switch activity.
How to set up parental controls on Nintendo Switch
Insert your microSD card
Your Switch only comes with 32GB of onboard storage. That's plenty if you don't think you'll ever download any digital games, but speaking from experience, I end up downloading a game or two every month. There are dozens of inexpensive games that are only available in the eShop that you can add to your collection. Eventually, they'll take up space. This is where a microSD card comes in handy.
If you have a microSD card that supports the Nintendo Switch, now is the time to insert it into your device so you don't forget it (or lose it).
Insert your game card
If you just got a Switch, chances are you bought a game with it (or got one as a gift). You're ready to go. It's time to start playing. Step 1: turn off your Switch's power (don't just go into sleep mode, but power it off completely). Then, just flip the game card cover on the top of your Switch and press the card into the slot. Once it's in, you can power your Switch back on and start playing!
If you don't have any games yet, you can skip this step and jump into the eShop to download digital titles.
Things you don't need right out of the box, but you should get really soon
The Switch alone is a big investment, but you'll quickly realize that there are a few accessories you're going to wish you had. These are the most important things we learned early on that are must-have accessories to go with our Switch.
Pro Controller
If you game for long periods of time, say with Skyrim or Xenoblade Chronicles 2, you're not going to be satisfied with just the Joy-Con Grip (which is ... fine, if that's all you have). Start saving now for a Pro Controller. You won't regret your purchase.
Second set of Joy-Con controllers
If you have any plans to play your Switch with more than one other person, you'll need a second pair of Joy-Cons, at least. Of course, you could invest in a bunch of individual controllers, but a second pair of Joy-Cons gives you the most controllers for the price (each Joy-Con counts as a controller when separated from the Switch).
Here's a list of all the Joy-Con colors you can choose from
Travel case
The point of the Switch is to be able to use it both in the home on a big screen TV and on the go. The first time I took my Switch out of the house, I wished I had a dedicated case for it. There are lots of awesome cases, backpacks, and stylish bags for the Switch. My personal favorite is WaterField Design's Arcade Gaming case because it's big enough for everything and looks gorgeous. If its too rich for your blood, we've got others.
Best travel accessories for Nintendo Switch
Screen protector
Not unlike a tablet, the touchscreen display of the Switch can get scratch up if you're not careful. To keep it in pristine condition, consider a screen protector. You can get a standard film one or a ballistic glass version. The choice is yours.
Best screen protectors for Nintendo Switch
Headphones
Hopefully, you already have a pair of headphones with a 3.5mm jack lying around the house. If not, it's time to invest! The Switch doesn't support standard Bluetooth headphones, but with the right transmitter, you can also connect any pair of Bluetooth cans you want.
Best headphones for Nintendo Switch
Portable charger
Again, the point of the Switch is portability. If you're out on a road trip and your battery runs low, you're going to be really upset if you don't have any way to charge up before battling one of the bosses in Super Mario Odyssey. The way to solve this problem is with a portable charger. You can't, however, just use your little portable phone charger. The Switch needs a lot of juice, which means it needs a powerful portable charger. There are only a few that can handle the beast.
Best portable chargers for Nintendo Switch
Any more questions?
We have a comprehensive guide to setting up and using Nintendo Switch. Please feel free to take a look at what we have. If you have any more questions that we haven't answered, you can drop them in the comments or check out our Nintendo Switch forums.
Nintendo Switch: Everything you need to know